
You won’t believe how easy it is to whip up homemade candy that’s actually good for you. My Healthy 5-Ingredient Homemade Butterfingers offer a nostalgic nod to the classic treat, yet they’re designed with health in mind. With just five simple ingredients—think creamy peanut butter, crunchy corn flakes, and a rich chocolate coating—these bars are a delightful gluten-free and dairy-free indulgence perfect for any snacking occasion. Not only are they naturally sweetened, but their quick prep time makes them an ideal option for those of us tired of reaching for fast food. Whether you crave a satisfying snack or a sweet dessert, these homemade bars are ready to impress. How about giving your sweet tooth a healthier twist?
Why not indulge healthily?
Simplicity at Its Best: With just five ingredients, this recipe is incredibly easy to whip up, requiring minimal kitchen skills.
Guilt-Free Treat: Enjoy your favorite candy without the guilt! These bars are gluten-free, dairy-free, and naturally sweetened, making them a perfect choice for health-conscious snackers.
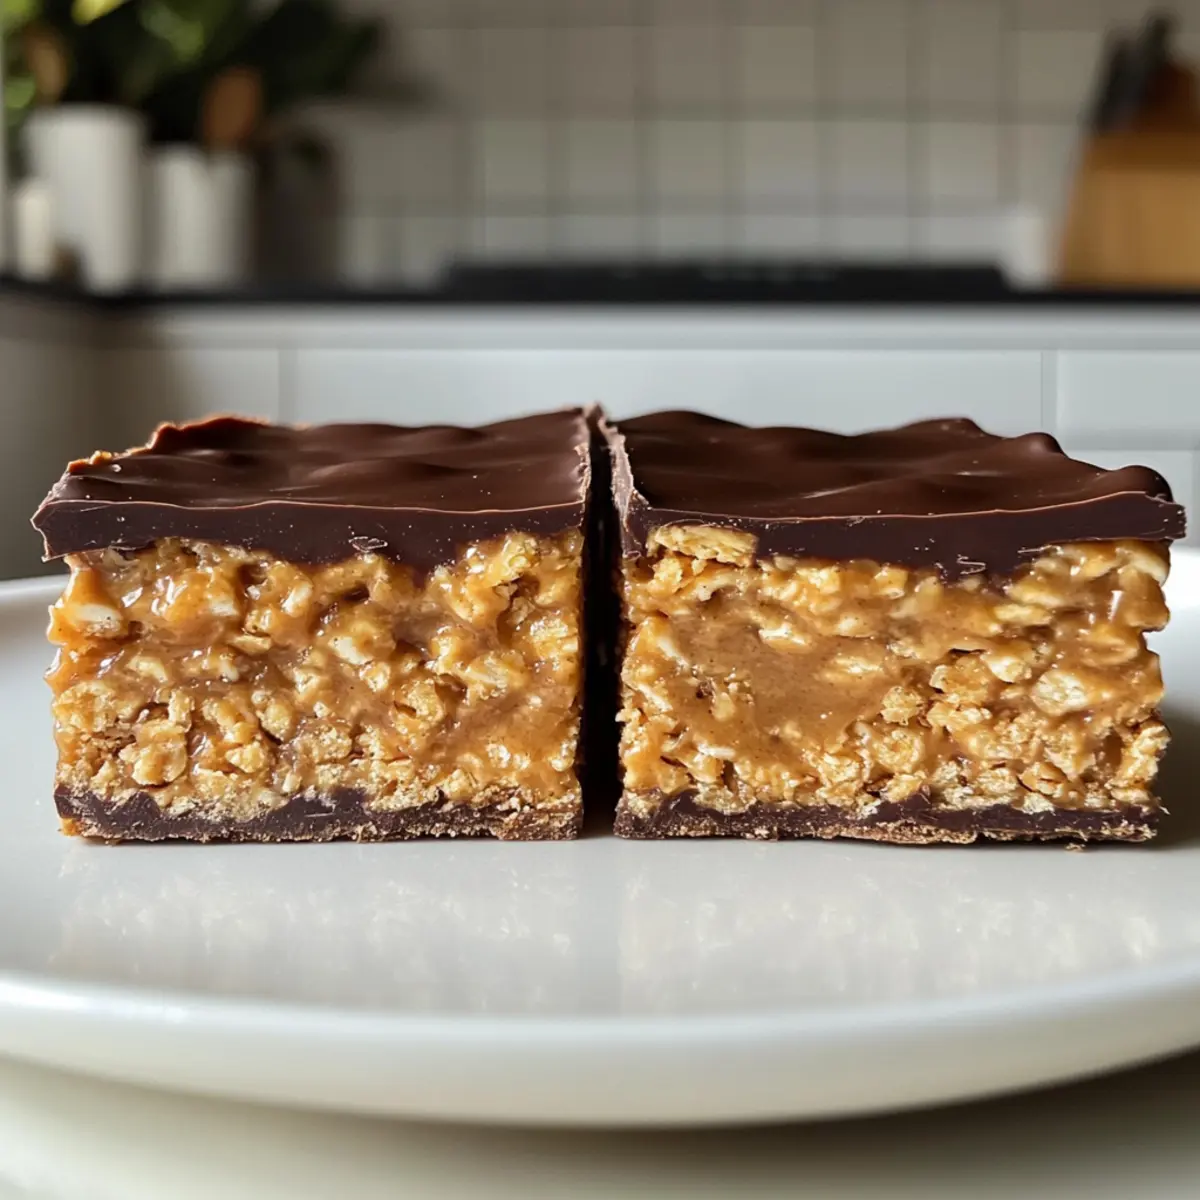
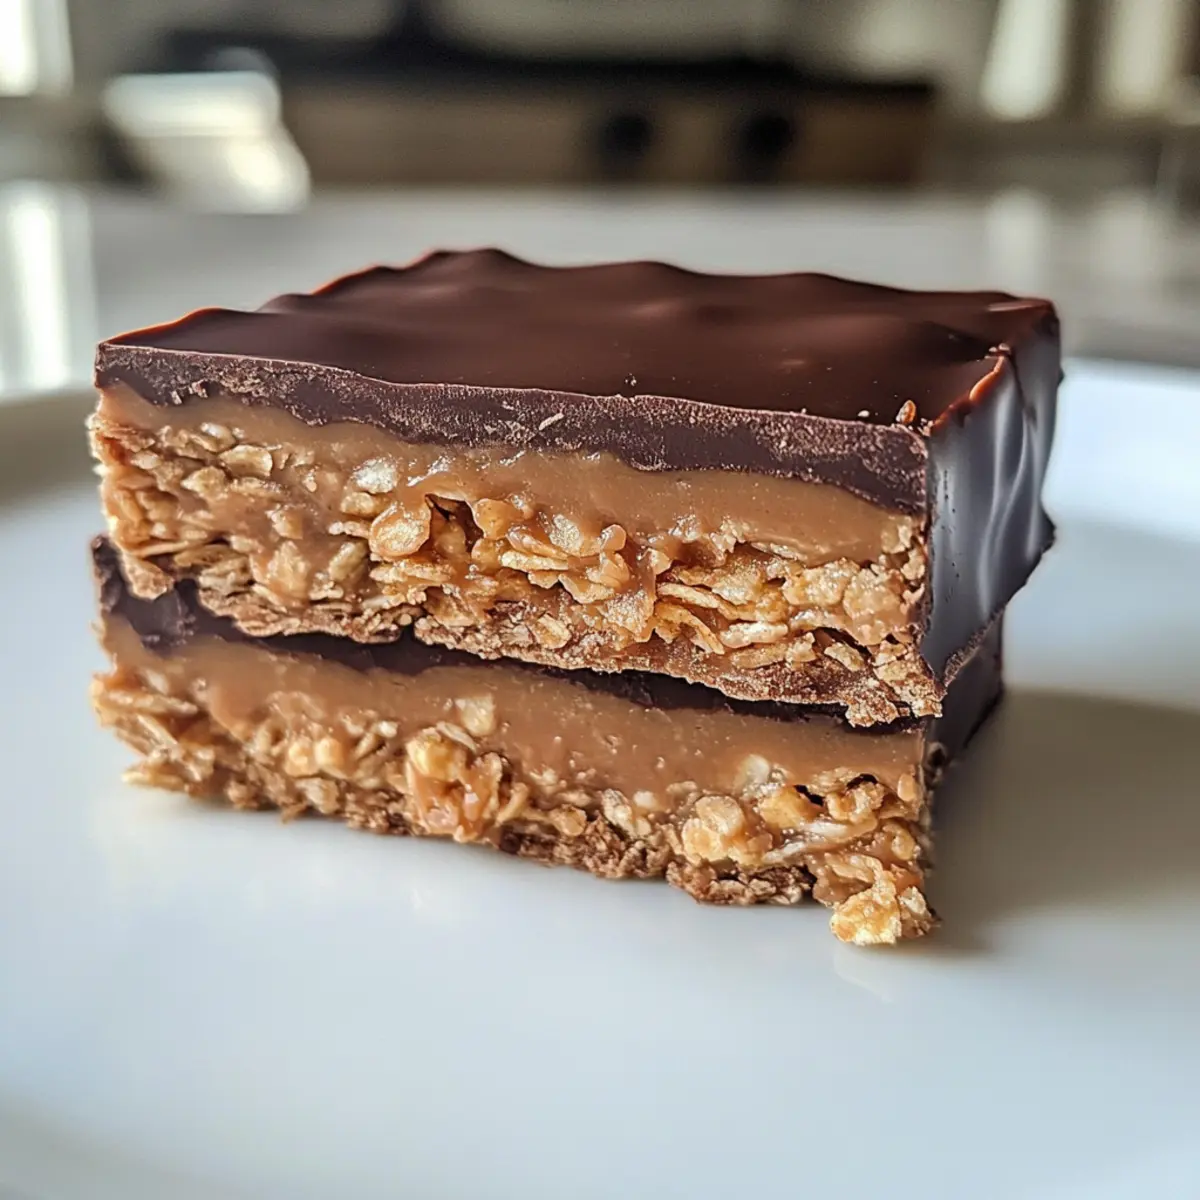
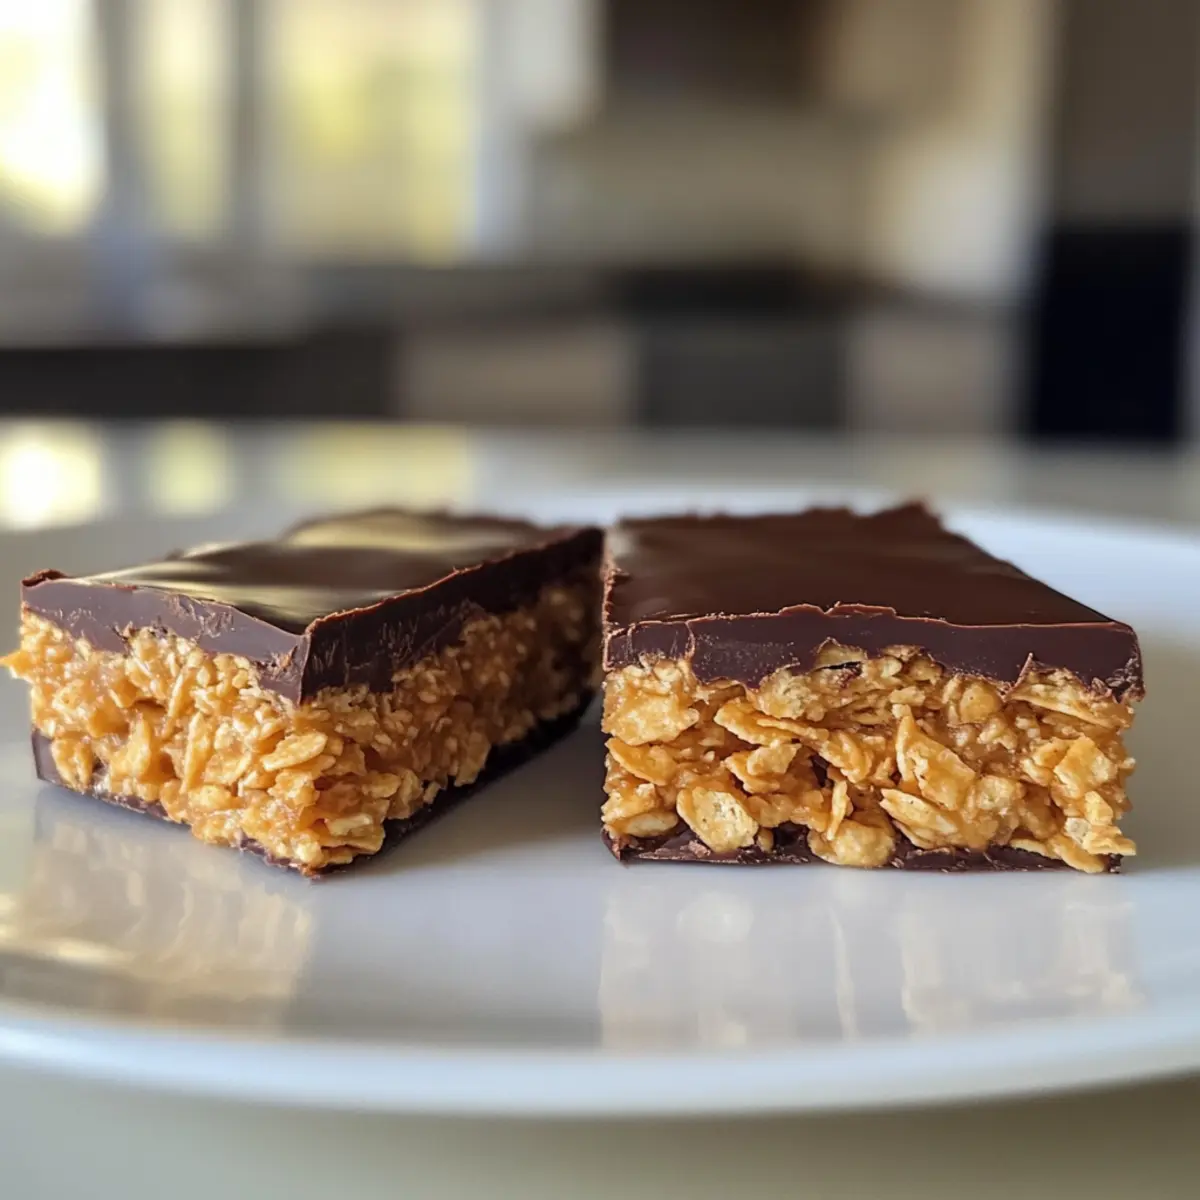
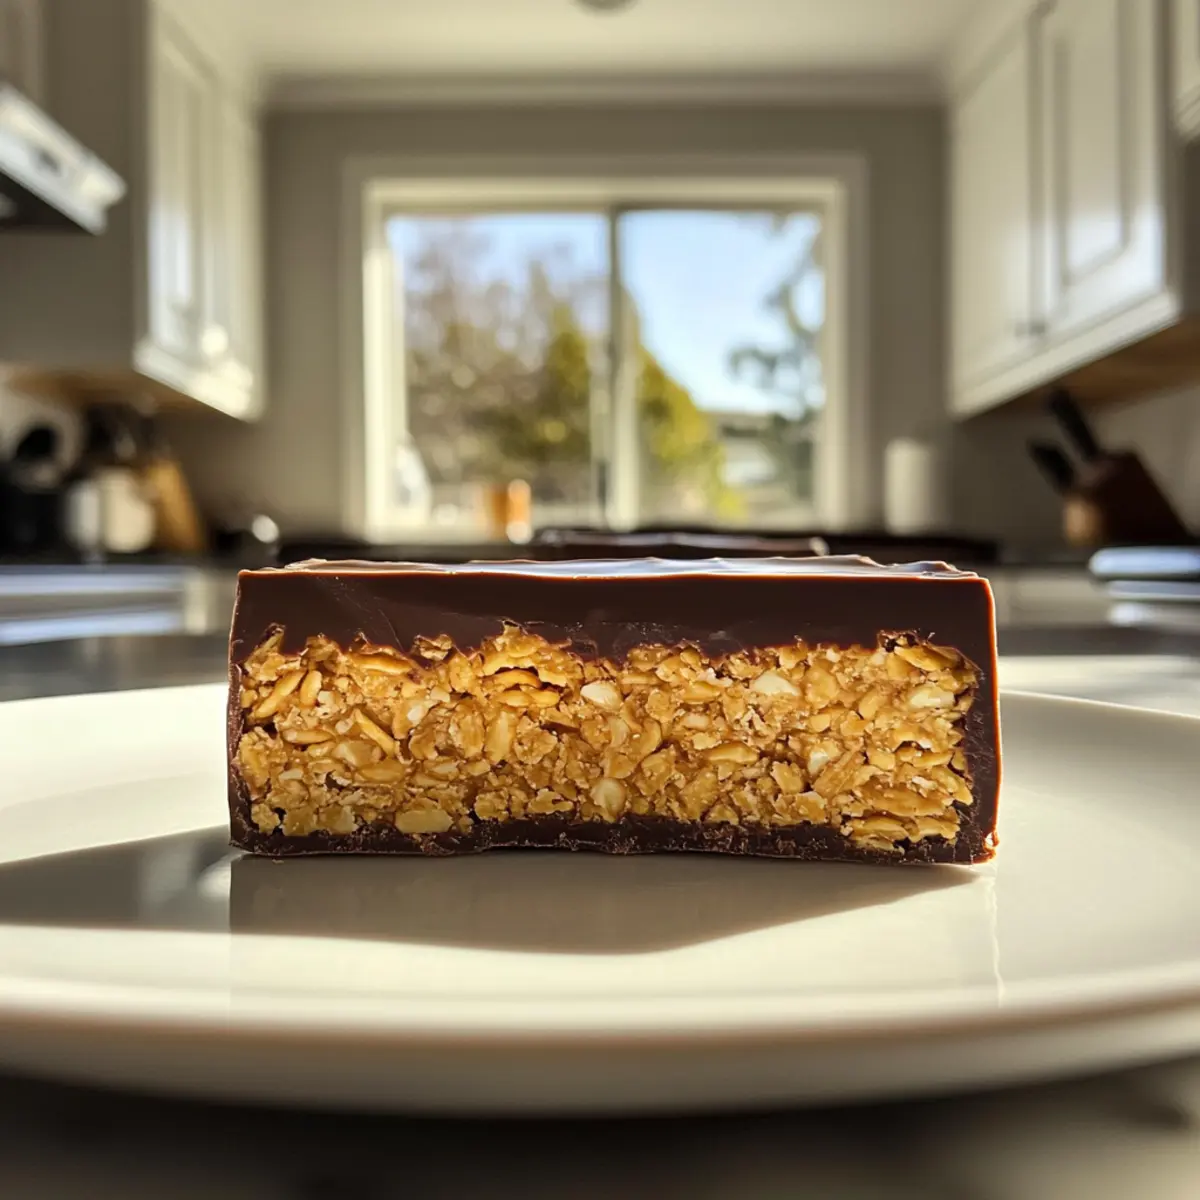
Tempting Texture: Experience the crunch of corn flakes paired with creamy peanut butter and silky chocolate, creating a heavenly bite with every munch.
Versatile Delights: Customize them based on your preferences—swap peanut butter for almond butter or use rice cereal for a gluten-free choice.
Perfect for All Occasions: Whether it’s a late-night snack or a quick energy booster post-workout, these bars deliver crowd-pleasing satisfaction every time!
Don’t forget to check out more easy snack recipes or explore your options with other healthy dessert ideas to keep your cravings in check!
Healthy Homemade Butterfingers Ingredients
For the Bars
• Peanut Butter – Provides creaminess and flavor; Almond butter can be used for a nut-free version.
• Maple Syrup or Honey – Acts as a natural sweetener to bind the mixture; Use pure maple syrup for a vegan option.
• Corn Flakes – Adds the signature crunch; Rice cereal can be used for a gluten-free option.
For the Chocolate Coating
• Chocolate Chips – Coating for a rich chocolate flavor; Use dark chocolate for a healthier choice.
• Coconut Oil – Helps to enhance the melting of the chocolate; Any neutral oil can work, but coconut oil solidifies well at room temperature.
These deliciously healthy homemade Butterfingers will satisfy your sweet cravings in a wholesome way!
Step‑by‑Step Instructions for Healthy Homemade Butterfingers
Step 1: Prepare Corn Flakes
Start by taking your corn flakes and placing them in a zip-top bag. Seal the bag, then use a rolling pin or your hands to crush the corn flakes into small pieces, resembling breadcrumbs. This will add that signature crunch to your Healthy Homemade Butterfingers. Aim for crumbles; avoid turning them into powder.
Step 2: Mix Ingredients
In a large mixing bowl, combine creamy peanut butter and maple syrup or honey. Stir together until smooth and well mixed, which should take about 1-2 minutes. Next, add the crushed corn flakes into the peanut butter mixture and fold gently until every piece is thoroughly coated. You want a uniform consistency, so ensure no flakes are left dry.
Step 3: Form Bars
Line a loaf pan with parchment paper, leaving some overhang for easy removal later. Transfer your mixture into the pan, spreading it out evenly. Press down firmly using your hands or the back of a spatula to create a compact layer, taking about 3-5 minutes. Place the pan in the freezer for at least 1 hour to set firmly.
Step 4: Cut Bars
Once the mixture is fully set, carefully remove it from the loaf pan using the parchment overhang. Place it on a cutting board, and with a sharp knife, slice it into 12 equal bars. This creates bite-sized pieces of your Healthy Homemade Butterfingers, ready for delicious chocolate coating.
Step 5: Melt Chocolate
In a small microwave-safe bowl, combine chocolate chips and coconut oil. Heat the mixture in the microwave in 30-second intervals, stirring between each interval until smooth—this should take about 1-2 minutes. The chocolate should have a glossy finish and be fully melted, ready for coating your bars.
Step 6: Coat Bars
One by one, dip each bar into the melted chocolate, ensuring it is fully coated on all sides. Let any excess chocolate drip off, then place the bars on a parchment-lined plate. This method ensures each Healthy Homemade Butterfinger is decadently covered, combining the textures beautifully.
Step 7: Set Coating
Once all bars are coated, return them to the freezer for an additional 10 minutes, allowing the chocolate to harden completely. Afterward, your homemade Butterfingers will be ready to enjoy immediately or store for later. The chocolate will give a lovely crunch when bitten into, completing the delicious experience!
How to Store and Freeze Healthy Homemade Butterfingers
Fridge: Store any leftover Butterfingers in an airtight container for up to 1 week. This keeps them fresh and ready for snacking!
Freezer: For longer storage, these bars can be frozen for up to 3 months. Layer them with parchment paper in an airtight container to prevent sticking.
Reheating: Enjoy straight from the freezer for a cool treat! If you prefer them at room temperature, allow them to sit for about 10 minutes before indulging in your Healthy Homemade Butterfingers.
Thawing: If frozen, let them thaw in the fridge overnight for the best texture and flavor when you’re ready to enjoy.
Expert Tips for Healthy Homemade Butterfingers
• Mix Well: Ensure the peanut butter is thoroughly mixed with your sweetener to avoid any dry bits in the bars.
• Crushing Corn Flakes: Aim for coarse crumbs, not powder; this gives the best crunch for your Healthy Homemade Butterfingers.
• Use Parchment Paper: Line your pan with parchment to simplify pulling out and cutting the bars—no sticky mess!
• Chocolate Consistency: Stir melted chocolate until it’s glossy; this ensures it coats the bars evenly and smoothly.
• Chill Properly: Allow the bars to freeze long enough for the chocolate coating to set completely. This enhances texture and flavor!
• Storage Tip: Keep these treats in an airtight container in the freezer for up to 3 months to maintain freshness.
What to Serve with Healthy Homemade Butterfingers
Elevate your snacking experience with delightful sides that harmonize beautifully with these guilt-free treats.
-
Fresh Fruit Salad: A medley of seasonal fruits can brighten your table, adding refreshing sweetness that complements the rich chocolate and peanut butter.
-
Nutty Granola: Serve a scoop of nutty granola on the side for extra crunch. This hearty option provides a satisfying texture contrast while keeping your snack wholesome.
-
Coconut Yogurt Dip: A creamy coconut yogurt dip brings a light, tropical twist that pairs wonderfully with the buttery flavors of the bars.
-
Smoothie: Whip up a berry or green smoothie to sip alongside your Butterfingers. This refreshing drink enhances the indulgent taste while providing an energy boost.
-
Herbal Tea: A warm cup of herbal tea, like chamomile or peppermint, can create a lovely balance, soothing your palate after enjoying a sweet treat.
-
Dark Chocolate Drizzled Popcorn: For a fun and crunchy side, serve popcorn drizzled with dark chocolate. This playful pairing echoes the chocolate coating on the bars while adding a new dimension of flavor and texture.
Healthy Homemade Butterfingers: Variations & Substitutions
Feel free to make this recipe your own with these delicious twists and substitutions!
- Nut-Free Option: Substitute peanut butter with sunflower seed butter for a tasty nut-free alternative that still delivers creaminess.
- Vegan Sweetener: Swap honey for agave syrup to keep it completely vegan while maintaining that perfect sweetness.
- Gluten-Free Crunch: Use rice cereal instead of corn flakes for a gluten-free version that still packs the crunch.
- Flavor Boost: Add a teaspoon of vanilla extract to the mixture for a subtle, warm flavor enhancement that complements the chocolate beautifully.
- Dark Chocolate Delight: Opt for a dark chocolate or sugar-free chocolate for the coating to reduce sugar without sacrificing flavor.
- Heat it Up: If you’re feeling adventurous, sprinkle a pinch of cayenne pepper in the chocolate for a tantalizing spicy kick that contrasts beautifully with sweet.
- Extra Texture: Mix in some crushed nuts or seeds into the peanut butter mixture for added texture and nutrition. Think of using toasted almonds or pumpkin seeds!
- Salted Caramel Twist: Drizzle some homemade or store-bought caramel on top before the chocolate coating hardens for a decadent addition that will make your taste buds sing.
For more variations, consider trying out some other healthier snack recipes that cater to your unique tastes! Enjoy experimenting and creating treats you and your family will love!
Make Ahead Options
These Healthy Homemade Butterfingers are perfect for meal prep enthusiasts who want to save time during busy weeknights! You can prepare the butterfinger mixture up to 24 hours in advance. Simply follow the recipe up to the point of pressing the mixture into the loaf pan, then cover it tightly with plastic wrap and refrigerate. For optimal taste and texture, ensure you consume the bars within 3 days after cutting them. When you’re ready to enjoy a treat, simply dip the chilled bars in the melted chocolate and allow them to set. With these make-ahead tips, you’ll have deliciously healthy homemade Butterfingers ready to satisfy your sweet cravings anytime!
Healthy 5-Ingredient Homemade Butterfingers Recipe FAQs
How do I choose the right peanut butter?
Absolutely! When selecting peanut butter for your Healthy Homemade Butterfingers, opt for natural varieties with minimal ingredients—just peanuts and salt. Avoid brands high in added sugars and oils to ensure you’re keeping the recipe as healthy as possible. If you need a nut-free version, almond butter is a fantastic alternative.
What’s the best way to store my Butterfingers?
I recommend storing leftover Butterfingers in an airtight container in the refrigerator for up to 1 week. This keeps them fresh and at the perfect texture for snacking. If you prefer to keep them longer, you can freeze them for up to 3 months. Just be sure to layer the bars with parchment paper to prevent sticking!
Can I freeze these bars, and how should I do it?
You can absolutely freeze your Healthy Homemade Butterfingers! Here’s how: First, cut the bars into pieces as directed after they’ve set. Lay them flat on a parchment-lined baking sheet and freeze for about 1-2 hours until solid. Then, transfer them to an airtight container with layers of parchment paper in between. This way, you can enjoy these tasty treats for up to 3 months without them sticking together!
What if my chocolate coating isn’t smooth?
Very! If your chocolate coating isn’t turning out smooth, there could be a few reasons. First, make sure you’re melting the chocolate chips and coconut oil in short intervals—30-second bursts—while stirring in between to prevent overheating. If it becomes thick, add a teaspoon of coconut oil to loosen it up until you achieve a glossy consistency perfect for dipping. If the chocolate cools too quickly during dipping, simply reheat it gently to restore that smooth texture.
Are these Butterfingers suitable for those with allergies?
Absolutely! These Healthy Homemade Butterfingers can be tailored to meet various dietary needs. For those with nut allergies, using sunflower seed butter or soy nut butter is a great alternative to peanut butter. Additionally, if you’re looking for a vegan option, simply substitute honey with agave syrup or maple syrup. Just always double-check packaging for allergen disclosures!
Deliciously Healthy Homemade Butterfingers in 5 Easy Steps
Ingredients
Equipment
Method
- Step 1: Prepare Corn Flakes. Start by taking your corn flakes and placing them in a zip-top bag. Seal the bag, then use a rolling pin or your hands to crush the corn flakes into small pieces, resembling breadcrumbs.
- Step 2: Mix Ingredients. In a large mixing bowl, combine creamy peanut butter and maple syrup or honey. Stir together until smooth and well mixed. Next, add the crushed corn flakes into the peanut butter mixture and fold gently.
- Step 3: Form Bars. Line a loaf pan with parchment paper, leaving some overhang. Transfer your mixture into the pan, spreading it out evenly. Press down firmly and place the pan in the freezer for at least 1 hour to set.
- Step 4: Cut Bars. Once the mixture is set, carefully remove it from the loaf pan using the parchment overhang. Slice it into 12 equal bars.
- Step 5: Melt Chocolate. In a small microwave-safe bowl, combine chocolate chips and coconut oil. Heat in 30-second intervals until smooth.
- Step 6: Coat Bars. One by one, dip each bar into the melted chocolate, ensuring it's fully coated on all sides, then place the bars on a parchment-lined plate.
- Step 7: Set Coating. Return the bars to the freezer for an additional 10 minutes to allow the chocolate to harden completely.
Leave a Reply