
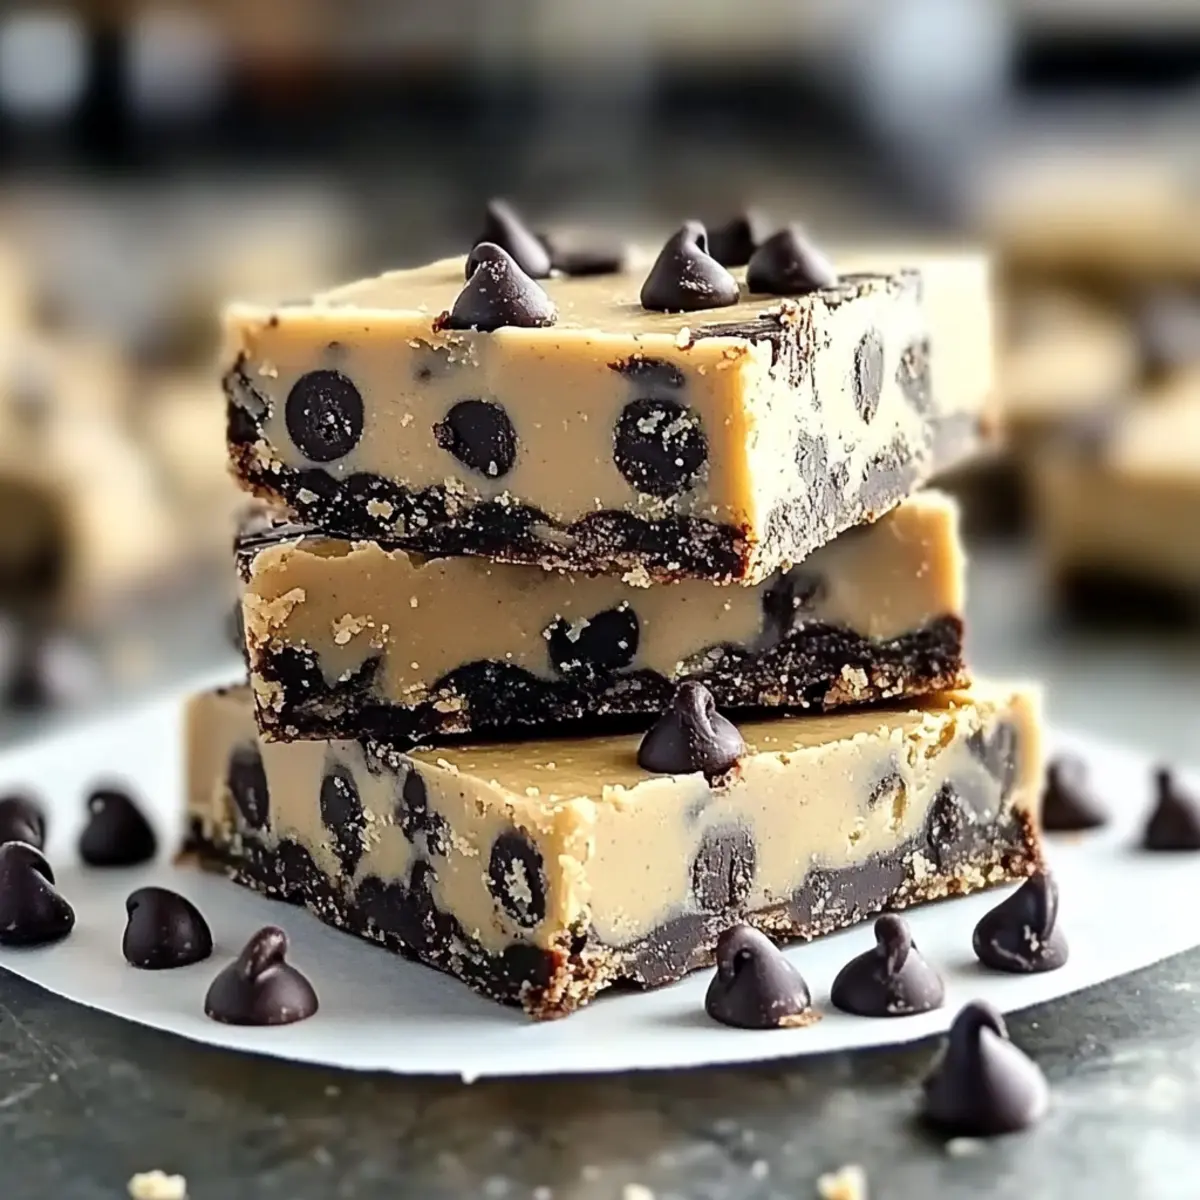
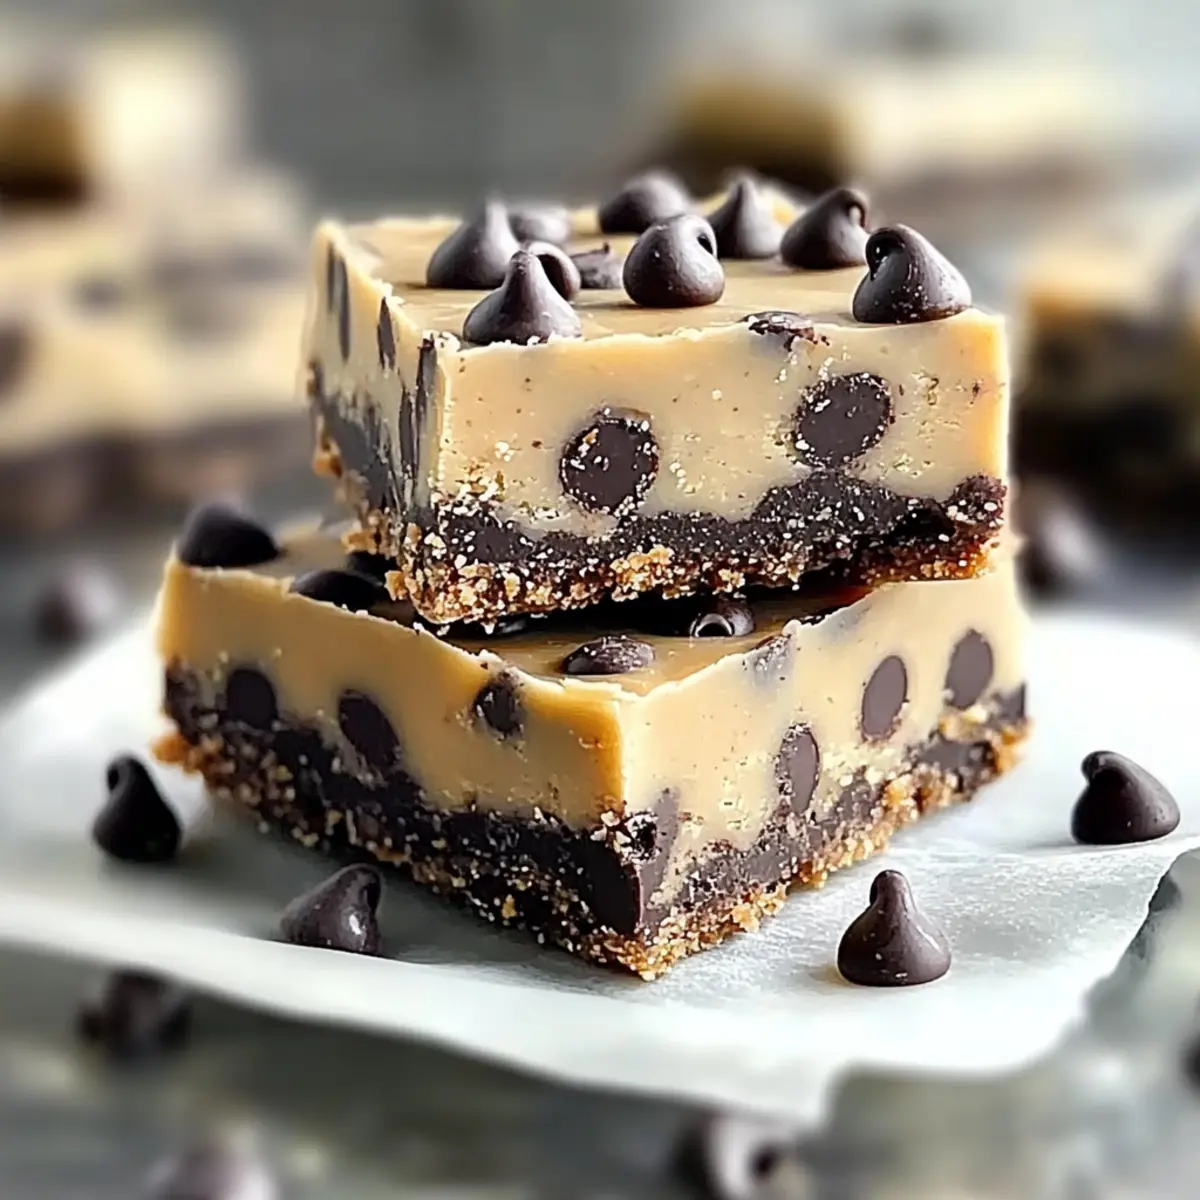
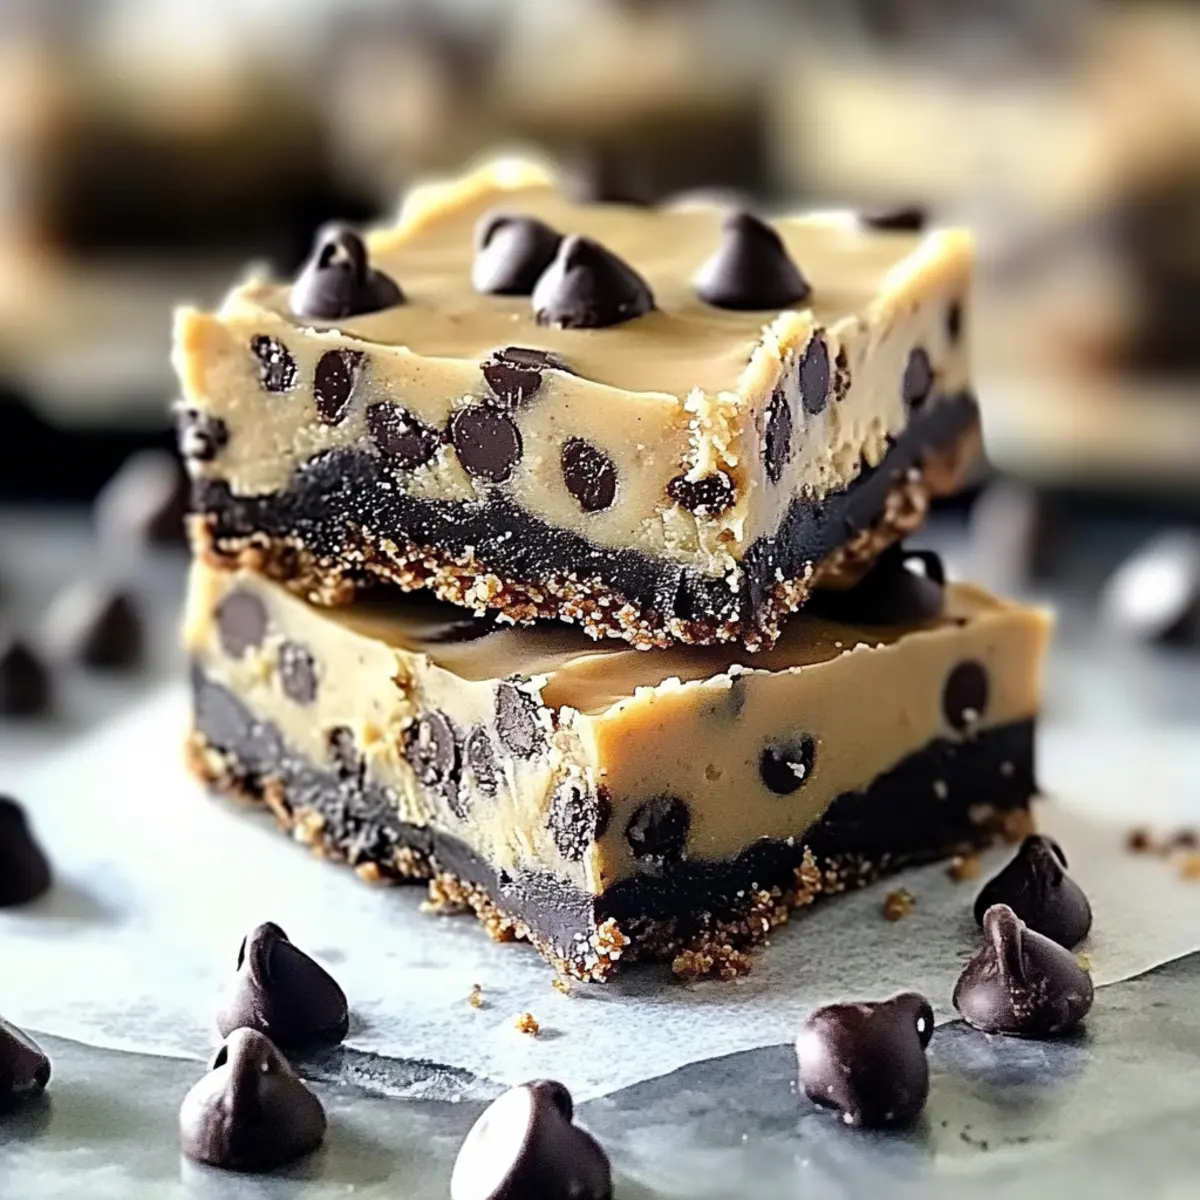
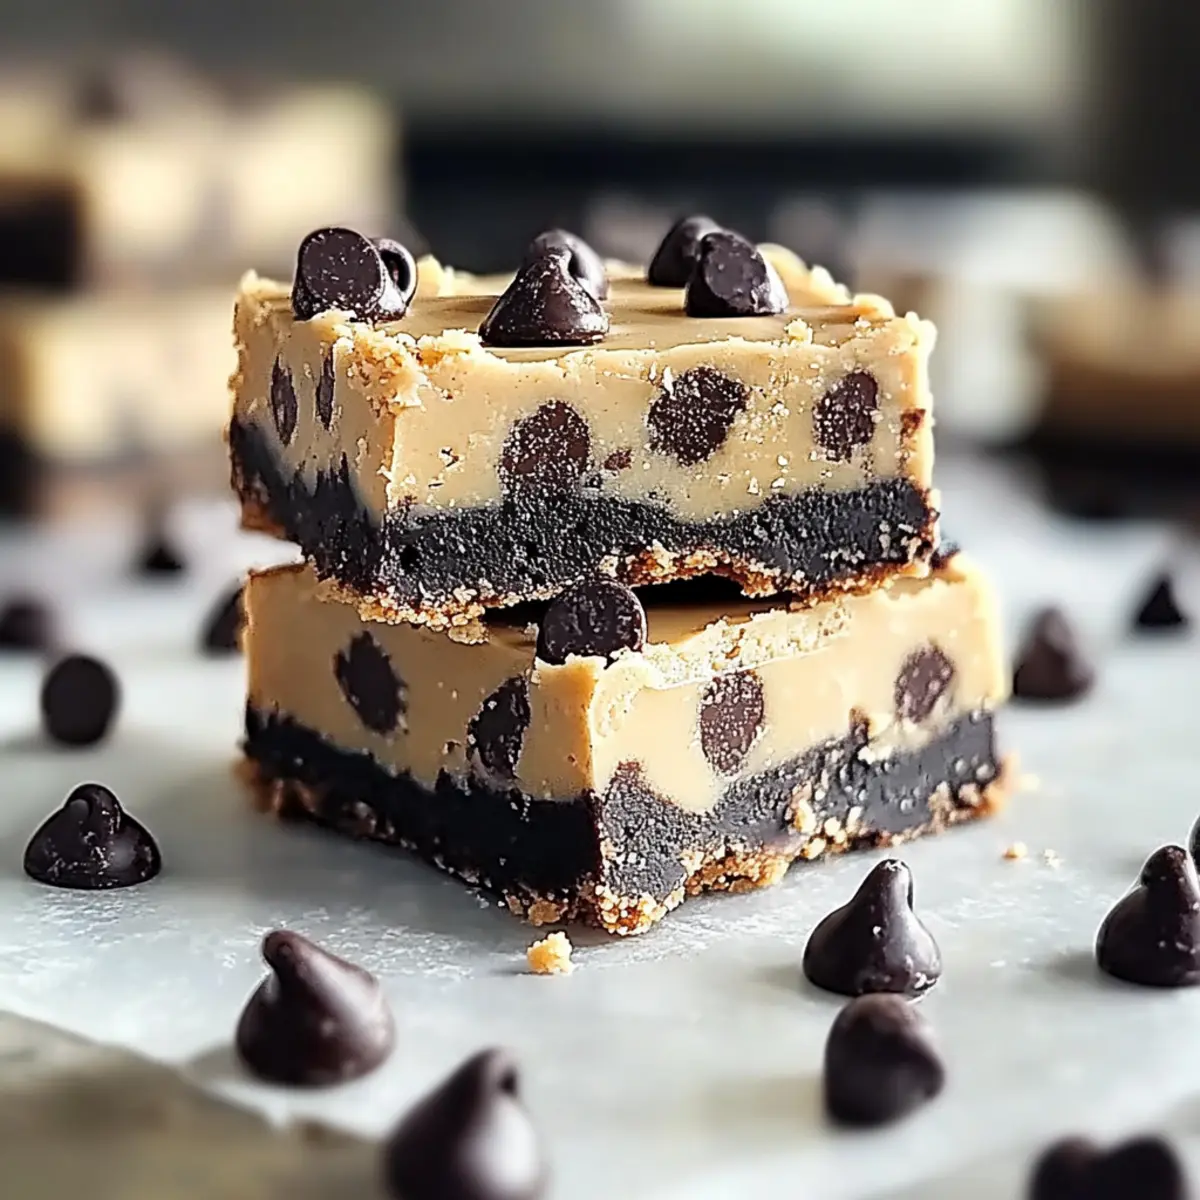
There’s something wonderfully nostalgic about the essence of cookie dough, isn’t there? Those carefree childhood days spent sneaking tasty spoonfuls from the mixing bowl flash in my mind as I whip up a batch of No Bake Cookie Dough Bars. In just 15 minutes, you can create this delightful treat that’s not only quick to make but also incredibly customizable. Whether you want to sneak in some peanut butter or swap out chocolate chips for your favorite nuts, the possibilities are endless! These bars offer a creamy texture that’s both satisfying and comforting, making them a perfect solution for busy evenings or impromptu gatherings. Ready to relive those sweet memories? Let’s dive into making these irresistible no-bake bars!
Why are No Bake Cookie Dough Bars a Must-Try?
Quick preparation: Whip them up in just 15 minutes! They’re ideal for last-minute dessert cravings.
Nostalgic flavor: Relive your childhood with each deliciously creamy bite that tastes just like cookie dough.
Customizable fun: Feel free to mix in peanut butter or your favorite nuts—endless variations await!
Crowd-pleaser: Perfect for parties, these bars will wow family and friends just as easily as a traditional bake.
No baking required: Stay cool in the kitchen and skip the oven—ideal for hot days or busy schedules.
Kid-friendly: Involve the little ones for a fun cooking activity that’ll keep them engaged and excited!
Enjoy these as a delicious snack or dessert, and don’t forget to check out our Storage Tips for lasting freshness!
No Bake Cookie Dough Bar Ingredients
For the Dough
• All-purpose flour – Adds structure to the bars; make sure to heat-treat it to eliminate bacteria.
• Unsalted butter – Provides richness and creaminess; soften it for easy mixing.
• Brown sugar – Contributes to sweetness and moisture; pack it tightly for the best results.
• Granulated sugar – Adds sweetness for a balanced flavor; use a mix with brown sugar for depth.
• Vanilla extract – Infuses a classic cookie dough flavor; opt for pure extract for the best taste.
• Salt – Enhances the overall flavors; a tiny pinch goes a long way.
For Mix-ins
• Mini chocolate chips – Provides delightful bursts of chocolate in every bite; swap with nuts or dried fruit for a fun twist.
• Sweetened condensed milk – Binds the mixture together with moisture and sweetness; consider dairy-free alternatives if needed.
Relive sweet memories with these No Bake Cookie Dough Bars that are not only easy to whip up but also oh-so-customizable!
Step‑by‑Step Instructions for No Bake Cookie Dough Bars
Step 1: Heat-Treat the Flour
In a medium microwave-safe bowl, add your all-purpose flour and microwave it on high for 1 minute. This crucial step kills any bacteria, ensuring the safety of your no-bake cookie dough bars, so let it cool slightly before moving to the next step.
Step 2: Cream the Butter and Sugars
In a large mixing bowl, combine the softened unsalted butter, packed brown sugar, and granulated sugar. Using a hand mixer or spatula, blend these ingredients together until the mixture is smooth, fluffy, and light in color—this should take about 2-3 minutes.
Step 3: Add the Flavorings
Stir in the vanilla extract and a pinch of salt into the creamed butter and sugars. Mix until everything is well incorporated and the aroma of vanilla fills your kitchen, enhancing the nostalgic flavor of your no bake cookie dough bars.
Step 4: Incorporate the Flour
Gradually add the heat-treated flour to your creamy mixture. Using a spatula, gently fold the flour in until just combined, being careful not to overmix; this will help keep the bars soft and chewy for that perfect texture.
Step 5: Fold in Add-ins
Now it’s time to add the fun! Gently fold in the mini chocolate chips and sweetened condensed milk, ensuring everything is well-mixed. You should see little bursts of chocolate throughout your mixture, making your no bake cookie dough bars even more tempting.
Step 6: Prepare to Set
Transfer the mixture to a greased 8×8 inch baking pan, pressing it down evenly. Use a spatula to smooth the top, ensuring there are no air pockets—this step helps the bars hold together beautifully once chilled.
Step 7: Chill the Mixture
Cover the pan with plastic wrap and refrigerate for at least 1 hour, allowing the bars to firm up. This is the perfect time to clean up your workspace and imagine the delicious no bake cookie dough bars that await you!
Storage Tips for No Bake Cookie Dough Bars
Fridge: Store your No Bake Cookie Dough Bars in an airtight container for up to 1 week, ensuring they stay fresh and creamy.
Freezer: For long-term enjoyment, freeze the bars for up to 3 months. Wrap them tightly in plastic wrap before placing them in an airtight freezer bag.
Thawing: To enjoy frozen bars, simply transfer them to the fridge for a few hours beforehand. This preserves their delightful texture and flavor.
Slicing: Cut the bars into squares before freezing for individual servings; this makes it super easy to grab a quick treat whenever the sweet cravings strike!
Make Ahead Options
These No Bake Cookie Dough Bars are perfect for meal prep enthusiasts! You can prepare the mixture and refrigerate it up to 24 hours in advance, ensuring those busy family nights are a breeze. Simply follow the recipe instructions through step 5, then cover the mixture tightly in the baking pan or an airtight container to maintain freshness and prevent any strong odors from the fridge. When you’re ready to enjoy your bars, just press the mixture into the pan and chill it in the fridge for at least 1 hour, as you normally would. This way, you’ll always have a quick, comforting treat ready when sweet cravings strike!
Expert Tips for No Bake Cookie Dough Bars
• Heat-Treat Flour: Always heat-treat the flour to eliminate any harmful bacteria; this crucial step ensures your no bake cookie dough bars are safe to enjoy.
• Avoid Overmixing: Gently mix the flour into the dough until just combined; overmixing could make your bars tough instead of the desired soft and chewy texture.
• Chill Time Matters: Don’t rush the chilling process! Let your mixture set in the fridge for at least 1 hour to achieve the perfect firmness and consistency.
• Customize Wisely: Feel free to substitute mix-ins like chocolate chips with nuts or dried fruit, but be cautious not to overload the mixture to keep the bars cohesive.
• Store Properly: Keep your no bake cookie dough bars in an airtight container in the fridge for up to a week, or freeze them for longer-lasting enjoyment!
No Bake Cookie Dough Bars Variations
Feel inspired to make your No Bake Cookie Dough Bars uniquely yours with these fun twists!
-
Peanut Butter: Add 1/4 cup of creamy peanut butter for a richer, nutty flavor that complements the sweetness beautifully. It’s a delightful surprise that will have everyone asking for seconds!
-
Nutty Delight: Swap out mini chocolate chips with chopped nuts like walnuts or pecans for an added crunch that contrasts the creamy texture. The nutty flavor brings an earthy richness, making each bite even more satisfying.
-
Dried Fruit: Substitute chocolate chips with your favorite dried fruit like cranberries or raisins. This option adds a chewy, fruity surprise that perfectly balances the sweetness, and it’s like a little burst of sunshine in each bar!
-
Dairy-Free: For a dairy-free version, replace sweetened condensed milk with coconut cream or a homemade nut milk alternative. You’ll still enjoy that creamy consistency without the dairy, making it suitable for a wider range of dietary needs.
-
Flavor Boost: Mix in a teaspoon of almond extract or a dash of cinnamon for a warm, aromatic twist that elevates the flavor profile. A touch of spice can make a familiar treat feel like a new indulgence.
-
Mini Chocolate Chips: Try using dark chocolate or white chocolate chips instead of regular mini chocolate chips for a different flavor experience. Each variety brings its own unique taste to these bars, allowing you to customize the sweetness to your liking.
-
Spicy Kick: For those who enjoy a little heat, incorporating a sprinkle of cayenne or chili powder can give an unexpected twist to your bars. This spicy addition creates a remarkable contrast with the sweetness, adding depth and intrigue.
Explore these variations to elevate your No Bake Cookie Dough Bars! Don’t forget—when making these delightful treats, you can always check out our handy Storage Tips or consider serving them alongside a scoop of ice cream for an even more indulgent experience!
What to Serve with No Bake Cookie Dough Bars
Pair your delightful creation with tasty companions that elevate every bite into a full experience.
-
Vanilla Ice Cream: A scoop of creamy vanilla ice cream adds a delightful contrast to the sweetness and richness of the bars. The smooth creaminess is the perfect counterpoint to the chewy texture.
-
Fresh Berries: Ripe strawberries or blueberries bring a burst of freshness and tartness, balancing the sweetness of the cookie dough. Plus, their vibrant colors make your dessert plate pop!
-
Nutty Granola: Crunchy granola sprinkled on top offers an exciting texture contrast. The nuttiness complements the chocolate and adds a wholesome element to your indulgent dessert.
-
Chocolate Sauce Drizzle: A generous drizzle of rich chocolate sauce enhances the chocolatey goodness, creating a decadent treat for chocolate lovers everywhere.
-
Chilled Milk: A classic pairing, a glass of cold milk is the ultimate companion to these bars. Sip while indulging for a nostalgic twist that takes you back to childhood.
-
Coffee or Espresso: For a more sophisticated take, serve your bars alongside a cup of coffee or a shot of espresso. The bitterness of coffee enhances the sweetness, perfect for adult gatherings.
-
Whipped Cream Topping: Light and airy whipped cream adds an elegant touch to serve atop the bars. It enhances the overall creaminess, making every bite feel indulgent.
Transform your No Bake Cookie Dough Bars into a fully satisfying experience with these delightful pairings!
No Bake Cookie Dough Bars Recipe FAQs
How do I know if my ingredients are fresh?
Absolutely! For the best flavor, start with fresh ingredients. Check the all-purpose flour for any off-smells or visible clumps—if there are dark spots all over, it’s best to replace it. Make sure your butter is soft but not melted to ensure easy mixing and optimal flavor in your No Bake Cookie Dough Bars.
What’s the best way to store No Bake Cookie Dough Bars?
Very easy! Store your No Bake Cookie Dough Bars in an airtight container in the fridge for up to 1 week. If you want to keep them longer, freeze them for up to 3 months. Just make sure to wrap them tightly in plastic wrap before placing them in a freezer bag to prevent freezer burn.
Can I freeze No Bake Cookie Dough Bars?
You bet! To freeze your No Bake Cookie Dough Bars, first slice them into squares. Wrap each piece in plastic wrap and place them in an airtight container or freezer bag. This way, you can grab a quick treat whenever a sweet craving hits! When you’re ready to enjoy, just transfer them to the fridge for a few hours to thaw.
What should I do if my bars are too crumbly?
If your No Bake Cookie Dough Bars are crumbly, it might be due to insufficient moisture or not enough mixing. To fix this, you can gently fold in a bit more sweetened condensed milk until the mixture holds together better. Remember, be cautious not to over-mix, as this can affect the texture.
Are there any dietary considerations to keep in mind?
Absolutely! If you have dairy allergies, consider using a dairy-free sweetened condensed milk or coconut cream as a substitute. Additionally, if you’re serving these bars to children or pets, ensure they don’t have any allergies to chocolate or nuts. Always check labels for unexpected allergens!
Can I substitute the sugars in the recipe?
Very much! You can substitute granulated sugar with coconut sugar for a less refined option, but keep in mind it will change the flavor profile slightly. For brown sugar, you could use a mixture of molasses and white sugar if you’re out. Just remember, the sweetness level may differ slightly!
No Bake Cookie Dough Bars: Your Quick, Creamy Delight
Ingredients
Equipment
Method
- In a medium microwave-safe bowl, add your all-purpose flour and microwave it on high for 1 minute. Let it cool slightly before moving to the next step.
- In a large mixing bowl, combine the softened unsalted butter, packed brown sugar, and granulated sugar. Blend until smooth and fluffy, about 2-3 minutes.
- Stir in the vanilla extract and a pinch of salt until well incorporated.
- Gradually fold in the heat-treated flour until just combined. Be careful not to overmix.
- Gently fold in the mini chocolate chips and sweetened condensed milk until well-mixed.
- Transfer the mixture to a greased 8x8 inch baking pan, pressing down evenly and smoothing the top.
- Cover the pan with plastic wrap and refrigerate for at least 1 hour to firm up.
Leave a Reply