
As the world outside cools down and twinkling lights begin to adorn our homes, there’s nothing quite like the comforting aroma of freshly baked Danish Butter Cookies filling the air. These delightful treats have a rich, buttery flavor that practically melts in your mouth, making them an irresistible choice for holiday gatherings or thoughtful gifting. Best of all, this recipe requires just seven simple ingredients, ensuring you can whip them up with ease—even on the busiest days! Whether you’re looking to impress guests or indulge in a sweet moment with loved ones, these cookies are your go-to solution. Ready to learn the secret to creating these lovely little bites of joy? Let’s dive in!
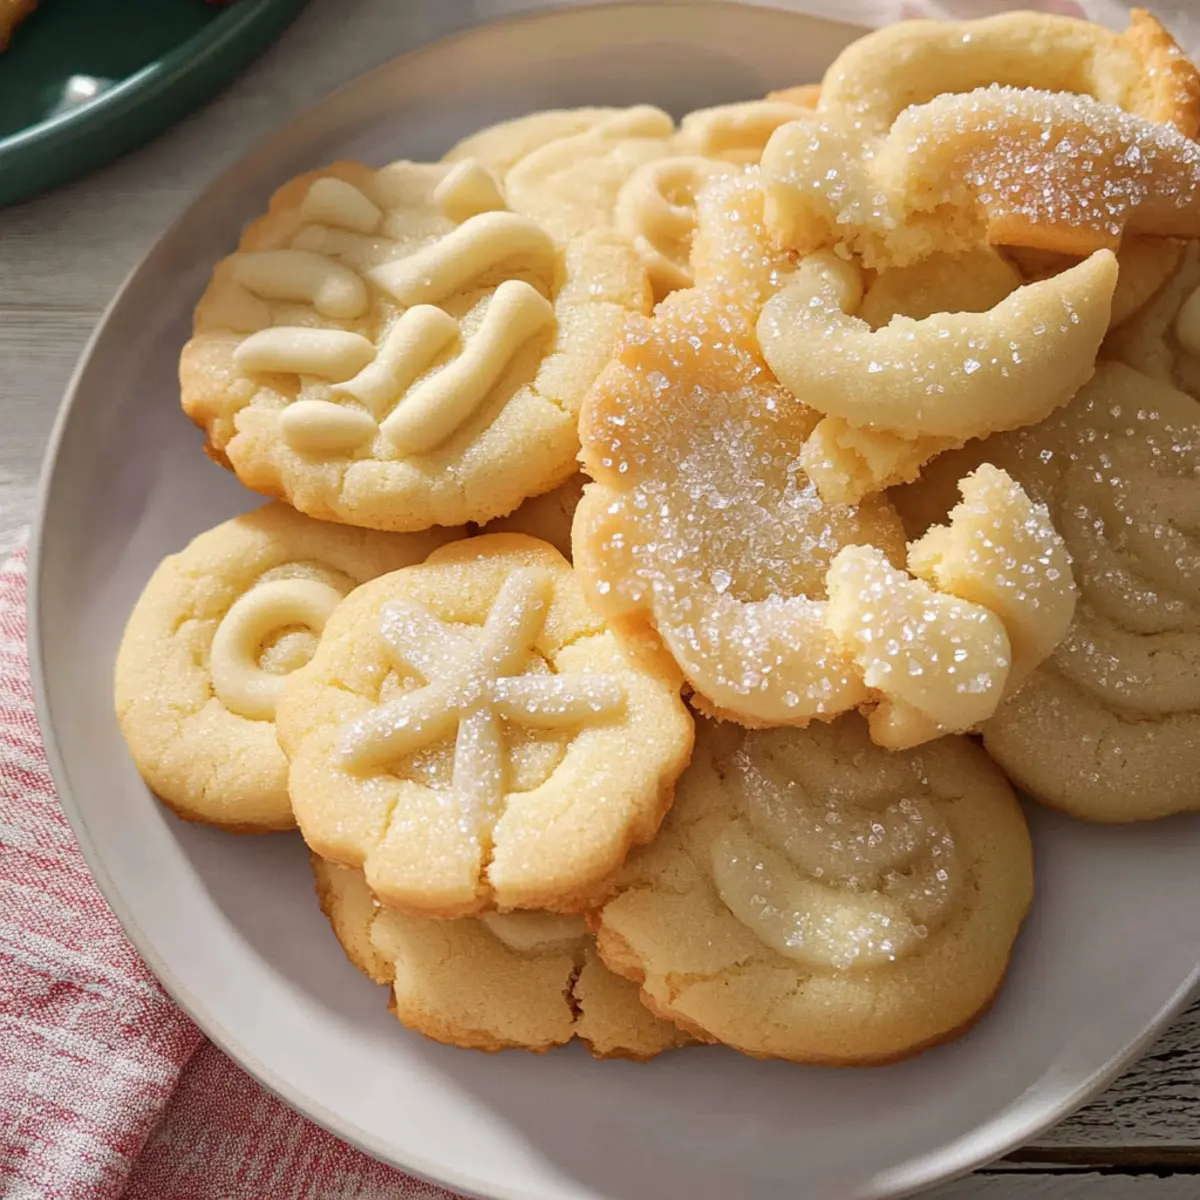
Why are Danish Butter Cookies special?
Simplicity: With only seven ingredients, these cookies are incredibly easy to make, perfect for both novice bakers and seasoned chefs alike.
Melt-in-Your-Mouth Texture: Each bite reveals a buttery, crumbly delight, reminiscent of your favorite holiday treats.
Versatile for Gifting: Ideal for special occasions, these cookies make wonderful gifts, bringing smiles to friends and family.
Personal Touch: Customize the flavor by swapping vanilla for almond extract or adding festive sprinkles for a splash of holiday cheer!
Quick Preparation: From mixing to baking, you can whip these up in no time, making them an effortless addition to your holiday menu.
Nostalgic Appeal: Remind yourself of cherished memories with these delightful cookies that evoke the warmth of home and the spirit of the season.
Danish Butter Cookies Ingredients
For the Cookie Dough
• European Salted Butter – Provides rich flavor and contributes to a melt-in-mouth texture; substitute with unsalted butter and add 1/4 teaspoon of salt for balance.
• Granulated Sugar – Adds sweetness and helps achieve a light texture when creamed with the butter.
• Salt – Enhances all flavors; use fine sea salt for best results to complement the Danish Butter Cookies.
• Egg Yolks – Provide richness and moisture, contributing to the cookie’s tender crumb.
• Vanilla Extract – Adds warm, sweet flavor; opt for pure vanilla for the best taste.
• Whole Milk – Adjusts consistency for piping; increase if batter is too thick for perfect shapes.
• All-Purpose Flour – Forms the cookie structure; measure accurately to avoid tough cookies.
• Cake Flour – Provides a lighter texture; can be replaced with additional all-purpose flour if necessary.
For Decoration
• Coarse Sugar – For decorating; it adds a crunch and a touch of sparkle that makes these cookies visually delightful.
Step‑by‑Step Instructions for Melt-in-Your-Mouth Danish Butter Cookies
Step 1: Chill the Baking Sheet
Begin by placing a baking sheet in the refrigerator to chill while you prepare your cookie dough. This will help the cookies maintain their shape during baking. Line the chilled sheet with parchment paper for easy removal of the Danish Butter Cookies after baking.
Step 2: Cream the Butter and Sugar
In a stand mixer, add room temperature European salted butter. Cream it on medium speed until it becomes smooth and creamy, approximately 2-3 minutes. Gradually incorporate granulated sugar and fine sea salt, mixing until the mixture is light and fluffy, which should take another 2-3 minutes.
Step 3: Add Wet Ingredients
Once the mixture is fluffy, add in the egg yolks, vanilla extract, and whole milk. Mix on low speed until all ingredients are thoroughly combined and the batter is smooth. This will ensure your Melt-in-Your-Mouth Danish Butter Cookies have a lovely depth of flavor and richness.
Step 4: Mix the Flour
In a separate bowl, whisk together the all-purpose flour and cake flour until well combined. Gradually add this dry mixture to the wet batter, mixing gently on low speed until no streaks of flour are visible. Be careful not to overmix, as this can affect the cookie’s texture.
Step 5: Prepare for Piping
Transfer the cookie dough into a piping bag fitted with a star tip, which will give your Danish Butter Cookies their signature shape. Pipe 2-inch rosettes, circles, or pretzels onto the prepared baking sheet. Chill the piped cookies in the refrigerator for 20-30 minutes to help them hold their shape during baking.
Step 6: Bake the Cookies
Preheat your oven to 350°F (175°C) while the piped dough is chilling. Bake the Danish Butter Cookies for 10-15 minutes, or until the edges are lightly golden. Keep an eye on them, as baking time may vary depending on your oven.
Step 7: Cooling the Cookies
Once baked, allow the cookies to cool on the baking sheet for about 5 minutes. This helps them firm up a bit before you gently transfer them to a wire rack to cool completely. Enjoy the delightful aroma of your freshly baked Melt-in-Your-Mouth Danish Butter Cookies!
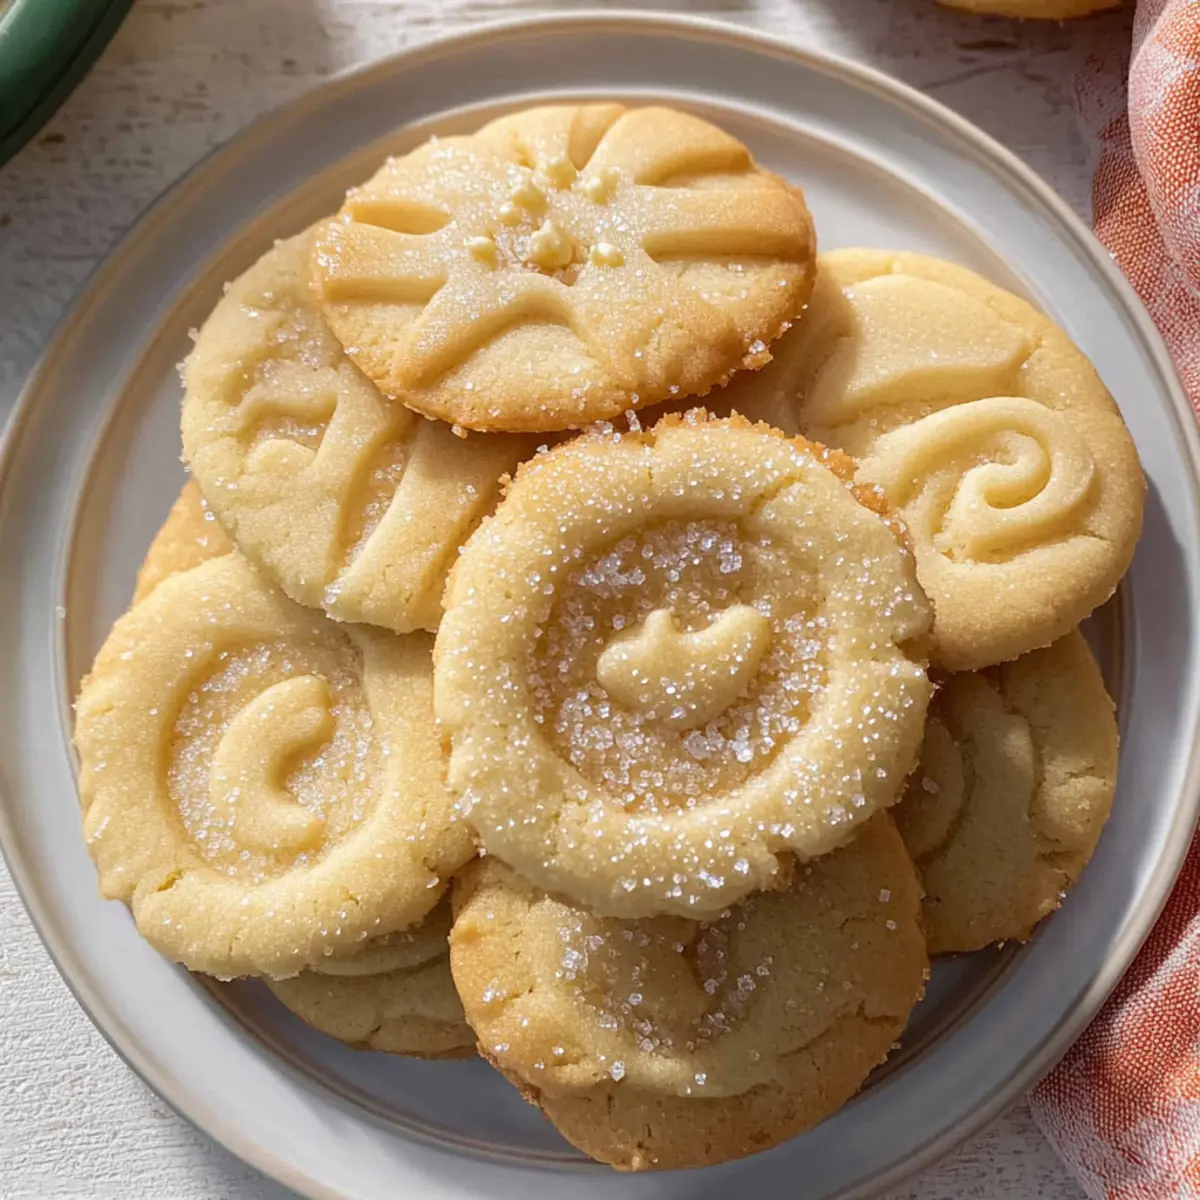
What to Serve with Melt-in-Your-Mouth Danish Butter Cookies
As these cookies fill your kitchen with their comforting aroma, you may wonder what delightful pairings can elevate your dessert experience.
- Rich Hot Chocolate: A warm cup of hot chocolate perfectly complements the buttery flavors with its creamy sweetness.
- Fresh Berries: Serve strawberries or raspberries for a tart contrast, enhancing the sweetness of the cookies.
- Vanilla Ice Cream: A scoop of vanilla ice cream on the side adds a delightful creaminess and makes every bite indulgent.
- Coffee: The deep, robust flavors of a freshly brewed coffee balance the sweetness, creating an unforgettable pairing.
- Cheese Platter: A mix of mild cheeses can enrich your dessert spread, providing a savory contrast to the sugary cookies.
- Spiced Chai: The warming spices of chai tea blend beautifully with the buttery notes, inviting a comforting and fragrant experience.
- Citrus Salad: A light citrus salad brings a refreshing brightness that balances the richness of the cookies, perfect for festive gatherings.
- Eggnog: Celebrate the season with a glass of creamy eggnog alongside your cookies, making each bite feel like a treat.
- Chocolate Truffles: Add another layer of sweetness with luxurious chocolate truffles, making for a rich dessert indulgence.
Danish Butter Cookies Variations
Embrace your creativity and transform these delightful cookies into something uniquely yours with these tempting variations!
-
Almond Extract: Swap vanilla for almond extract to introduce a nutty depth that’ll surprise your taste buds.
This subtle change can add a lovely aromatic twist, perfect for special occasions! -
Citrus Zest: Add a teaspoon of lemon or orange zest to the dough for a refreshing zing.
This bright addition brings a delightful contrast to the rich buttery flavor, making it an instant favorite. -
Chocolate Chips: Fold in mini chocolate chips for a sweet surprise in every bite.
The melty chocolate adds a deliciously gooey texture, perfect for chocolate lovers! -
Nutty Crunch: Sprinkle chopped pecans or walnuts on top before baking for added texture and flavor.
The delightful crunch complements the crumbly cookie beautifully, creating a delightful contrast. -
Spiced Twist: Incorporate a pinch of cinnamon or nutmeg for a warm spice note.
Especially during the holidays, these spices can envelop your kitchen in inviting aromas. -
Decorative Glaze: Drizzle a simple icing made from powdered sugar and milk once the cookies cool.
A dash of color and sweetness can elevate the cookies’ visual appeal and add an extra layer of flavor! -
Coarse Sugar Variations: Try using colored sugar or finely crushed candy canes for a festive touch.
This little touch not only adds sweetness but makes your cookies sparkle with holiday cheer.
Make sure to check out our guide on freezing baked cookies to ensure your creations stay fresh and ready for sharing! Whether you’re tailing flavors or textures, each tweak adds warmth to these already delightful treats. Enjoy your baking adventure!
Make Ahead Options
These Melt-in-Your-Mouth Danish Butter Cookies are perfect for meal prep, allowing you to enjoy homemade treats even on your busiest days! You can pipe the cookie shapes up to 24 hours in advance and refrigerate them, covered with plastic wrap to prevent drying out. If you’re looking for even more flexibility, the unbaked dough can also be frozen for up to 3 months. When you’re ready to bake, simply preheat your oven and bake the cookies from frozen for an extra minute or two. This makes it easy to impress family and friends while ensuring your cookies are just as delicious as when freshly made!
How to Store and Freeze Danish Butter Cookies
Airtight Container: Store baked Danish Butter Cookies in an airtight container at room temperature for up to 5 days, keeping them fresh and delicious.
Freezing Baked Cookies: For longer storage, freeze the cookies in a single layer, then transfer to an airtight container for up to 3 months. Thaw at room temperature before enjoying.
Freezing Dough: Unbaked cookie dough can be frozen for 2-3 months. Shape the cookies, place on a baking sheet, freeze until firm, then store in an airtight bag—bake directly from the freezer when ready.
Reheating Tips: If you’ve frozen your baked cookies, reheat them in a 300°F oven for about 5-7 minutes to restore their delightful textures.
Expert Tips for Danish Butter Cookies
-
Room Temperature Ingredients: Ensure your butter, eggs, and milk are at room temperature for smooth mixing and that melt-in-your-mouth texture.
-
Accurate Measurements: Use a kitchen scale or precise measuring cups for flour to avoid tough Danish Butter Cookies; too much flour can lead to dryness.
-
Gentle Mixing: Mix just until combined after adding flour. Overmixing develops gluten, which can result in cookies that are tough rather than tender.
-
Chill for Perfection: Chill the piped dough for at least 20-30 minutes to prevent spreading during baking; this helps maintain the beautiful shapes.
-
Watch the Oven: Since baking times can vary, stay close to the oven and look for very light browning on the edges to avoid overbaking.

Danish Butter Cookies Recipe FAQs
How do I select the right butter for Danish Butter Cookies?
Absolutely! For the best flavor, I recommend using European salted butter, which enhances the cookies’ richness and lends a melt-in-your-mouth texture. If you prefer unsalted butter, you can safely substitute it, just add an extra 1/4 teaspoon of salt to maintain balance.
What is the best way to store baked Danish Butter Cookies?
To keep your cookies fresh, store them in an airtight container at room temperature for up to 5 days. This method preserves their delightful texture and taste, ensuring they remain a treat for everyone who enjoys them!
Can I freeze Danish Butter Cookies?
Yes, you can! Freeze baked Danish Butter Cookies in a single layer first, then keep them in an airtight container for up to 3 months. When you’re ready to indulge, simply thaw them at room temperature, and they’ll regain their charm. If you’ve made unbaked dough, shape the cookies, freeze them until firm, and then store in an airtight bag—ready to bake straight from the freezer!
What should I do if my cookie dough is too thick?
Very well! If your dough is too thick for piping, simply add a little more whole milk, a tablespoon at a time, until you reach the desired consistency. This adjustment will make it easier to pipe and shape your cookies without compromising their texture.
Are Danish Butter Cookies suitable for people with allergies?
Absolutely! Keep in mind that these cookies contain common allergens like eggs and gluten. For those with egg allergies, you can experiment with flax eggs or aquafaba as egg substitutes to retain moisture. Always double-check ingredients against individual dietary restrictions, as butter alternatives may also be necessary.
How will I know when my Danish Butter Cookies are done baking?
The more the merrier! A good rule of thumb is to look for very light browning on the edges of your cookies, which usually occurs after about 10-15 minutes in the oven. Since baking times can vary by oven, keeping a close eye on them during the final minutes is a great habit to ensure perfect results!
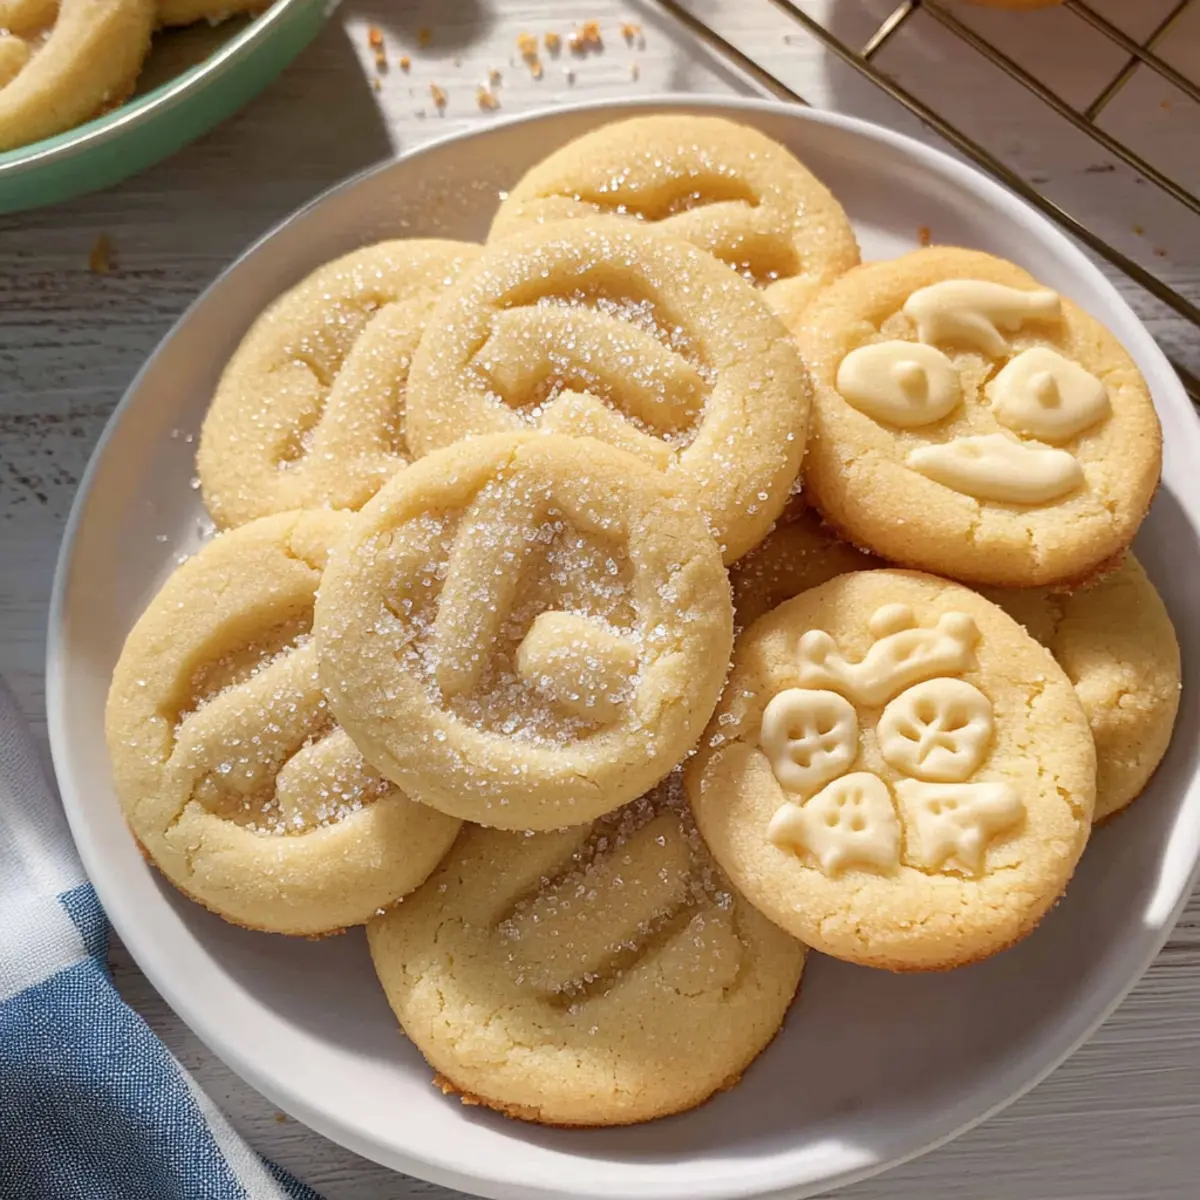
Melt-in-Your-Mouth Danish Butter Cookies for Holiday Joy
Ingredients
Equipment
Method
- Chill the baking sheet in the refrigerator while preparing the cookie dough.
- Cream room temperature European salted butter in a stand mixer until smooth, then add granulated sugar and salt until fluffy.
- Add egg yolks, vanilla extract, and whole milk to the mixture and mix until combined.
- Whisk together all-purpose flour and cake flour in a separate bowl, then gradually add to the wet mixture until just combined.
- Transfer the dough into a piping bag and pipe 2-inch shapes onto the chilled baking sheet. Chill again for 20-30 minutes.
- Preheat the oven to 350°F (175°C) and bake for 10-15 minutes until edges are lightly golden.
- Cool on the baking sheet for 5 minutes before transferring to a wire rack to cool completely.
Leave a Reply