
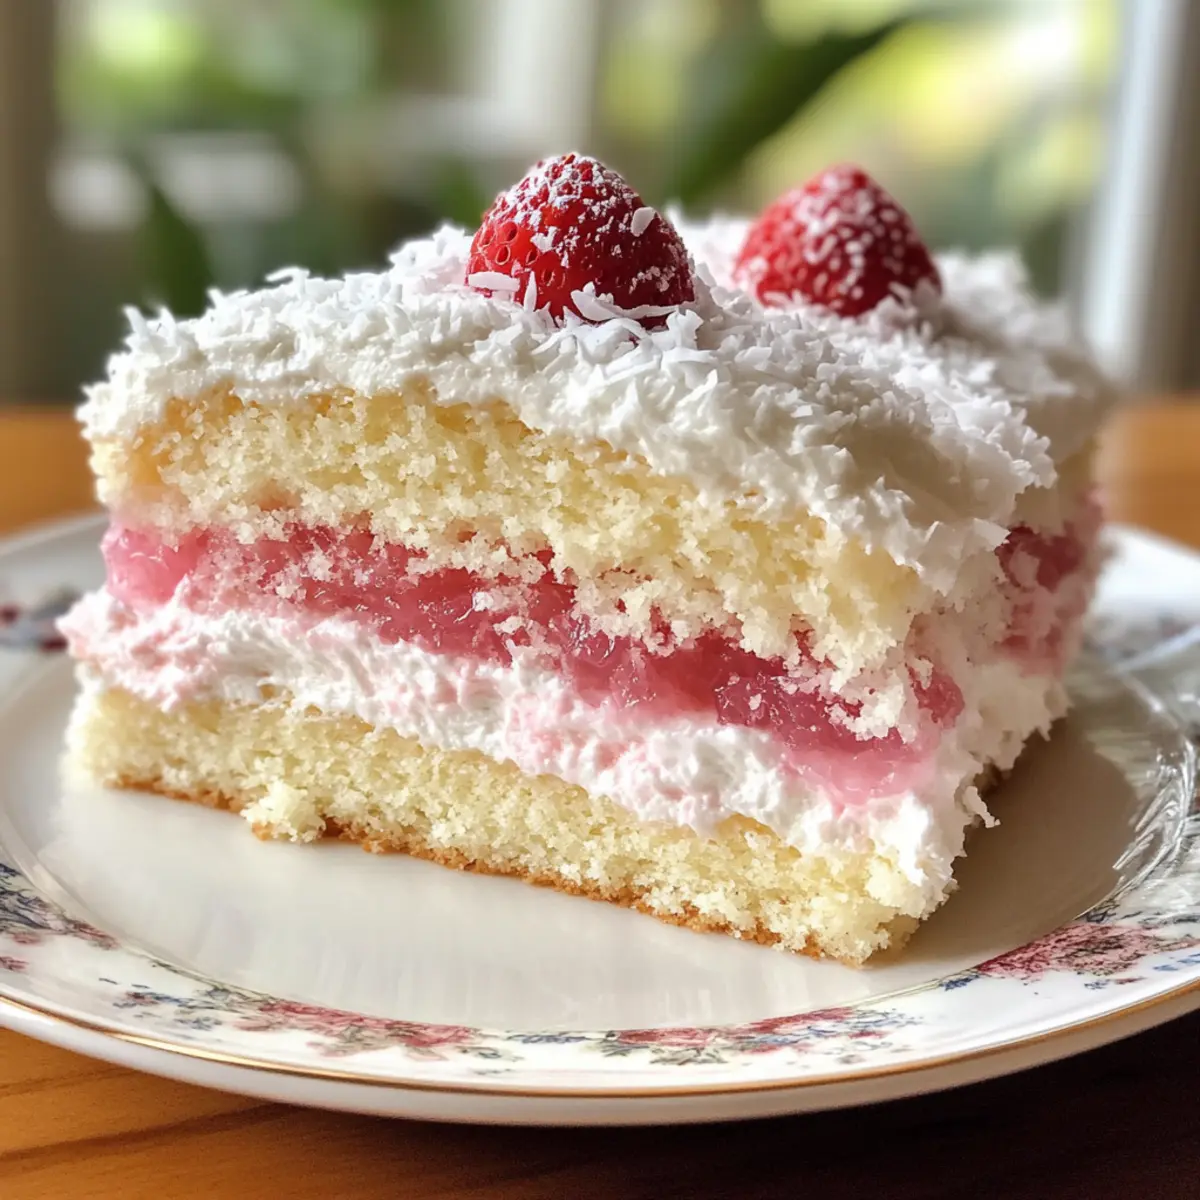
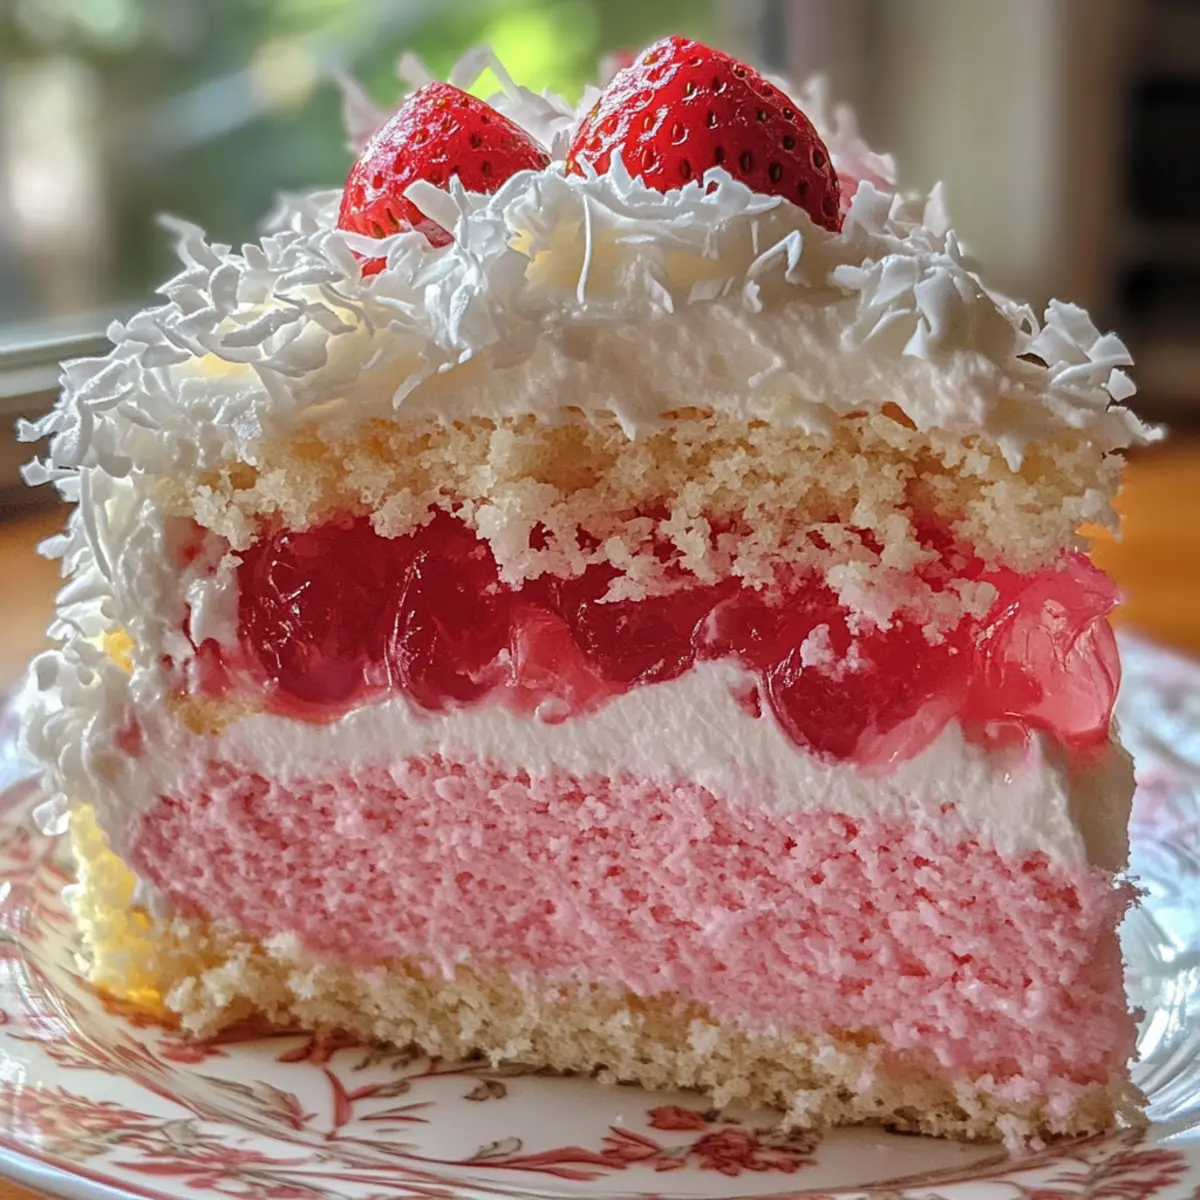
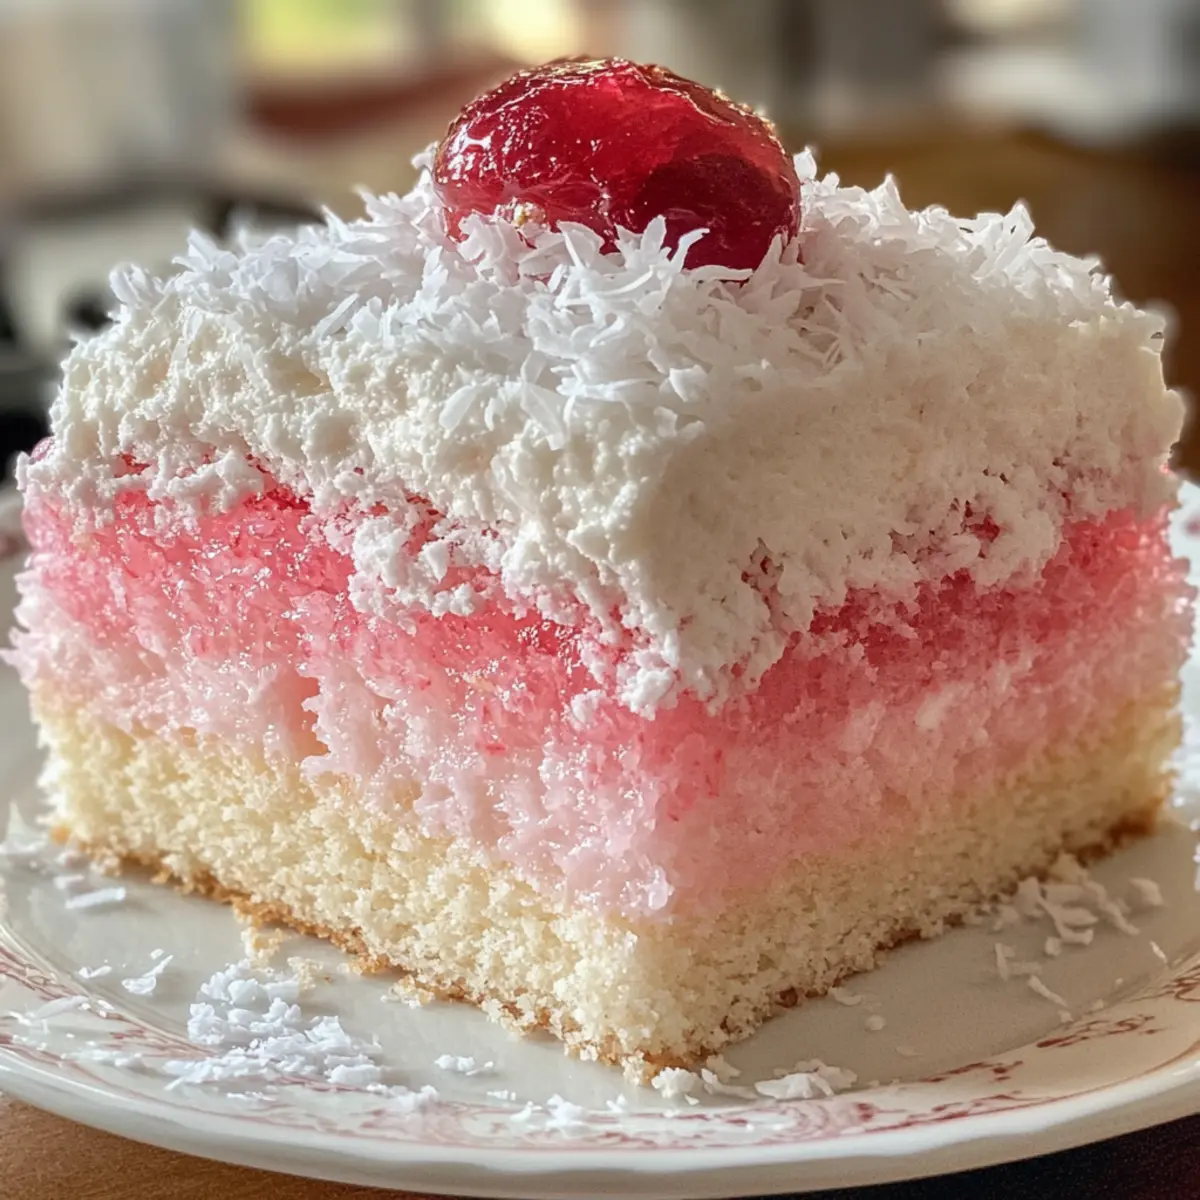
As I opened the door to my grandmother’s kitchen, I was greeted by the sweet aroma of freshly baked cakes and the joyful chatter of family gathering around. That warmth takes me straight back to afternoons spent savoring Old-Fashioned Pink Jelly Cakes, the quintessential Australian delight. This delightful recipe combines soft vanilla sponge with tangy strawberry jelly, enrobed in crunchy desiccated coconut and complemented by a luscious whipped cream filling. Not only is it a crowd-pleaser perfect for parties or tea time, but it also brings a touch of nostalgia that warms the heart. The beauty of these cakes lies in their versatility—feel free to swap the flavors of jelly for a delightful twist. As you prepare to recreate this delightful treat, I invite you to join me on this culinary journey that’s sure to evoke fond memories and smiles. What flavor of jelly would bring you back to those special moments?
Why Are These Cakes So Irresistible?
Nostalgic Charm: The Old-Fashioned Pink Jelly Cakes evoke sweet memories of childhood and gatherings, making them a beloved treat for all ages.
Delightfully Simple: With a few simple ingredients, you can recreate this classic dessert without any fuss.
Flavor Flexibility: While the recipe calls for strawberry jelly, you can easily experiment with flavors like raspberry or orange to suit your taste!
Appealing Texture: Enjoy the contrast of a fluffy sponge, creamy whipped filling, and crunchy coconut coating—each bite is a delightful experience.
Perfect for Any Gathering: These cakes bring a sense of joy and nostalgia to parties, afternoon teas, or dessert tables, making them a true crowd-pleaser.
Healthier Option: If you prefer a lighter dessert, feel free to skip the whipped cream and use unsweetened coconut. Perfect for a vegetarian diet!
Old-Fashioned Pink Jelly Cakes Ingredients
For the Sponge Cake
- Vanilla Sponge Cake – The soft, airy foundation for your jelly cakes; store-bought options work if you’re short on time.
For the Jelly
- Strawberry Jelly – Infuses the cakes with sweetness and that vibrant pink hue; raspberry, orange, or passionfruit jelly are great alternatives too.
For the Coating
- Desiccated Coconut – Adds a delightful crunch and visual appeal; opt for unsweetened coconut if you’re looking for a healthier choice.
For the Filling
- Whipped Cream – Provides rich creaminess to balance the flavors; using real whipped cream dramatically enhances taste, but you can skip it for a lighter version.
Step‑by‑Step Instructions for Old-Fashioned Pink Jelly Cakes
Step 1: Prepare the Sponge Cake
Begin by preheating your oven to 350°F (175°C). Grease and line a baking pan with parchment paper. Whip together eggs and sugar until light and fluffy, then fold in flour and vanilla essence gently. Pour the batter into the prepared pan and bake for about 25-30 minutes or until golden and a toothpick comes out clean. Once baked, let the sponge cake cool completely on a wire rack.
Step 2: Slice the Cake
Once the sponge has completely cooled, carefully remove it from the pan. Using a sharp knife, slice the sponge into even squares, approximately 2 inches in size. Ensure each piece is uniform to make the assembly easier and ensure even coverage with jelly and cream. Lay the slices out on a clean work surface for the next steps.
Step 3: Dip in Jelly
In a shallow bowl, prepare your strawberry jelly, ensuring it’s slightly thickened for better coating. One by one, dip each piece of sponge cake into the jelly, turning to coat all sides thoroughly. Allow any excess jelly to drip off, ensuring a nice, even coating. The cake should take on a vibrant pink hue, resembling the classic Old-Fashioned Pink Jelly Cakes.
Step 4: Coat in Coconut
Next, prepare a plate with the desiccated coconut. Carefully roll each jelly-coated sponge piece in the coconut, pressing gently to ensure an even and generous coating. This will add a wonderful crunch and enhance the nostalgic appeal of your cakes. Set the coconut-coated pieces aside on a clean plate as you continue.
Step 5: Assemble the Cakes
Now it’s time to sandwich those delightful sponge squares with whipped cream. Place one jelly-coated piece on a plate and add a generous dollop of whipped cream on top. Cap it with another jelly-coated sponge square, gently pressing down to create a sandwich. Repeat this process until all pieces are assembled, making a beautiful arrangement.
Step 6: Chill and Set
To allow the flavors to meld beautifully, cover the assembled Old-Fashioned Pink Jelly Cakes with plastic wrap and refrigerate for at least 30 minutes. This chilling step will help the jelly set and the whipped cream firm up slightly, making the cakes easier to handle and enhancing their delightful soft texture. Enjoy the anticipation as they chill!
Old-Fashioned Pink Jelly Cakes Variations
Feel free to make these delightful cakes your own by exploring some tasty twists and substitutions.
- Dairy-Free: Use coconut cream instead of whipped cream for a luscious filling that complements the coconut coating beautifully.
- Jelly Flavor Swap: Try raspberry, orange, or passionfruit jelly for a different fruity kick that still delivers that nostalgic charm.
- Gluten-Free: Substitute regular flour with a gluten-free blend to cater to dietary needs without compromising taste or texture.
- Lightened-Up Version: Skip the whipped cream or use a whipped yogurt alternative for a fresher, lighter take on this classic treat.
- Coconut Alternatives: Use finely chopped nuts—like almonds or pecans—instead of coconut for a crunchy variation that adds a new flavor dimension.
- Mini Size: Bake the sponge in muffin tins for bite-sized versions, perfect for parties and gatherings. These mini cakes will be equally delightful!
- Extra Crunch: Incorporate crushed biscuits or cookies into the desiccated coconut for a surprising crunch that will elevate each bite.
- Heat It Up: Add a pinch of chili powder or cayenne to the jelly for a sweet-and-spicy twist that tantalizes the taste buds.
Each variation invites creativity, encouraging you to experiment and discover your favorite ways to enjoy these lovely treats. For a couple of delicious ideas, check out my recipe for Fruit Flavored Whipped Yogurt that pairs perfectly with these cakes. And if you crave something a bit zestier, consider adding a touch of coconut curry to your dessert table for an exotic flair!
Make Ahead Options
These Old-Fashioned Pink Jelly Cakes are perfect for meal prep, allowing you to savor their delightful taste without the last-minute rush. You can prepare the vanilla sponge cake up to 24 hours in advance; simply bake it, cool it completely, and store it in an airtight container at room temperature. Additionally, the jelly can be set a day ahead, ensuring it’s ready for dipping. Once you’re set to serve, slice the sponge, dip it in jelly, coat with coconut, and assemble with whipped cream, then refrigerate for at least 30 minutes. This pre-prepared approach guarantees that your cakes will remain just as delicious and charming, making busy weeknights feel more manageable!
What to Serve with Old-Fashioned Pink Jelly Cakes?
As you prepare to indulge in these nostalgic treats, consider rounding out your gathering with delightful pairings that elevate the experience.
-
Fresh Berries: Plump, juicy strawberries or raspberries add a refreshing burst of flavor and enhance the cakes’ vintage charm.
-
Fluffy Vanilla Ice Cream: The creamy, cold ice cream pairs beautifully with the soft texture of the jelly cakes, creating a heavenly contrast that delights the senses.
-
Citrus Salad: A vibrant mix of orange and grapefruit segments topped with a drizzle of honey offers a zesty counterpoint to the sweetness of the cakes.
-
Elderflower Cordial: This fragrant, floral beverage offers a light, refreshing taste that complements the soft flavors of the jelly cakes, ideal for afternoon tea.
-
Chocolate Ganache Drizzle: A rich chocolate sauce drizzled on top adds a decadent twist, creating an enticing balance of flavors.
-
Mint Tea: The soothing aroma and light flavor of mint tea provides a comforting touch to the dessert, making it perfect for cozy gatherings.
Think about how these pairings not only elevate the Old-Fashioned Pink Jelly Cakes but also create a warm, inviting atmosphere for family and friends to share delightful moments.
How to Store and Freeze Old-Fashioned Pink Jelly Cakes
Fridge: Store your Old-Fashioned Pink Jelly Cakes in an airtight container in the refrigerator for up to 2 days. This keeps them fresh but may slightly affect the texture over time.
Freezer: If you want to enjoy these cakes later, freeze unassembled sponge pieces wrapped tightly in plastic wrap for up to 3 months. Thaw and then assemble before serving.
Reheating: There’s no need to reheat these delightful cakes; serve them chilled for the best experience. If frozen, let them defrost in the fridge overnight before assembly.
Serving Suggestions: Once stored, add fresh whipped cream between layers for a revitalized taste when serving after refrigeration or freezing!
Expert Tips for Old-Fashioned Pink Jelly Cakes
Jelly Consistency: Ensure your jelly is slightly thickened—it prevents the sponge from getting soggy and allows for a better coating.
Uniform Slices: Slice the sponge cake into even pieces. This ensures consistent baking and helps with even jelly and coconut coverage without breakage.
Chill to Enhance: Refrigerate the assembled cakes after building them. This helps the whipped cream set, making the cakes easier to slice while keeping them fresh.
Flavor Options: Feel free to substitute the strawberry jelly for raspberry, orange, or passionfruit to personalize your Old-Fashioned Pink Jelly Cakes.
Coconut Tips: When coating with desiccated coconut, press gently to ensure the coconut adheres well. For a healthier twist, use unsweetened coconut!

Old-Fashioned Pink Jelly Cakes Recipe FAQs
What is the best way to select ripe ingredients for this recipe?
Absolutely! For the best vanilla sponge cake, look for fresh eggs and good-quality flour. Ensure your strawberry jelly is not expired—look for vibrant color and no dark spots on the packaging. When selecting desiccated coconut, opt for fresh, fine coconut to ensure it adheres well to the jelly-coated sponge.
How should I store Old-Fashioned Pink Jelly Cakes and how long do they last?
You can keep your Old-Fashioned Pink Jelly Cakes in an airtight container in the fridge for up to 2 days. While they’ll still taste delightful after this timeframe, the texture may become a bit softer, but they’ll still be delicious! If you notice any visual changes, like the coconut not looking fresh, it’s a sign it’s time to enjoy them.
Can I freeze Old-Fashioned Pink Jelly Cakes?
Yes, you can definitely freeze the sponge cake components! Wrap unassembled sponge pieces tightly in plastic wrap and freeze for up to 3 months. When you’re ready to enjoy them, simply thaw the sponge in the refrigerator overnight, then assemble them with jelly and whipped cream once they’re soft again. This way, you can recreate that fresh cake flavor without the full baking process!
What should I do if my jelly is too runny?
If your jelly seems a bit too runny for dipping, just let it cool for a bit longer at room temperature or place it in the fridge for about 15 minutes to thicken slightly. This consistency will help coat your sponge cake pieces better and prevent them from becoming soggy while still keeping that vibrant flavor. You can also try mixing in a bit of gelatin to thicken it if you’re pressed for time.
Are there any allergy considerations I should keep in mind?
Yes, it’s essential to be cautious! This recipe contains eggs and dairy, which are common allergens. If you have guests or family members with allergies, consider using egg substitutes like flaxseed meal or commercial egg replacers. Additionally, to make it gluten-free, you can use gluten-free all-purpose flour for the sponge cake. Just ensure all your jelly and coconut ingredients are free from cross-contamination.
Can I use other jelly flavors for the Old-Fashioned Pink Jelly Cakes?
Very much so! While strawberry jelly is traditional, you can easily swap it out for raspberry, orange, or even passionfruit jelly for a unique flavor twist. Each variation will give your cakes a delightful taste and appearance, providing the nostalgic satisfaction of the original. What fun it will be to present a colorful assortment at your next gathering!
Old-Fashioned Pink Jelly Cakes That Bring Sweet Nostalgia
Ingredients
Equipment
Method
- Preheat your oven to 350°F (175°C). Grease and line a baking pan with parchment paper.
- Whip together eggs and sugar until light and fluffy, then gently fold in flour and vanilla essence.
- Pour the batter into the prepared pan and bake for 25-30 minutes or until golden.
- Let the sponge cake cool completely on a wire rack.
- Once the sponge has cooled, remove it from the pan and slice into 2-inch squares.
- Prepare the strawberry jelly until slightly thickened. Dip each sponge piece into the jelly, allowing any excess to drip off.
- Roll each jelly-coated sponge piece in desiccated coconut, pressing gently for an even coating.
- Sandwich jelly-coated pieces with whipped cream by placing one piece on a plate, adding cream, and capping with another piece.
- Cover assembled cakes with plastic wrap and refrigerate for at least 30 minutes.
Leave a Reply