
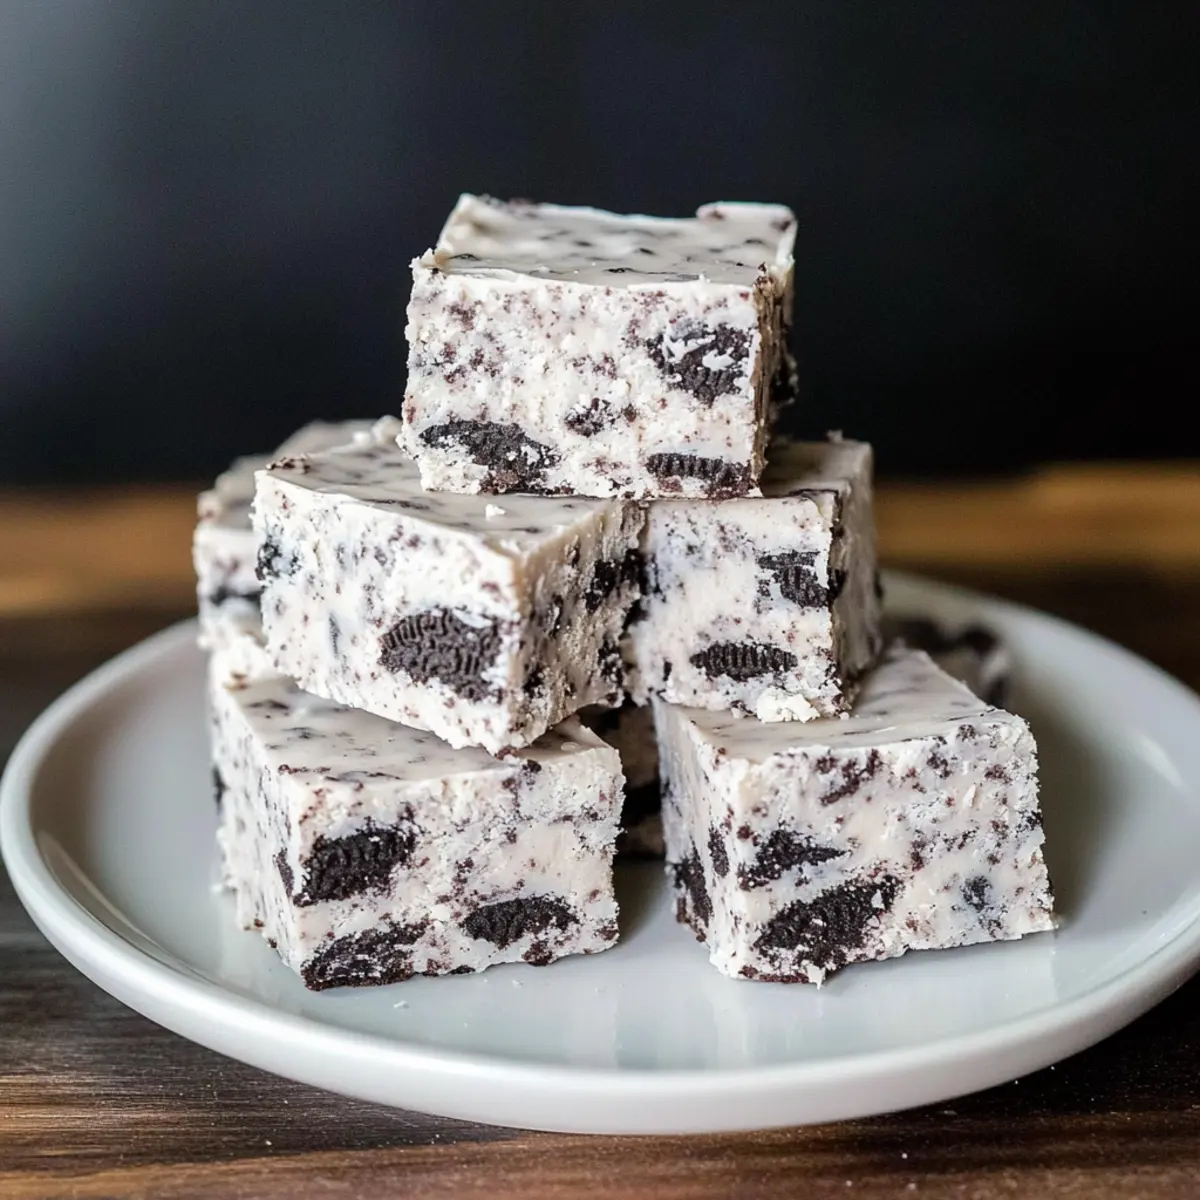
While rummaging through my pantry on a lazy afternoon, a delightful thought struck me—what if I could transform those simple ingredients into something truly special? Enter my 3-Ingredient Oreo Fudge, a creamy and indulgent treat that requires minimal effort and no baking! Combining velvety white chocolate with the iconic crunch of Oreo cookies, this fudge is perfect for satisfying your sweet tooth or impressing friends at your next gathering. Not only is it a quick option for those busy days, but it also doubles as a fantastic homemade gift that anyone would love to receive. Ready to whip up a batch and make your taste buds sing? Let’s dive into this easy, no-fuss recipe!
Why is Oreo Fudge a must-try?
Simplicity at its finest: Just three ingredients make this delicious fudge so easy to whip up! Perfect for cooking enthusiasts and busy individuals alike.
Rich, Creamy Texture: The combination of white chocolate and crunchy Oreos creates a decadent treat that melts in your mouth.
No Baking Required: A hassle-free dessert that saves you time in the kitchen while still delivering an impressive result.
Versatile for any occasion: Whether for a casual snack, a party treat, or a thoughtful gift, this fudge fits right in!
Crowd-Pleasing Flavor: Everyone loves Oreos! Serve this fudge at your next gathering and watch it disappear. You can even explore variations with different Oreo flavors for a unique twist! Want to learn about more delicious desserts? Check out our guide on no-bake treats.
Oreo Fudge Ingredients
• To create this indulgent Oreo Fudge, you’ll need just three basic ingredients that are sure to please any sweet tooth!
For the Fudge
- 14 ounces white chocolate – This creamy base provides a luscious texture for your fudge. Substitution: Chocolate chips or melting wafers can also be used.
- 14 ounces sweetened condensed milk – Adds essential moisture and richness to the fudge. Note: Make sure to use condensed milk, as evaporated milk will not work.
- 28 Oreo sandwich cookies – Infuses delicious crunch and flavor into every bite. Substitution: Feel free to experiment with flavored Oreos, like mint or peanut butter, for a fun twist on the classic Oreo Fudge!
Step‑by‑Step Instructions for Oreo Fudge
Step 1: Melt the Chocolate Mixture
In a medium microwave-safe bowl, combine 14 ounces of white chocolate with 14 ounces of sweetened condensed milk. Microwave for 1 minute on high, then stir the mixture gently. You’re looking for a smooth consistency, so it’s important to melt evenly and avoid burning.
Step 2: Continue Melting Until Smooth
Return the bowl to the microwave and heat in 15-second intervals, stirring after each, until the mixture is fully melted and creamy. This should take about 2-3 additional intervals, resulting in a velvety base that’s perfect for your Oreo Fudge.
Step 3: Crush the Oreos
While the chocolate mixture is melting, take 28 Oreo cookies and place them in a ziplock bag. Using a rolling pin, crush the cookies into fine crumbs. The goal is a uniform crumble that will blend well into the fudge, adding that delightful crunch.
Step 4: Combine Crushed Oreos with Chocolate
Once the chocolate mixture is smooth, gently fold in the crushed Oreos until fully integrated. Use a spatula to ensure the Oreo pieces are evenly distributed throughout the creamy fudge mixture, allowing their flavor to infuse into the fudge.
Step 5: Prepare the Baking Dish
Line a medium baking dish, approximately 8×2 inches, with parchment paper for easy removal. This will help you lift the fudge out once it’s set. Pour the Oreo mixture into the prepared dish, spreading it evenly to ensure uniform thickness across the fudge.
Step 6: Chill to Set
Place the baking dish in the refrigerator and let the fudge chill for at least 8 hours, or until it’s firm. You’ll know it’s ready when it feels solid to the touch and has a smooth surface, setting up the perfect texture for your sliceable Oreo Fudge.
Step 7: Slice and Serve
After the fudge has set, remove it from the fridge and gently lift it out of the dish using the parchment paper. Using a sharp knife, cut it into squares or rectangles as desired. Now your delectable Oreo Fudge is ready to be served and shared!
Expert Tips for Oreo Fudge
-
Crush Well: Ensure the Oreos are crushed finely to promote even distribution throughout the fudge, enhancing both texture and flavor.
-
Measure Precisely: Stick to the exact measurements provided for each ingredient to avoid a fudge that doesn’t set properly; a slight variation can impact the final product.
-
No Moisture: Use a completely dry bowl for melting chocolate. Any moisture can cause the chocolate to seize, resulting in a lumpy fudge mix.
-
Chill Properly: Allow the fudge to chill for at least 8 hours. Cutting it too soon may result in a gooey mess instead of the perfect Oreo Fudge squares.
-
Explore Variations: Get creative with different flavored Oreos or by adding toppings like nuts or a sprinkle of sea salt for an extra gourmet touch!
Oreo Fudge Variations & Substitutions
Feel free to get creative with your Oreo Fudge by exploring these delightful variations!
-
Flavored Oreos: Experiment with different Oreo flavors like Mint or Peanut Butter to add a unique twist to your fudge. Each flavor brings its own character, elevating the taste experience.
-
Nutty Crunch: Add ½ cup of finely chopped nuts, like pecans or walnuts, for an extra layer of texture and richness. The nuts’ crunch will beautifully complement the creamy fudge, creating a delightful contrast.
-
Dairy-Free: Use dairy-free chocolate alternatives and coconut milk for a scrumptious vegan version. You won’t miss the dairy at all, and it opens up your fudge to more dietary options!
-
Add Sea Salt: Sprinkle a touch of sea salt on top of the fudge before chilling to enhance the sweet and salty flavor profile. That little addition can make a big difference in taste!
-
Chocolate Drizzle: Drizzle some melted dark chocolate over the top once the fudge has set for an eye-catching presentation and rich chocolate boost. It’s a delightful visual that makes your fudge even more indulgent!
-
Crispy Add-Ins: Swap out some of the crushed Oreos for crispy rice cereal for a unique texture twist. The added crunch makes for an interesting chew while keeping the flavor wonderfully Oreo-like.
-
Coffee Kick: Stir in a teaspoon of instant coffee granules to the melted chocolate mix before adding the Oreos for a delightful mocha flavor. It’s a wonderful way to excite your taste buds!
-
Boozy Fudge: For the adults, consider adding a tablespoon of your favorite liqueur, such as Baileys or Kahlua, to the fudge mixture for an adult twist. Just enjoy in moderation, as it’s simply delectable!
By tweaking these flavors and textures, you can create a personalized Oreo Fudge experience. If you’re curious about more easy dessert ideas, be sure to check our guide on no-bake treats!
What to Serve with 3-Ingredient Oreo Fudge?
When the craving for something sweet strikes, this rich, creamy confection pairs beautifully with a few delightful accompaniments that elevate the experience.
-
Creamy Vanilla Ice Cream: A scoop of vanilla ice cream enhances the fudge’s richness while adding a refreshing contrast in temperature and texture. It’s a classic match made in dessert heaven!
-
Fresh Berries: Add a handful of strawberries or raspberries for a pop of color and a tangy burst that balances the sweetness of the fudge. Their juicy freshness is the perfect companion to your decadent treat.
-
Crunchy Pretzel Bites: The salty crunch of pretzels provides a delightful contrast to the creamy fudge, creating an irresistible sweet-salty flavor combination. Pairing these allows for a fun texture mix that keeps everyone guessing!
-
Rich Coffee: A warm cup of coffee enhances the fudge’s flavors, making this combo a favorite among adults. The slight bitterness of coffee beautifully complements the sweetness of the fudge.
-
Chocolate Drizzle: Drizzle extra melted chocolate on top of the fudge squares for a gourmet presentation that anyone will love. This addition brings an enticing visual appeal and intensifies that chocolatey goodness.
-
Cold Glass of Milk: For a nostalgic touch, serve your fudge with a cold glass of milk. It’s a classic pairing that brings out the childhood joy of Oreos and milk, making every bite taste even better!
Make Ahead Options
These 3-Ingredient Oreo Fudge treats are perfect for meal prep, allowing you to save time and enjoy delicious desserts on busy days! You can prepare the fudge up to 24 hours in advance by following the same steps; just omit the chilling step initially. After mixing the chocolate and cookies, cover the prepared baking dish with plastic wrap and refrigerate without chilling. Then, when you’re ready to serve, pop it in the fridge for at least 8 hours to set, and you’ll have just as delightful fudge to share. Additionally, ensure the dish is well-sealed to maintain quality and avoid any absorption of other fridge odors. Can I make Oreo Fudge ahead of time? Absolutely! Enjoy this simple, make-ahead delight!
How to Store and Freeze Oreo Fudge
Room Temperature: Keep your Oreo Fudge in an airtight container at room temperature for up to 1 week. This keeps the fudge soft while maintaining its delicious flavor.
Fridge: For longer freshness, store the fudge in the refrigerator. Simply place it in an airtight container, and it will stay fresh for up to 2 weeks.
Freezer: If you want to store the fudge for extended periods, freeze it in an airtight container or wrap it in plastic wrap and then foil. It lasts for up to 3 months but should be thawed in the fridge before serving.
Reheating: To revive slightly hardened fudge, let it sit at room temperature for about 30 minutes before enjoying. The creamy texture will return, making it an irresistible treat once again!
Oreo Fudge Recipe FAQs
How do I choose the right Oreos?
Absolutely! When selecting Oreos, look for packages that are intact and check the expiration date. You’ll want Oreos that are fresh for the best flavor and texture. Avoid any packages with crushed cookies, as this can lead to an uneven fudge mixture.
How should I store leftover Oreo Fudge?
For sure! Store your Oreo Fudge in an airtight container at room temperature for up to 1 week. If you wish to keep it longer, move it to the fridge, where it will stay fresh for about 2 weeks. Just ensure the container is sealed tightly to maintain its luscious texture.
Can I freeze Oreo Fudge?
Yes, you can! To freeze your Oreo Fudge, wrap it tightly in plastic wrap, then place it in an airtight container or a ziplock bag. It can last for up to 3 months in the freezer. When ready to enjoy, thaw it in the refrigerator overnight. This will help retain that creamy, dreamy texture!
What if my Oreo Fudge is too soft?
Very good question! If your fudge turns out too soft, it might be due to not chilling it long enough. Make sure to refrigerate it for at least 8 hours. If it’s still soft after that time, try sprinkling a bit more crushed Oreos on top before slicing to help stabilize it. You can also place it back in the fridge to firm up.
Are there any dietary considerations for this recipe?
Absolutely! This Oreo Fudge contains dairy from the white chocolate and sweetened condensed milk, so if you have lactose intolerance, you might want to explore dairy-free options. You can substitute regular white chocolate with a dairy-free white chocolate alternative. Remember to check the Oreo packaging for vegan certification if that’s a consideration.
Can I add mix-ins to this Oreo Fudge?
Very much so! Feel free to get creative! You can mix in some crushed nuts, a drizzle of caramel, or even a dash of sea salt on top before refrigerating. This not only adds a unique flavor but also gives a delightful crunch that complements the creaminess of the Oreo Fudge.

Decadent Oreo Fudge Ready in 10 Minutes or Less
Ingredients
Equipment
Method
- In a medium microwave-safe bowl, combine 14 ounces of white chocolate with 14 ounces of sweetened condensed milk. Microwave for 1 minute on high, then stir gently.
- Return the bowl to the microwave and heat in 15-second intervals, stirring after each, until the mixture is fully melted and creamy.
- While the chocolate mixture is melting, take 28 Oreo cookies and place them in a ziplock bag. Crush the cookies into fine crumbs.
- Once the chocolate mixture is smooth, gently fold in the crushed Oreos until fully integrated.
- Line a medium baking dish with parchment paper. Pour the Oreo mixture into the prepared dish, spreading it evenly.
- Place the baking dish in the refrigerator to chill for at least 8 hours.
- After the fudge has set, lift it out of the dish using the parchment paper and cut into squares.
Leave a Reply