
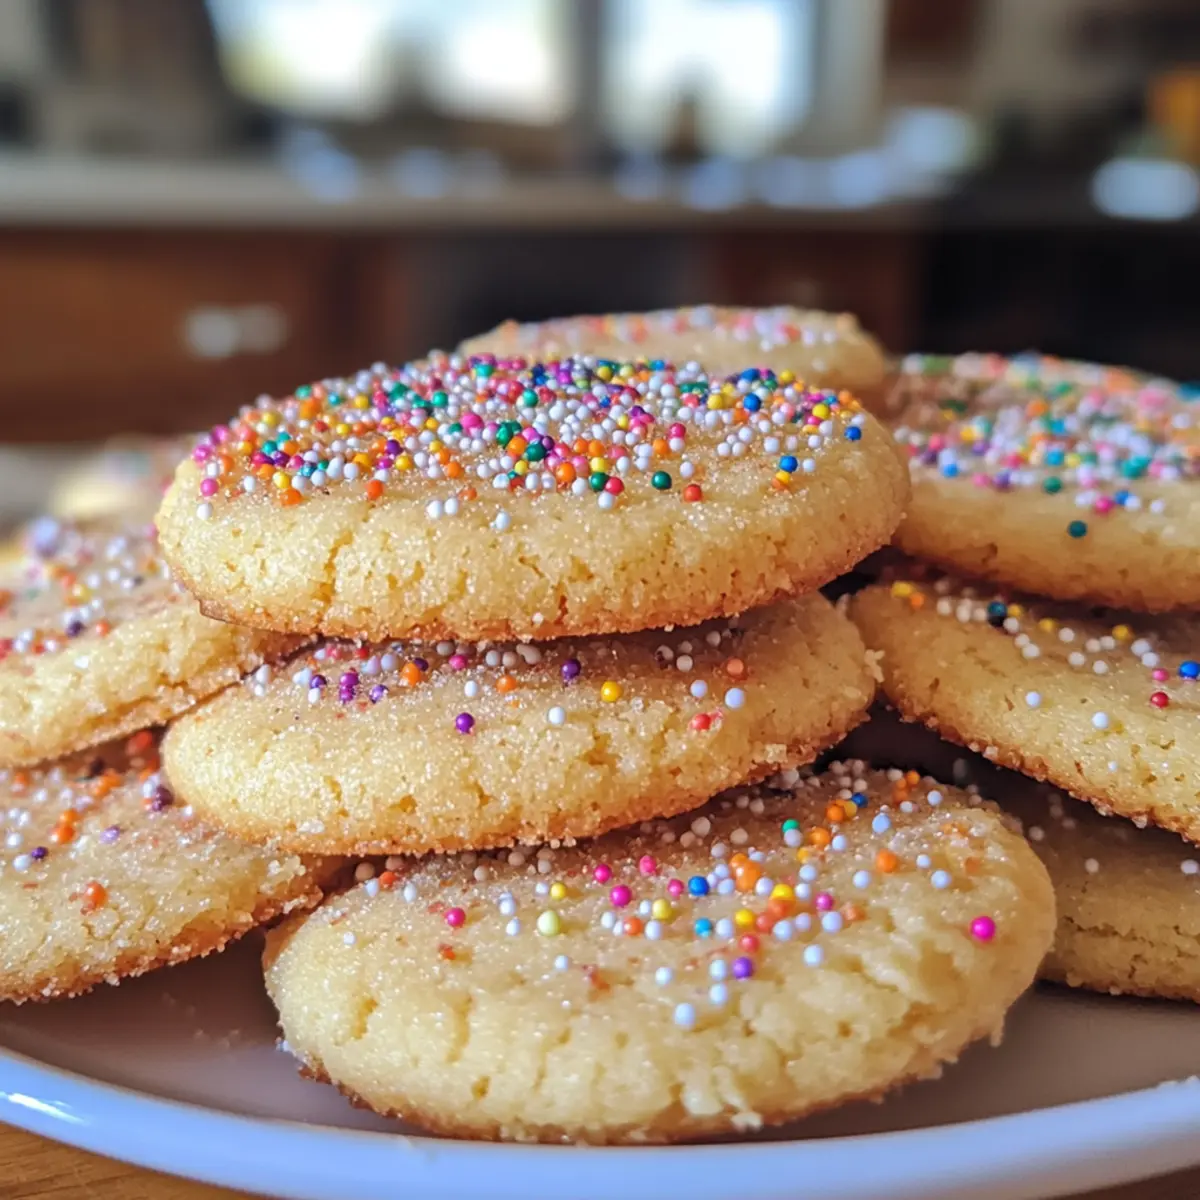
As I stood in my kitchen, the sweet aroma of baking cookies wafted through the air, instantly filling me with nostalgia for family gatherings and cozy celebrations. These Italian Butter Cookies have become a cherished staple in our home, combining simplicity with elegance in each melt-in-your-mouth bite. Whether you’re creating soft, buttery delights or crafting stunning sandwich cookies filled with chocolate or jam, this recipe is a true testament to the beauty of homemade treats. With minimal prep time and endless decorating possibilities, you’ll find these cookies are perfect for any occasion—be it a festive gathering or just a sweet craving to satisfy. Curious how these little treasures can elevate your next dessert table? Let’s dive into the delicious details!
Why Are Italian Butter Cookies So Loved?
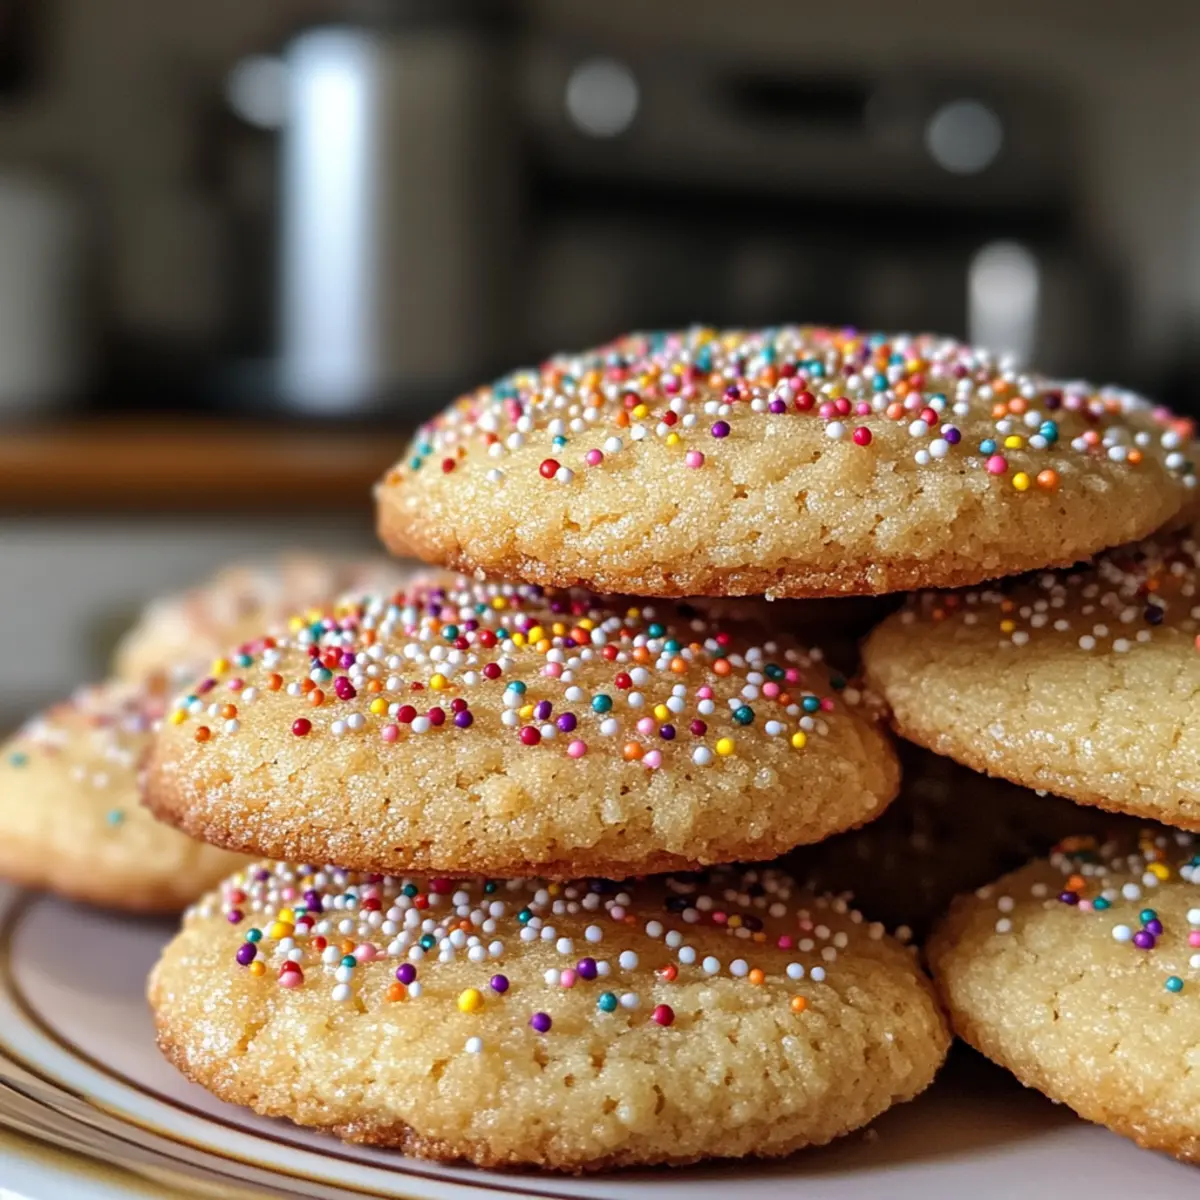
Melt-in-Your-Mouth Goodness: These cookies boast a delicate texture that melts away, making each bite a sheer delight.
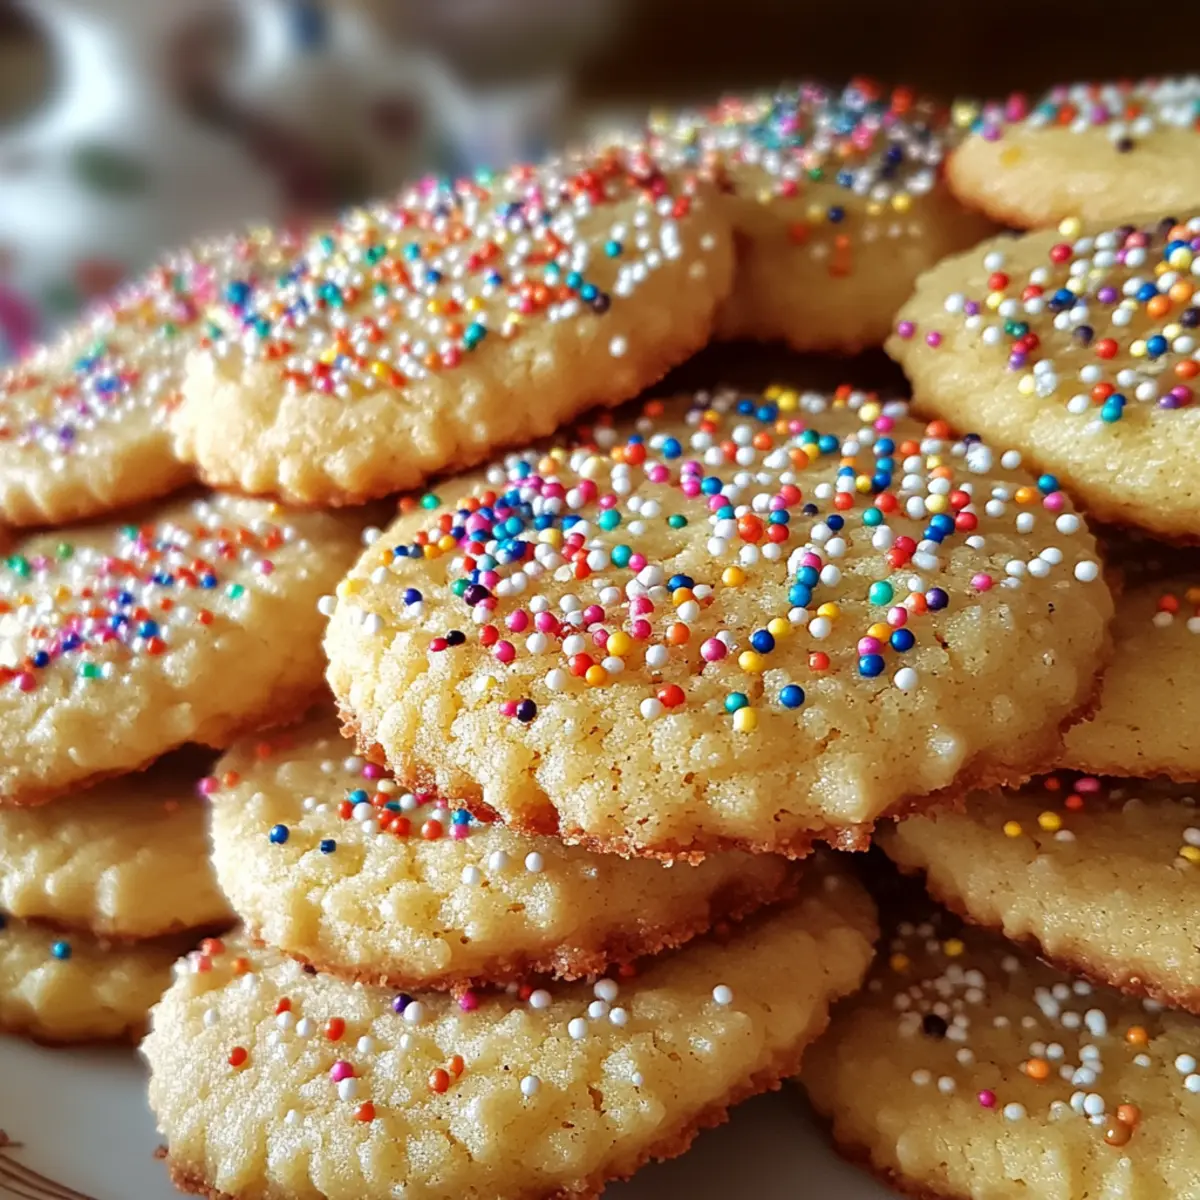
Versatile Decorating Options: From simple sprinkles to elegant chocolate drizzles, you can customize these treats to match any occasion.
Quick and Easy: Just a few simple steps allow you to whip up a batch in no time—perfect for anyone seeking a quick homemade treat!
Family Favorite: Their delightful flavor and softness make them a hit with both kids and adults alike, perfect for gatherings or as a thoughtful gift.
Classic Italian Charm: Bring a taste of Italy into your kitchen with these traditional cookies that evoke warmth and nostalgia. Don’t forget to check out the variations for sandwich cookies to elevate your dessert experience!
Italian Butter Cookies Ingredients
• Here’s everything you need to create these delightful cookies.
For the Dough
- All-Purpose Flour – Provides structure; ensure it’s fluffed and spooned into the measuring cup for accuracy.
- Baking Powder – Adds a slight rise to maintain cookie shape.
- Salt – Enhances flavor perfectly.
- Unsalted Butter – The primary fat for a rich flavor and tender texture; must be at room temperature for proper creaming.
- Granulated Sugar – Adds sweetness and helps achieve the right texture of the cookies.
- Egg Yolks – Contributes richness and moisture, essential for a soft bite.
- Vanilla Extract – Boosts flavor; can be substituted with almond or lemon extract for a twist.
- Whole Milk – Optional, to adjust the dough’s consistency to a soft, pipe-friendly texture.
For the Assembly
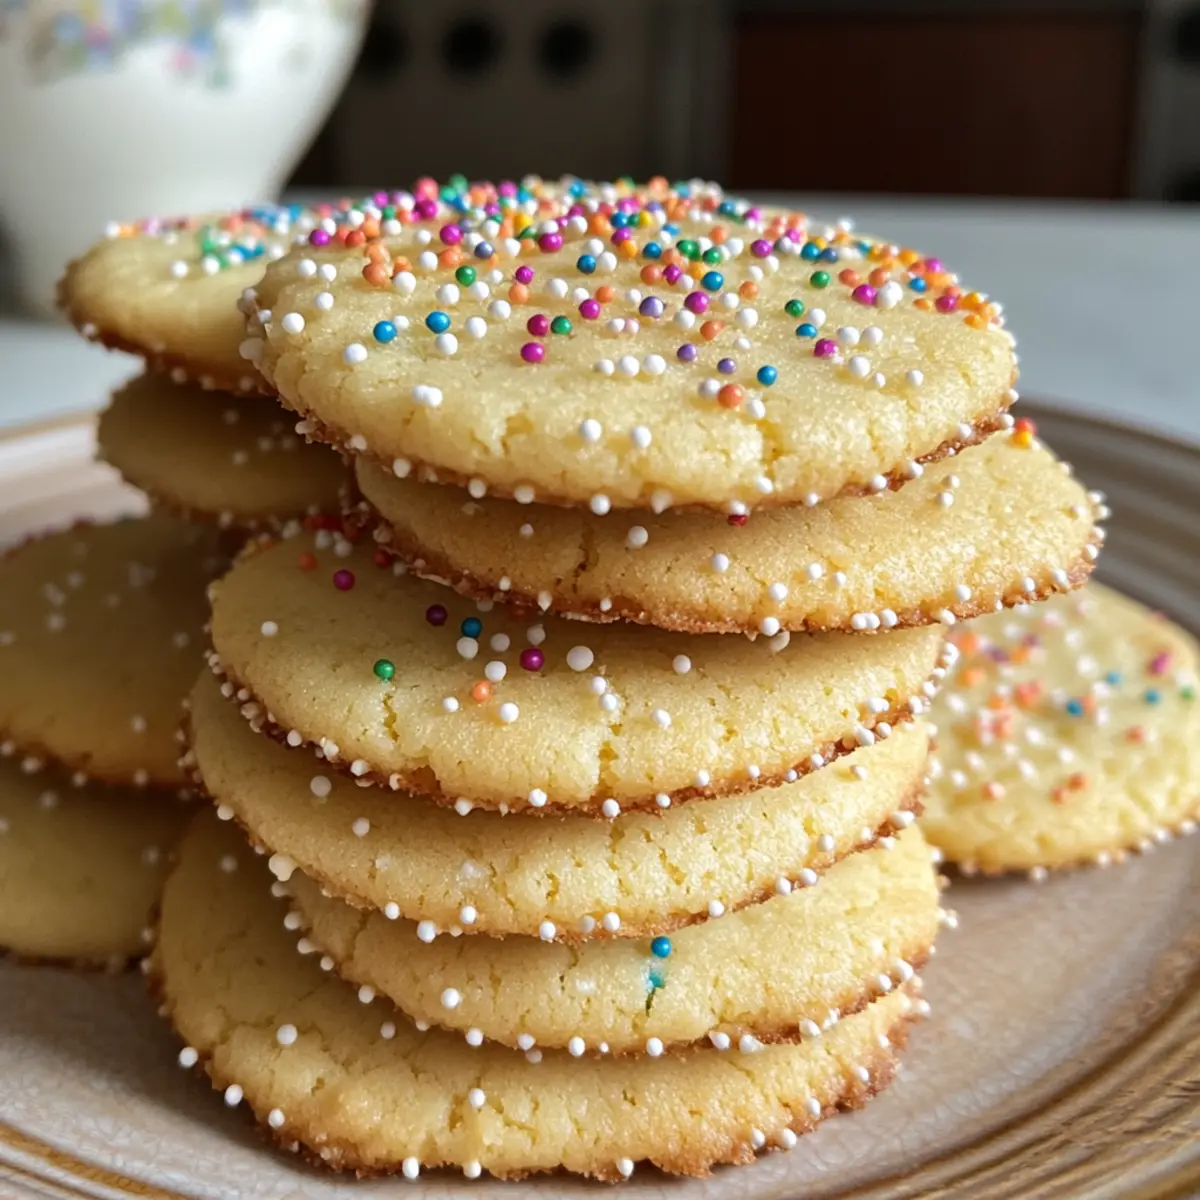
- Nonpareil Sprinkles – Optional, for adding a delightful touch before baking.
- Melting Chocolate – Optional for dipping or decorating the cookies post-bake, adding an indulgent finish.
These Italian Butter Cookies are not only rich in flavor but also bring a touch of delightful elegance to your dessert table!
Step‑by‑Step Instructions for Italian Butter Cookies
Step 1: Preheat the Oven
Begin by preheating your oven to 350°F (175°C). This ensures that your Italian Butter Cookies bake evenly and achieve the perfect golden edges. While the oven heats, line a baking sheet with parchment paper for easy cleanup and to prevent the cookies from sticking.
Step 2: Combine Dry Ingredients
In a medium mixing bowl, whisk together the all-purpose flour, baking powder, and salt. This step is essential for distributing the leavening agents evenly throughout the flour, contributing to the cookies’ delightful texture. Set this mixture aside while you prepare the wet ingredients.
Step 3: Cream the Butter and Sugar
In the bowl of your stand mixer, combine the room-temperature unsalted butter and granulated sugar. Cream them together on medium speed for about 3 minutes until the mixture is light and fluffy. This process incorporates air into the butter, resulting in tender and airy Italian Butter Cookies.
Step 4: Add Egg Yolks and Vanilla
Next, incorporate the egg yolks and vanilla extract into the creamed butter and sugar. Continue mixing until fully combined, which should take about 1-2 minutes. The mixture will become smooth and creamy, creating a rich base for your cookies.
Step 5: Combine Wet and Dry Mixtures
Gradually add the flour mixture to the wet ingredients, mixing on low speed until just combined. If the dough feels too stiff, add a small splash of whole milk to achieve a soft, pipeable consistency. Be careful not to overmix, as this can affect the texture of your Italian Butter Cookies.
Step 6: Pipe the Cookies
Divide the dough into portions and transfer it to a piping bag fitted with a star tip. Pipe the dough onto the prepared baking sheet, creating star shapes or any design you prefer, leaving enough space between each cookie to allow for spreading as they bake.
Step 7: Add Decorative Touches
If desired, add nonpareil sprinkles on top of each cookie before baking. This step not only adds color but also gives a festive touch to your Italian Butter Cookies, making them even more appealing for sharing at gatherings.
Step 8: Bake the Cookies
Place the baking sheet in the preheated oven and bake for 10-12 minutes or until the edges are lightly golden. Keep an eye on them; they should not darken too much in color. Once baked, remove them from the oven and let them rest for a moment.
Step 9: Cool Before Transferring
Allow the cookies to cool on the baking sheet for about 5 minutes. This initial cooling helps them set and makes them easier to transfer without breaking. Then carefully move them to a wire rack to cool completely, ensuring they don’t steam and become soft.
Step 10: Optional Chocolate Decoration
If you wish to elevate your Italian Butter Cookies even further, melt some chocolate and use it to drizzle over the cooled cookies. Let the chocolate set by placing them in the fridge briefly. This indulgent touch enhances the flavor and adds a beautiful finish to your cookies.
Expert Tips for the Best Italian Butter Cookies
-
Room Temperature Butter: Ensure your butter is softened to room temperature for optimal creaming. This allows for a light and fluffy texture in your cookies.
-
Avoid Overmixing: Once you add the flour mixture, mix until just combined. Overmixing can lead to dense Italian Butter Cookies, rather than the desired melt-in-your-mouth texture.
-
Chill If Needed: If the dough is too warm for piping, pop it in the fridge for about 15 minutes. This helps maintain shape during baking.
-
Accurate Measurements: Use a kitchen scale for the flour to avoid dense cookies. Spoon and level your flour into the measuring cup for the best results.
-
Customize Flavors: Feel free to experiment with different extracts, like almond or lemon, to create unique flavor profiles for your Italian Butter Cookies.
Storage Tips for Italian Butter Cookies
Room Temperature: Store the cookies in an airtight container at room temperature for up to 2 weeks to maintain their delightful texture and flavor.
Fridge: If you’ve made sandwich cookies with jam or chocolate filling, refrigerate them in a sealed container and consume within one week for the best quality.
Freezer: For longer storage, freeze the Italian Butter Cookies in a single layer on a baking sheet, then transfer to an airtight container or freezer bag for up to 3 months.
Reheating: To revive their crispiness, reheat cookies in the oven at 300°F (150°C) for about 5 minutes before serving.
Make Ahead Options
These Italian Butter Cookies are perfect for meal prep, allowing you to indulge in homemade treats without the last-minute rush! You can prepare the cookie dough up to 24 hours in advance; simply wrap it tightly in plastic wrap and refrigerate. Alternatively, you can pipe the cookies and freeze them for up to 3 months before baking—just place them on a parchment-lined baking sheet and freeze until solid, then transfer to an airtight container. When you’re ready to bake, there’s no need to thaw; just add an additional minute or two to the baking time for perfectly baked Italian Butter Cookies. Remember to keep an eye on them to ensure they maintain their delightful crispness!
Italian Butter Cookies Variations & Substitutions
Embrace your creativity with these Italian Butter Cookie twists that elevate every bite into something special!
-
Different Extracts: Swap vanilla for almond or lemon extract for unexpected bursts of flavor. Each option will give your cookies a delightful twist that’s sure to surprise your guests.
-
Sandwich Cookies: Transform your cookies into sandwich delights filled with chocolate ganache or fruit jam. This added layer of filling elevates the experience, making these cookies perfect for sharing on special occasions.
-
Gluten-Free: Substitute all-purpose flour with a gluten-free blend, ensuring everyone can enjoy these treats. Keep in mind that some blends might require additional adjustments, so do a quick check on the package for guidance.
-
Add Zest: Incorporate lemon or orange zest into the dough for a refreshing flavor that pairs beautifully with the buttery richness. Zest brings brightness and a lovely aroma that fills your kitchen with a homey feel.
-
Nutty Crunch: Fold in finely chopped nuts such as pistachios or almonds for added texture and flavor. The crunch will complement the soft cookies and bring a delightful contrast you’ll love.
-
Boozy Fun: Add a splash of your favorite liqueur, like Amaretto or Baileys, to the dough for a grown-up twist. A little goes a long way, infusing your cookies with rich, complex notes that will impress your family and friends.
-
Spiced Up: Enhance the flavor profile with a touch of cinnamon or nutmeg. This warming spice makes your cookies perfect for cozy occasions, inviting comfort with every bite.
-
Creative Shapes: Use cookie cutters to mold your dough into festive shapes, perfect for holidays or themed parties. Making cookies with creative forms can spark joy and excitement in everyone’s taste experience.
Check out how to create those beautiful sandwich cookies if you’re feeling adventurous!
What to Serve with Italian Butter Cookies?
As these delightful cookies come out of the oven, the warm aroma creates a cozy atmosphere perfect for pairing with complementary delights.
-
Fresh Berries: Bright, juicy berries provide a refreshing contrast to the buttery richness of the cookies, balancing sweetness with tartness.
-
Coffee or Espresso: A steaming cup of coffee or a shot of rich espresso beautifully complements the delicate flavor of the Italian Butter Cookies, enhancing your indulgent experience.
-
Whipped Cream: Light and airy, whipped cream adds a delightful creaminess that pairs wonderfully with the soft texture of the cookies.
-
Chocolate Ganache: For an extra decadent treat, serve them alongside a bowl of silky chocolate ganache for dipping or drizzling.
-
Cheese Platter: A selection of mild cheeses can create a savory balance, making your dessert spread more dynamic and interesting.
-
Vanilla Ice Cream: A scoop of creamy vanilla ice cream alongside the warm cookies makes for a luscious dessert that will satisfy your sweet tooth.
Consider these delightful pairings as you serve your Italian Butter Cookies at gatherings or simply enjoy a cozy moment at home!
Italian Butter Cookies Recipe FAQs
How do I know if my butter is at the right temperature?
Absolutely! The butter should be soft enough to make an indentation when you press it with your finger but not melted. It typically takes about 30 minutes at room temperature to soften. If you press the stick and find it feels cool to the touch or you can’t leave a mark, give it a bit more time!
What’s the best way to store Italian Butter Cookies?
To keep your cookies fresh, store them in an airtight container at room temperature for up to 2 weeks. For cookies filled with jam or chocolate, it’s best to refrigerate them in a sealed container and enjoy them within one week. This keeps them crispy and prevents any filling from spoiling.
Can I freeze Italian Butter Cookies?
Absolutely! Freezing is a fantastic option. Place your cooled cookies in a single layer on a baking sheet then cover with plastic wrap and freeze until solid. Once frozen, transfer them to an airtight container or freezer bag for up to 3 months. When you’re ready to enjoy them, simply let them thaw at room temperature, or if you want a crispier texture, warm them in the oven at 300°F (150°C) for about 5 minutes.
What if my cookie dough is too sticky to pipe?
Very good question! If you find your dough is too sticky for piping, it could be due to the butter being overly soft or perhaps a bit too much moisture in the mixture. One thing you can do is chill the dough in the refrigerator for about 15-30 minutes. This will help firm it up and make piping much more manageable. If the problem persists, you can add a tablespoon of flour at a time until it reaches the right consistency.
Are there any dietary considerations with these cookies?
Yes, indeed! If you’re making these cookies for those with allergies, keep in mind they contain dairy and gluten due to the butter and flour. For a dairy-free option, you can use a vegan butter substitute. If making them gluten-free, a 1:1 gluten-free flour blend can work in place of all-purpose flour, but be sure to check if any additional adjustments are needed for texture. Always double-check for any other specific allergies, especially if incorporating fillings or toppings!
Can I decorate these cookies with icing instead of chocolate?
Certainly! Using royal icing or a simple glaze is a wonderful idea! Just ensure the cookies are completely cooled before decorating to prevent melting. To make icing, mix powdered sugar with a tiny amount of milk and a splash of vanilla until it reaches your desired consistency for drizzling or piping designs. Enjoy getting creative with it!
Melt-in-Your-Mouth Italian Butter Cookies: Easy & Irresistible
Ingredients
Equipment
Method
- Preheat the oven to 350°F (175°C) and line a baking sheet with parchment paper.
- In a mixing bowl, whisk together the all-purpose flour, baking powder, and salt.
- Cream together the unsalted butter and granulated sugar in a stand mixer for about 3 minutes.
- Add the egg yolks and vanilla to the creamed mixture and mix until fully combined.
- Gradually add the flour mixture to the wet ingredients and mix on low speed until just combined.
- Pipe the dough onto the prepared baking sheet, creating star shapes or desired designs.
- Add nonpareil sprinkles on top of each cookie if desired.
- Bake in the preheated oven for 10-12 minutes or until the edges are lightly golden.
- Allow the cookies to cool on the baking sheet for 5 minutes before transferring to a wire rack.
- If desired, melt chocolate and drizzle it over the cooled cookies.
Leave a Reply