
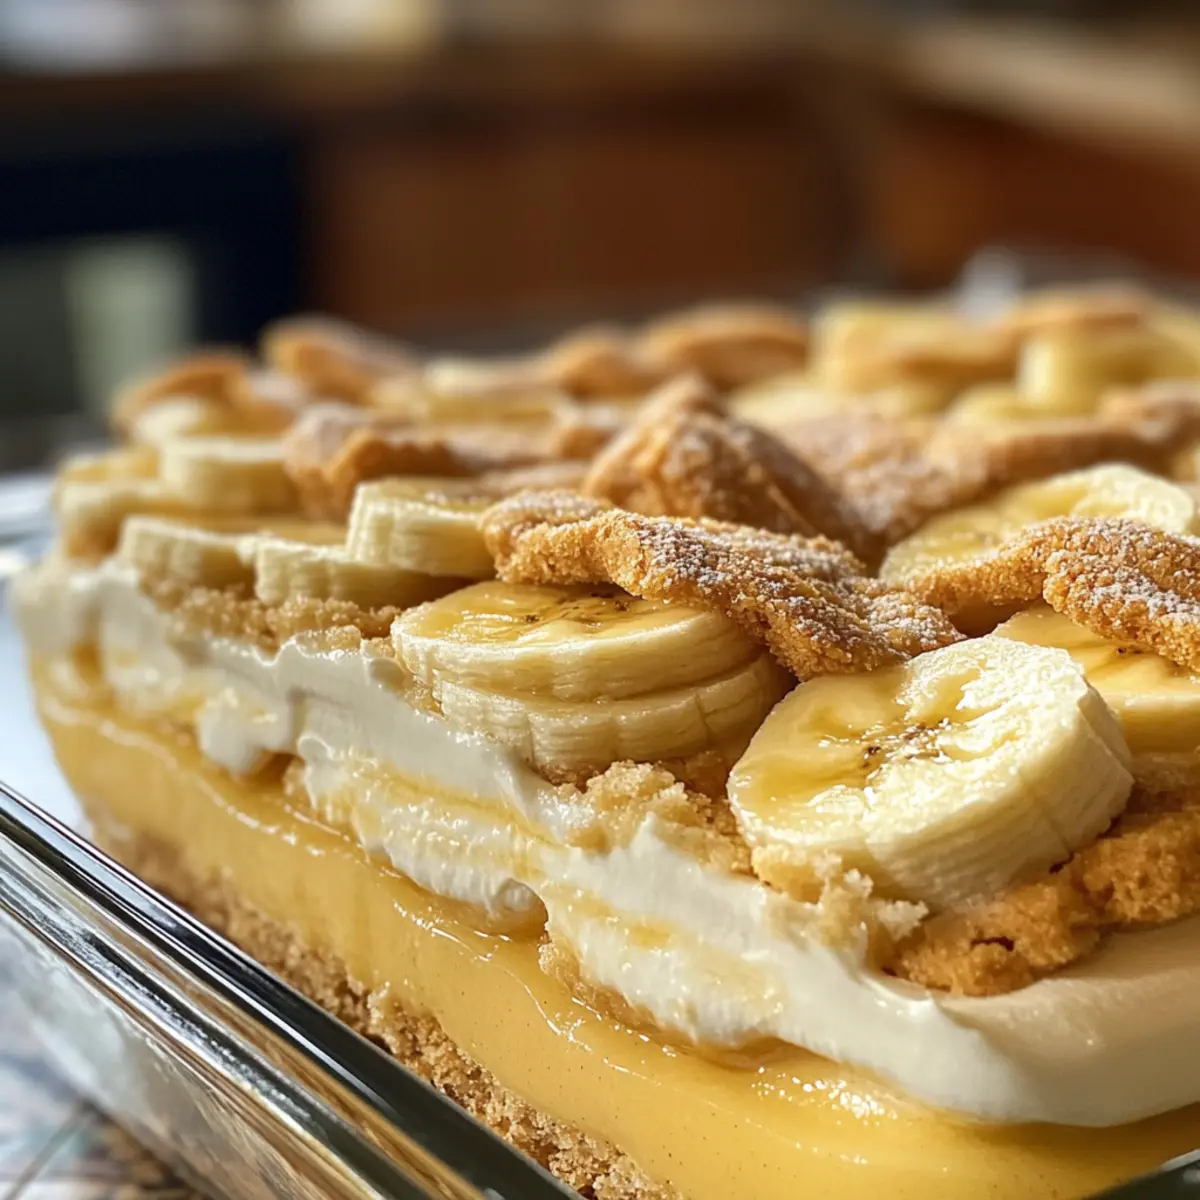
When I first tasted Old-Fashioned Homemade Banana Pudding, I was transported to a sunlit Southern kitchen filled with laughter and memories. This creamy Southern classic is a celebration of simple, wholesome ingredients, showcasing layers of velvety vanilla pudding, crunchy vanilla wafers, and ripe banana slices that come together in perfect harmony. It’s the ideal dessert to whip up when you’re craving comfort without the fuss, offering a quick-prep delight that skips the boxed pudding mix and revels in the joy of homemade goodness. Whether you’re hosting a gathering or just wanting something sweet to brighten your day, this banana pudding is sure to please both young and old alike. Curious to see how to create this nostalgic treat from scratch? Keep reading!
Why is this banana pudding so special?
Homemade Goodness: This recipe for Banana Pudding bypasses the store-bought mixes, ensuring a truly rich, creamy experience that you can’t get anywhere else.
Quick Prep: With minimal prep time, this comforting dessert comes together effortlessly, making it perfect for impromptu gatherings or a cozy night in.
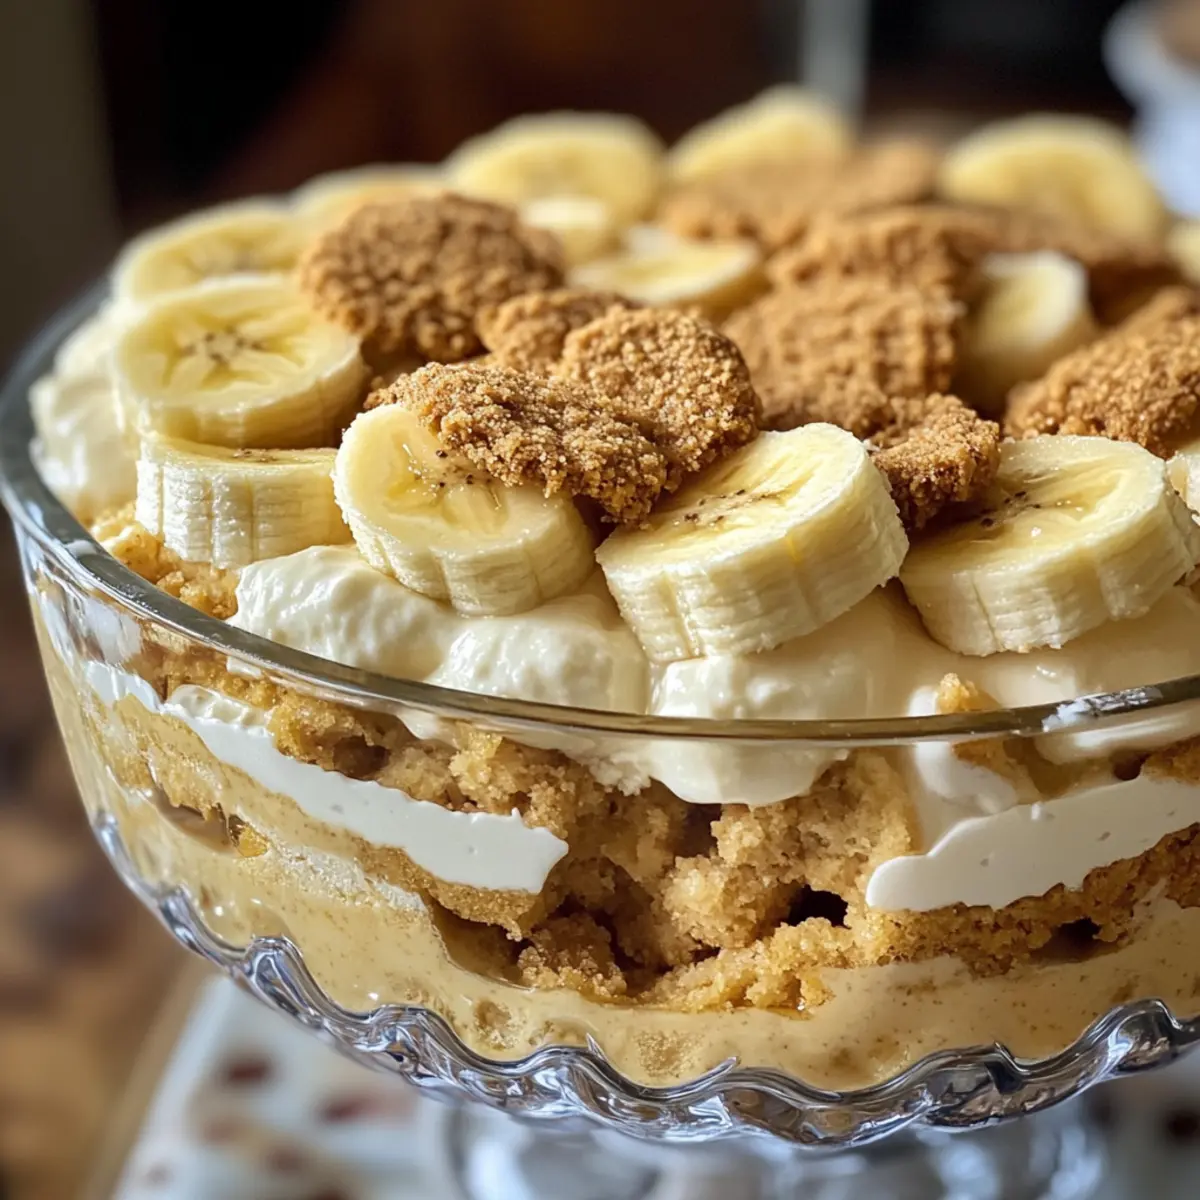
Layered Perfection: Each spoonful offers a delightful contrast of textures—smooth pudding, soft bananas, and crunchy wafers, creating a lovely harmony that showcases the beauty of simple ingredients.
Nostalgic Flavors: Every bite takes you on a journey down memory lane, evoking the warmth of family gatherings and Southern traditions.
Versatile Treat: Feel free to experiment with added flavors like crushed pineapple or even a layer of cookie variations for a personal twist—this pudding adapts beautifully to your preferences!
Sure to Impress: Whether at a family gathering or a potluck, this dessert will not only satisfy your sweet tooth but impress your guests with its classic charm. For more great ideas, consider checking out our classic dessert collection for other timeless recipes!
Banana Pudding Ingredients
For the Pudding
- Sugar – Sweetness; substitute with brown sugar for a deeper flavor.
- Flour – Thickening agent; use cornstarch as a gluten-free alternative.
- Salt – Enhances sweetness; omit for low-sodium diets if desired.
- Milk – Provides creaminess; non-dairy milk can be used for dairy-free diets.
- Eggs – Adds richness; no direct substitutes unless using a vegan egg replacement.
- Vanilla Extract – Flavor enhancer; opt for pure vanilla for the best taste.
For the Layers
- Vanilla Wafers – Structure and crunch; graham crackers can serve as a great substitute.
- Bananas – Provide natural sweetness and texture; choose ripe bananas for the best results.
Step‑by‑Step Instructions for Banana Pudding
Step 1: Prepare the Pudding Base
In a medium saucepan, combine sugar, flour, and salt, whisking them together until well-mixed. Gradually whisk in 3 cups of milk over medium heat, stirring consistently to prevent lumps. Cook this mixture for about 10 minutes, or until it thickens and begins to bubble, resembling a thick custard. You’ll know it’s ready when it coats the back of a spoon.
Step 2: Temper the Eggs
While your pudding mixture is thickening, crack and beat 3 large eggs in a separate bowl. Once the pudding is thickened, slowly temper the eggs by whisking in a spoonful of the hot pudding. This prevents curdling. Carefully mix the tempered egg mixture back into the saucepan, stirring continuously. Return the mixture to medium heat and cook for an additional 2 minutes until it just starts to gently boil, stirring frequently.
Step 3: Add Vanilla and Cool
After reaching a gentle boil, remove the saucepan from the heat. Stir in 1 tablespoon of pure vanilla extract, mixing well to infuse the flavor throughout the pudding. Allow the pudding to cool for about 15 minutes while stirring occasionally to maintain a smooth texture. This step ensures a delightful taste in your old-fashioned homemade banana pudding.
Step 4: Layer the Dish
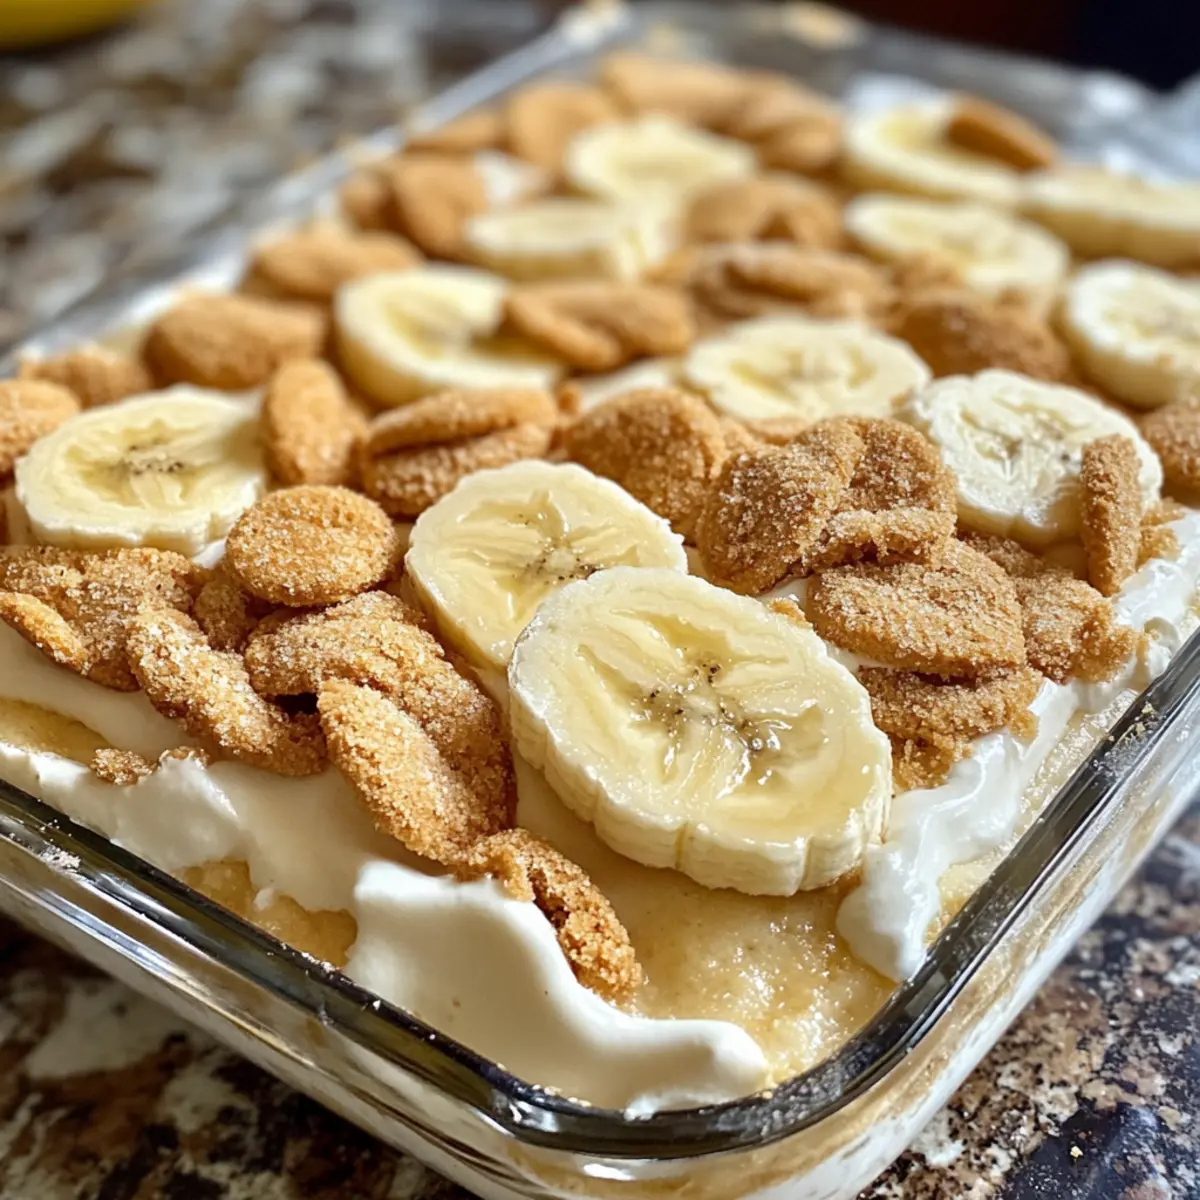
Grab an ungreased 8-inch square baking dish. Start layering with half of the vanilla wafers, followed by half of the banana slices—use ripe bananas for the best flavor. Then, pour half of the cooled pudding mixture over the layers. This creates a beautiful foundation of flavors and textures, building the classic banana pudding appeal. Repeat the layers with the remaining ingredients.
Step 5: Chill the Pudding
Cover the banana pudding with plastic wrap and refrigerate it for at least 4 hours, but overnight is best for richer flavors. Chilling allows the layers to set beautifully, melding the tastes together. Patience is key to achieving that classic creamy consistency that makes old-fashioned banana pudding so delightful.
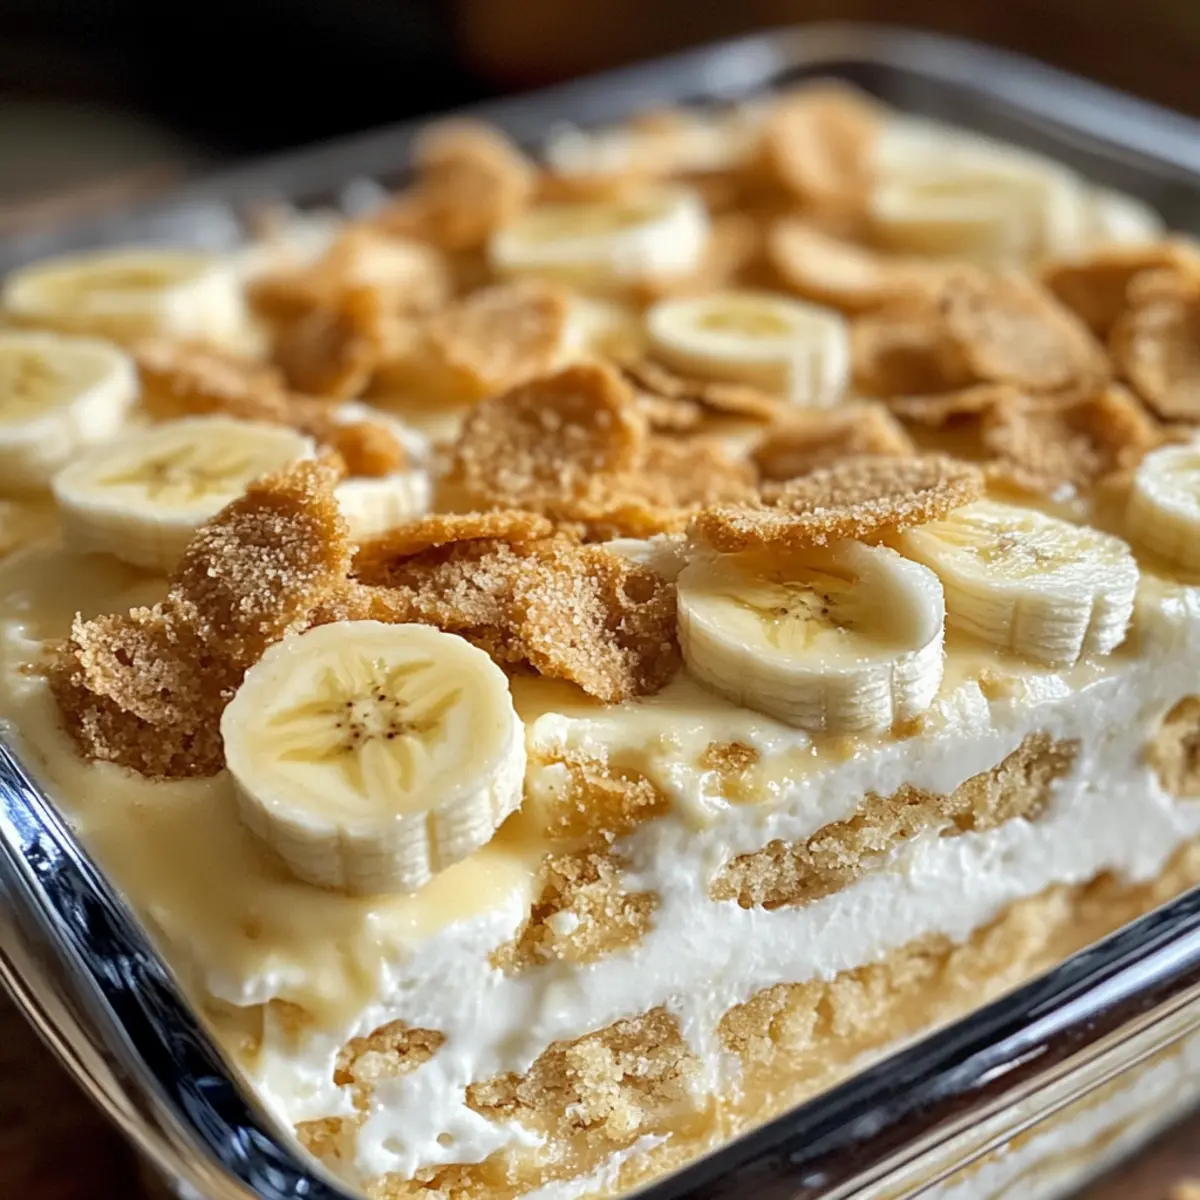
Step 6: Add Toppings
Before serving, take the remaining vanilla wafers and crush them into coarse crumbs. Sprinkle these crushed cookies on top of your chilled banana pudding to add an extra crunch, enhancing both the appearance and texture of this classic dessert. This finishing touch elevates the visual appeal and promises a delightful contrast to the creamy layers underneath.
Make Ahead Options
These Old-Fashioned Homemade Banana Pudding are perfect for meal prep enthusiasts! You can prepare the pudding base and layer it up to 24 hours in advance. To do this, simply follow the instructions up until layering—the vanilla wafers and banana slices can be prepped ahead but should be added right before serving to prevent browning. Chill the assembled pudding in the refrigerator to allow the flavors to meld beautifully. Just remember, this dessert tastes best when allowed to chill overnight. When you’re ready to serve, crush the remaining vanilla wafers on top for a delightful crunch, and you’ll have a restaurant-quality treat ready with minimal last-minute effort!
Variations & Substitutions for Banana Pudding
Feel free to add your personal touch to this classic banana pudding and make it uniquely yours!
-
Dairy-Free: Substitute regular milk with almond or coconut milk for a creamy, dairy-free alternative.
-
Gluten-Free: Use gluten-free vanilla wafers or a blend of crushed nuts for a fantastic crust alternative that’s also nutty and delicious.
-
Extra Banana Boost: Mash an additional ripe banana into the pudding mixture for a richer banana flavor throughout. It’s a lovely way to intensify the essence of the fruit.
-
Tropical Twist: Incorporate a layer of crushed pineapple for an island-inspired treat that brings a delightful zing of flavor to your dessert.
-
Spiced Up: Add a pinch of cinnamon or nutmeg to the pudding for a hint of warmth and complexity that beautifully complements bananas.
-
Chocolate Lovers’ Delight: Drizzle chocolate sauce between the layers or mix cocoa powder into the pudding for a chocolate banana pudding twist. This variation will surely excite cocoa enthusiasts!
-
Layered Cookies: Experiment with different cookie types such as Biscoff for a spicy layer or even chocolate wafers for a unique flavor combo that stands out.
-
Nutty Crunch: Sprinkle chopped nuts such as pecans or walnuts on top before serving for added texture and a nutty flavor that pairs perfectly with the creamy pudding.
No matter how you choose to customize your banana pudding, each new variation adds an exciting twist—a reminder that cooking is all about creativity! If you’re looking for more delightful dessert ideas, consider exploring our classic dessert collection or adding a unique flair with a tropical fruit salad as a refreshing side!
What to Serve with Old-Fashioned Homemade Banana Pudding
When you’re ready to elevate a simple dessert into a complete meal, consider these delightful pairings that harmonize beautifully with the creamy sweetness of banana pudding.
-
Southern Biscuits: Flaky, buttery biscuits are a perfect breakfast or brunch option. They complement the sweetness of banana pudding, balancing flavors in each bite.
-
Grilled Chicken: A lightly spiced grilled chicken adds a savory depth to your meal, creating an inviting contrast to the sweet and creamy dessert.
-
Fresh Fruit Salad: A colorful fruit salad brings brightness and freshness to the table, providing a refreshing palate cleanser that pairs well with rich banana pudding.
-
Classic Coleslaw: The crunchy, tangy profile of coleslaw harmonizes with your layered dessert, offering a pleasant texture and flavor contrast that enhances the meal experience.
-
Sweet Tea: No Southern meal feels complete without a glass of sweet tea, its sweetness echoing the flavors of banana pudding—perfect for sipping as you indulge in dessert!
-
Chocolate Cake: For an elevated dessert experience, a slice of rich chocolate cake can create a delightful fusion of flavors, bridging the gap between decadent and creamy.
-
Grilled Peaches: Slightly charred and caramelized peaches add a warm, fruity touch. Their sweetness and slight smokiness create a delightful pairing with your pudding’s texture.
-
Lemonade: A refreshing glass of tart lemonade cuts through the richness of the banana pudding, providing a zesty balance that keeps the meal exciting.
-
Pecan Pie: End on a sweet note with a slice of classic pecan pie. The nutty flavors will enhance the experience while sticking to those rich Southern traditions.
How to Store and Freeze Banana Pudding
-
Fridge: Store covered in the refrigerator for up to 4 days. For the best flavor and texture, it’s ideal to enjoy the banana pudding within 2 days.
-
Freezer: It’s best not to freeze banana pudding, as the texture can become grainy and unappealing when thawed.
-
Serving Tip: If storing for later, add fresh banana slices just before serving to maintain their vibrant color and freshness.
-
Reheating: There’s no need to reheat banana pudding; simply enjoy it chilled straight from the fridge for a refreshing treat.
Expert Tips for Banana Pudding
-
Chill Time Matters: Allow your banana pudding to chill overnight for the best flavor and creamy texture. This step can’t be skipped for optimal results.
-
Fresh Bananas Only: Add banana slices just before serving to keep them bright and fresh. This helps avoid browning that can affect the pudding’s appearance.
-
Perfect Consistency: Make sure your pudding mixture is thick enough before layering—aim for a consistency similar to thick custard. This will ensure a delightful texture throughout.
-
No Freezing: Avoid freezing the banana pudding, as it compromises the delicate texture. Stick to refrigerating for the best outcome.
-
Experiment with Layers: Feel free to customize your banana pudding by adding crushed pineapple or different cookie varieties, like Biscoff, for a fun twist.
Old-Fashioned Homemade Banana Pudding Recipe FAQs
How do I choose the best bananas for this pudding?
Absolutely! When selecting bananas, opt for those that are ripe but not overly brown—look for bananas with a few brown speckles on a yellow background. These will provide the perfect sweetness and texture for your pudding. Overripe bananas with dark spots all over can be mushy and affect the overall consistency.
What’s the best way to store leftover banana pudding?
Very simply! Cover your banana pudding tightly with plastic wrap or transfer it to an airtight container. It will keep well in the refrigerator for up to 4 days. However, for the best flavor and texture, I recommend enjoying it within 2 days of preparation.
Can I freeze banana pudding?
I wouldn’t recommend freezing banana pudding. Freezing can cause the pudding to become grainy and affect the creamy texture dramatically once thawed. Instead, if you know you won’t finish it quickly, ensure you eat it up within those first few days for the best experience.
What if my pudding isn’t thickening properly while cooking?
No worries! If your pudding isn’t thickening as expected, make sure you’re cooking over medium heat and stirring consistently to prevent sticking and burning. If it still seems too runny after boiling for a couple of minutes, you can create a cornstarch slurry. Mix 1 tablespoon of cornstarch with 2 tablespoons of cold milk, stir it into the warm pudding, and cook for an extra 2 minutes. This should help achieve that lovely custard-like texture.
Are there any dietary considerations I should be aware of?
Certainly! If you have dietary restrictions, you can substitute regular milk with non-dairy milk for a dairy-free version. For those avoiding gluten, use cornstarch instead of flour. If you’re catering to someone with egg allergies, look for vegan egg replacements to mimic the richness that eggs provide in the pudding. Always check if any guests have allergies, especially to vanilla wafers, as they often contain gluten and other allergens.
How can I enhance the flavor of my banana pudding?
That’s a great question! One delightful way to amp up the flavor is to substitute the vanilla extract with a splash of caramel or almond extract—these can add a warm depth to your pudding. Also, consider layering in crushed pineapple or adding a sprinkle of cinnamon for a unique twist that complements the bananas beautifully. The more the merrier when it comes to flavor—your creativity is the limit!
Creamy Banana Pudding Made from Scratch for Sweet Memories
Ingredients
Equipment
Method
- In a medium saucepan, combine sugar, flour, and salt, whisking them together until well-mixed. Gradually whisk in 3 cups of milk over medium heat, stirring consistently to prevent lumps. Cook this mixture for about 10 minutes, or until it thickens and begins to bubble, resembling a thick custard.
- While your pudding mixture is thickening, crack and beat 3 large eggs in a separate bowl. Once the pudding is thickened, slowly temper the eggs by whisking in a spoonful of the hot pudding. Carefully mix the tempered egg mixture back into the saucepan, stirring continuously. Return the mixture to medium heat and cook for an additional 2 minutes until it just starts to gently boil, stirring frequently.
- After reaching a gentle boil, remove the saucepan from the heat. Stir in 1 tablespoon of pure vanilla extract, mixing well to infuse the flavor throughout the pudding. Allow the pudding to cool for about 15 minutes while stirring occasionally.
- Grab an ungreased 8-inch square baking dish. Start layering with half of the vanilla wafers, followed by half of the banana slices. Then, pour half of the cooled pudding mixture over the layers. Repeat the layers with the remaining ingredients.
- Cover the banana pudding with plastic wrap and refrigerate it for at least 4 hours, but overnight is best for richer flavors.
- Before serving, take the remaining vanilla wafers and crush them into coarse crumbs. Sprinkle these crushed cookies on top of your chilled banana pudding.
Leave a Reply