
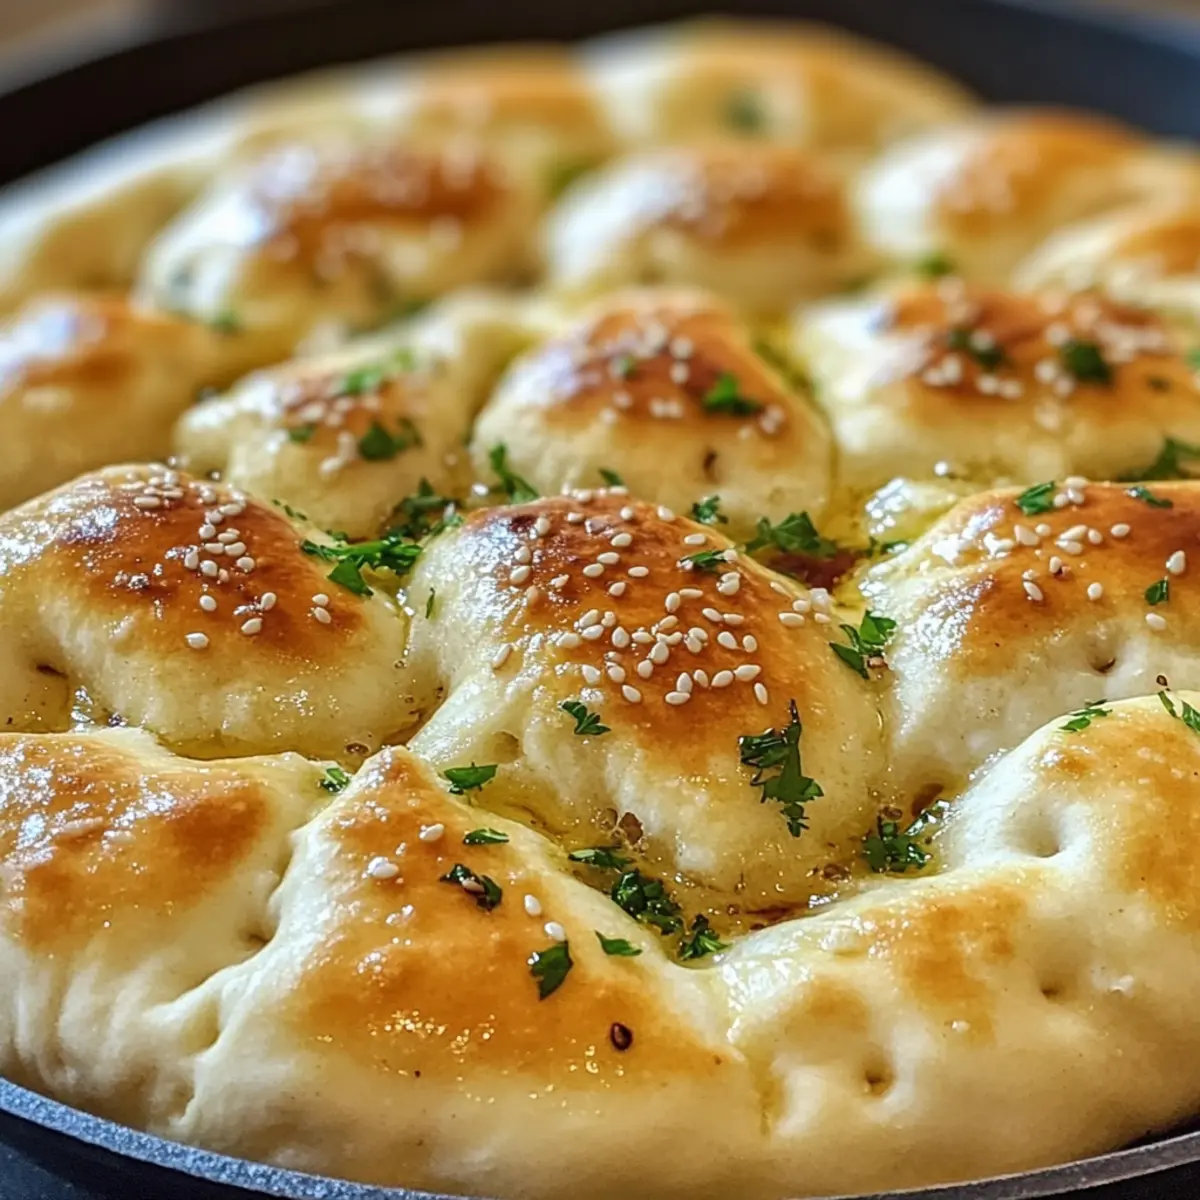
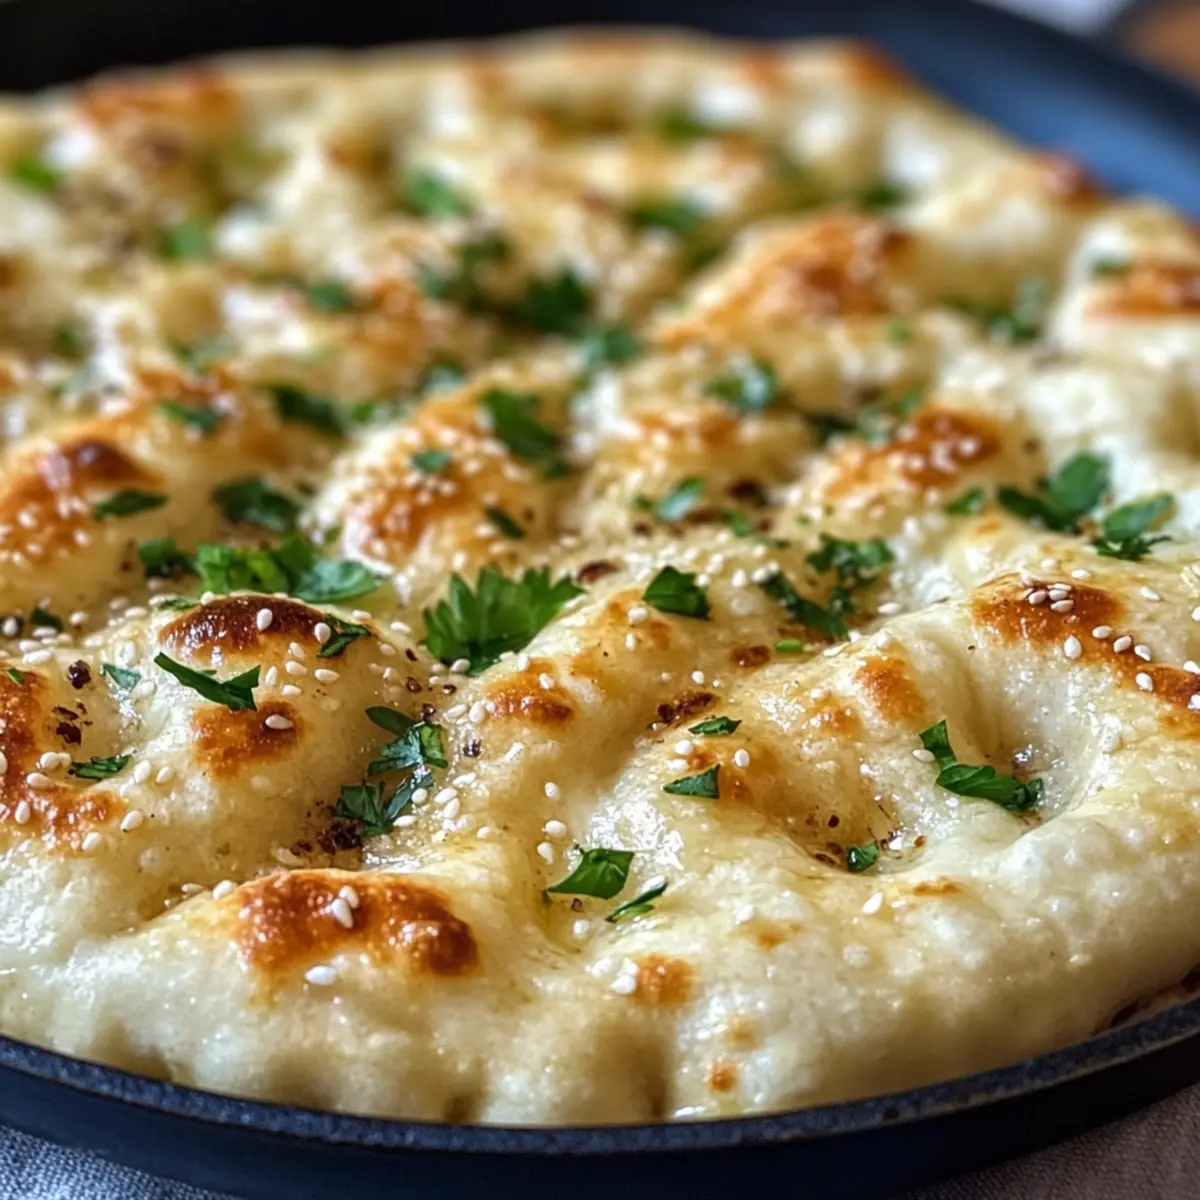
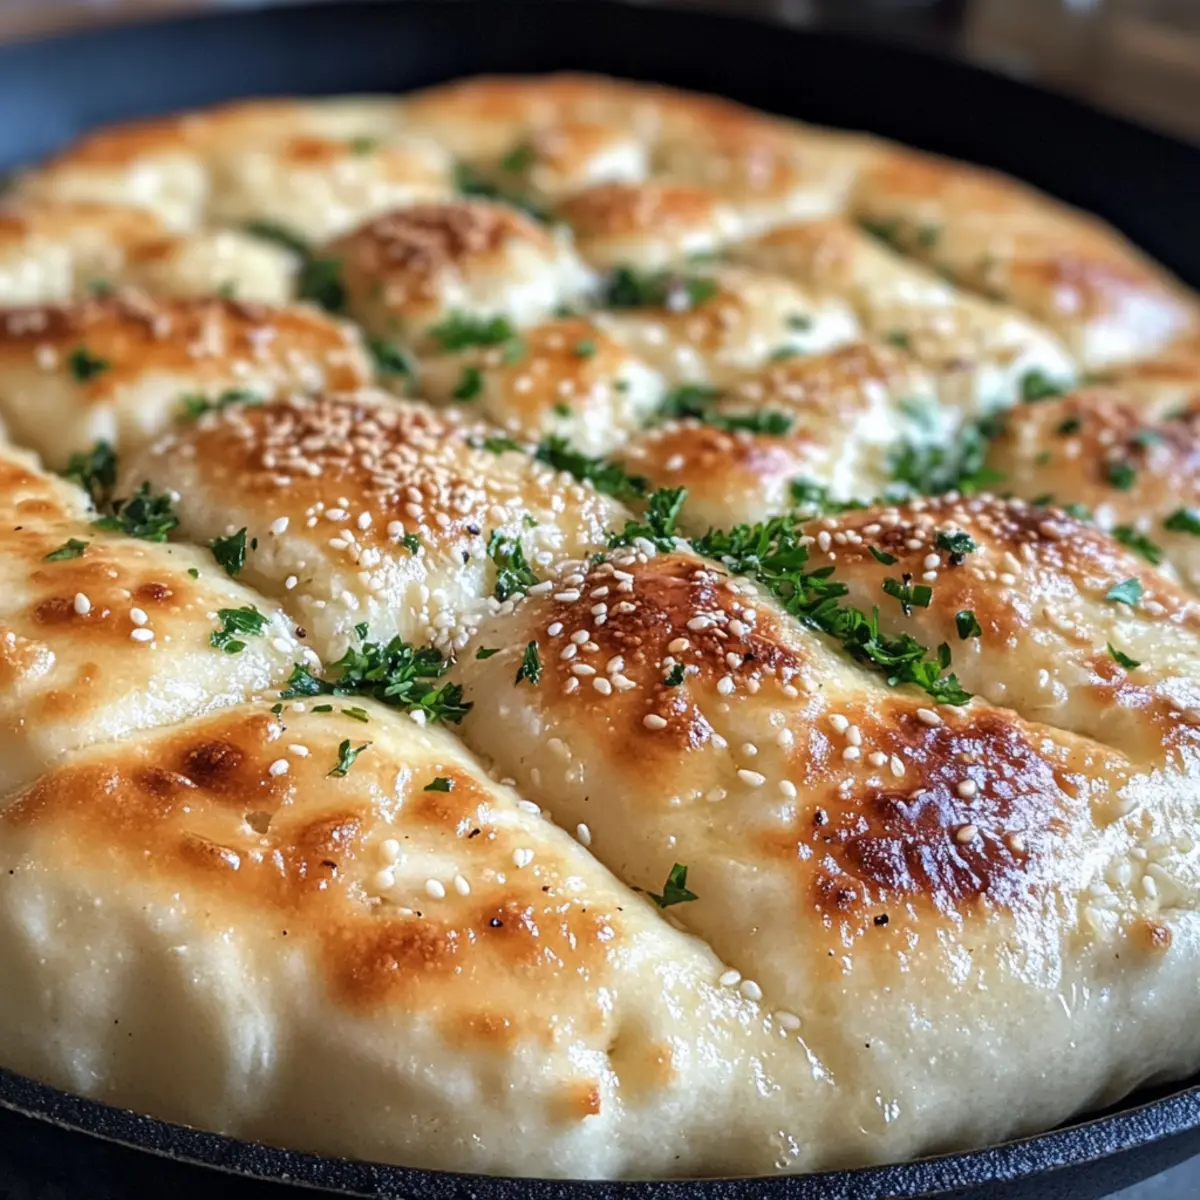
The aroma of freshly baked bread has a way of wrapping around you like a comforting hug, doesn’t it? Today, I’m thrilled to share my take on No-Oven Turkish Bread—a delightful flatbread that’s not only easy to whip up but also perfect for any meal. Imagine soft, fluffy layers lightly browned on the outside, skillfully cooked right on the stovetop. This brings together two irresistible perks: you’ll save energy by skipping the oven and still achieve that dreamy texture you crave. Serve it warm with your favorite dip or use it to cradle savory fillings—a real crowd-pleaser that’s sure to impress. Are you ready to bring a taste of Turkish cuisine into your kitchen with this simple and satisfying recipe?

Why is No-Oven Turkish Bread a Must-Try?
Simplicity at Its Best: The beauty of this recipe lies in its straightforward process, making it accessible for home cooks of all levels.
Soft, Fluffy Texture: Enjoy a delightful bread experience that is irresistibly soft and perfect for dipping or stuffing.
Quick Preparation: No long waits—this skillet flatbread is ready in under an hour, leaving you time to whip up a hearty meal.
Versatile Enjoyment: Whether served warm with olive oil, paired with soups, or used as a wrap, this bread complements every dish beautifully.
Zero Energy Waste: Skip the oven and save energy while still achieving a deliciously golden-brown crust. You’ll also appreciate the cozy aroma filling your kitchen, reminiscent of a bustling Turkish bazaar. Dive into more homemade delights and discover how easy it is to create culinary treasures like satisfying soups and delicious dips to accompany your bread!
No-Oven Turkish Bread Ingredients
For the Dough
- All-Purpose Flour – Provides the main structure of the bread; for a healthier option, substitute with whole wheat flour.
- Salt – Enhances flavor; it’s essential for taste, so do not skip it!
- Sugar – Aids in browning and adds subtle sweetness; can be replaced with honey or agave syrup if preferred.
- Instant Yeast – The key leavening agent for dough rise; if using active dry yeast, activate it first in warm water with sugar for 5-10 minutes until foamy.
- Warm Milk – Adds moisture and richness to the bread; feel free to substitute with non-dairy milk.
- Warm Water – Hydrates the dough; ensure it’s warm but not hot for effective yeast activation.
- Olive Oil or Melted Butter – Provides flavor and moisture; consider using coconut oil for a different taste.
For the Toppings (Optional)
- Melted Butter – Adds richness to the crust; brush it on for extra flavor.
- Garlic (minced) – Enhances flavor; optional but definitely recommended for a tasty kick.
- Sesame Seeds – Contributes texture and a nutty flavor; can be omitted if desired.
- Chopped Fresh Parsley or Cilantro – For garnish and a refreshing touch that elevates the presentation.
Dive into the delightful world of homemade No-Oven Turkish Bread, perfect for gathering around the table and sharing with loved ones!
Step‑by‑Step Instructions for No-Oven Turkish Bread
Step 1: Mix the Dry Ingredients
In a large mixing bowl, combine 4 cups of all-purpose flour, 1 teaspoon of salt, 1 tablespoon of sugar, and 2 teaspoons of instant yeast. Whisk these dry ingredients together thoroughly until the mixture is well-blended, ensuring even distribution of the yeast. This foundational blend is essential for achieving that delightful No-Oven Turkish Bread texture!
Step 2: Add Liquid Ingredients
Gradually pour in 1 cup of warm milk and 1 cup of warm water into the flour mixture, followed by 2 tablespoons of olive oil or melted butter. Stir with a wooden spoon or spatula until a shaggy dough forms. The warmth of the liquids helps activate the yeast, bringing your No-Oven Turkish Bread to life, so ensure they are not too hot to touch.
Step 3: Knead the Dough
Transfer the dough onto a floured surface and knead it for about 8–10 minutes until it becomes smooth and elastic. You want a soft, pliable dough that springs back when poked. Be sure not to skip this step, as proper kneading is key to achieving that perfect fluffy texture in your No-Oven Turkish Bread.
Step 4: Let the Dough Rise
Place your kneaded dough in a lightly oiled bowl and cover it with a clean kitchen towel or plastic wrap. Allow it to rise in a warm, draft-free area until it doubles in size, which should take about 1 hour. This first rise is crucial for developing the airy structure of the No-Oven Turkish Bread.
Step 5: Shape the Dough
Once the dough has risen, punch it down gently to release excess air. Divide it into 8 equal portions and shape each piece into a flat round, about ½ inch thick. Use your hands or a rolling pin to flatten them out, ensuring uniformity in thickness for even cooking.
Step 6: Heat the Skillet
In a large skillet, heat over medium heat; test the heat by sprinkling a few drops of water—if they sizzle, you’re ready to cook. Lightly grease the skillet with a touch of olive oil or butter. This step creates a beautifully golden crust on your No-Oven Turkish Bread, so don’t rush it!
Step 7: Cook the Rounds
Carefully place the flattened dough rounds onto the hot skillet, cooking each side for about 3–5 minutes until they are golden-brown and puffed up. Keep an eye on them, as cooking times may vary depending on your skillet. You’ll know they’re done when they have a lovely, inviting color!
Step 8: Serve and Enjoy
Once cooked, transfer the No-Oven Turkish Bread to a plate and brush the tops with melted butter for extra richness. If desired, sprinkle with minced garlic, sesame seeds, or fresh herbs for added flavor. Serve warm and enjoy this delightful flatbread alongside your favorite dips or meals!
No-Oven Turkish Bread Variations
Feel free to experiment and customize your No-Oven Turkish Bread with these delightful variations that will take your flatbread experience to the next level!
-
Herb-Infused: Add dried herbs like rosemary or thyme directly to the dough for a fragrant twist. These herbs will infuse your bread with aromatic flavors that elevate each bite.
-
Cheesy Delight: Mix in crumbled feta or shredded mozzarella for a gooey surprise inside your bread. The melted cheese adds richness and a delightful burst of flavor that’s simply irresistible.
-
Sweet Twist: Replace sugar with honey for a touch of natural sweetness. This subtle change enhances the bread’s flavor and pairs beautifully with savory dips like hummus or baba ganoush.
-
Spicy Kick: Incorporate chili flakes or finely chopped jalapeños into the dough for a flavorful heat. This variation is perfect for those who love a little spice in their bread, creating a tantalizing contrast to mild dips.
-
Nutty Crunch: Sprinkle sesame seeds or poppy seeds onto the dough before cooking for added texture. This not only adds a delightful crunch but also enhances the visual appeal of your flatbread.
-
Garlic Lover’s Dream: Mix minced garlic into the dough for a robust flavor boost. The aromatic garlic will permeate each bite, making it a fantastic choice for serving with a garlic-infused olive oil dip.
-
Savory Toppings: Experiment with a za’atar seasoning blend spread on top before cooking for a Middle Eastern flair. This unique combination of herbs and spices will transform your flatbread into a culinary delight that’s sure to impress.
-
Gluten-Free Option: Substitute all-purpose flour with a gluten-free flour blend to cater to dietary needs. Make sure to include a binding agent like xanthan gum for the right texture in your No-Oven Turkish Bread.
These variations are an excellent way to personalize your homemade flatbread, turning a simple recipe into something uniquely yours. Whether you decide to go adventurous or stick with classic flavors, your No-Oven Turkish Bread will surely shine on the dinner table. Serve it warm alongside your favorite dishes or enjoy it with homemade delicious dips that will perfectly complement every bite!
What to Serve with Easy No-Oven Turkish Bread?
Imagine a delightful gathering around the table, where every dish complements the warmth of homemade flatbread, inviting all to indulge.
-
Classic Hummus: This creamy dip brings a luscious texture that pairs perfectly with the soft and fluffy bread, enhancing every bite.
-
Roasted Vegetables: The sweetness of roasted seasonal veggies adds a lovely contrast, creating a vibrant, wholesome meal.
-
Herb-Infused Olive Oil: Drizzling your warm No-Oven Turkish Bread with a fragrant blend of olive oil and fresh herbs makes for a simple, yet elegant starter.
-
Spicy Lentil Soup: The hearty nature of this soup not only warms the soul but also beautifully balances the delicacy of the Turkish bread.
-
Grilled Chicken Skewers: Juicy, seasoned skewers provide a satisfying protein component, making it a fantastic meal option that holds up well against the flatbread’s fluffiness.
-
Greek Tzatziki: The cool yogurt and cucumber sauce is refreshing and pairs wonderfully with the savory flavors of the bread, amplifying the overall taste experience.
-
Feta Dip: A tangy feta spread topped with olive oil and spices creates a delightful bite, showcasing the versatility of the Turkish bread.
-
Refreshing Salad: A crisp salad with cucumbers, tomatoes, and fresh herbs brightens each meal, inviting you to savor every aspect of your culinary creation.
-
Mint Tea: End your meal on a refreshing note with a soothing cup, perfectly complementing the flavors of your Turkish bread creations.
Expert Tips for No-Oven Turkish Bread
Knead Well: Make sure to knead your dough for at least 8 minutes. Proper kneading develops gluten, which contributes to a soft and fluffy texture.
Check Yeast Freshness: Always ensure your instant yeast is fresh. If your dough doesn’t rise, your yeast may be expired.
Temperature Matters: Use warm, not hot, liquids when activating the yeast. Hot water can kill the yeast, preventing your No-Oven Turkish Bread from rising.
Monitor Cooking Time: Keep a close eye on the cooking time. Each flatbread should golden nicely; adjust heat if necessary to avoid burning.
Experiment with Flavors: Feel free to add dried herbs or cheese to the dough for added taste, making your No-Oven Turkish Bread even more delightful.
Make Ahead Options
These No-Oven Turkish Bread are perfect for busy weeknights! You can prepare the dough up to 24 hours in advance. Simply mix and knead the dough as instructed, then cover it and refrigerate after the first rise. To keep the dough fresh, ensure it’s wrapped tightly in plastic wrap or stored in an airtight container. When you’re ready to cook, let the dough sit at room temperature for about 30 minutes before shaping and cooking. This way, you’ll enjoy deliciously fluffy homemade bread with minimal effort, allowing you more time to enjoy the meal with your loved ones!
How to Store and Freeze No-Oven Turkish Bread
Room Temperature: Store your No-Oven Turkish Bread in an airtight container or wrapped in plastic wrap at room temperature for up to 2 days to maintain freshness.
Fridge: If you need to keep it longer, place the bread in the fridge where it will stay fresh for up to a week. Just remember to rewarm before serving!
Freezer: For longer storage, freeze the flatbreads by wrapping them securely in aluminum foil or plastic wrap. They can last in the freezer for up to 3 months.
Reheating: Reheat the thawed No-Oven Turkish Bread in a skillet over medium heat for a couple of minutes on each side for a deliciously warmed and slightly crispy texture.
No-Oven Turkish Bread Recipe FAQs
What type of flour is best for No-Oven Turkish Bread?
I recommend using all-purpose flour for the best structure, but you can opt for whole wheat flour for a healthier alternative. Just keep in mind that whole wheat flour may give a slightly denser texture.
How long can I store No-Oven Turkish Bread?
You can store your No-Oven Turkish Bread in an airtight container or wrapped in plastic wrap at room temperature for up to 2 days. If you want to keep it longer, it can stay fresh in the fridge for about a week—just remember to rewarm it before serving!
Can I freeze No-Oven Turkish Bread?
Absolutely! To freeze, wrap each flatbread securely in aluminum foil or plastic wrap, ensuring no air escapes. They can last in the freezer for up to 3 months. When you’re ready to enjoy, simply thaw at room temperature and reheat in a skillet for that freshly baked taste.
What should I do if my dough doesn’t rise?
If the dough doesn’t rise, check if your instant yeast is fresh! To ensure it’s active, dissolve it in warm water with a bit of sugar and let it sit for 5-10 minutes until it’s bubbly and foamy. If that doesn’t happen, your yeast may be expired.
Can I make No-Oven Turkish Bread pet-friendly?
While this recipe contains ingredients like flour, water, and a small amount of sugar, it’s important to note that pets shouldn’t generally consume bread. If you’re looking to share some homemade goodies with your pet, consider making a special, dog-friendly version without yeast or sugar. Always consult your vet if unsure!
No-Oven Turkish Bread: Soft, Fluffy Skillet Delight
Ingredients
Equipment
Method
- In a large mixing bowl, combine 4 cups of all-purpose flour, 1 teaspoon of salt, 1 tablespoon of sugar, and 2 teaspoons of instant yeast. Whisk together until well-blended.
- Gradually pour in 1 cup of warm milk and 1 cup of warm water, followed by 2 tablespoons of olive oil or melted butter. Stir until a shaggy dough forms.
- Transfer the dough onto a floured surface and knead for about 8–10 minutes until smooth and elastic.
- Place the kneaded dough in a lightly oiled bowl and cover with a towel. Allow it to rise in a warm area until it doubles in size, about 1 hour.
- Punch the risen dough down and divide into 8 portions, shaping each into a flat round, about ½ inch thick.
- Heat a large skillet over medium heat and lightly grease with olive oil or butter.
- Carefully place the flattened rounds onto the skillet, cooking each side for 3–5 minutes until golden-brown and puffed up.
- Transfer the bread to a plate and brush the tops with melted butter. Serve warm with dips or meals.
Leave a Reply