
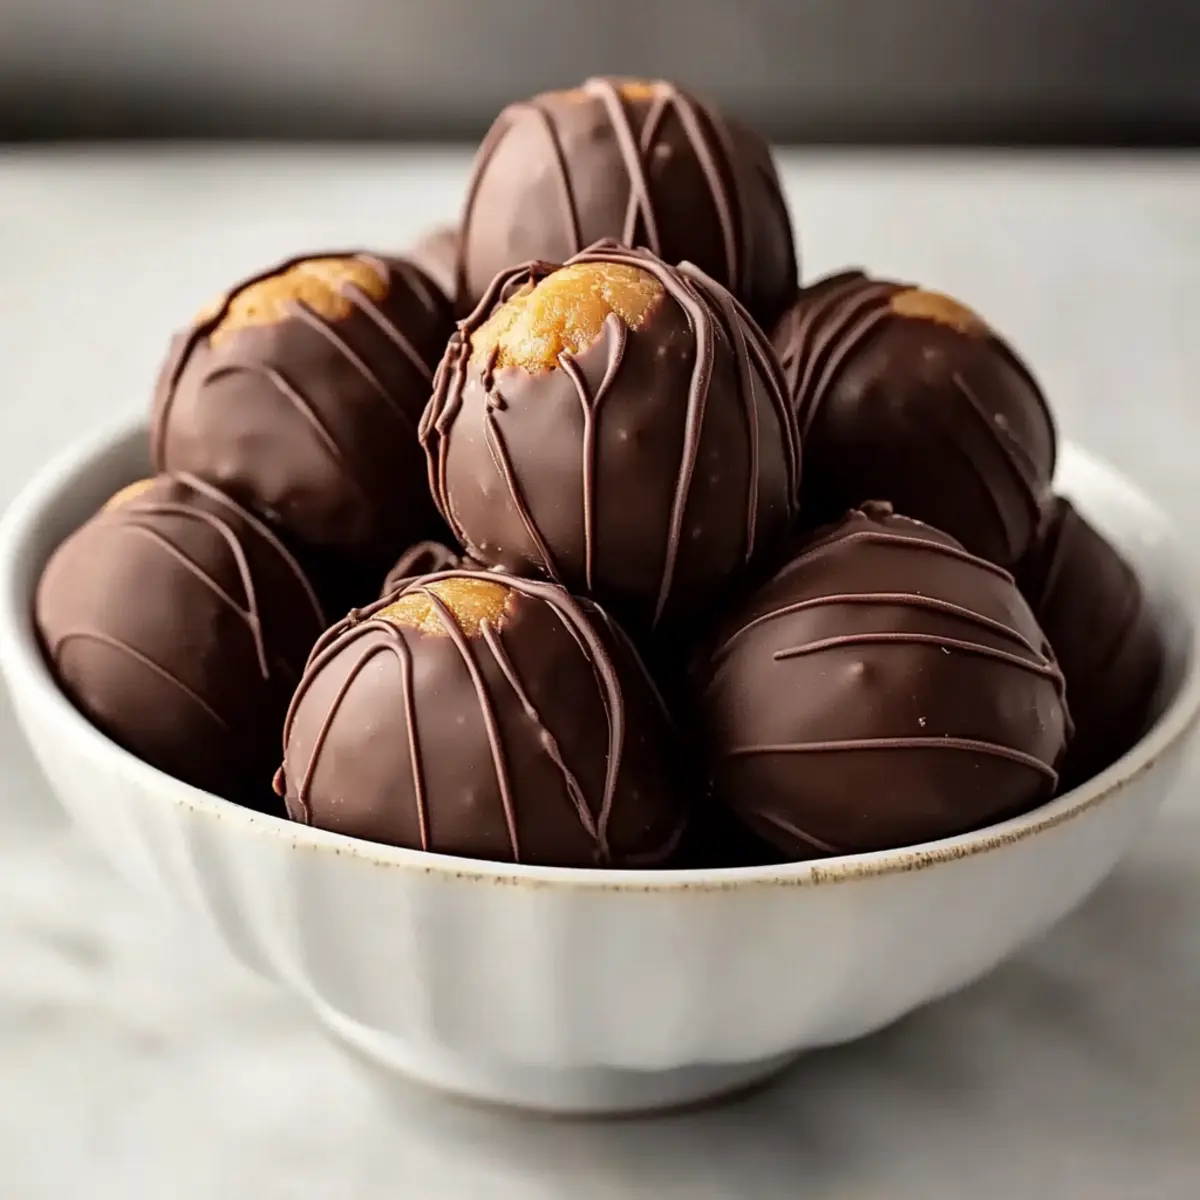
“Can you believe how easy these are?” I whispered to my friend as we watched a batch of no-bake Peanut Butter Balls come together effortlessly. Infused with the nostalgic taste of creamy peanut butter and silky chocolate, these treats whisk you back to carefree childhood moments. Not only are they a delight to make, but they also serve as the perfect solution for busy weeks—ready in just a flash for any occasion! Whether you’re hosting a gathering or simply treating yourself, these delectable bites promise to be a hit. Plus, they’re freezer-friendly, meaning you can whip up a big batch and savor them whenever the craving strikes. Curious about how to make these delightful morsels? Let’s dive in!
Why are Peanut Butter Balls irresistible?
Simplicity at Its Best: These no-bake Peanut Butter Balls require no complicated steps or fancy techniques, making them a breeze for anyone to create.
Nostalgic Flavor: With their rich, creamy peanut butter center and decadent chocolate coating, they evoke fond memories of childhood treats that everyone loves.
Versatile Variants: Whether you prefer classic peanut butter, crunchy bites, or indulgent Oreo creations, there’s a variation to satisfy every palate.
Crowd-Pleasing Treat: Perfect for parties or snack time, these delightful morsels are sure to impress friends and family, becoming a staple at any gathering.
Make-Ahead Magic: Stash them in your fridge or freezer for quick access whenever a craving strikes; they’re ideal for busy weekdays or spontaneous celebrations!
Peanut Butter Balls Ingredients
• Prepare to whip up some delicious Peanut Butter Balls with these simple ingredients!
For the Peanut Butter Mixture
- Creamy Peanut Butter – Provides a rich, nutty base; opt for a non-natural brand to avoid separation.
- Unsalted Butter – Adds moisture and helps bind the mixture; make sure it’s softened for easy mixing.
- Vanilla Extract – Enhances flavor; it’s optional, but highly recommended for a deeper taste.
- Salt – Balances sweetness and boosts peanut butter’s flavor profile.
- Powdered Sugar – Sweetens and structures the balls; sift before use to achieve a smooth consistency.
For the Chocolate Coating
- Semi-Sweet Chocolate Chips – Coats the peanut butter mixture; choose high-quality chocolate for the best results. Can substitute with milk or dark chocolate.
- Vegetable Shortening or Coconut Oil – Optional for a smoother chocolate coating; assists with consistency while melting.
These ingredients come together to create a delicious treat that will have everyone asking for more!
Step‑by‑Step Instructions for Peanut Butter Balls
Step 1: Prepare Peanut Butter Mixture
In a large mixing bowl, beat together 1 cup of creamy peanut butter, 1/2 cup of softened unsalted butter, 1 teaspoon of vanilla extract, and a pinch of salt until the mixture is smooth and creamy. Gradually incorporate about 2 cups of sifted powdered sugar into the mixture, stirring until a thick and rollable dough forms. This step is crucial for achieving the perfect texture for your Peanut Butter Balls.
Step 2: Shape Balls
Once the dough is ready, use your hands to roll it into 1-inch balls, placing each one onto a parchment-lined baking sheet. Ensure the balls are uniform in size for even chilling and easy dipping. Once shaped, cover the tray and chill the balls in the refrigerator for 30-45 minutes, or until they become firm and slightly solidify, making them easier to dip in chocolate.
Step 3: Melt Chocolate
While the peanut butter balls chill, melt 1 ½ cups of semi-sweet chocolate chips with 1 tablespoon of vegetable shortening or coconut oil for a smoother coating. Use a microwave-safe bowl and microwave in 30-second intervals, stirring between each until the chocolate is completely melted and glossy. Ensure these are ready while your Peanut Butter Balls firm up for seamless dipping.
Step 4: Dip Balls
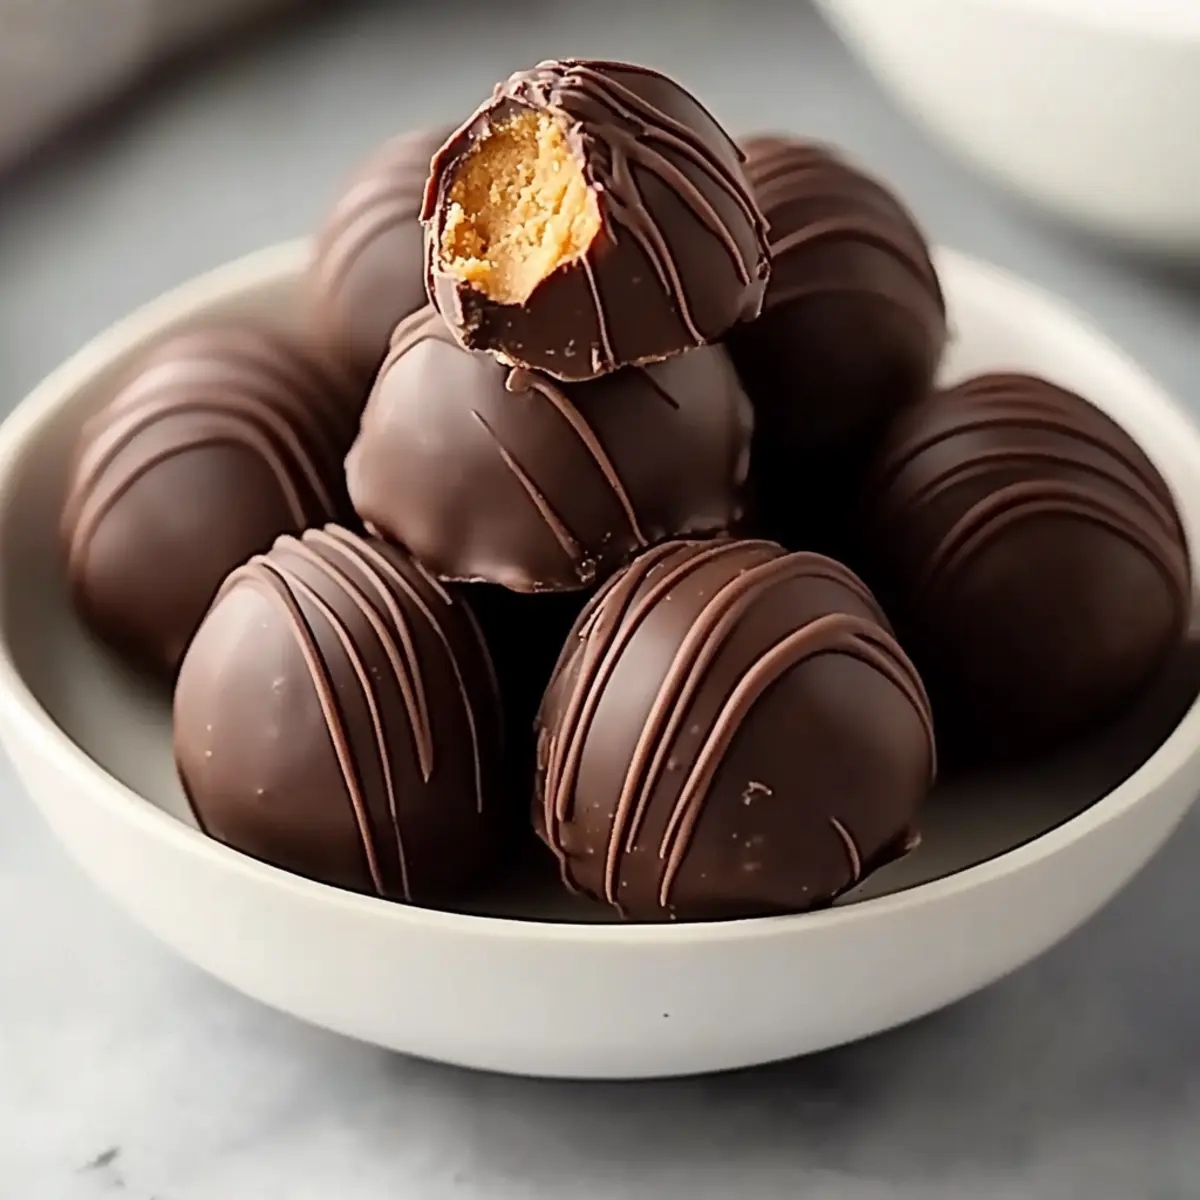
Remove the chilled Peanut Butter Balls from the refrigerator. Using a fork, dip each ball into the melted chocolate, allowing any excess to drip back into the bowl. For Buckeye style, leave the top exposed! Place the coated balls back on the parchment-lined tray and repeat until all are covered, ensuring a delightful chocolate outer shell encapsulates the creamy peanut butter center.
Step 5: Chill Again and Serve
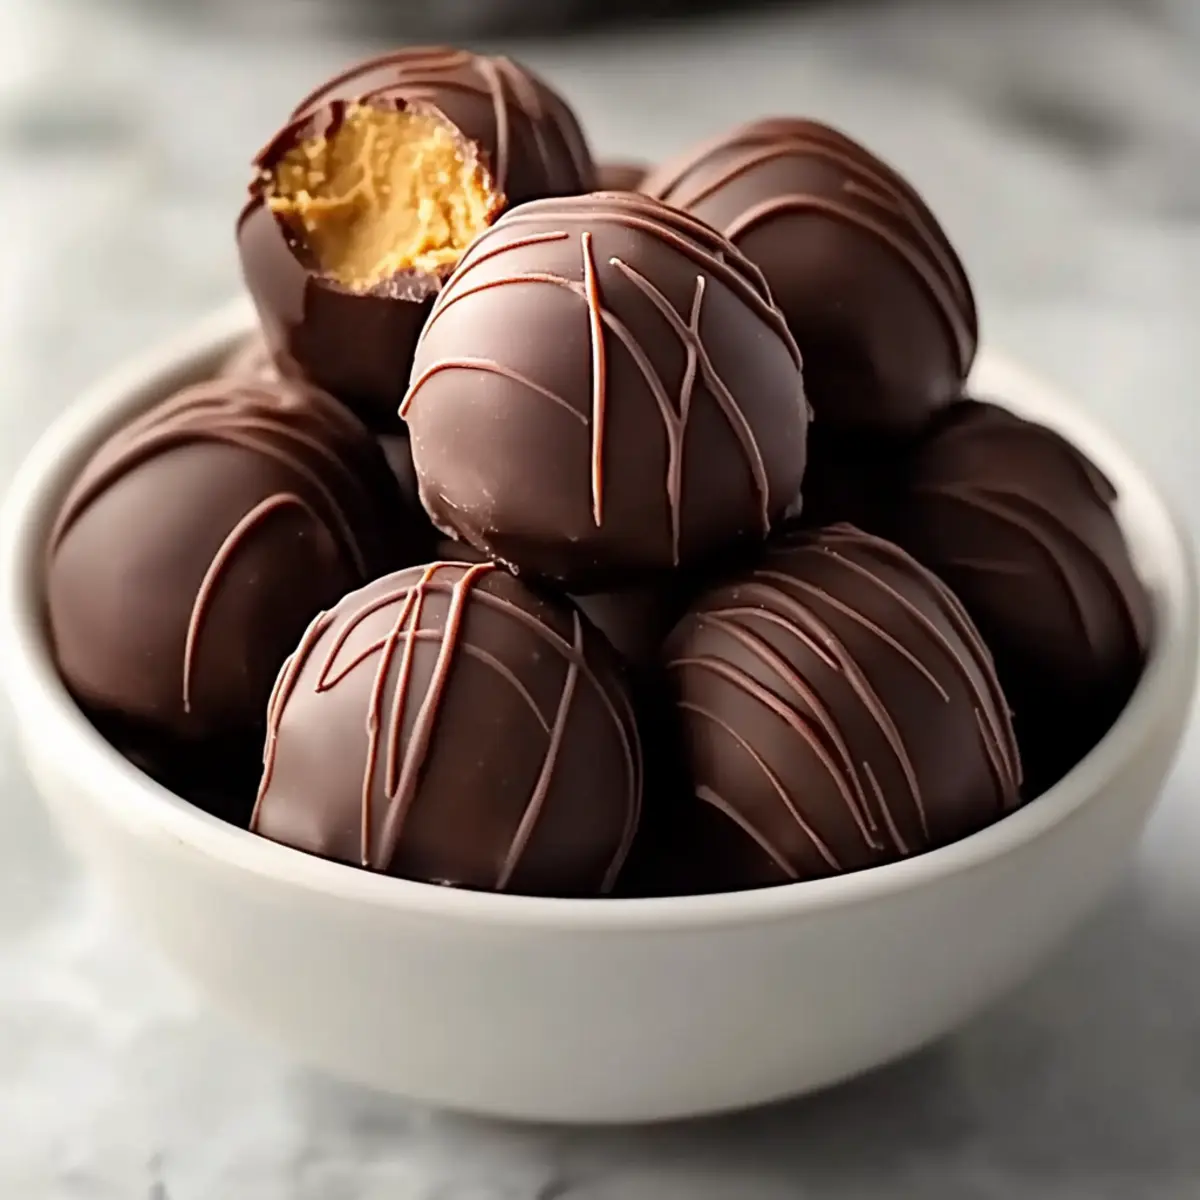
After all the balls are dipped and set on the tray, refrigerate them for an additional 20-30 minutes to allow the chocolate coating to set firm. Once the chocolate is completely hardened, your delicious Peanut Butter Balls are ready to serve! You can enjoy them chilled or at room temperature, making them a versatile sweet treat for any occasion.
Expert Tips for Peanut Butter Balls
-
Thick Mixture: Ensure your peanut butter mixture is thick enough by gradually adding powdered sugar. If it’s too sticky, your balls won’t hold together well.
-
Chocolate Coating: For a glossy finish, incorporate a bit of coconut oil or shortening while melting the chocolate. This helps achieve a smooth and shiny coat on your Peanut Butter Balls.
-
Chilling Time: Don’t rush the chilling process! Allow the balls to firm up fully in the refrigerator for at least 30-45 minutes. This makes dipping much easier.
-
Consistent Size: Roll uniform 1-inch balls to ensure even chilling and coating. Inconsistent sizes may lead to uneven texture in the final product.
-
Storage Secrets: Keep your Peanut Butter Balls in an airtight container in the fridge for up to 2 weeks. They make a great snack on-the-go!
Make Ahead Options
These no-bake Peanut Butter Balls are an excellent choice for meal prep, saving you time during busy weeks! You can prepare the peanut butter mixture up to 3 days in advance; simply mix the ingredients and refrigerate until you’re ready to roll them into balls. Additionally, the rolled balls can be chilled for up to 24 hours before dipping them in chocolate. Just keep them covered in the fridge to maintain their firmness. When you’re ready to serve, melt the chocolate, dip the chilled balls, and allow them to set in the refrigerator for 20-30 minutes. With these easy make-ahead steps, you’ll always have delicious Peanut Butter Balls on hand for any occasion!
Peanut Butter Balls Variations & Substitutions
Feel free to get creative with these no-bake treats and customize them to your liking!
-
Crunchy Peanut Butter: Swap creamy peanut butter for crunchy for an extra delightful bite and texture contrast.
-
Oreo Peanut Butter Balls: Fold crushed Oreos into the peanut butter mixture to bring in a delightful twist of cookie flavor; it’s a childhood favorite come to life!
-
Pretzel Peanut Butter Balls: Mix in crushed pretzels for a sweet-and-salty explosion that tantalizes your taste buds with every bite.
-
Holiday Variation: Top with festive sprinkles or edible glitter before the chocolate sets to make these treats the star of any holiday gathering.
-
Protein-Packed Twist: Add a scoop of protein powder to the peanut butter mix for an energizing snack—perfect for busy days!
-
Nut-Free Option: Substitute peanut butter with sunflower seed butter to make these delicious balls school-friendly and suitable for nut allergies.
-
Chocolate Variants: Switch the chocolate coating to white chocolate or use a mix of different chocolates for a fun visual appeal and new flavor profiles.
-
Flavor Infusion: Experiment with different extracts, such as almond or maple, to add a unique twist to the flavor that will leave your friends guessing!
These variations ensure that your Peanut Butter Balls stay exciting and bring joy to any table. If you’re in a mood for something extra sweet, consider pairing your creations with a glass of cold milk or serving them on a beautifully arranged platter—perfect for sharing with loved ones!
What to Serve with No-Bake Peanut Butter Balls
Imagine the delightful crunch of a crispy snack or the soothing warmth of a comforting drink, perfectly complementing your indulgent treat.
-
Fresh Fruit Platter: Bright, juicy fruits like strawberries and apples balance the richness of the Peanut Butter Balls, adding a refreshing contrast.
-
Glass of Milk: The classic pairing! Creamy milk softens the sweetness and enhances the nostalgic flavor of peanut butter delightfully.
-
Chocolate Drizzle Brownies: Rich, fudgy brownies echo the chocolate coating, intensifying the chocolatey experience for a truly indulgent dessert.
-
Salty Pretzel Bites: The salty crunch of pretzels creates an addictive sweet-and-salty combo, perfect for snacking alongside your sweet treats.
-
Vanilla Ice Cream: Add a scoop of velvety vanilla ice cream to complete the meal and create a luscious dessert experience that pleases all ages.
-
Coffee or Espresso: A warm cup of coffee invigorates your palate and helps to balance the sweet peanut butter flavor, making for a delightful afternoon pick-me-up.
-
Caramel Apple Slices: Crisp apple slices drizzled with caramel provide a fruity, sweet contrast that enriches the overall flavor experience.
-
Chocolate Mint Tea: The refreshing notes of mint in your tea can beautifully balance the richness of Peanut Butter Balls, offering a calming end to your treat.
Storage Tips for Peanut Butter Balls
Fridge: Store your Peanut Butter Balls in an airtight container for up to 2 weeks. This keeps them fresh and delicious, ready for snacking!
Freezer: For longer storage, freeze the balls for up to 3 months. Arrange them in a single layer on a baking sheet, then transfer to a container or zip-top bag once they are firm.
Thawing: When you’re ready to enjoy, simply thaw the Peanut Butter Balls in the fridge overnight or at room temperature for a couple of hours.
Reheating: These treats are best enjoyed chilled, but if you prefer them slightly softened, let them sit out for about 10-15 minutes before serving!
Peanut Butter Balls Recipe FAQs
What type of peanut butter should I use?
Absolutely! For the best texture, I recommend using a non-natural creamy peanut butter like Jif or Skippy. These brands tend to be more stable and won’t separate, ensuring your Peanut Butter Balls hold their shape nicely.
How should I store my Peanut Butter Balls?
You can store your Peanut Butter Balls in an airtight container in the refrigerator for up to 2 weeks. If you want to enjoy them longer, freeze them for up to 3 months. Just arrange them in a single layer on a baking sheet until firm, then transfer to a container or zip-top bag for optimal storage.
Can I freeze Peanut Butter Balls? How?
Certainly! To freeze your Peanut Butter Balls, follow these steps:
- Allow the balls to chill in the fridge until firm.
- Place them in a single layer on a baking sheet, ensuring they aren’t touching.
- Freeze for an hour or until solid.
- Transfer to an airtight container or zip-top bag and label with the date.
When you’re ready to enjoy, just pull out the desired amount and thaw them in the fridge overnight or for a couple of hours at room temperature.
What if my mixture is too sticky?
Very common! If your peanut butter mixture feels too sticky, simply add more sifted powdered sugar, a little at a time, until you achieve a thick and workable dough. It’s essential for ensuring your Peanut Butter Balls don’t fall apart during rolling and dipping.
Are Peanut Butter Balls safe for people with nut allergies?
Unfortunately, no. These delightful treats contain peanut butter and are not safe for individuals with nut allergies. If you’re looking for alternatives, consider making similar no-bake treats using sun butter, which is made from sunflower seeds and nut-free.
How can I customize my Peanut Butter Balls?
The more the merrier! You can switch things up by using crunchy peanut butter for a delightful texture, or add crushed Oreos into the mixture for a fun twist. Don’t be shy about getting creative—these treats are as versatile as they are delicious!
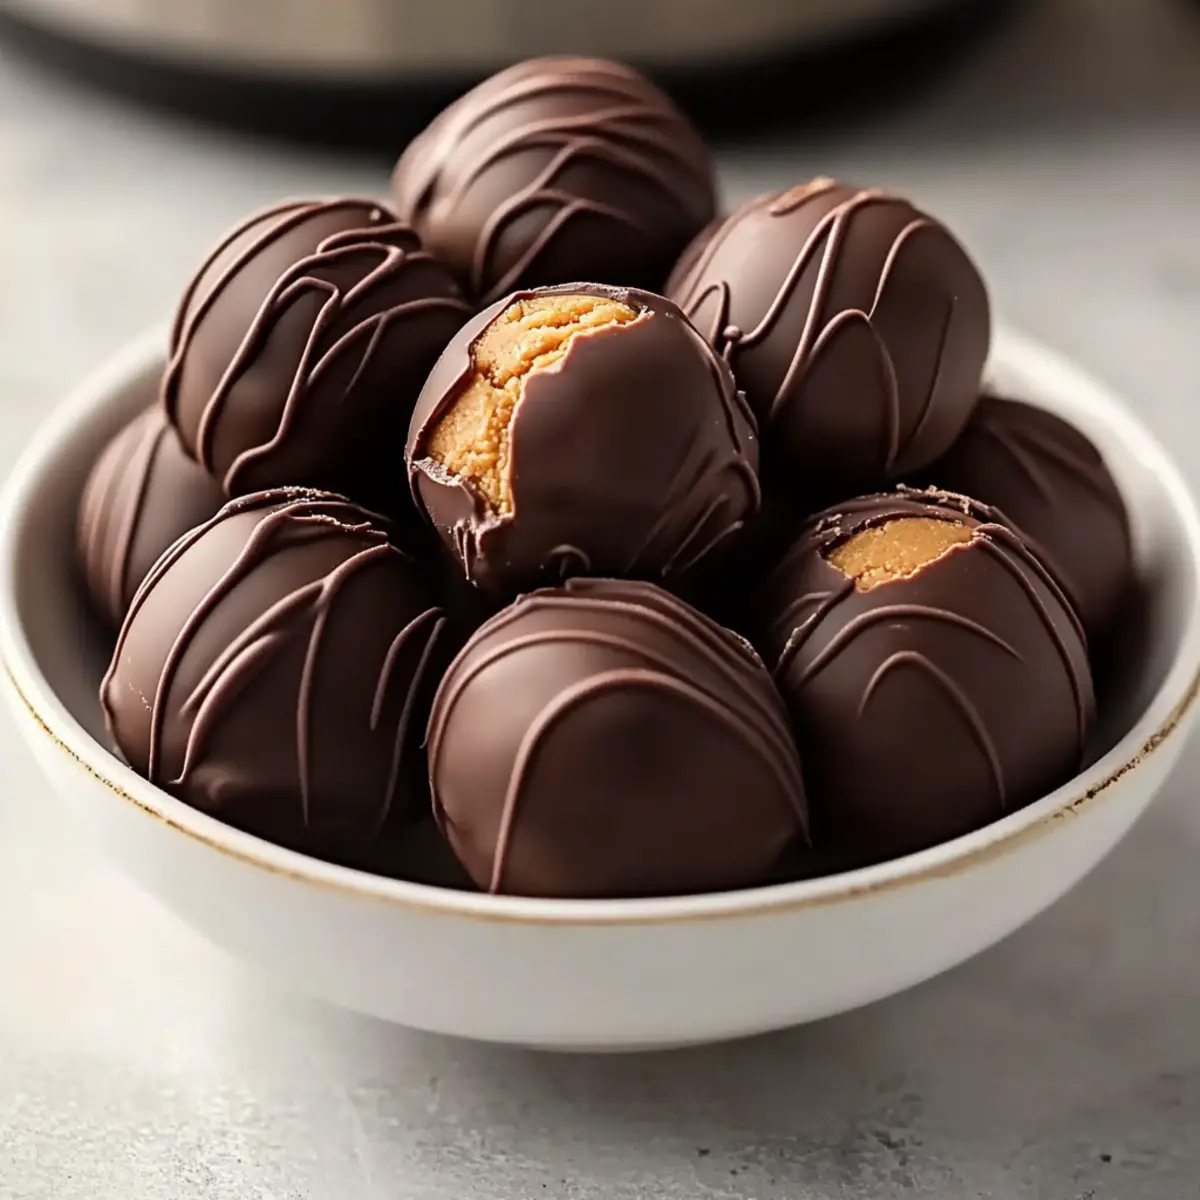
Decadent Peanut Butter Balls That Will Steal Your Heart
Ingredients
Equipment
Method
- Prepare Peanut Butter Mixture - In a large mixing bowl, beat together creamy peanut butter, softened unsalted butter, vanilla extract, and a pinch of salt until smooth. Gradually incorporate sifted powdered sugar until a thick dough forms.
- Shape Balls - Roll the dough into 1-inch balls and place them on a parchment-lined baking sheet. Chill in the refrigerator for 30-45 minutes.
- Melt Chocolate - Melt semi-sweet chocolate chips with vegetable shortening or coconut oil in a microwave-safe bowl until glossy.
- Dip Balls - Remove chilled Peanut Butter Balls from the refrigerator, dip in melted chocolate, and place back on the parchment-lined tray.
- Chill Again and Serve - Refrigerate for 20-30 minutes to set the chocolate coating before serving.
Leave a Reply