
As I stood in my kitchen, the sweet scent of melting butter and cocoa began to swirl around me, sparking a wave of nostalgia. The allure of Red Velvet Cookies is truly irresistible; they evoke memories of family gatherings and festive celebrations. Unlike the traditional cake, these cookies bring a delightful soft and chewy texture, combining the rich flavors of chocolate and vanilla in every bite. Plus, there’s no boring chill time to snuff out your cravings—like a culinary magic trick, you can whip them up in no time! Perfect for any occasion, from cozy rainy days to holiday festivities, these cookies are bound to be a hit. Ready to impress your loved ones or simply indulge yourself in this quick treat? Let’s dive into the deliciousness of these Red Velvet Cookies!
Why Are These Cookies So Special?
Simplicity: With just a few steps, this recipe is a breeze to follow, making it perfect for bakers of any skill level.
No Chill Time: Forget the waiting game—you’re just minutes away from enjoying warm, soft cookies straight from the oven!
Gluten-Free Option: Easily swap in gluten-free flour to cater to dietary needs without sacrificing taste or texture.
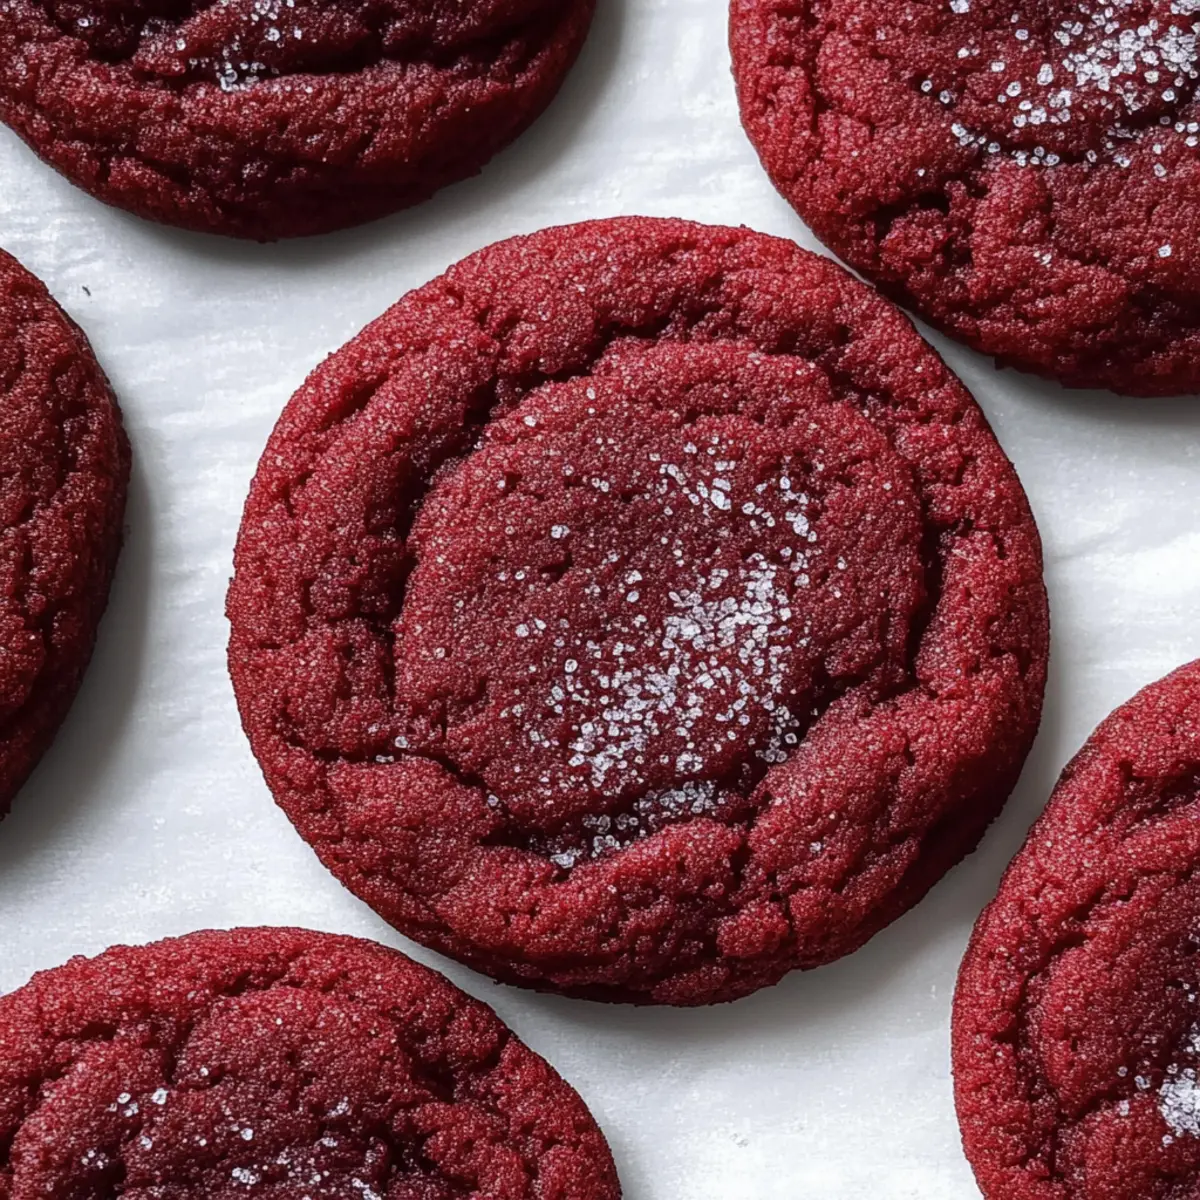
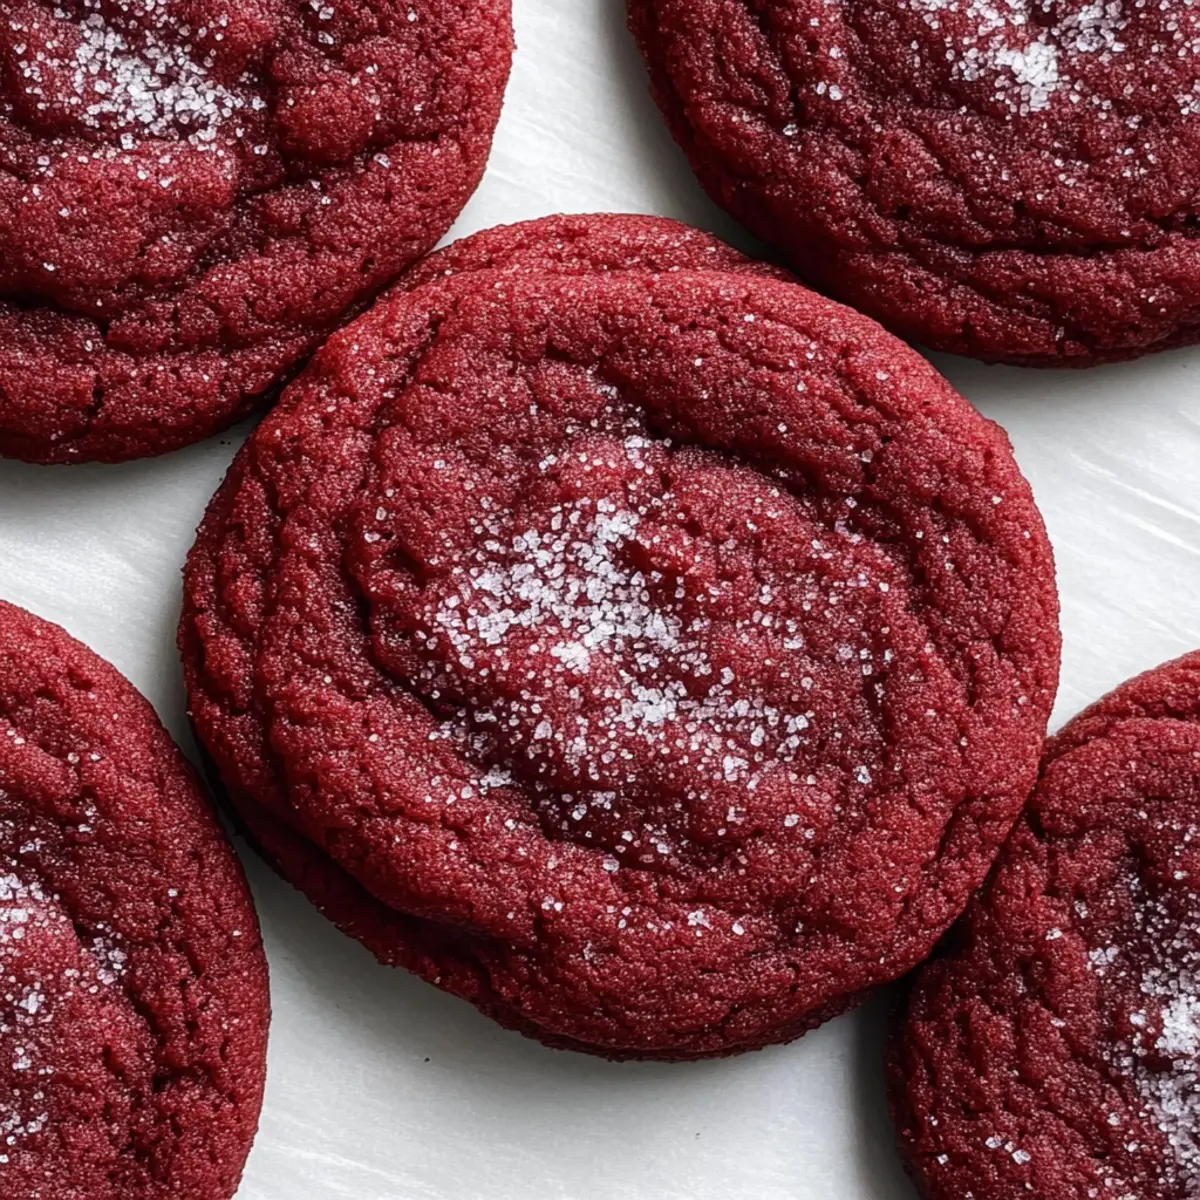
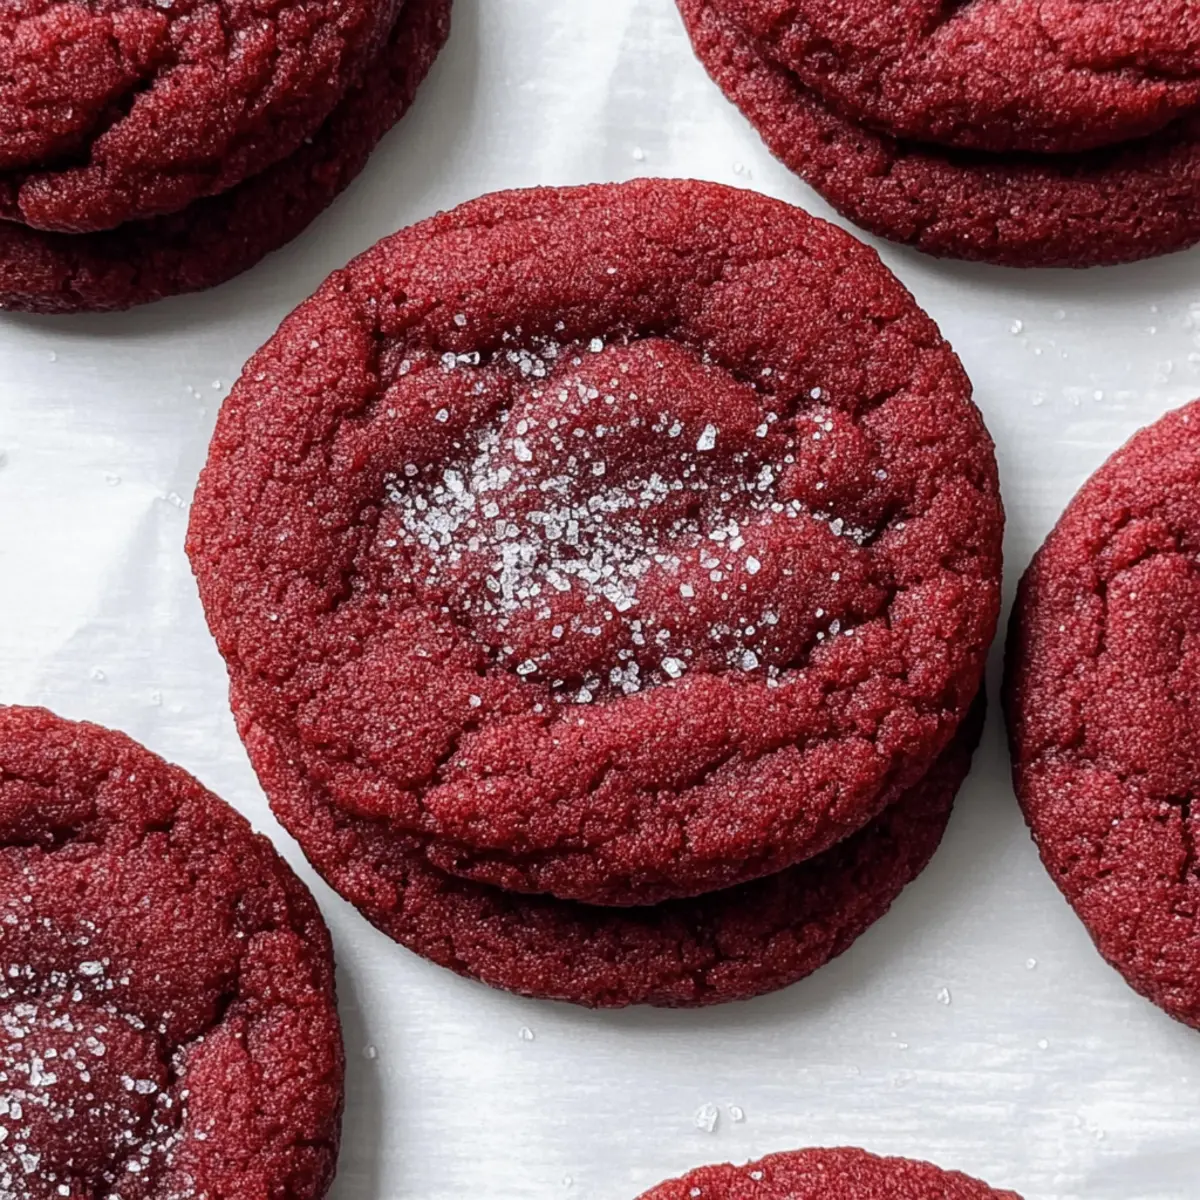
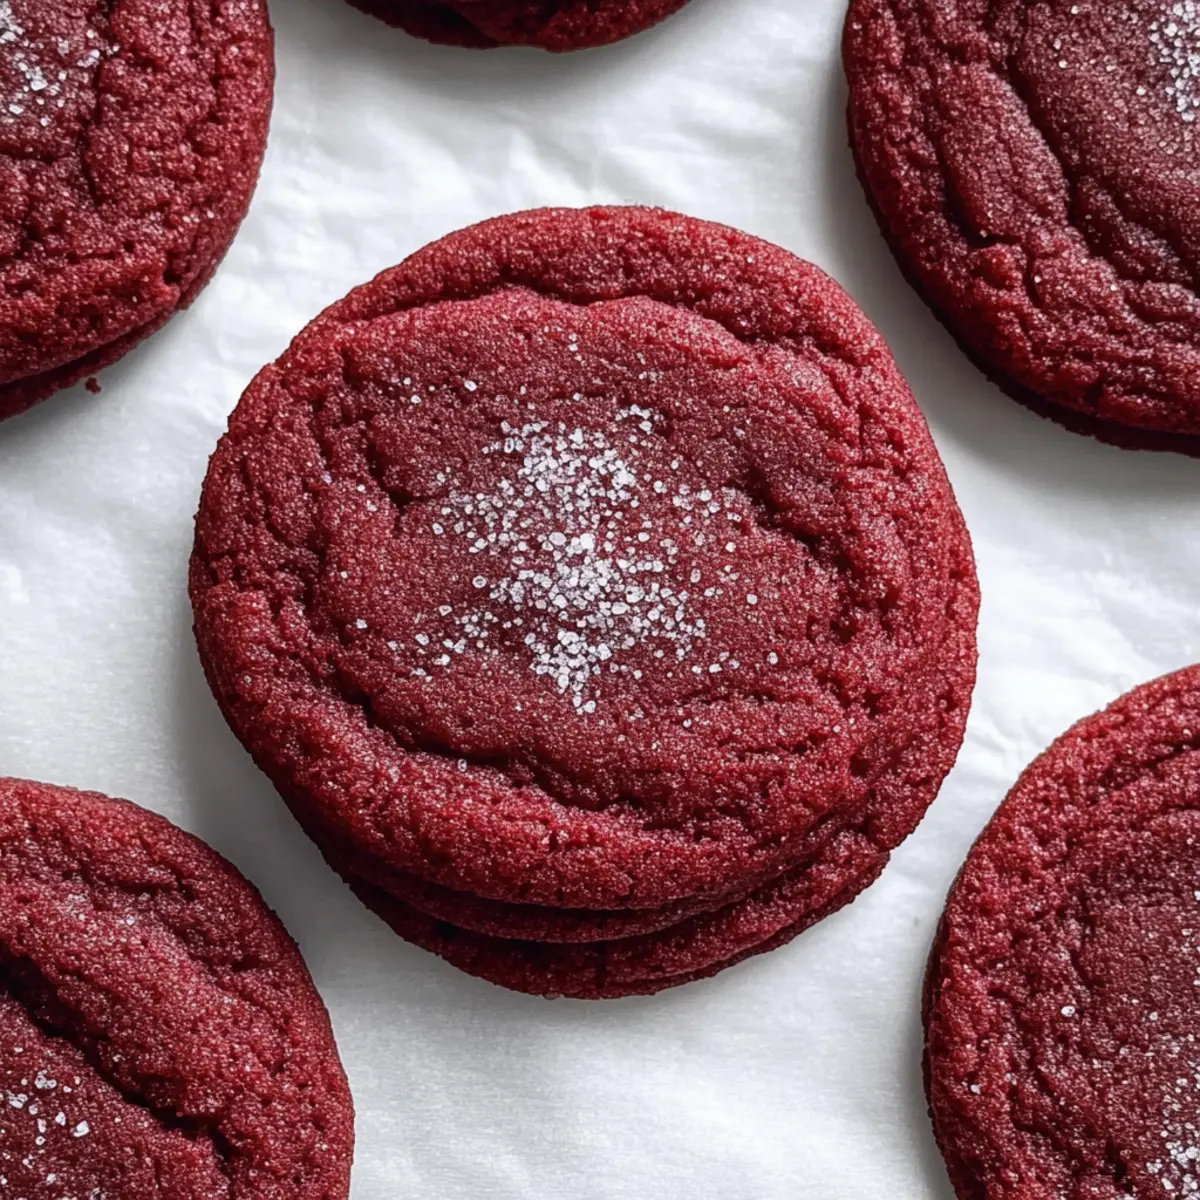
Visually Striking: The vibrant red color topped with sparkling sanding sugar makes these cookies a standout treat for any gathering.
Endless Variations: Whether you decide to add chocolate chips or omit the dye for a classic chocolate cookie, the possibilities are endless!
Nostalgic Flavor: Each bite captures the comforting essence of red velvet cake, sure to spark fond memories, making them ideal for celebrations or just an everyday snack.
Red Velvet Cookies Ingredients
Let’s dive into the delightful ingredients that make these Red Velvet Cookies a dream come true in your kitchen!
For the Cookie Base
- Butter – Adds richness and moistness; can be substituted with margarine or coconut oil for a dairy-free option.
- Granulated Sugar – Provides sweetness; pairs perfectly with brown sugar for moisture.
- Brown Sugar – Adds a deeper flavor; can be substituted with coconut sugar for a unique twist.
- Large Egg – Binds ingredients and gives structure; for a vegan option, consider using a flax egg instead.
- Vanilla Extract – Enhances overall flavor; swap for almond extract if you’re feeling adventurous.
- Red Gel Food Coloring – Delivers that classic red velvet hue; beet powder is a great natural substitute for a softer color.
For the Dry Mix
- All-Purpose Flour – Gives cookies their structure; use a gluten-free blend if desired (ensure it includes xanthan gum).
- Cocoa Powder – Adds a subtle chocolate note; dark cocoa can intensify the flavor.
- Baking Powder – Helps the cookies rise; ensure it’s fresh for best results.
- Baking Soda – Works alongside baking powder for that soft, chewy texture.
- Salt – Balances the sweet elements and enhances flavors.
For the Topping
- Red Sanding Sugar – Adds a decorative crunch; classic granulated sugar can be used as a simpler alternative.
Gather these ingredients together, and you’ll be on your way to creating the most irresistible Red Velvet Cookies!
Step‑by‑Step Instructions for Irresistibly Soft Red Velvet Cookies
Step 1: Melt and Cool the Butter
Begin by melting ½ cup of butter in a microwave-safe bowl until just melted, taking about 30 seconds to 1 minute. Allow the melted butter to cool until it’s cold but not solid; this usually takes around 10-15 minutes. This step is crucial for achieving the perfect texture in your Red Velvet Cookies!
Step 2: Mix the Wet Ingredients
In a large mixing bowl, combine the cooled butter with ½ cup granulated sugar, ¼ cup brown sugar, 1 large egg, and 1 ½ teaspoons of vanilla extract. Whisk together vigorously until the mixture is smooth and well incorporated, which should take about 2 minutes. This creates a lovely base for your cookie dough.
Step 3: Add the Coloring
Next, add 1 tablespoon of red gel food coloring to the butter and sugar mixture. Use a spatula to mix until the red color is evenly distributed throughout the wet ingredients, giving you that classic red velvet hue. You’ll know it’s ready when the mixture turns a vibrant red, enhancing your Red Velvet Cookies’ visual appeal.
Step 4: Combine the Dry Ingredients
In a separate bowl, whisk together 1 ¼ cups all-purpose flour, 2 tablespoons cocoa powder, ½ teaspoon baking powder, ½ teaspoon baking soda, and ½ teaspoon salt. Make sure everything is well-blended, as even distribution of leavening agents is essential for the cookies to rise properly. Set this dry mix aside for the next step.
Step 5: Fold the Dough Together
Now, gradually fold the dry ingredients into the wet mixture using a rubber spatula. Mix gently until just combined, being careful not to overmix, as this will keep your Red Velvet Cookies soft and chewy. The dough should be thick and cohesive, ready to be shaped in just a few moments.
Step 6: Rest and Preheat
Let the cookie dough rest at room temperature for about 10 minutes while you preheat your oven to 350°F (175°C). This short resting period allows the flavors to meld perfectly and prepares the dough for baking, ensuring your cookies come out irresistibly soft.
Step 7: Portion and Prepare for Baking
Using a cookie scoop or your hands, portion the dough into balls and roll them in ½ cup of red sanding sugar for a festive touch. Place the sugar-coated balls on a baking sheet lined with parchment paper, allowing some space between them to spread while baking.
Step 8: Bake the Cookies
Transfer the baking sheet to your preheated oven and bake for 9-10 minutes, until the edges are set but the centers still look soft. You’ll know they’re done when the cookies start to puff up and the edges turn a light golden color, creating that perfect Red Velvet Cookies texture.
Step 9: Cool the Cookies
Once baked, remove the cookies from the oven and let them cool on the baking sheet for 5-10 minutes. This allows them to firm up a bit before you transfer them to a wire rack. The cooling process is crucial for achieving the ideal consistency, leaving you with soft and chewy Red Velvet Cookies.
Make Ahead Options
These Red Velvet Cookies are perfect for meal prep! You can prepare the dough up to 24 hours in advance by shaping it into balls and refrigerating in an airtight container. This prevents the cookies from drying out while maintaining their delightful texture. If you prefer, you can also freeze the dough for up to 3 months—simply wrap each ball tightly in plastic wrap before placing them in a freezer-safe bag. When you’re ready to bake, just pop the frozen dough directly onto a baking sheet and add a couple of extra minutes to the baking time. This way, you’ll have fresh, warm Red Velvet Cookies whenever your sweet cravings hit, with minimal effort required!
What to Serve with Irresistibly Soft Red Velvet Cookies
As you indulge in these rich, fudgy delights, let’s create a meal experience that makes every bite even more enjoyable.
-
Cold Milk: A classic pairing that enhances the sweetness of the cookies while complementing their rich texture. The cold, creamy milk balances the lingering notes of chocolate beautifully.
-
Coffee or Espresso: The bold flavors of coffee contrast wonderfully with the soft sweetness of the cookies, making for a perfect afternoon pick-me-up. The warmth of each sip heightens the cookie’s velvety allure.
-
Cream Cheese Frosting: Elevate your treats by spreading this tangy frosting on top of the cookies. It adds creaminess and a delightful zing that pairs seamlessly with the cookie’s rich flavor.
-
Vanilla Ice Cream: Scoop up a generous portion alongside these cookies for a refreshing and indulgent dessert. The creamy ice cream complements the soft texture, creating a dreamy combination.
-
Fresh Berries: Juicy strawberries or raspberries add a burst of freshness and acidity, cutting through the cookie’s richness. Their vibrant color enhances the festive look of your dessert spread.
-
Chocolate Ganache: Drizzling warm ganache over the cookies adds an extra layer of decadence. Its glossy finish and rich chocolate notes harmonize perfectly with the red velvet flavor.
-
Sparkling Wine: For a special occasion, pair your cookies with a glass of bubbly! The effervescence cleanses the palate between bites, making each taste even more delightful.
-
Mint Tea: A refreshing herbal contrast that soothes the senses. The lightness of mint tea cleanses the palate while allowing the cookie flavors to shine.
-
Buttercream-Frosted Cupcakes: An extra touch of sweetness will delight any dessert lover attending your gatherings. These cupcakes can echo the flavors of red velvet cookies while adding a gorgeous visual flair to the table.
Red Velvet Cookies Variations & Substitutions
Feel free to get creative with these Red Velvet Cookies and make them your own with these delightful variations!
- Gluten-Free: Use a gluten-free flour blend that contains xanthan gum to keep the texture soft without sacrificing taste.
- Dairy-Free: Swap the butter for coconut oil or a plant-based margarine to create a dairy-free dream. These options still deliver that rich, delicious taste!
- Chocolate Chip Boost: Add up to 3/4 cup of semi-sweet chocolate chips for a rich contrast to the red velvet flavor. If you enjoy a decadent twist, this is a must-try!
- White Chocolate Delight: Swap in white chocolate chips for a different sweetness and creamy texture that complements the cookie’s richness beautifully.
- Natural Coloring: For a healthier alternative, try using beet powder instead of red gel food coloring to achieve a soft, natural hue.
- Flavor Twist: Substitute almond extract for the vanilla extract for a nutty essence that elevates the flavor profile. This subtle change packs a bigger punch!
- Ton of Spice: Add a pinch of cinnamon or nutmeg for a warm twist that complements the cocoa’s depth. A little spice goes a long way in adding warmth!
- No Food Coloring: Omit the food coloring altogether for a classic chocolate cookie that still boasts all the rich flavor of red velvet. You won’t miss the red when you bite into one of these delicious cookies!
Explore these variations, and let your culinary creativity shine as you make these cookies uniquely yours! If you’re interested in different flavor profiles, check out our guide on Creative Cookie Add-ins to enhance your baking game even further. And remember, every cookie is a little canvas—don’t hesitate to let your imagination lead the way!
Expert Tips for Red Velvet Cookies
- Avoid Overmixing: Mix the dough until just combined; overmixing can lead to tough cookies instead of the tender Red Velvet Cookies you desire.
- Fresh Ingredients: Check that your baking powder and baking soda are fresh. Expired leavening agents won’t provide the lift these cookies need.
- Baking Time: Keep a close watch while baking. Under-baking will give you a deliciously soft cookie, while over-baking might make them dry.
- Chilling Alternatives: If you’re not in a rush, letting the dough chill in the fridge for 15-20 minutes can enhance the flavors even further.
- Decorative Options: Experiment with toppings! Consider adding chopped nuts or sprinkles alongside the red sanding sugar for a fun twist to your Red Velvet Cookies.
Storage Tips for Red Velvet Cookies
- Room Temperature: Store your Red Velvet Cookies in an airtight container at room temperature for up to 5 days to keep them fresh and chewy.
- Freezer: For longer storage, wrap the cookies tightly in plastic wrap and freeze for up to 3 months. This ensures they maintain their delightful texture.
- Thawing: To enjoy frozen cookies, simply let them thaw at room temperature for 30 minutes before serving, or gently warm them in the microwave for a few seconds.
- Reheating: If you prefer your cookies warm, pop them in the microwave for 5-10 seconds, keeping an eye on them to prevent overheating.
Red Velvet Cookies Recipe FAQs
What should I look for when selecting butter for the recipe?
Absolutely! When selecting butter, look for high-quality unsalted butter for the best flavor. It should be fresh and stored properly; avoid butter with any off smells or discoloration. If you’re looking for a dairy-free alternative, both margarine and coconut oil work wonderfully in this recipe.
How should I store my Red Velvet Cookies, and how long will they last?
To keep your Red Velvet Cookies fresh and chewy, store them in an airtight container at room temperature for up to 5 days. If you want to keep them longer, wrap them tightly in plastic wrap and freeze for up to 3 months. Always ensure they are fully cooled before storing them to prevent moisture buildup!
Can I freeze Red Velvet Cookies? If so, how?
Yes, you can freeze Red Velvet Cookies! Here’s how: After they are completely cooled, wrap each cookie individually in plastic wrap, then place them in a freezer-safe bag or container. This helps prevent freezer burn. When you’re ready to enjoy them, let the cookies thaw at room temperature for about 30 minutes or warm them in the microwave for a few seconds for that fresh-baked experience.
What if my cookies turn out too dry?
Very good question! If your cookies end up dry, they may have been overbaked. Always set a timer and start checking for doneness at the 9-minute mark. If they spread too much, it could be due to the butter being too warm when mixed or not enough flour. Next time, consider letting the dough chill for 15-20 minutes before baking to enhance the texture.
Are there any dietary considerations I should know for this recipe?
Yes, definitely! If you’re catering to gluten sensitivities, simply use a gluten-free flour blend that contains xanthan gum as a substitute for all-purpose flour. For those with egg allergies, a flax egg (1 tablespoon of ground flaxseed mixed with 3 tablespoons of water) works as an alternative. As always, ensure all other ingredients are safe for your dietary needs.
How can I add more flavor to these cookies?
The more the merrier! For an extra layer of flavor, you can incorporate ¾ cup of chocolate chips or white chocolate chips, depending on your taste preference. Additionally, topping the cookies with cream cheese frosting not only enhances flavor but also adds a delightful richness that pairs beautifully with the red velvet base.
Irresistibly Soft Red Velvet Cookies You'll Adore
Ingredients
Equipment
Method
- Melt ½ cup of butter in a microwave-safe bowl until just melted, then let it cool.
- In a large mixing bowl, combine cooled butter, granulated sugar, brown sugar, egg, and vanilla extract. Whisk until smooth.
- Add 1 tablespoon of red gel food coloring and mix until the color is evenly distributed.
- In a separate bowl, whisk together all-purpose flour, cocoa powder, baking powder, baking soda, and salt.
- Gradually fold the dry ingredients into the wet mixture until just combined.
- Let the dough rest at room temperature for 10 minutes while preheating the oven to 350°F.
- Portion the dough into balls and roll in red sanding sugar, then place on a baking sheet.
- Bake for 9-10 minutes until edges are set. Cookies should look soft in the center.
- Let cookies cool on the baking sheet for 5-10 minutes before transferring to a wire rack.
Leave a Reply