
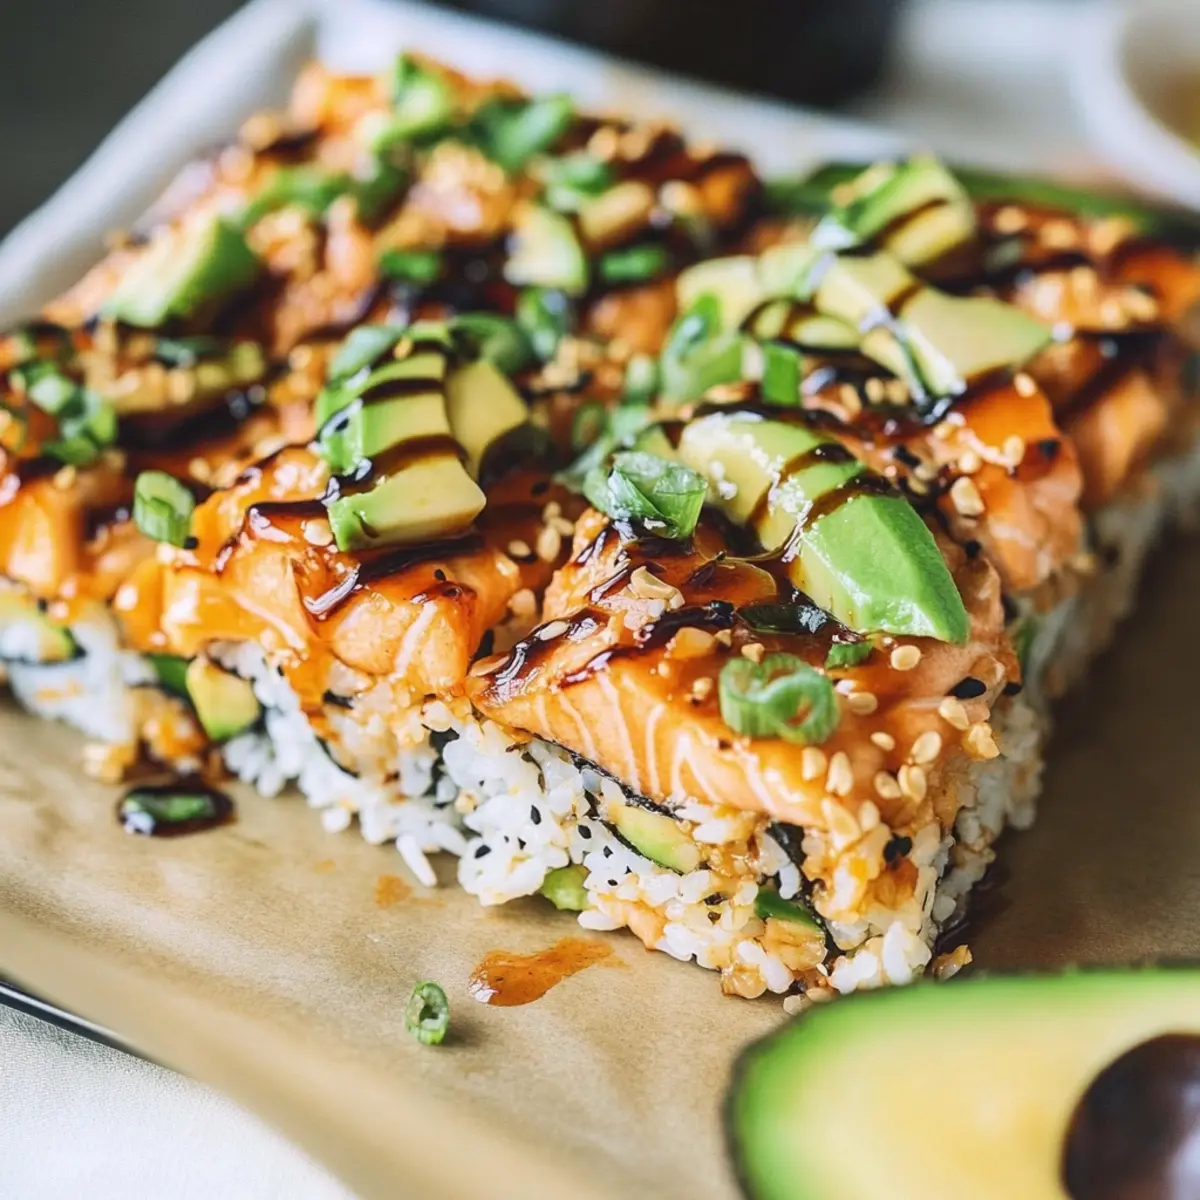
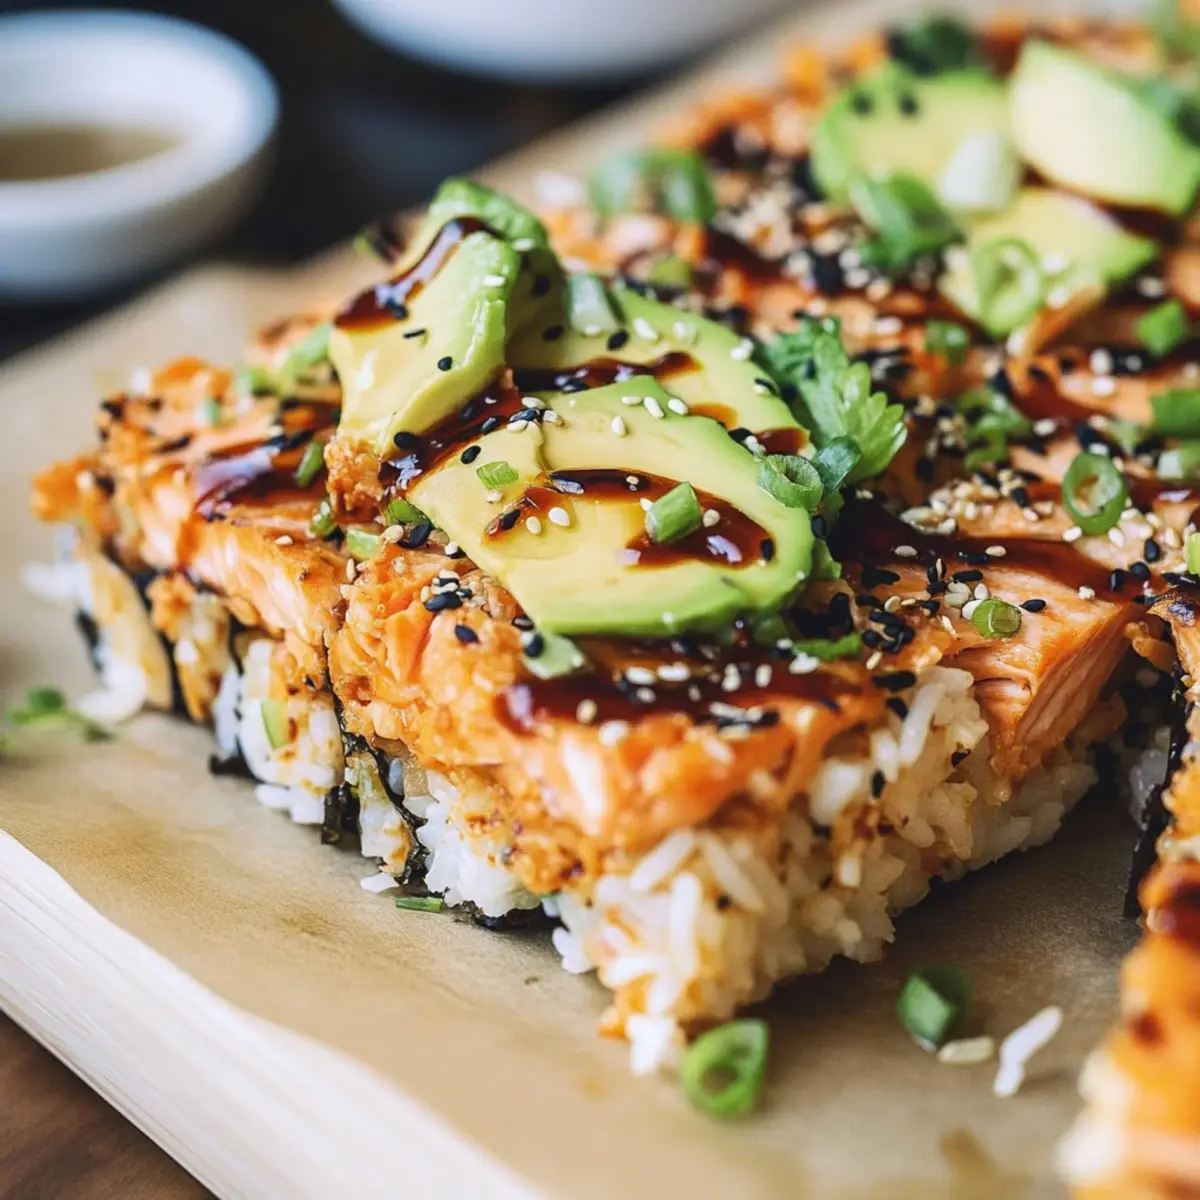
While scrolling through my favorite recipe websites, I stumbled upon a delightful twist on traditional sushi that instantly caught my eye—an Easy One-Pan Salmon Sushi Bake. This creamy, baked creation brings together the rich flavors of salmon, imitation crab, and sushi rice, giving you all the goodness of sushi without the rolling fuss. Perfect for busy weeknights, it takes just one pan to whip up this satisfying dish that everyone in the family will love. Not only is it a breeze to prepare, but it also offers those amazing sushi flavors topped with zesty spicy mayo, making it a guaranteed crowd-pleaser at any gathering. Ready to dive into a comforting, delicious experience? Let’s get started!
Why Is This Salmon Sushi Bake Special?
Simplicity at Its Best: You’ll love how easy it is to prepare this one-pan dinner, perfect for both experienced chefs and home cooks.
Crowd-Pleasing Appeal: With its rich blend of salmon and crab, everyone will be asking for seconds!
Flavor Explosion: The combination of creamy textures and zesty spicy mayo will tantalize your taste buds like never before.
Endless Variations: Feel free to switch ingredients—try shrimp or cauliflower rice for a unique twist!
Quick Cooking Time: Perfect for busy weeknights, this dish comes together in just 30 minutes from start to finish.
Get ready to impress your family and friends with a dish that’s not just delicious but also a fun way to enjoy sushi flavors without the hassle of rolling with nori sheets.
Salmon Sushi Bake Ingredients
• Dive into the deliciousness with this essential ingredient list for your Salmon Sushi Bake!
For the Sushi Base
- Sushi Rice – Essential for that classic sushi texture; rinse well to keep it fluffy.
- Water – Crucial for cooking the rice to perfection.
- Lite Seasoned Rice Vinegar – Gives the rice its signature tanginess; don’t skip this!
- Furikake – A flavorful sprinkling that enhances the umami in each bite.
For the Salmon Mixture
- Salmon Fillet – The star of the dish; choose skinless fillets for ease of preparation.
- Imitation Crab Meat – Adds sweetness and texture; feel free to swap with real crab or shrimp!
- Kewpie Mayo – Delivers rich and creamy goodness; regular mayo is a fine substitute if needed.
- Cream Cheese – Thickens the mixture while adding creaminess.
- Sriracha – Offers a kick of heat; adjust based on your spice preference!
- Soy Sauce or Tamari – Infuses depth and flavor; tamari is gluten-free for those with dietary needs.
- Green Onions – Provides a refreshing crunch and bright flavor.
For the Sauces
- Unagi Sauce – Sweet and savory; can be replaced with teriyaki sauce if desired.
- Mirin, Sake, Granulated Sugar – Essential ingredients for crafting that delightful unagi sauce.
- Spicy Mayo – A zesty blend of mayo, sriracha, lime juice, and salt; perfect for drizzling!
For Toppings
- Avocado – Creamy and buttery; a must-have for garnishing!
- Sesame Seeds – Adds a nutty flavor and crunch, elevating the dish!
- Cucumber – Refreshing crunch; sliced thin for garnish.
- Nori – Perfect for wrapping bites or adding extra flavor layers.
Step‑by‑Step Instructions for Salmon Sushi Bake
Step 1: Prepare the Sushi Rice
Start by rinsing 1 cup of sushi rice under cold water for about 2-3 minutes until the water runs clear. Then, combine the rice with 1 ¼ cups of water in a medium pot, bring it to a boil, lower the heat to a simmer, cover, and cook for 15 minutes. Afterward, remove from heat and let it steam for an extra 10 minutes. Once cooled slightly, mix in 2 tablespoons of lite seasoned rice vinegar for flavor.
Step 2: Make the Salmon Mixture
While the rice is cooling, cube 8 ounces of skinless salmon fillet into small pieces and place it in a mixing bowl. Add ¼ cup of Kewpie mayo, ¼ cup of cream cheese (softened for easier mixing), 1 tablespoon of sriracha, and 1 tablespoon of soy sauce. Finely chop 2 green onions and mix everything together until combined. Refrigerate the salmon mixture for about 15 minutes to let the flavors meld.
Step 3: Prepare the Unagi Sauce
To make the unagi sauce, combine ¼ cup of soy sauce or tamari, ¼ cup of mirin, and 1 tablespoon of granulated sugar in a small saucepan over medium heat. Allow it to simmer for 5-7 minutes until slightly thickened, stirring occasionally. Once it reaches a syrupy consistency, remove from heat and let it cool while you continue with the assembly of your salmon sushi bake.
Step 4: Make the Spicy Mayo
In a small bowl, mix ¼ cup of mayonnaise, 2 tablespoons of sriracha, the juice of one lime, and a pinch of salt until well combined. Taste and adjust the spice level as needed. Once ready, set aside the spicy mayo in the refrigerator to keep it chilled until you’re ready to drizzle it over your finished salmon sushi bake.
Step 5: Assemble the Dish
Preheat your oven to 425°F (220°C). Grease a 9×9 inch baking pan with cooking spray and line it with parchment paper for easy removal. Press the prepared sushi rice evenly into the bottom of the pan, ensuring an even layer. Sprinkle 1 tablespoon of furikake seasoning over the rice to enhance the flavor and aroma of your salmon sushi bake.
Step 6: Top with Salmon Mixture
Take the chilled salmon mixture out of the fridge and spread it evenly over the rice layer in the baking pan. Use a spatula to create an even surface, making sure there are no gaps, so every bite is filled with the delicious flavors of the salmon, crab, and creamy textures.
Step 7: Bake
Place the baking pan in the preheated oven and bake for 10-15 minutes, watching closely. The top should become golden and bubbly; you can also switch to broil for the last 2 minutes for added caramelization. Make sure not to leave it unattended to prevent burning.
Step 8: Garnish and Serve
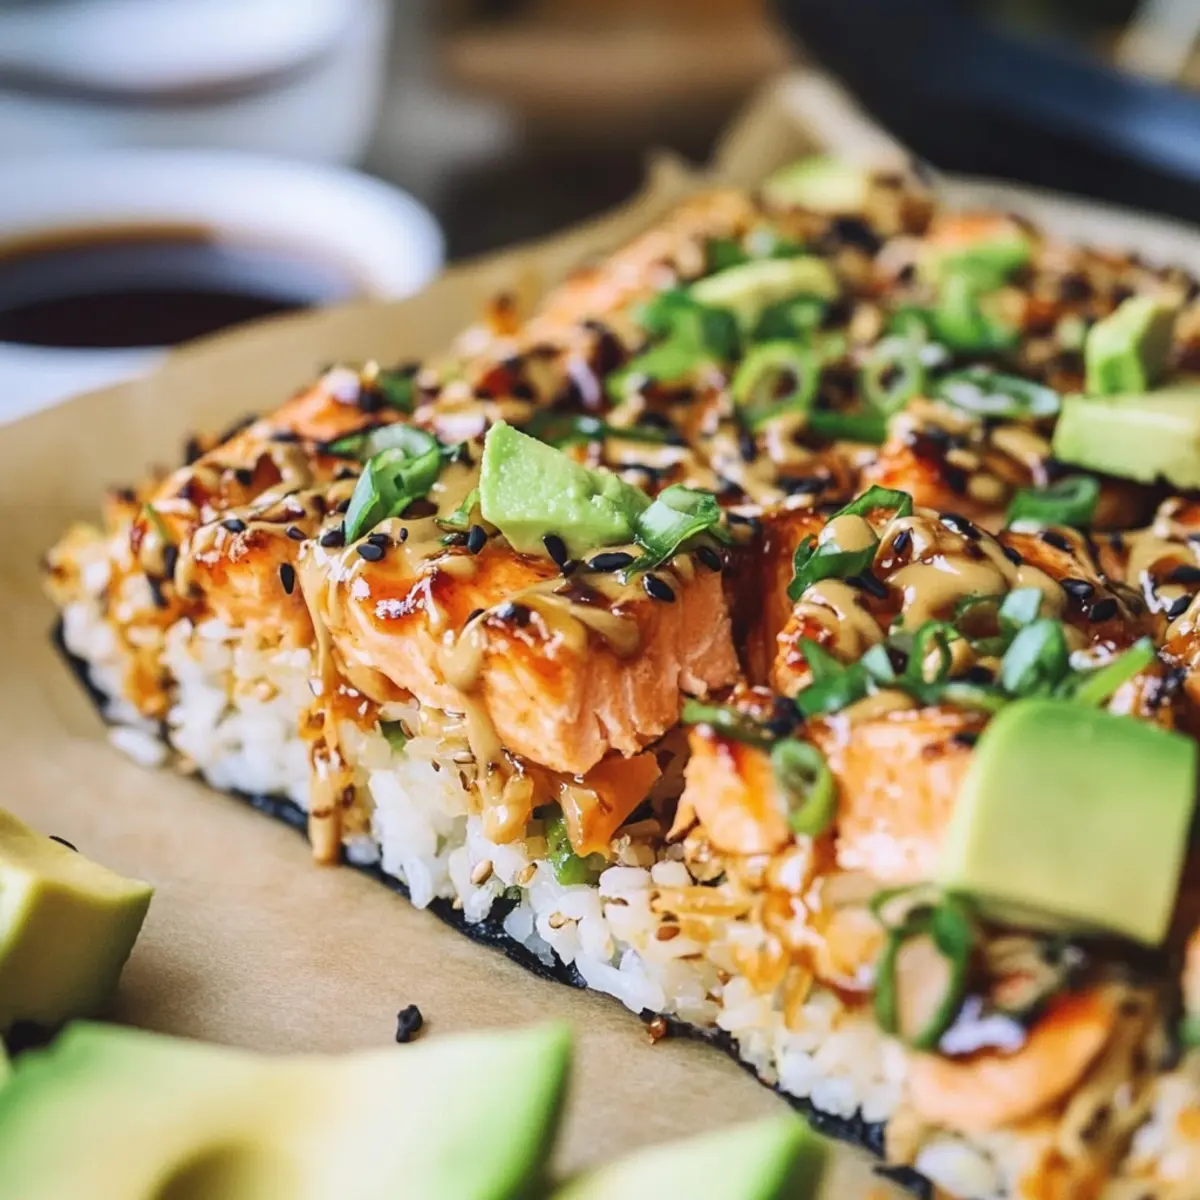
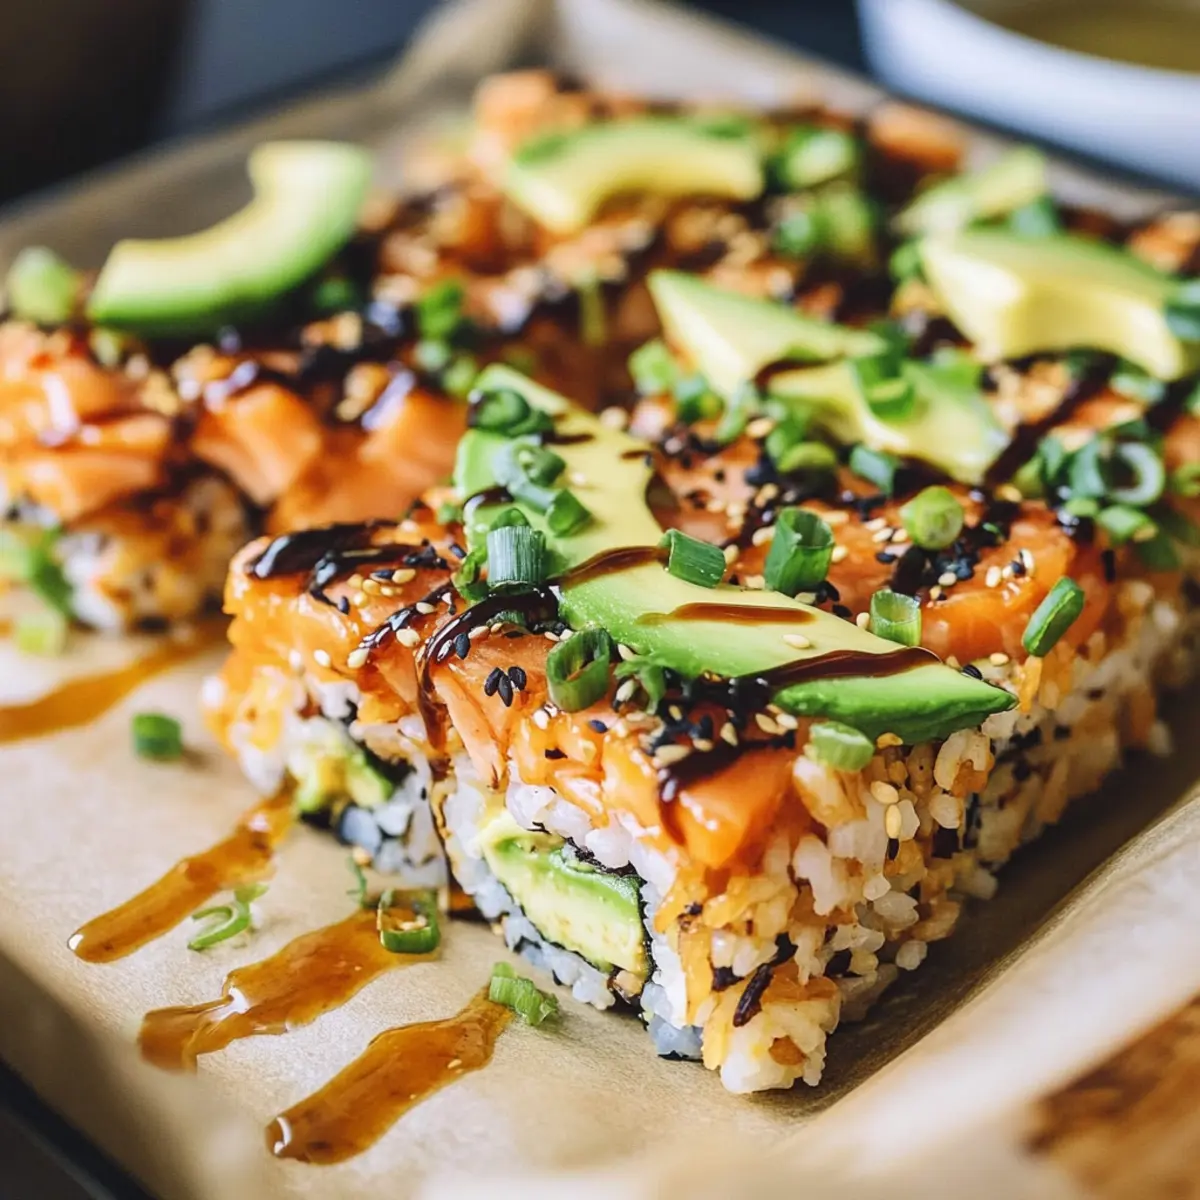
Once your salmon sushi bake is out of the oven, drizzle it generously with the cooled unagi sauce and spicy mayo. Garnish with sliced avocado, chopped cucumber, a sprinkle of sesame seeds, and additional green onions. Serve warm, alongside nori sheets for wrapping, allowing everyone to enjoy this delightful fusion at the table!
What to Serve with Easy One-Pan Salmon Sushi Bake
Pair the delightful flavors of this sushi bake with vibrant sides and drinks that enhance your dining experience.
-
Crispy Seaweed Salad: Bright and crunchy, this salad offers a refreshing contrast to the warm, creamy bake. The umami from the seaweed complements the flavors beautifully.
-
Japanese Cucumber Salad: Lightly seasoned with rice vinegar, this dish adds a tangy crunch that balances the richness of the salmon sushi bake. Fresh and easy to prepare!
-
Edamame Beans: A simple, healthy choice! These tender green soybeans provide protein and a satisfying crunch. Sprinkle with sea salt for extra flavor.
-
Soy Sauce or Tamari: Serve on the side for dipping, giving each bite an added depth of flavor. This classic pairing enhances the sushi experience.
-
Hot Green Tea: A warm cup of green tea brings a soothing element to the meal, offering a light, grassy flavor that complements the dish.
-
Miso Soup: This comforting broth filled with tofu and seaweed offers a light, savory contrast to the rich sushi bake, making it a perfect starter.
-
Mochi Ice Cream: For dessert, mochi ice cream offers a deliciously chewy texture paired with creamy ice cream. It’s a delightful sweet finish to your meal.
Stir the perfect side dishes or drinks into your gathering and enjoy the robust flavors shared around the table.
Expert Tips for Salmon Sushi Bake
• Rinse Rice Well: Thoroughly rinse the sushi rice to remove excess starch, ensuring a fluffy texture for the perfect salmon sushi bake.
• Chill the Mixture: Allow the salmon mixture to chill for at least 15 minutes; this helps meld the flavors and enhances the overall dish.
• Watch the Broiler: Use the broiler only for the last few minutes of baking, keeping a close eye to avoid burning the top layer.
• Uniform Salmon Pieces: Cut the salmon into uniform small pieces for even cooking throughout your bake, ensuring every bite is delicious.
• Moist Hands: Dampen your hands with water when pressing rice to prevent sticking and to achieve a better textured base for your bake.
Make Ahead Options
These Salmon Sushi Bake preparations are perfect for saving time on busy nights! You can prepare the sushi rice and salmon mixture up to 24 hours in advance. Simply cook and cool the sushi rice, then store it in an airtight container in the fridge. For the salmon mixture, combine all ingredients and refrigerate it to let the flavors meld. To maintain quality, ensure both components are covered tightly to prevent drying out. When you’re ready to serve, layer the rice in your baking pan, top with the chilled salmon mixture, and bake for 10-15 minutes until bubbly and golden. This way, you’ll enjoy a delicious, homemade meal without the last-minute scramble!
Salmon Sushi Bake Variations & Substitutions
Feel free to explore the delicious realm of creativity with this recipe—your taste buds will thank you!
- Seafood Swap: Substitute salmon with shrimp or tuna for a delightful seafood twist. Each option brings its unique flavor and flair.
- Cauliflower Rice: Use cauliflower rice instead for a low-carb alternative, making it just as enjoyable without the guilt.
- Gluten-Free Version: Opt for gluten-free soy sauce or tamari to accommodate dietary needs while still savoring the dish.
- Vegan Delight: Replace Kewpie mayo with a vegan alternative for a plant-based version that doesn’t skimp on flavor.
- Add Some Heat: Incorporate diced jalapeños or a splash of hot sauce in your salmon mixture for an extra kick!
- Creamy Avocado Layer: Mix mashed avocado into the salmon for a rich, creamy texture that enhances each bite.
- Baked Tofu: For a vegetarian twist, swap out salmon for marinated baked tofu for a tasty and protein-packed option.
- Nori Crust: Mix crushed nori sheets into the rice layer for an enhanced ocean flavor that ties beautifully with the sushi theme.
When you’re ready for a fun variation, don’t forget to check out nori sheets for wraps, or try adding a fresh cucumber salad on the side for a cool crunch!
Storage Tips for Salmon Sushi Bake
Fridge: Store leftovers in an airtight container for up to 3 days. Reheat in the oven or microwave until heated through to enjoy its creamy texture again.
Freezer: For longer storage, freeze the salmon sushi bake in an airtight container for up to 2 months. Thaw overnight in the fridge before reheating.
Reheating: When reheating, avoid the microwave if possible; instead, use the oven at 350°F until warmed through for the best texture, maintaining its delightful flavors.
Wrap It Up: If you plan to store before baking, assemble it and keep it covered in the fridge for up to a day. Just bake it fresh when you’re ready for that scrumptious salmon sushi bake experience!
Salmon Sushi Bake Recipe FAQs
What type of sushi rice should I use for the salmon sushi bake?
For the best results, use short-grain sushi rice, which provides the sticky texture essential for sushi. Remember to rinse it thoroughly under cold water for 2-3 minutes until the water runs clear to wash away excess starch. This step ensures your sushi rice is fluffy and won’t clump together in the bake.
How should I store leftovers of the salmon sushi bake?
Store any leftovers in an airtight container in the refrigerator for up to 3 days. When you’re ready to enjoy it again, reheat individual portions in the microwave or in the oven at 350°F until warmed through. This method helps maintain its creamy texture and rich flavors.
Can I freeze the salmon sushi bake?
Absolutely! To freeze, allow the bake to cool completely after cooking. Then, place it in an airtight container and store it in the freezer for up to 2 months. For the best flavor and texture, thaw it overnight in the fridge before reheating. Reheat it in the oven at 350°F until it’s hot throughout, rather than using the microwave for a softer texture.
What should I do if my sushi rice becomes too sticky?
If your sushi rice turns out too sticky, it might be due to not rinsing enough. Rinse thoroughly before cooking. If it’s already cooked, try mixing in a little extra sushi vinegar to balance the moisture. It’s also helpful to sprinkle furikake to add flavor while balancing out the texture in the salmon sushi bake.
Can I use other proteins besides salmon in this recipe?
Yes, you can definitely switch things up! Shrimp, imitation crab, or even tuna work beautifully in this recipe. Just make sure to cut them into small, uniform pieces to ensure even cooking and allow the delicious flavors to meld throughout the dish.
Is this salmon sushi bake suitable for gluten-free diets?
Yes! To make this dish gluten-free, substitute regular soy sauce with gluten-free tamari. Always check labels on your other ingredients, such as mayonnaise and mirin, to ensure they don’t contain gluten. This makes the salmon sushi bake delightful and accessible for everyone!
Savory Salmon Sushi Bake: Easy Comfort Food for Any Night
Ingredients
Equipment
Method
- Rinse sushi rice under cold water for about 2-3 minutes until the water runs clear. Combine with water in a medium pot, bring to a boil, lower heat and cover, and cook for 15 minutes. Remove from heat and let steam for 10 minutes. Mix in rice vinegar.
- Cube salmon and place in a mixing bowl. Add mayo, cream cheese, sriracha, and soy sauce. Finely chop green onions and mix. Refrigerate for 15 minutes.
- Combine soy sauce, mirin, and sugar in a small saucepan over medium heat. Simmer for 5-7 minutes until thickened. Remove from heat to cool.
- Mix mayonnaise, sriracha, lime juice, and salt in a small bowl. Chill until ready to serve.
- Preheat oven to 425°F. Grease a baking pan and press sushi rice into the bottom. Sprinkle furikake over rice.
- Spread the salmon mixture evenly over the rice layer.
- Bake for 10-15 minutes until golden and bubbly, optionally broil for the last 2 minutes.
- Drizzle with unagi sauce and spicy mayo. Garnish with avocado, cucumber, sesame seeds, and green onions.
Leave a Reply