
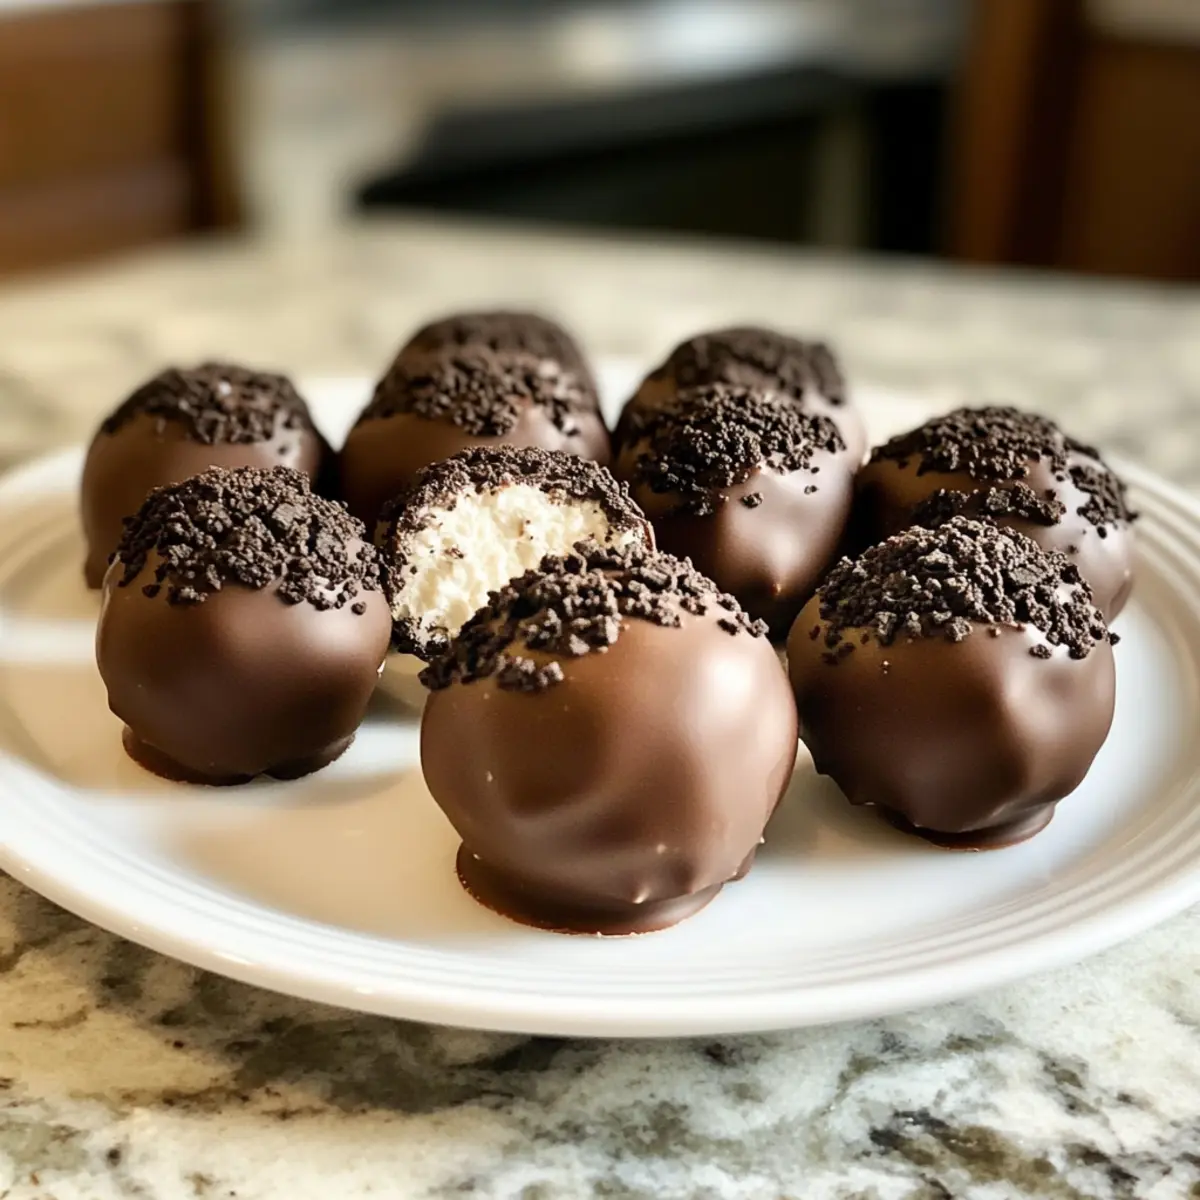
In a clash of craving and convenience, I found myself longing for a sweet indulgence that wouldn’t derail my healthy eating goals. Enter these delightful Cream Cheese Oreo Protein Balls! With just a few ingredients and no baking required, this easy recipe allows you to whip up a satisfying treat in under 15 minutes. Not only do these delicious bites pack in a protein punch, but they also bring the classic Oreo flavors you love in a healthier form. Perfect for a midday snack, movie night, or a dessert that won’t make you feel guilty, these protein balls are sure to be a hit with the whole family. Ready to discover how to make these irresistible snacks?

Why are Cream Cheese Oreo Protein Balls special?
Quick and Easy: With just 15 minutes of prep time needed, these no-bake delights are perfect for anyone looking for a quick fix to satisfy their sweet cravings.
Healthier Option: Packed with protein and lower in guilt, they provide a smart twist on the classic Oreo treat, making them a go-to for health-conscious snackers.
Versatile Flavor: Swap in your favorite cookies or flavored protein powders for a unique taste every time, allowing for endless variations of this delightful snack.
Crowd-Pleaser: Whether for kids or parties, these protein balls are universally loved, ensuring they’re a hit at any gathering.
Guilt-Free Indulgence: Enjoy a sweet treat without the heavy calories or baking hassle; embrace enjoyment with every bite! For more healthy snack ideas, check out our simple no-bake snacks.
Cream Cheese Oreo Protein Balls Ingredients
Elevate your snacking with these easy-to-find ingredients!
For the Protein Balls
- Oreo cookies – Provides a rich chocolate flavor and texture; use gluten-free Oreos if needed.
- Cream cheese – Adds creaminess and binds the mixture together; make sure it’s softened for easy mixing.
- Vanilla protein powder – Increases protein content and gives a mild sweetness; can substitute with chocolate protein powder for a different flavor.
- Almond flour – Adds lightness and a slight nutty flavor; swap with oat flour if preferred.
- Vanilla extract – Enhances sweetness and flavor depth for a richer taste.
- Maple syrup – A natural sweetener providing moisture and flavor; substitute with honey or agave syrup if desired.
For the Coating
- Dark chocolate chips – Adds a rich chocolate exterior; choose dairy-free chocolate chips for a vegan option.
- Crushed Oreos (optional) – Sprinkle on top for added crunch and visual appeal, truly making these Cream Cheese Oreo Protein Balls irresistible!
Step‑by‑Step Instructions for Cream Cheese Oreo Protein Balls
Step 1: Crush the Oreos
Begin by taking your Oreo cookies and placing them in a food processor. Pulse until finely crumbled, resembling a sandy texture, which should take about 30 seconds. If you don’t have a food processor, you can use a zip-top bag and a rolling pin to crush them into small pieces. This creates the base for your delectable Cream Cheese Oreo Protein Balls.
Step 2: Mix the Ingredients
In a large mixing bowl, combine the crushed Oreos with softened cream cheese, vanilla protein powder, almond flour, vanilla extract, and maple syrup. Using a spatula or a hand mixer, blend the mixture until it forms a thick dough that’s well combined—this should take about 2-3 minutes. Make sure it’s smooth with no dry or crumbly spots; this cohesive mixture is key for your cookies.
Step 3: Form the Balls
Once your mixture is ready, use a tablespoon to scoop out portions of the dough. Roll each scoop in your hands to form uniform balls, about one inch in diameter. This step is both fun and easy, creating beautiful little rounds ready for some chilling. Lay them on a parchment-lined tray as you shape all the Cream Cheese Oreo Protein Balls.
Step 4: Firm Them Up
Place the tray of balls in the freezer for 10 minutes. This crucial step helps the Cream Cheese Oreo Protein Balls firm up, making them easier to dip in melted chocolate later on. Keep an eye on them as they chill; once they’re firm to the touch, they will be ready for the next exciting step!
Step 5: Melt the Chocolate
While the protein balls chill, melt your dark chocolate chips in a microwave-safe bowl. Heat in 20-second intervals, stirring between each, until the chocolate is completely smooth and glossy, which usually takes about 1-2 minutes total. This glossy coating will make your Cream Cheese Oreo Protein Balls even more indulgent.
Step 6: Coat the Balls
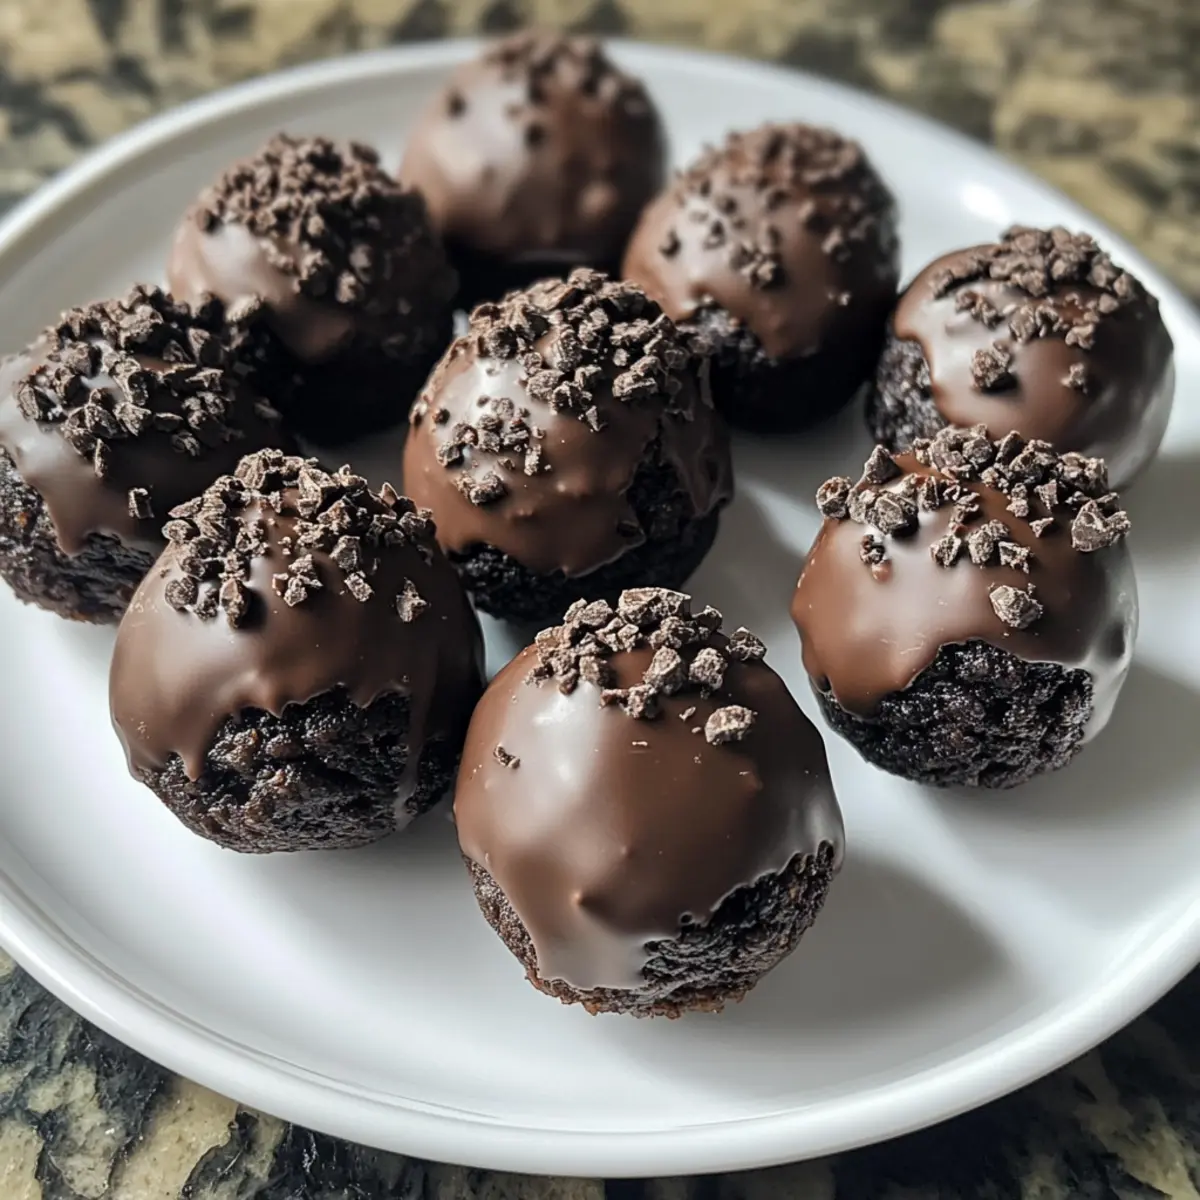
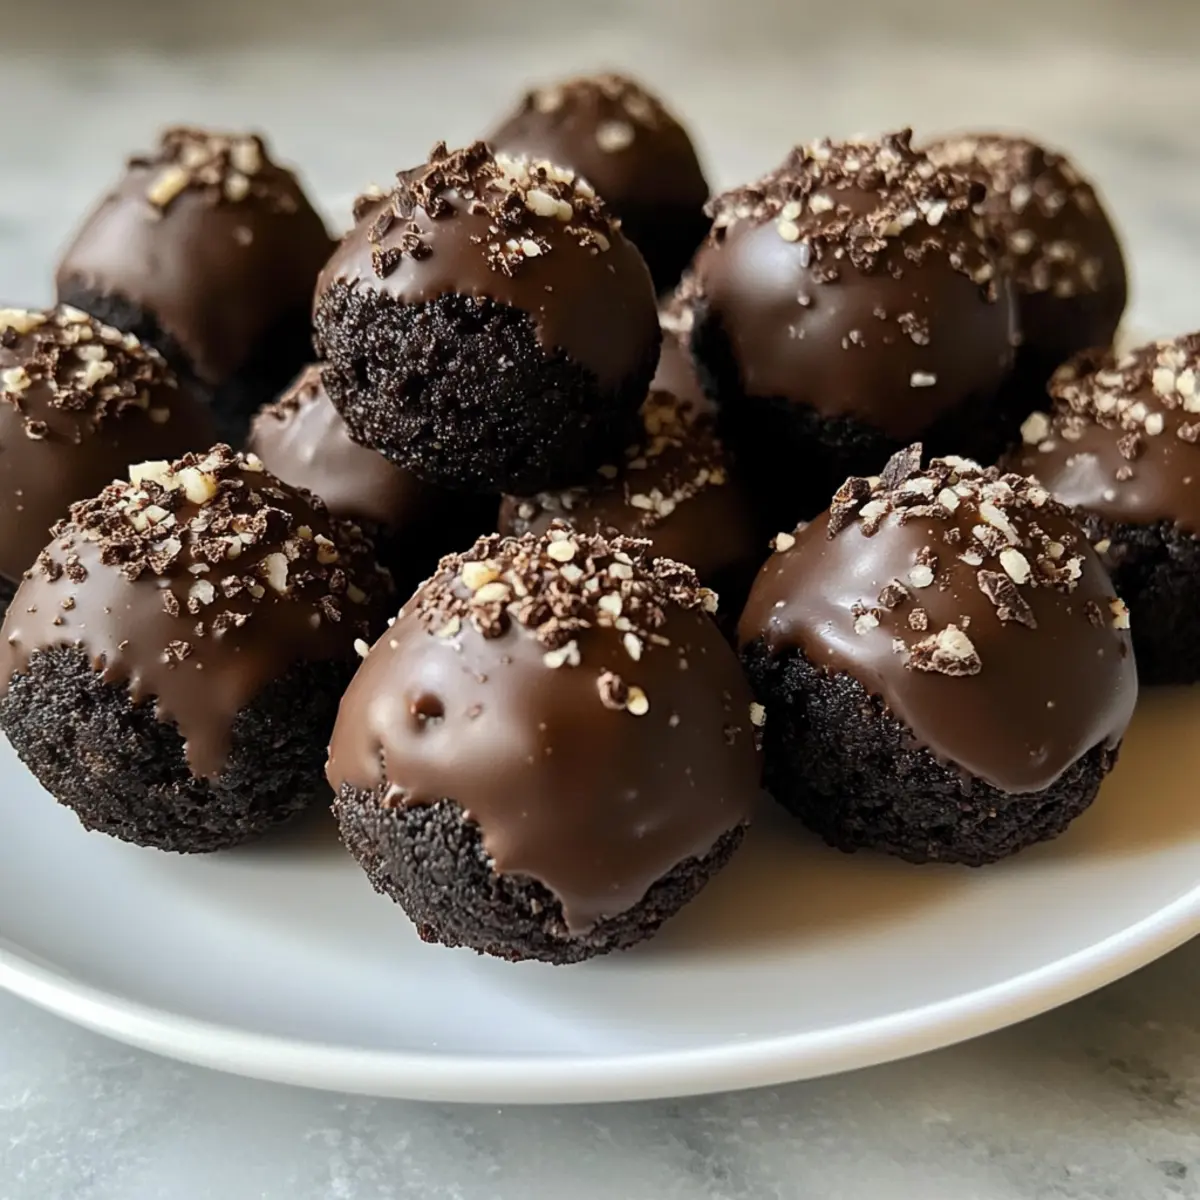
Once the chocolate is melted, carefully dip each chilled protein ball into the chocolate, ensuring they are fully coated. Use a fork to lift them out and gently tap it against the bowl to allow any excess chocolate to drip off. Place the coated balls back on the parchment-lined tray. If desired, sprinkle some crushed Oreos over the chocolate before it sets for an extra crunch.
Step 7: Set and Chill
Refrigerate the coated Cream Cheese Oreo Protein Balls for an additional 10 minutes, or until the chocolate has fully set. This final chilling ensures the chocolate coating is solid and gives a lovely contrast to the rich creaminess of the filling. Once done, your delicious snacks are ready to be served chilled or stored for later indulgence!
Expert Tips for Cream Cheese Oreo Protein Balls
-
Room Temperature Cream Cheese: Ensure your cream cheese is softened at room temperature for a smooth, well-mixed dough, avoiding any lumps in your Cream Cheese Oreo Protein Balls.
-
Watch the Chocolate: Be vigilant while melting chocolate; heat it in short bursts to prevent burning and achieve a perfectly glossy coating.
-
Chill for Structure: Firming the protein balls in the freezer before coating helps maintain their shape during dipping, achieving a neat finish on your Cream Cheese Oreo Protein Balls.
-
Mixing Techniques: A hand mixer makes mixing easier, but if you prefer a workout, mixing by hand can also lead to a lovely, smooth consistency!
-
Storage Secrets: These protein balls are best stored in a sealed container in the fridge for up to 3-4 days; however, they’ll disappear quickly!
What to Serve with Cream Cheese Oreo Protein Balls
These delightful bites are the perfect centerpiece for a sweetly satisfying gathering or a cozy movie night at home.
-
Fresh Fruit Platter: A vibrant assortment of berries and sliced apples adds refreshing sweetness and a bright color contrast, balancing the rich flavors of the protein balls.
-
Nutty Granola: Crunchy granola brings an additional texture and earthy flavor, making it an amazing complement while providing an extra health boost.
-
Chocolate Milkshake: Indulge in a creamy chocolate milkshake that echoes the deliciousness of Oreo flavors, creating a nostalgic and decadent pairing.
-
Coffee: A hot cup of rich coffee offers a delightful contrast, enhancing the chocolate without overwhelming the palate. The subtle bitterness marries beautifully with the sweetness of the protein balls.
-
Yogurt Dip: A sweet and tangy Greek yogurt dip can be a fun addition for a balance of creamy and tart flavors, inviting people to enjoy a delightful scoop with each bite.
-
Dark Chocolate Dipped Strawberries: These luxurious bites serve as a stunning twist on the classic pairing of chocolate and fruit, emphasizing the indulgent nature of the snack. Perfect for special occasions!
Variations & Substitutions for Cream Cheese Oreo Protein Balls
Get ready to explore delicious twists on these creamy protein balls that’ll tickle your taste buds!
- Gluten-Free: Use gluten-free sandwich cookies to keep these treats inclusive and equally delicious for everyone.
- Nut-Free: Substitute almond flour with sunflower seed flour for a nut-free variation that retains a delightful texture.
- Sweetener Swap: Try using chocolate syrup instead of maple syrup for an extra chocolaty flavor that enhances the sweetness.
- Flavor Burst: Add a dash of espresso powder to the mixture for an intriguing coffee twist that brings out the chocolate.
- Fruity Twist: Stir in dried fruits like cranberries or cherries for a burst of flavor that adds a lovely chewiness.
- Nutty Crunch: Add finely chopped walnuts or pecans to the mixture for an added crunch that complements the creaminess perfectly.
For even more delightful recipes, consider checking out our selection of no-bake recipes. These suggestions encourage you to personalize your Cream Cheese Oreo Protein Balls, making each batch uniquely yours!
Storage Tips for Cream Cheese Oreo Protein Balls
- Fridge: Store your Cream Cheese Oreo Protein Balls in an airtight container in the refrigerator for up to 3-4 days. They’ll remain deliciously creamy and satisfying during this time!
- Freezer: For longer storage, freeze the protein balls in a single layer on a baking sheet, then transfer to a sealed bag or container. They can be kept for up to 3 months.
- Thawing: When ready to enjoy, thaw frozen balls in the fridge for a few hours or overnight, but note that the texture may slightly change upon thawing.
- Reheating: These protein balls are best enjoyed chilled. If you prefer them slightly warm, let them sit at room temperature for about 10 minutes before serving!
Make Ahead Options
These Cream Cheese Oreo Protein Balls are fantastic for meal prep, allowing you to enjoy your favorite treat without the last-minute rush! You can prepare the mixture up to 24 hours in advance by following steps 1 and 2, then store it tightly covered in the refrigerator. For optimal texture, it’s best to shape the balls and coat them in chocolate just before serving. If you want a longer prep time, you can form and freeze the uncoated balls for up to 3 days; simply let them thaw in the fridge for about 30 minutes before dipping in melted chocolate. This way, you maintain their delightful creaminess while saving time on busy days!
Cream Cheese Oreo Protein Balls Recipe FAQs
How do I choose the best Oreo cookies for this recipe?
Absolutely! For the best flavor balance, choose Oreo cookies that are fresh and free from dark spots, which indicate they are stale. Additionally, you can use gluten-free Oreos if needed, ensuring everyone can indulge without worry.
What is the best way to store leftover protein balls?
Store your Cream Cheese Oreo Protein Balls in an airtight container in the refrigerator for up to 3-4 days. This helps maintain their delicious, creamy texture; just remember to keep them sealed to prevent drying out.
Can I freeze Cream Cheese Oreo Protein Balls?
Yes! To freeze these protein balls, place them in a single layer on a baking sheet and put them in the freezer. Once frozen solid (about 1-2 hours), transfer them to a sealed bag or container where they can last up to 3 months. When you’re ready to enjoy, just thaw them in the fridge for a few hours or overnight.
What if my mixture is too dry or crumbly?
If your mixture seems too dry and crumbly, try adding a bit more maple syrup or cream cheese, a teaspoon at a time, until it becomes cohesive. Mixing the ingredients thoroughly in step 2 is crucial; be sure to incorporate everything well so every ball has that rich flavor!
Can I make these protein balls nut-free?
Certainly! If you’re looking to make these Cream Cheese Oreo Protein Balls nut-free, substitute almond flour with a seed-based flour, such as sunflower seed flour, or use oat flour for a similar texture. This way, you can cater to everyone’s dietary needs without sacrificing taste.
Are there any dietary concerns with the ingredients used?
Great question! These protein balls contain common allergens like dairy (cream cheese) and gluten (Oreo cookies). For a dairy-free version, use a plant-based cream cheese and dairy-free chocolate chips. If anyone has specific allergies, always check labels carefully to find suitable substitutes!
Cream Cheese Oreo Protein Balls for Guilt-Free Indulgence
Ingredients
Equipment
Method
- Crush the Oreos: Place Oreo cookies in a food processor and pulse until finely crumbled.
- Mix the Ingredients: Combine crushed Oreos, cream cheese, protein powder, almond flour, vanilla extract, and maple syrup in a bowl.
- Form the Balls: Scoop out portions of the dough and roll into uniform balls about one inch in diameter.
- Firm Them Up: Place the tray in the freezer for 10 minutes to help the balls firm up.
- Melt the Chocolate: Melt dark chocolate chips in a microwave-safe bowl in short intervals until smooth.
- Coat the Balls: Dip each protein ball in melted chocolate, then place back on the tray.
- Set and Chill: Refrigerate the coated balls for an additional 10 minutes until chocolate is set.
Leave a Reply