
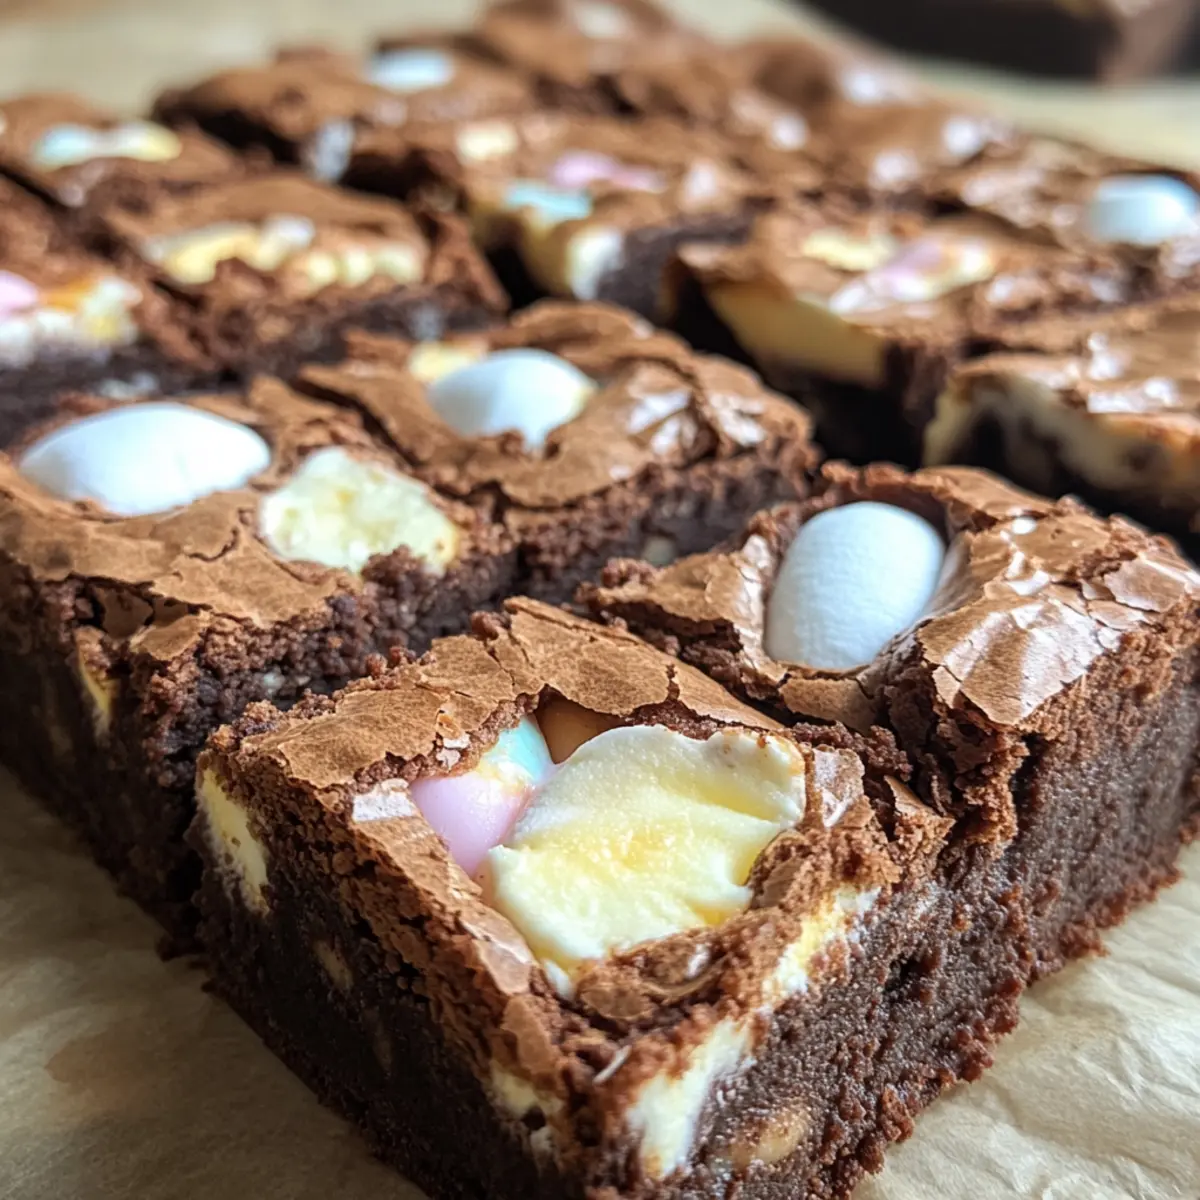
As I sat on my porch sipping lemonade, visions of springtime festivities danced in my mind, reminding me of the joy and delight Easter brings. This year, I’m excited to share a show-stopping dessert that perfectly captures the spirit of the season: Deviled Brownies. These easy, egg-shaped treats are not only a feast for the eyes but also a delectable combination of rich chocolate and a tangy cream cheese filling that’ll leave everyone wanting more. They’re remarkably simple to whip up, making them ideal for busy home chefs or those keen to impress their guests. Plus, the playful presentation adds a festive touch to any Easter gathering or spring celebration. Curious about how to bring a little whimsy to your dessert table? Let’s dive into this delicious recipe!
Why Are You Going to Love These Brownies?
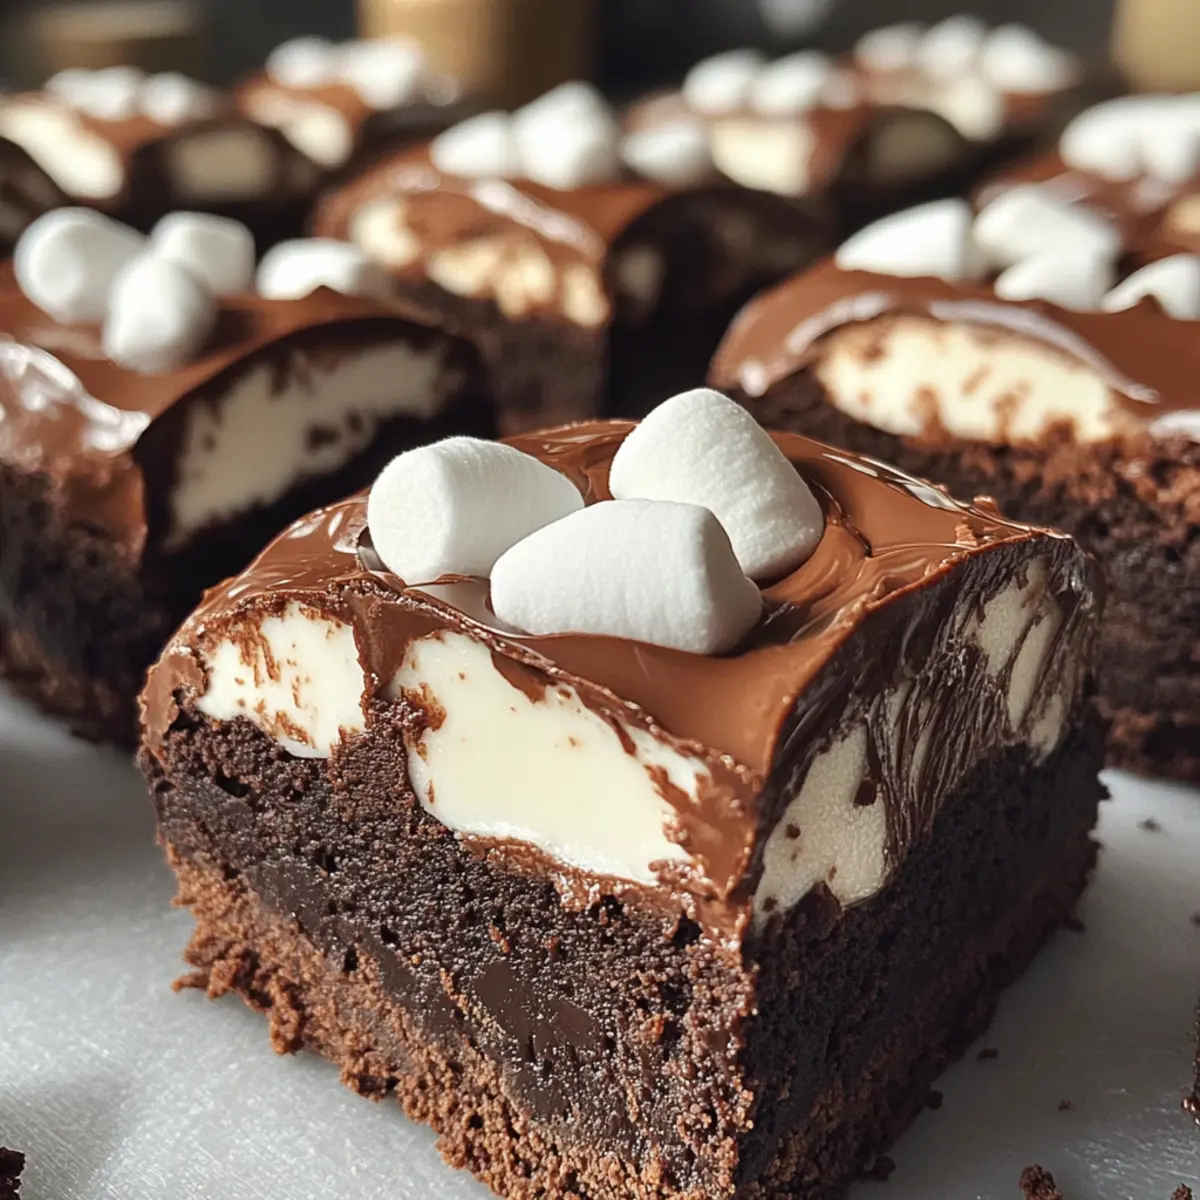
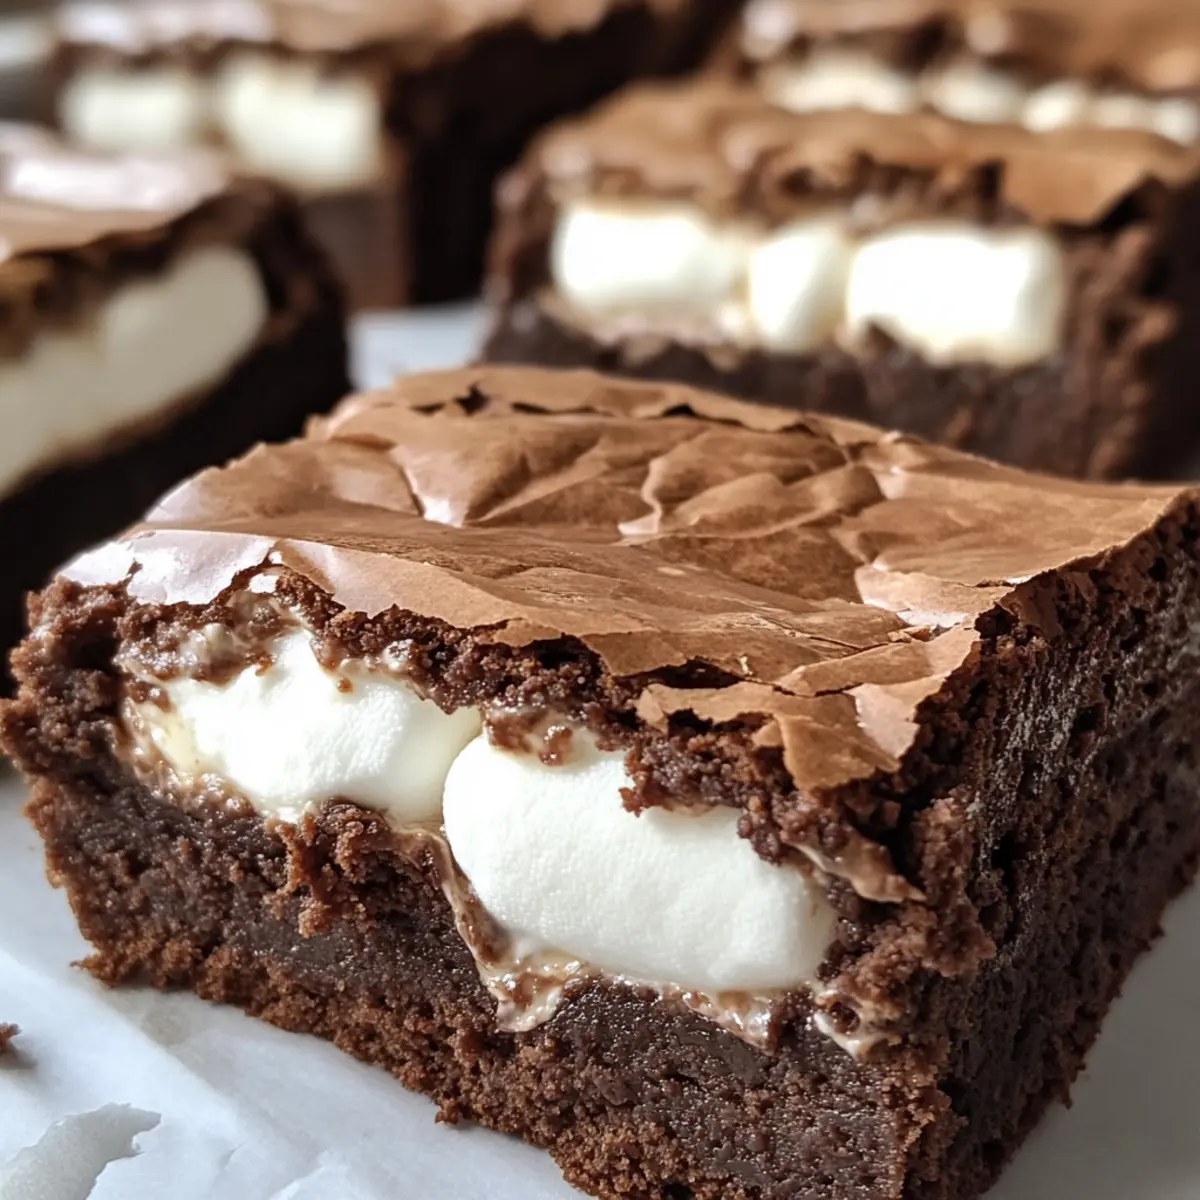
Irresistible Flavor: The rich chocolate brownie paired with a creamy cream cheese filling creates a taste explosion that will have everyone raving about your baking skills.
Easy to Make: With just a box brownie mix and simple ingredients, these deviled brownies are perfect for both beginners and experienced bakers alike.
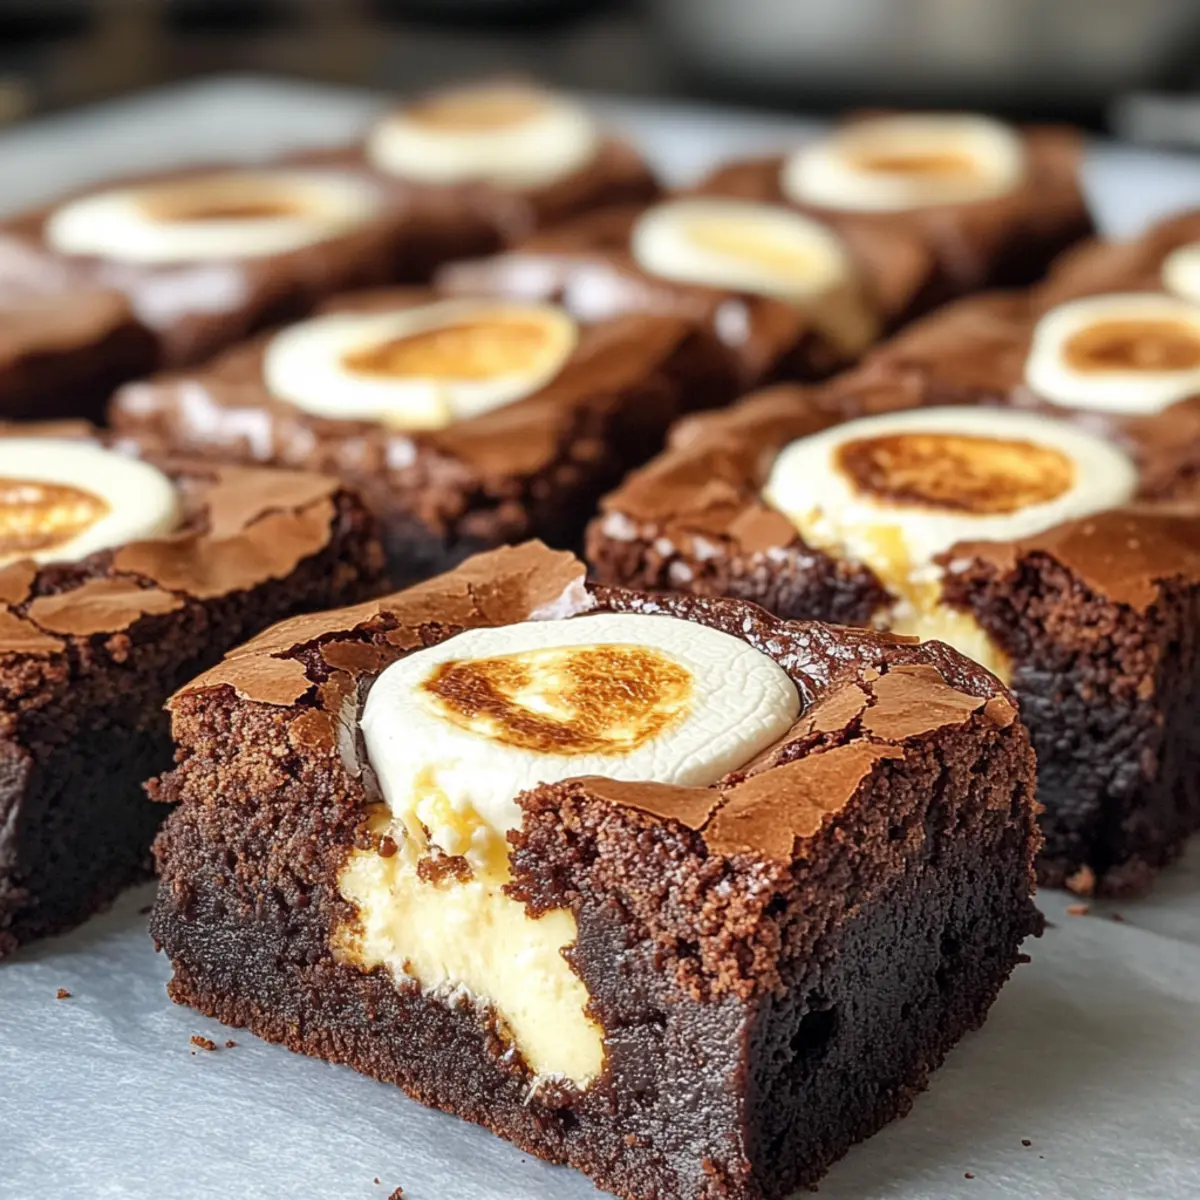
Festive Presentation: The charming egg shape adds a delightful touch to your Easter dessert table, making them a perfect centerpiece for spring celebrations.
Versatile Options: Feel free to experiment with fillings by swapping cream cheese for peanut butter or cookie butter for a fun twist!
Crowd-pleaser: These brownies are sure to be a hit at any gathering, leaving your guests wanting to take some home.
Time-Saving Treat: With minimal prep time, you’ll have more moments to enjoy the festivities instead of slaving away in the kitchen. Check out some additional creative Easter dessert ideas.
Deviled Brownies Ingredients
Get ready to bake these irresistible deviled brownies!
For the Brownies
• Brownie Mix – A convenient choice, use an 18.3 oz box for an easy chocolate base!
• Water – Required for mixing, follow the instructions on your brownie box.
• Oil – Adds moisture; vegetable or canola oil works best.
• Eggs – Bind the mixture together; usually two are needed.
For the Filling
• Cream Cheese – Ensure it’s softened for a smooth, luscious filling; feel free to swap with mascarpone!
• Marshmallow Cream – Sweetens your filling, creating a fluffy texture; substitute with whipped cream for a light twist.
For Decoration (optional)
• Sprinkles – Add fun colors after piping the filling to create a festive look for your deviled brownies!
Step‑by‑Step Instructions for Deviled Brownies
Step 1: Preheat the Oven
Start by preheating your oven to 350°F (175°C). This step is crucial, as a properly heated oven ensures that your deviled brownies bake evenly and rise beautifully. While the oven warms up, gather your ingredients and prepare your baking space for a smooth cooking experience.
Step 2: Prepare Brownie Batter
In a mixing bowl, combine your brownie mix with the required water, oil, and eggs, as indicated on the box. Stir the mixture until just combined; you want it to be smooth but still slightly thick. This rich batter will form the base of your delicious deviled brownies, so don’t overmix.
Step 3: Grease the Molds
Grab your egg-shaped silicone molds and lightly grease them with nonstick spray. This will ensure that your brownies release effortlessly once baked. Silicone molds are perfect for this recipe, allowing those adorable shapes to shine once your deviled brownies are complete.
Step 4: Fill the Molds
Using a 2-tablespoon scoop or a spoon, fill each mold with the brownie batter, being careful to not overfill. Leave a little room at the top to allow for rising during baking. The egg shapes will add a festive touch to your dessert, so scooping evenly gives a nice, uniform appearance.
Step 5: Bake the Brownies
Place the filled molds in your preheated oven and bake for 24-26 minutes. You’ll know they’re done when a toothpick inserted in the center comes out clean or with a few moist crumbs. Keep an eye on your brownies, as oven hot spots may vary the baking time slightly.
Step 6: Create Divots
As soon as you remove the brownies from the oven, use the back of a small spoon or your fingers to press gently into the center of each brownie, creating a divot for the filling. This step adds a fun, whimsical element to your deviled brownies and ensures your cream cheese filling fits perfectly.
Step 7: Cool the Brownies
Allow the molded brownies to cool completely in the molds, which will take about 30 minutes. Cooling them thoroughly is essential to prevent them from breaking apart when you remove them. As you wait, you can plan the next steps for the delightful cream cheese filling.
Step 8: Release from Molds
Once cooled, carefully release your deviled brownies from the molds by gently pulling at the edges and inverting them. If they resist, give them a little twist and press lightly on the bottoms. Your egg-shaped brownies should release easily, maintaining their lovely form.
Step 9: Prepare the Cream Cheese Filling
In a mixing bowl, beat the softened cream cheese and marshmallow cream together until smooth and creamy. This delightful mixture will provide a tangy sweetness to your deviled brownies, making them irresistibly delicious. Ensure there are no lumps for the best texture before moving to the next step.
Step 10: Pipe the Filling
Transfer your cream cheese filling to a pastry bag fitted with a 1M tip. Pipe the filling into the divots of each brownie, creating a nice swirl on top. This visual detail not only enhances the appearance but also packs a delicious flavor punch with every bite of your deviled brownies.
Step 11: Chill Before Serving
To ensure the filling sets nicely, chill your deviled brownies in the refrigerator until you’re ready to serve, about 30 minutes. Chilling enhances the texture, making them extra creamy and refreshing, just in time for your spring celebrations.
Deviled Brownies: Creative Twists Await!
Feel free to explore fun ways to enhance your deviled brownies, bringing even more excitement to your dessert table!
-
Peanut Butter: Swap the cream cheese filling for 2-3 tablespoons of creamy peanut butter for a delightful nutty taste. This twist adds an indulgent richness that pairs wonderfully with the chocolate.
-
Cookie Butter: For a spiced flavor, replace the marshmallow cream with cookie butter. This warm, aromatic filling creates a cozy contrast to the brownie base and is downright irresistible.
-
Mascarpone: Substitute the cream cheese with mascarpone for a silky smooth and rich filling. This Italian favorite will elevate your brownies to a new level of elegance.
-
Whipped Cream: Lighten things up by using whipped cream instead of marshmallow cream in your filling. This breezy alternative keeps your brownies from being too sweet while adding an airy texture.
-
Mint Extract: Add a few drops of mint extract to your cream cheese mixture for a refreshing twist. This minty flavor will remind everyone of classic mint desserts, making them perfect for springtime.
-
Coconut Flakes: Fold in some toasted coconut flakes into your cream cheese filling for added texture and a tropical flair. The crunch complements the soft brownie beautifully!
-
Spicy Kick: Infuse some chili powder or cayenne into the filling for a surprising heat. This unique twist will intrigue adventurous eaters and elevate your dessert game.
-
Chocolate Ganache: For an extra layer of flavor, drizzle some chocolate ganache on top before serving. This glossy finish will make your brownies even more decadent and visually stunning.
Keep experimenting with these variations, and don’t hesitate to explore even more ideas for delightful Easter dessert recipes that can make your celebrations unforgettable!
Make Ahead Options
These Deviled Brownies are an absolute dream for meal prep, making your festive celebrations a breeze! You can prepare the brownie batter and fill the molds up to 24 hours in advance, layering the flavors while saving precious time. Simply pre-bake the brownies as directed, fully cool them, then refrigerate until you’re ready to pipe in the filling. The cream cheese and marshmallow mixture can also be made up to 3 days ahead; just store it in an airtight container in the refrigerator to keep it fresh. When you’re ready to serve, pipe the chilled filling into the divots, and watch as these delightful treats wow your guests with minimal effort!
Expert Tips for Deviled Brownies
Cool Completely: Allow the brownies to cool completely before removing them from the molds to avoid any breakage. Patience is key!
Filling Substitutions: If you want a different flavor, try substituting the cream cheese filling with peanut butter or cookie butter for a unique twist.
Sprinkle Timing: Don’t add sprinkles until just before serving to prevent color bleeding from the cream cheese filling. This keeps your deviled brownies looking festive!
Batch Size: This recipe can be easily doubled for larger gatherings; just ensure you have enough molds ready!
Even Baking: Keep an eye on the baking time, as ovens can vary. Start checking around the 24-minute mark for that perfect, gooey brownie texture.
Use Quality Ingredients: Opt for high-quality brownie mix and cream cheese for the best flavor and texture. Quality matters when it comes to these delicious deviled brownies!
Storage Tips for Deviled Brownies
Fridge: Store the deviled brownies in a covered container for up to 3-4 days. The cream cheese filling should be kept chilled to maintain its creamy texture.
Freezer: For longer storage, freeze the brownies for up to 3 months. Wrap each brownie tightly in plastic wrap and place them in an airtight container. Thaw in the fridge before serving.
Reheating: If desired, reheat the brownies gently in the microwave for 10-15 seconds. This will make them warm and extra delicious, but ensure to remove the filling before reheating to avoid melting it.
Air Tight: Always ensure your storage container is airtight to prevent the brownies from drying out, preserving that luscious texture and delightful flavor of your deviled brownies.
What to Serve with Deviled Brownies?
These delectable brownies are perfect for creating a delightful dessert spread that will leave your guests smiling.
- Vanilla Ice Cream: The creamy, cold treat contrasts beautifully with the warm, chocolate brownies creating a luscious combination. Every bite becomes an indulgent experience.
- Fresh Berries: Raspberries or strawberries add a refreshing tang and vibrant color that balances the sweetness, making each mouthful a delightful surprise.
- Whipped Cream: Light and airy, whipped cream enhances the richness of the brownies while providing a fluffy texture that beautifully complements the cream cheese filling.
- Coffee or Espresso: A rich cup of coffee or a shot of espresso adds depth to the chocolate flavors, enhancing the overall tasting experience and making it feel more sophisticated.
- Mint Chocolate Chip Milkshake: This playful, nostalgic drink brings a fun twist to your dessert table, offering a cooling refreshment next to the warm deviled brownies.
- Chocolate Drizzle: A drizzle of melted chocolate on top of each brownie takes the dessert to the next level, elevating the visual appeal and chocolatey goodness!
- Lemonade: A tart, refreshing lemonade provides a zesty contrast that cuts through the sweetness of the brownies, making it a perfect pairing for spring gatherings.
- Spring Fruit Salad: A medley of seasonal fruits adds a fresh element that lightens up the dessert course while enhancing the festive flair of your spread.
Deviled Brownies Recipe FAQs
How do I choose ripe ingredients for this recipe?
Absolutely! When selecting cream cheese, look for packages that have a smooth, even surface without any cracks. If you’re considering using mascarpone as a substitute, ensure it’s fresh and not close to its expiration date for the best creaminess.
What is the best way to store deviled brownies?
Store your deviled brownies in a covered container in the refrigerator for up to 3-4 days. This helps maintain the cream cheese filling’s delightful texture as it should be kept chilled. Use a food-safe container that seals well to prevent excess moisture from affecting your brownies.
Can I freeze my deviled brownies?
Very! If you’d like to save some for later, you can freeze the deviled brownies for up to 3 months. Wrap each brownie tightly in plastic wrap, then place them in an airtight container. When you’re ready to enjoy them, simply thaw in the refrigerator overnight before serving. If desired, reheat gently but remember to remove the filling first!
What are some common mistakes to avoid when making deviled brownies?
The most common pitfall is not allowing the brownies to cool completely before removing them from the molds, which can lead to breakage. Additionally, make sure not to over-mix your brownie batter as this can create a dense texture. Keeping an eye on the baking time is also crucial; start checking for doneness at around 24 minutes to ensure they’re perfectly chewy and not overbaked.
Are there any dietary concerns with deviled brownies?
If you’re concerned about allergies, ensure to check the label on your brownie mix and cream cheese for common allergens like nuts or gluten. If you’re baking for someone with dietary restrictions, you might consider using gluten-free brownie mix or a dairy-free cream cheese alternative. These substitutions will keep your deviled brownies delicious and inclusive for everyone at your gathering!
Deviled Brownies: Irresistibly Creamy Easter Treats
Ingredients
Equipment
Method
- Preheat your oven to 350°F (175°C). Gather your ingredients and prepare your baking space.
- In a mixing bowl, combine brownie mix with required water, oil, and eggs until just combined.
- Lightly grease egg-shaped silicone molds with nonstick spray.
- Fill each mold with brownie batter, leaving a little room at the top.
- Bake for 24-26 minutes until a toothpick comes out clean or with a few moist crumbs.
- Create divots in the center of each brownie using the back of a small spoon.
- Allow the brownies to cool completely in the molds for about 30 minutes.
- Carefully release the brownies from the molds by inverting them.
- In a mixing bowl, beat softened cream cheese and marshmallow cream until smooth and creamy.
- Pipe the cream cheese filling into the divots of each brownie.
- Chill the deviled brownies in the refrigerator for about 30 minutes before serving.
Leave a Reply