
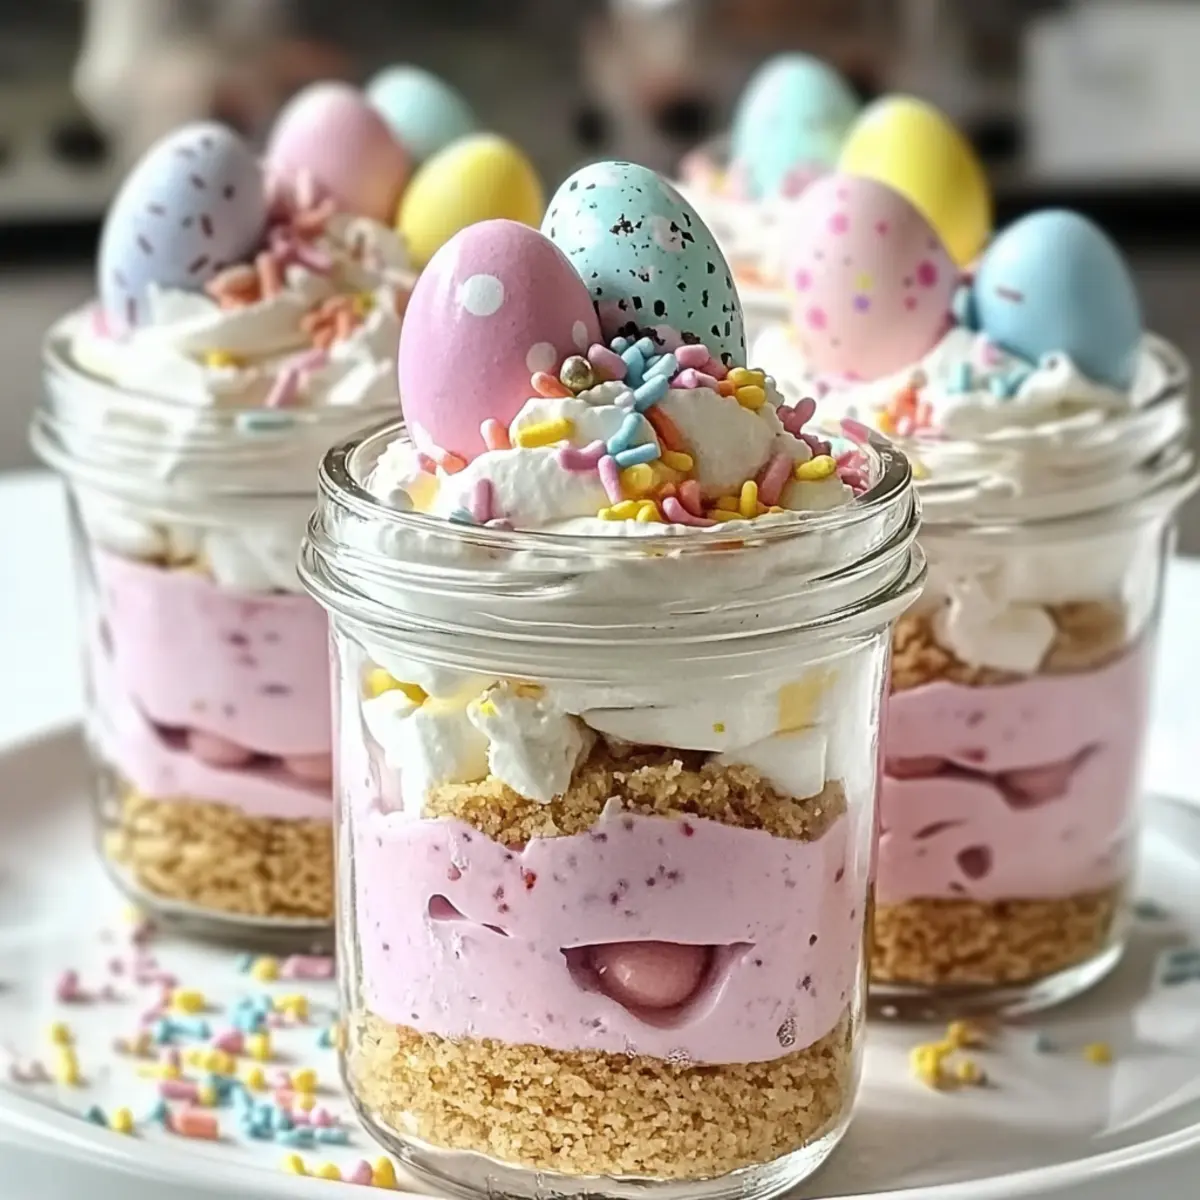
As I walked through the vibrant spring market, colors were everywhere—flowers blooming, bright fruits on display, and pastel candies tempting from every corner. This explosion of cheer sparked my inspiration for creating these No-Bake Easter Egg Cheesecake Jars. With layers of creamy, pastel cheesecake and a buttery graham cracker crust, this delightful dessert not only looks stunning but is also incredibly easy to whip up, making it perfect for family gatherings and Easter celebrations. You’ll love that these jars are customizable to suit your taste, allowing for fun variations that can involve the kids too. Picture a dessert that’s both a feast for the eyes and a breeze to prepare! Ready to bring a touch of joy and sweetness to your spring festivities? Let’s dive into making these charming cheesecake jars together!
Why Are These Cheesecake Jars Perfect?
Customizable Delights: Each jar allows you to personalize your cheesecake with different colors, flavors, and toppings — a great way to get creative!
No-Bake Wonder: With a simple mix-and-fold approach, this recipe skips the oven altogether, saving time and ensuring easy preparation.
Festive Appeal: The pastel colors and fun candy decorations make these jars a standout for any spring gathering, delighting both kids and adults alike!
Quick and Easy: You’ll have these delicious treats ready in no time, perfect for spontaneous celebrations. For more fun ideas involving kids, check out family-friendly recipes.
Ideal for Sharing: The individual jars make portion control a breeze, so everyone gets their own little treat without the hassle of cutting a cake!
Easter Egg Cheesecake Jars Ingredients
Get ready to gather your ingredients for these delightful treats!
For the Crust
- Graham Crackers – Serve as the crunchy base; consider crushed Oreos or shortbread for a twist!
- Granulated Sugar – Sweetens the crust; reduce the amount if you prefer a less sweet base.
- Unsalted Butter – Binds the crust together; use coconut oil or margarine as a suitable substitute.
For the Cheesecake Filling
- Cream Cheese – The star ingredient for that classic cheesecake texture; be sure it’s softened for easy mixing.
- Powdered Sugar – Adds sweetness and a smooth texture; you can substitute with a sugar alternative for lower sugar versions.
- Vanilla Extract – Enhances the overall flavor; pure vanilla is best, but artificial can work in a pinch.
- Heavy Cream – Brings richness and creaminess; whip it to stiff peaks for the perfect fluffy texture. Can be replaced with coconut cream for a dairy-free option.
- Pink Gel Food Coloring or Freeze-Dried Strawberry Powder – Optional for a pop of color; feel free to use natural substitutes or skip coloring altogether.
For the Toppings
- Whipped Cream – A delightful layer for decoration; use store-bought or whip your own for freshness.
- Pastel Candy Eggs – A charming decorative touch; any seasonal candy can make for an exciting swap.
- Rainbow or Pastel Sprinkles – For that extra visual appeal; while optional, they add a festive charm.
Unlock the joy of making your very own Easter Egg Cheesecake Jars and let the creativity flow!
Step‑by‑Step Instructions for Easter Egg Cheesecake Jars
Step 1: Prepare the Crust
Start by crushing your graham crackers into fine crumbs using a food processor or a resealable bag and rolling pin. In a mixing bowl, combine the crumbs with granulated sugar and melted unsalted butter, mixing until the mixture resembles wet sand. Press this mixture firmly into the bottom of each jar to create a solid crust, and set aside while you make the filling.
Step 2: Make the Cheesecake Filling
In a large mixing bowl, beat the softened cream cheese using an electric mixer on medium speed until it’s smooth and creamy, about 2–3 minutes. Gradually add powdered sugar and vanilla extract, continuing to mix until the mixture is light, fluffy, and well combined. This will become the base of your rich cheesecake filling for the Easter Egg Cheesecake Jars.
Step 3: Whip the Heavy Cream
In a separate bowl, pour in the cold heavy cream and use a handheld mixer to whip it to stiff peaks, which should take approximately 2–4 minutes. You’ll know it’s ready when the cream holds its shape when you lift the whisk. Gently fold the whipped cream into the cream cheese mixture, being careful not to deflate the airy texture that will make your cheesecakes light and delightful.
Step 4: Color the Filling
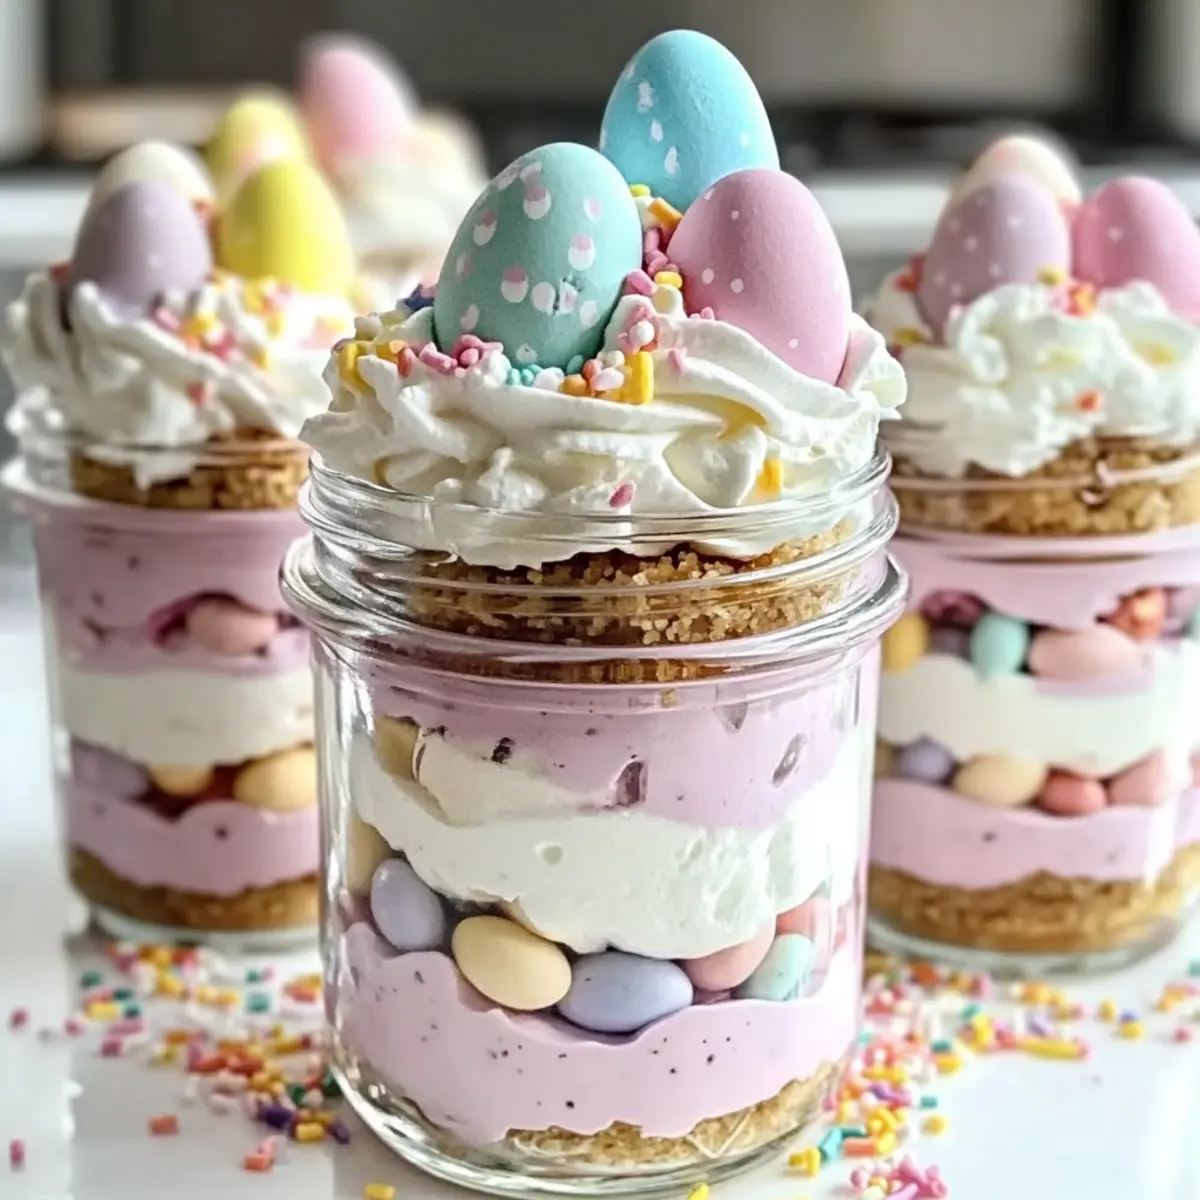
Divide the creamy cheesecake filling into two equal portions. In one half, add a few drops of pink gel food coloring or freeze-dried strawberry powder, gently folding it in until the color is evenly distributed. This vibrant layer will add a beautiful pop to your Easter Egg Cheesecake Jars, making them visually appealing as well as tasty.
Step 5: Layer Fillings
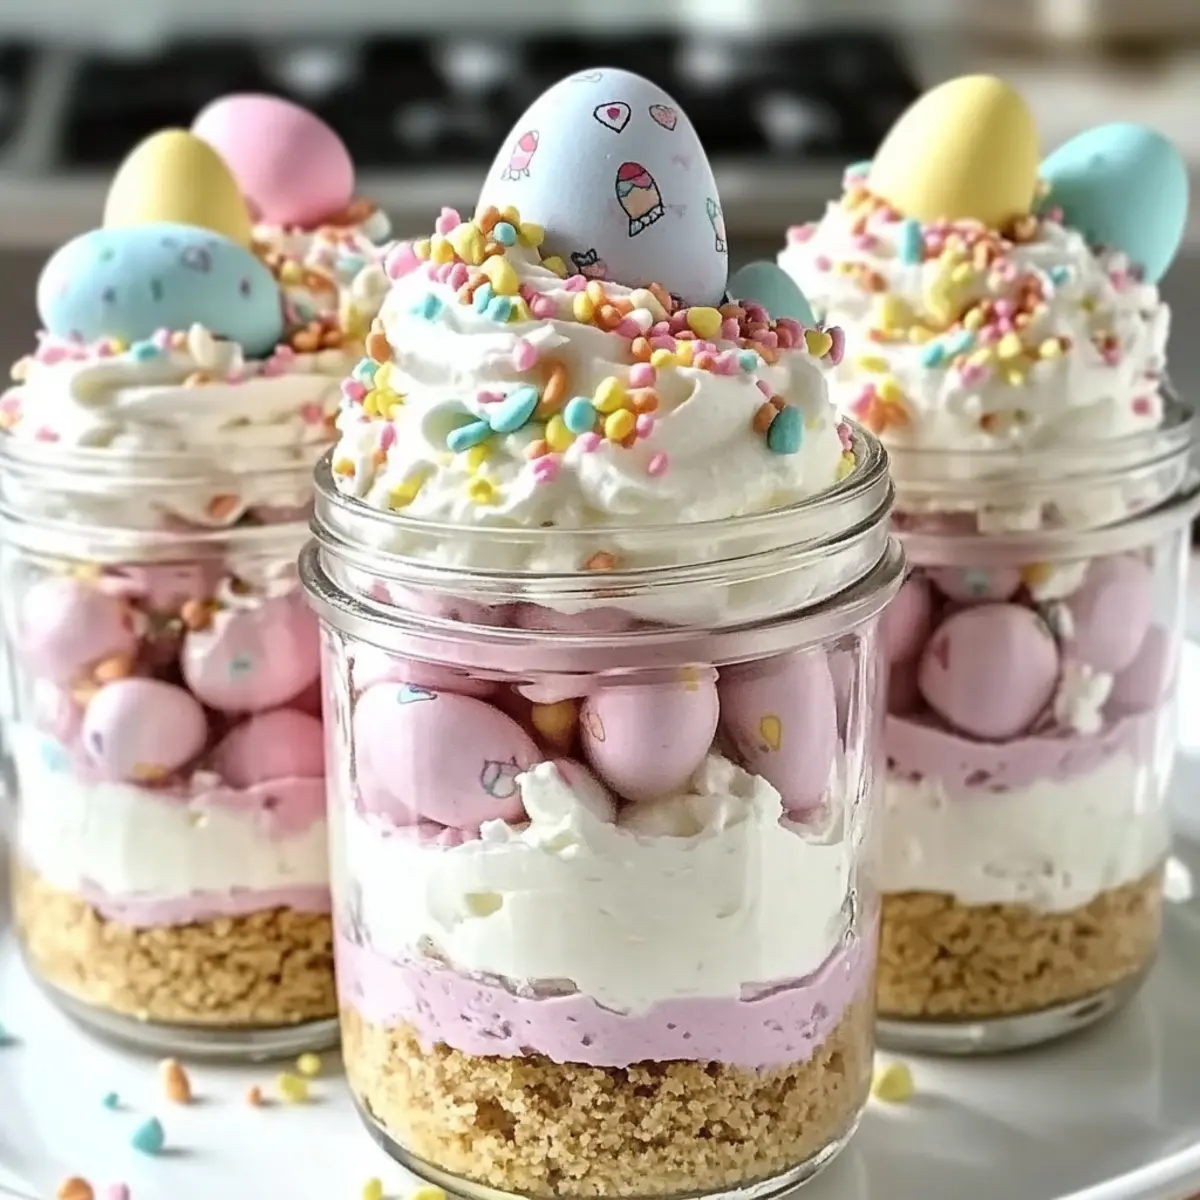
Begin layering the filled jars by spooning the pink cheesecake mixture over the crust in each jar. Next, use a piping bag or a spoon to add the plain cheesecake layer on top, smoothing it out for a clean finish. Alternate layers in each jar to create a stunning visual effect, and repeat until all the jars are filled, leaving a little room at the top for toppings.
Step 6: Top and Garnish
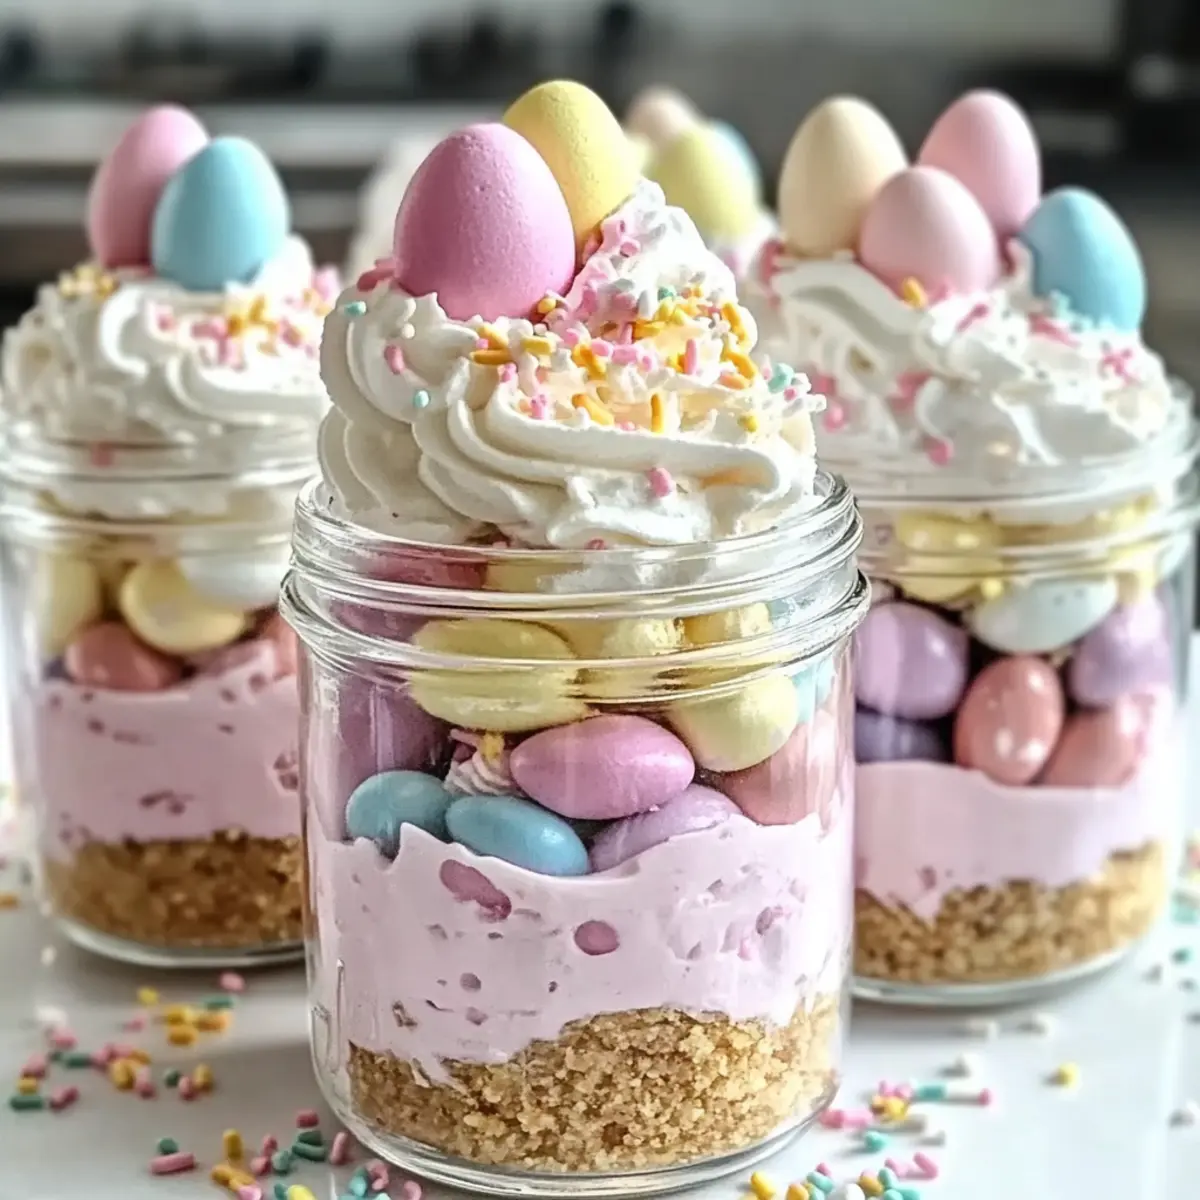
Just before serving your Easter Egg Cheesecake Jars, pipe a generous swirl of whipped cream on top of each jar for an elegant finish. Decorate with pastel candy eggs and a sprinkle of colorful rainbow or pastel sprinkles to add that cheerful touch. These final decorations bring joy and excitement, making your jars ready to impress at any spring gathering.
Expert Tips for Easter Egg Cheesecake Jars
-
Chill is Key: Ensure you chill the jars for at least 2 hours before serving; this allows the cheesecake to set and develop its creamy texture.
-
Layering Technique: For a polished look, use a piping bag when layering the cheesecake; it helps create distinct layers and adds a professional touch.
-
Adjust Sweetness: Feel free to modify the amount of powdered sugar to tailor the sweetness of your Easter Egg Cheesecake Jars to your family’s preference.
-
Play with Flavors: Don’t hesitate to experiment with different flavorings, such as adding lemon zest or orange juice for a refreshing twist to your cheesecake!
-
Watch the Whip: When whipping the heavy cream, stop as soon as stiff peaks form; over-whipping can lead to a grainy texture instead of the light creaminess you want.
-
Decorative Alternatives: Have fun with the toppings! Swap out the pastel candy eggs for other seasonal candies based on personal preferences, ensuring each batch feels unique and special.
What to Serve with Easter Egg Cheesecake Jars
The perfect pairing can elevate your Easter celebration, making it even more delightful and memorable.
-
Fresh Berries: A mix of strawberries, blueberries, and raspberries adds a fresh burst of flavor that perfectly balances the sweetness of the cheesecake. Their tartness complements the rich layers beautifully!
-
Minty Green Salad: A light salad with mixed greens, cucumber, and a hint of mint adds a refreshing contrast to the rich cheesecake jars. It’s a wonderful way to cleanse the palate between bites!
-
Lemonade Sparkler: A fizzy lemonade with a sprig of mint is a festive drink option that ties in the spring theme, offering a bubbly contrast to the creamy desserts. Each sip is like sunshine in a glass!
-
Carrot Cake Bites: Mini carrot cake bites can provide a delightful pairing, echoing that classic Easter flavor while adding warmth and spice. They’re a small indulgence that everyone will enjoy!
-
Chocolate-Covered Strawberries: Juicy strawberries dipped in rich chocolate make a decadent treat that complements the flavors and adds another layer of indulgence to your spring gathering.
-
Pastel Meringue Cookies: Light and airy meringue cookies in soft pastel colors not only match the festive theme but also add a sweet crunch that pairs nicely with the creamy jars. Each bite is a little cloud of joy!
Delight your guests by mixing and matching these ideas, creating a festive table that celebrates the season’s bounty and flavors!
Make Ahead Options
These delightful Easter Egg Cheesecake Jars are perfect for meal prep! You can prepare the crust and cheesecake filling up to 24 hours in advance. Start by making your graham cracker crust and pressing it into the jars; then whip up the cheesecake filling and layer it over the crust. To maintain quality, refrigerate the assembled jars tightly covered. Just before serving, pipe the whipped cream on top and garnish with pastel candy eggs and sprinkles to keep them looking fresh and appealing. This way, you can enjoy a stress-free dessert experience while still impressing your guests with these charming, homemade treats!
Storage Tips for Easter Egg Cheesecake Jars
Fridge: Keep your jars in the fridge for up to 3 days to maintain freshness. Ensure they are covered with a lid or plastic wrap to prevent absorbing any odors.
Freezer: These Easter Egg Cheesecake Jars can be frozen for up to 2 months. Before freezing, remove the whipped cream and toppings for best texture. Thaw in the fridge overnight before serving.
Reheating: There’s no need to reheat; serve chilled directly from the fridge or after thawing. Just add fresh whipped cream and toppings just before serving for that extra delightful touch.
Prep Ahead: Feel free to prepare the jars a day in advance. Store them in the fridge without toppings, adding those just before your celebration for the best presentation.
Easter Egg Cheesecake Jars Variations
Let your creativity flow as you make these delightful jars your own with these fun and flavorful twists!
- Dairy-Free: Substitute cream cheese with a dairy-free cream cheese alternative and use coconut cream for the whipped topping to enjoy a creamy vegan version.
- Gluten-Free: Swap graham crackers for gluten-free cookies such as almond or coconut cookies, ensuring everyone can enjoy this tasty treat!
- Flavor Twist: Add lemon zest or a touch of almond extract to your cheesecake mixture for an unexpected burst of flavor; it’ll be a delightful surprise!
- Colorful Layers: Use natural food dyes or pureed fruits, like beet juice or blueberry puree, for beautiful and vibrant layers—perfect for a fun, healthy alternative!
- Chocolate Lovers: Mix in cocoa powder to one half of the cheesecake filling for a delicious chocolate layer that will satisfy any sweet tooth.
- Crunchy Surprise: Fold in some chopped nuts or crushed candy canes into the cream cheese mixture for added texture and a delightful crunch.
These variations can spark new ideas and inspire joyous moments in the kitchen. If you’re eager for more family-friendly recipes, explore our collection of easy and fun dessert ideas to share with your loved ones!
Easter Egg Cheesecake Jars Recipe FAQs
How do I select ingredients for the crust?
For the best flavor and texture in your crust, I recommend using fresh graham crackers, as they provide that perfect crunch. If they’re soft or have dark spots, it’s best to avoid them. For a fun twist, consider using crushed Oreos or shortbread which add a delicious alternative flavor.
How should I store the cheesecake jars?
Store your Easter Egg Cheesecake Jars in the refrigerator, where they’ll stay fresh for up to 3 days. Make sure to cover each jar with a lid or plastic wrap to prevent them from absorbing any fridge odors. This simple step keeps each cheesecake jar tasting as delightful as the day you made them!
Can I freeze these cheesecake jars?
Absolutely! You can freeze the Easter Egg Cheesecake Jars for up to 2 months. Just remember to remove any whipped cream and candy toppings before freezing to maintain their texture and flavor. To serve, thaw them in the fridge overnight, and add fresh whipped cream and toppings just before you’re ready to enjoy.
What if my cream cheese mixture isn’t smooth?
If your cream cheese mixture isn’t blending smoothly, make sure it’s fully softened at room temperature before mixing. For extra help, you can try mixing for longer on medium speed to incorporate more air. If the mixture is still clumpy, consider warming your mixing bowl slightly over hot water for a few minutes as you mix; this can help achieve that perfectly creamy texture.
Is this recipe suitable for kids with allergies?
When making these Easter Egg Cheesecake Jars, it’s vital to consider allergies. The main ingredients include dairy and gluten, so if anyone has lactose intolerance or a gluten allergy, consider using alternative products like dairy-free cream cheese and gluten-free cookie crumbs. Always check packaging for allergens if you’re serving them to a group, ensuring everyone can enjoy these delightful treats safely!
Easter Egg Cheesecake Jars: Fun, No-Bake Spring Treats
Ingredients
Equipment
Method
- Crush graham crackers into fine crumbs and mix with granulated sugar and melted butter. Press into jars to form the crust.
- Beat softened cream cheese until smooth. Gradually add powdered sugar and vanilla, mixing until fluffy.
- Whip the heavy cream to stiff peaks and gently fold into the cream cheese mixture.
- Divide filling and color half with food coloring if desired. Layer the pink filling over the crust, then add the plain filling.
- Top with whipped cream, pastel candy eggs, and sprinkles before serving.
Leave a Reply