
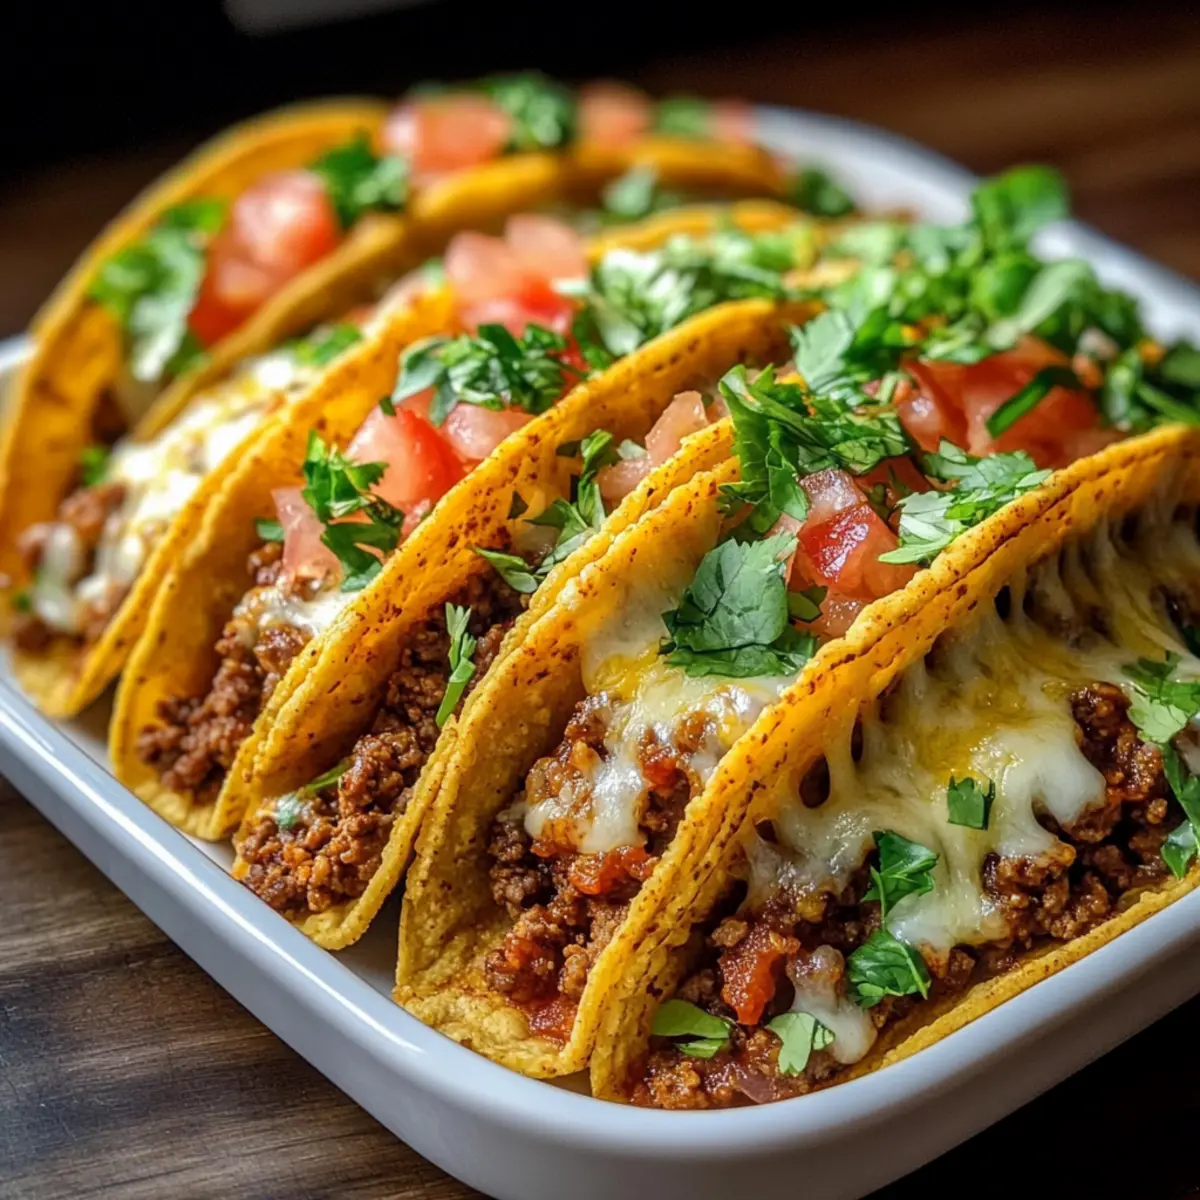
The tantalizing aroma of spices dancing in the air is a sure sign that something delicious is cooking! I can’t help but smile when I pull a tray of my Oven-Baked Cheesy Tacos from the oven—golden, crispy shells filled with a savory, cheesy delight. This recipe is not only a quick meal that comes together in just 30 minutes, but it’s also a family favorite that encourages creativity around the dinner table. By customizing toppings to suit every taste, you can transform this dish into a day-to-day staple. So, are you ready to take taco night to the next level? Let’s dig in!
What Makes These Tacos So Amazing?
Simplicity: These Oven-Baked Cheesy Tacos come together in just 30 minutes, making them ideal for busy weeknights.
Customizable: Whether you’re a fan of spicy jalapeños or prefer fresh guacamole, the topping options allow you to tailor this meal to your family’s preferences.
Texture: Enjoy the perfect blend of crispy taco shells with a gooey, cheese-filled center that will have everyone reaching for seconds!
Family-Friendly: This dish puts a fun twist on traditional tacos, ensuring both kids and adults will love every bite.
Healthier Option: With gluten-free taco shells and the opportunity to use lean meats or plant-based proteins, you can satisfy cravings while keeping it nutritious.
Elevate your taco night routine with these mouthwatering tacos that’ll leave your family asking for more!
Oven-Baked Cheesy Tacos Ingredients
• Get ready for a cheesy delight!
For the Beef Mixture
- Ground Beef – Provides protein and richness; substitute with ground turkey, chicken, or plant-based options like lentils for a lighter version.
- Onion – Adds sweetness and depth; yellow or white onion works well, while scallions provide a milder flavor.
- Garlic – Enhances the flavor with its aromatic touch; fresh minced garlic is best, but garlic powder is a handy substitute.
- Taco Seasoning – Infuses spices for traditional taco flavor; a homemade blend can easily replace store-bought seasoning.
- Tomato Sauce/Salsa – Balances flavors with moisture and acidity; swap salsa for diced tomatoes for extra chunkiness.
For the Tacos
- Hard Taco Shells – Forms the essential structure of the taco; gluten-free varieties are available to accommodate dietary needs.
- Shredded Cheese – Melts beautifully to bind the filling and add creaminess; cheddar, Monterey Jack, or Tex-Mex blends are perfect.
For Fresh Toppings (optional)
- Shredded Lettuce – Adds crunch and freshness that complements the rich filling.
- Diced Tomatoes – Provides a burst of juiciness; substitute with pico de gallo for an extra flavor punch.
- Red Onion – Brings a mild spiciness; sweet onion can be used for a milder taste.
- Cilantro – Adds brightness and freshness; substitute parsley if you’re not a fan of cilantro.
Elevate your family meal with these Oven-Baked Cheesy Tacos that tantalize the taste buds!
Step‑by‑Step Instructions for Oven-Baked Cheesy Tacos
Step 1: Preheat the Oven
Begin by preheating your oven to 400°F (200°C), ensuring a hot environment for a perfectly crispy outcome. While it warms up, grab a baking dish and arrange your hard taco shells upright, side by side. This layout not only aids in even cooking but also keeps the delicious filling secure.
Step 2: Cook the Beef Mixture
In a large skillet over medium heat, add ground beef and diced onion. Cook for about 5-7 minutes, stirring often, until the beef is browned and the onions are soft and translucent. Drain any excess fat to keep your Oven-Baked Cheesy Tacos light and delightful. This step adds a savory base that is key to your taco’s flavor.
Step 3: Add Flavor
Next, stir in the minced garlic and taco seasoning with the cooked beef, cooking for an additional minute until fragrant. Then, pour in the tomato sauce or salsa, mixing well to combine. Allow this mixture to simmer for 5 minutes, letting the flavors meld beautifully and the sauce heat through, which enhances the richness of the meat.
Step 4: Fill the Taco Shells
Carefully spoon the savory beef mixture into the taco shells, making sure each shell is generously filled to maximize every bite. Once filled, pile on shredded cheese over the top of each taco shell. This melty layer is what makes your Oven-Baked Cheesy Tacos irresistibly indulgent.
Step 5: Bake to Perfection
Place your filled taco shells into the preheated oven and bake for 10-15 minutes. Keep an eye on them until the cheese is melted and bubbly and the taco shells have turned a lovely golden brown. This step ensures your tacos not only taste amazing but also have a satisfying crunch.
Step 6: Add Fresh Toppings
Once removed from the oven, it’s time to elevate your Oven-Baked Cheesy Tacos with fresh toppings. Add shredded lettuce, diced tomatoes, and any other personalized toppings you desire. These fresh additions will bring vibrant flavors and textures that perfectly complement the cheesy goodness.
How to Store and Freeze Oven-Baked Cheesy Tacos
Fridge: Store leftover Oven-Baked Cheesy Tacos in an airtight container for up to 3 days. To reheat, place them in the oven at 350°F (175°C) for about 10-15 minutes, ensuring they stay crispy.
Freezer: For longer storage, freeze the cooked and cooled tacos in a single layer, then transfer them to a freezer bag or airtight container. They can be frozen for up to 3 months.
Reheating: When ready to enjoy, reheat from frozen in the oven at 350°F (175°C) for 15-20 minutes, or until heated through. This helps maintain the delightful crunch of the taco shells.
Assembly Option: You can also prepare the taco filling in advance and freeze it. Store it in an airtight container, and when you’re ready, fill the taco shells and bake them fresh for a quick meal!
What to Serve with Oven-Baked Cheesy Tacos
A well-rounded meal is just a few delicious sides away from elevating your taco night into an unforgettable family feast!
- Creamy Guacamole: The creamy texture and fresh flavor add richness that perfectly balances the cheesy tacos’ crunch.
- Zesty Salsa: A fresh salsa made with tomatoes, cilantro, and lime juice brings a vibrant kick that contrasts beautifully with the savory filling.
- Crispy Nachos: Serve a plate of loaded nachos alongside for that extra crunch and endless dipping possibilities. Nachos with your favorite toppings can satisfy any snack cravings!
- Side Salad: A simple green salad with crisp lettuce, cucumber, and a refreshing vinaigrette brings a light contrast, making your meal feel fresh and healthy.
- Mexican Street Corn: Sweet and smoky corn topped with cheese and lime complements the flavors of the tacos while adding a fun, festive vibe to your dinner table.
- Chips and Sour Cream: The classic combo makes for a perfect dipping side that your family will devour. The cool creaminess pairs wonderfully with the warm, cheesy tacos.
- Margaritas: Whether you prefer classic lime or fruity variations, these refreshing cocktails provide a celebratory flair that enhances the taco-buying experience.
- Chocolate Flan: For dessert, try a rich chocolate flan that rounds off the meal with a sweet touch, making it an evening to remember.
- Fresh Fruit Salad: A light and colorful fruit salad offers a refreshing cleanse to the palate after indulgent cheesy bites, wrapping up the meal on a bright note.
Make Ahead Options
These Oven-Baked Cheesy Tacos are a fantastic choice for meal prep, perfect for busy weeknights! You can prepare the beef mixture up to 3 days in advance and refrigerate it in an airtight container. When you’re ready to bake, simply spoon the chilled beef into the taco shells and top with cheese, then place them in the oven as per the original recipe instructions. To ensure your tacos are just as delicious, bake immediately after assembling rather than letting them sit too long. This way, you’ll enjoy crispy shells and melted cheese without any compromise on flavor!
Oven-Baked Cheesy Tacos Variations & Substitutions
Feel free to get creative with your Oven-Baked Cheesy Tacos! There are countless delicious ways to customize this family favorite.
- Turkey Tacos: Swap ground beef for ground turkey to lighten the dish while maintaining flavor. Turkey brings a slightly different taste but is equally satisfying!
- Spicy Kick: Add diced jalapeños or a sprinkle of chili powder to the beef mixture for a fiery twist. It’ll bring a delightful heat that spice lovers will cherish.
- Vegan Delight: Replace the ground meat with lentils or black beans for a hearty plant-based option. This change brings in fiber and makes it family-friendly for everyone!
- Cheese Variety: Experiment with different cheeses like pepper jack for some heat or a combo of cheeses for a unique flavor profile. Mixing mozzarella with a sharp cheddar can yield a creamy dream!
- Guacamole Dreams: Elevate the flavor with a dollop of fresh guacamole on top. This creamy addition perfectly complements the crunchy texture of the taco.
- Sweet Twist: Incorporate diced pineapple into the meat mixture for a sweet and savory contrast. It’s an unexpected treat that adds a fun tropical flair!
- Extra Crunch: Consider adding crushed tortilla chips on top before baking for an extra layer of crunch. This simple tweak will delight the texture enthusiasts at your dinner table.
- Mediterranean Style: Swap the beef for seasoned ground lamb and top with tzatziki sauce for a deliciously different taco night. A unique twist that will transport your taste buds around the world!
These variations will not only enhance your Oven-Baked Cheesy Tacos experience but also keep your family coming back for more flavorful adventures! If you’re looking for more unique flavor profiles, try including a side of homemade salsa to truly elevate the meal. Don’t forget that a refreshing green salad can perfectly balance out the richness too!
Helpful Tricks for Oven-Baked Cheesy Tacos
-
Preheat Perfectly: Always preheat your oven to ensure the taco shells crisp up correctly. A hot oven makes for a delightful crunch!
-
Meat Management: Make sure to drain any excess fat after cooking the meat. It prevents your Oven-Baked Cheesy Tacos from becoming greasy and ensures every bite is deliciously satisfying.
-
Layering Cheese: Generously pile shredded cheese on top of the filling to achieve that gooey, melty texture everyone loves. Don’t be shy—this is where the comfort factor comes in!
-
Customize Smartly: Encourage your family to personalize their tacos with toppings. Offer a variety so each person can enjoy their own taco masterpiece, opening doors to flavors everyone loves.
-
Storage Strategy: If you have leftovers, store them in an airtight container and reheat in the oven to maintain that perfect crispiness. Microwaving can make them soggy, so avoid that if possible!
-
Experiment with Spice: Feeling adventurous? Add chopped jalapeños to the beef mixture for extra heat, or experiment with different toppings like avocado or olives to make your Oven-Baked Cheesy Tacos uniquely yours!

Oven-Baked Cheesy Tacos Recipe FAQs
How do I choose ripe ingredients for my Oven-Baked Cheesy Tacos?
Absolutely! When selecting ingredients like tomatoes or onions, look for those that are firm and vibrant in color. For tomatoes, avoid any with dark spots or wrinkles, as this indicates overripeness. Choose onions that are heavy for their size and feel firm to the touch for the best flavor.
How should I store leftover Oven-Baked Cheesy Tacos and how long do they last?
Very! Leftover Oven-Baked Cheesy Tacos can be stored in an airtight container in the fridge for up to 3 days. When you’re ready to enjoy them again, reheat in the oven at 350°F (175°C) for about 10-15 minutes to keep the shells crispy—microwaving can lead to sogginess, so I suggest the oven for the best result!
Can I freeze Oven-Baked Cheesy Tacos? If so, how?
You can absolutely freeze them! First, let the cooked tacos cool completely, then arrange them in a single layer on a baking sheet. Freeze until solid, then transfer them to a freezer bag or airtight container. They can be stored in the freezer for up to 3 months. When you’re ready to eat, reheat them directly from frozen in the oven at 350°F (175°C) for 15-20 minutes, or until heated through and crispy.
What common troubleshooting tips do you have for making Oven-Baked Cheesy Tacos?
If you’re finding your taco shells aren’t crisping up, ensure your oven is fully preheated before putting them in. Additionally, draining the fat from the cooked meat is crucial; excess fat can lead to sogginess. Lastly, don’t overload the shells with filling—too much can cause them to break or lose their shape during baking.
Are there any dietary considerations I should be aware of?
Definitely! For those with gluten sensitivities, opt for gluten-free taco shells, which are widely available in grocery stores. If allergies to dairy are a concern, consider using dairy-free cheese options or avocado as a topping. Always double-check ingredient labels if you’re unsure, and I often suggest checking with family members about their dietary needs before preparing the meal.
Can I prepare the taco filling ahead of time?
Of course! I often prepare the taco filling in advance. Simply cook the beef mixture and let it cool, then store it in an airtight container in the fridge for up to 3 days. When you’re ready for taco night, just fill the taco shells and bake as instructed—this saves you time and makes for an easy weeknight dinner!
Oven-Baked Cheesy Tacos Recipe FAQs
Oven-Baked Cheesy Tacos for a Quick Family Feast
Ingredients
Equipment
Method
- Preheat your oven to 400°F (200°C) and arrange your hard taco shells upright in a baking dish.
- In a large skillet over medium heat, add ground beef and diced onion. Cook for about 5-7 minutes until browned and translucent. Drain excess fat.
- Stir in minced garlic and taco seasoning, cooking for an additional minute. Then, add tomato sauce or salsa and simmer for 5 minutes.
- Spoon the savory beef mixture into taco shells and pile on shredded cheese.
- Bake in the preheated oven for 10-15 minutes until the cheese is melted and taco shells are golden.
- Remove from oven and add fresh toppings such as shredded lettuce and diced tomatoes.
Leave a Reply