
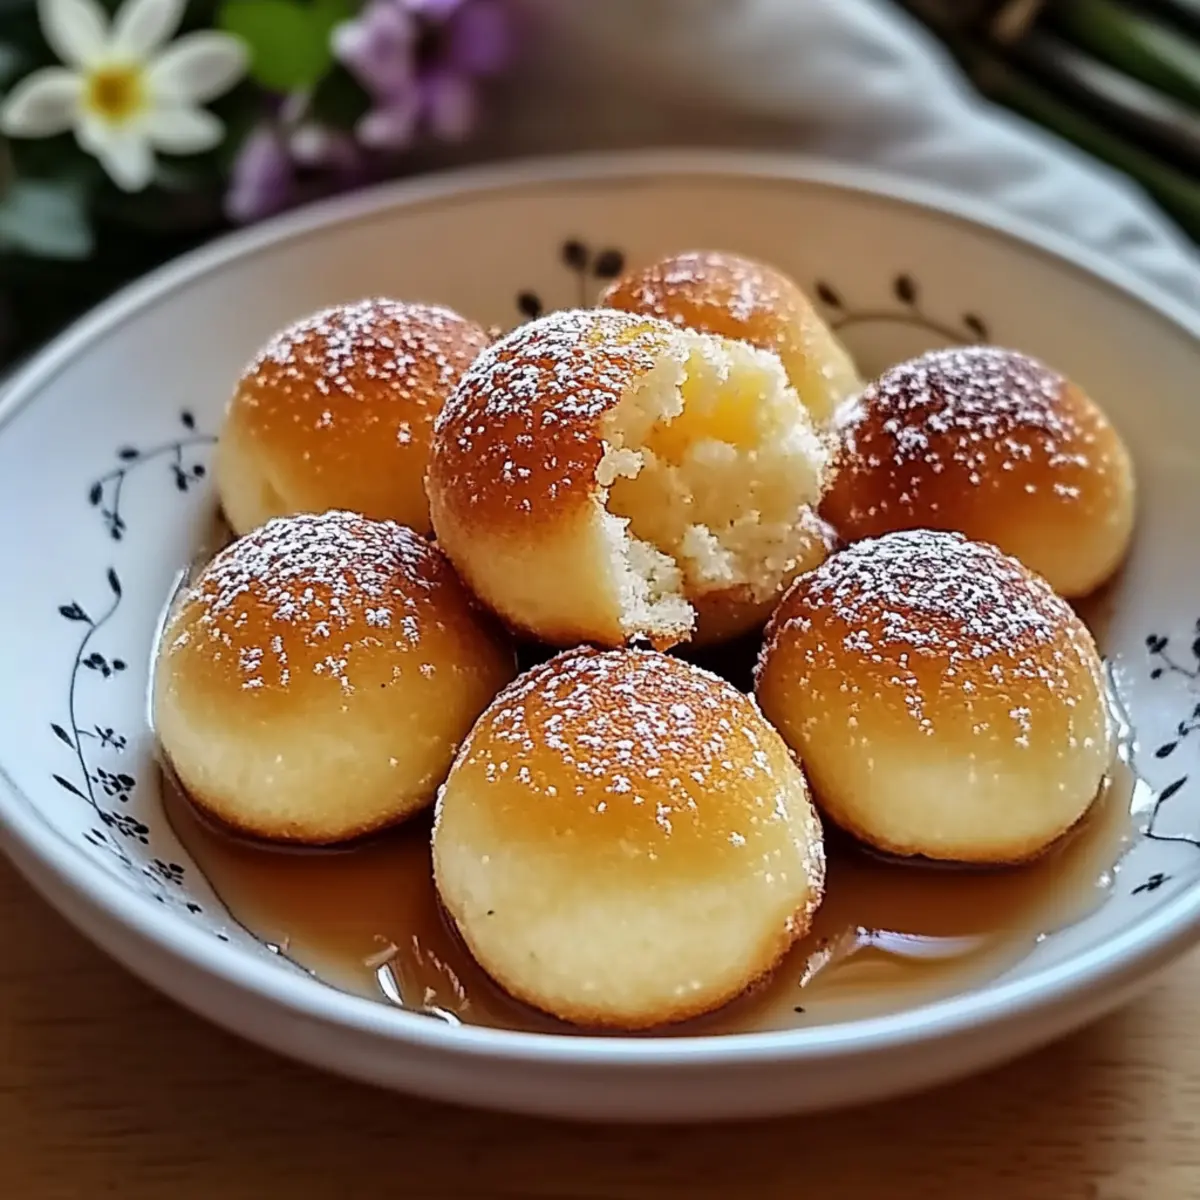
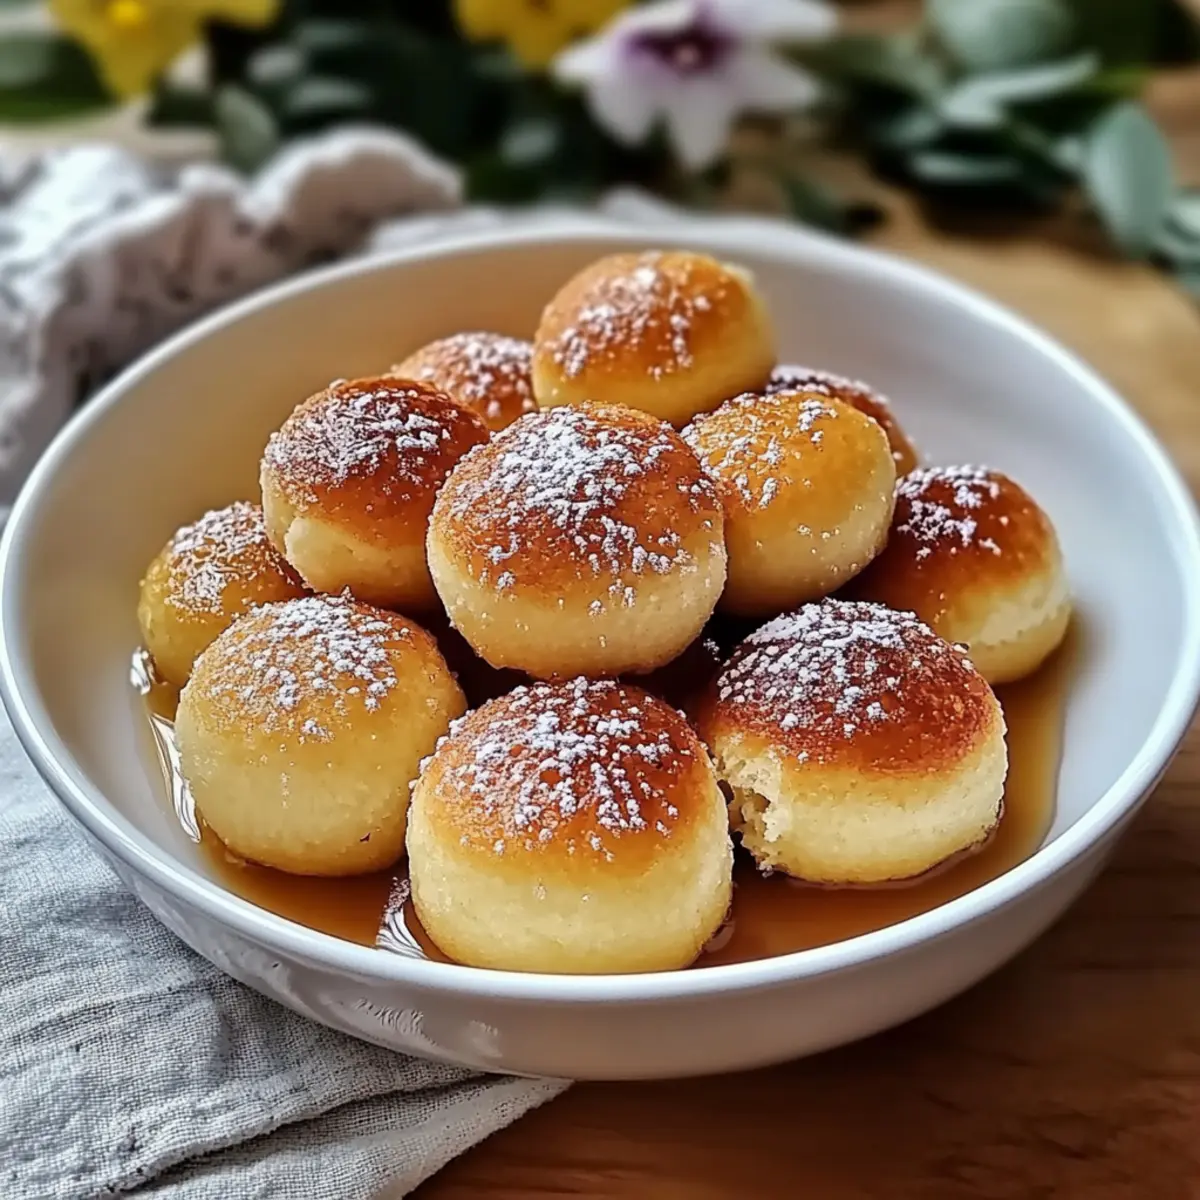
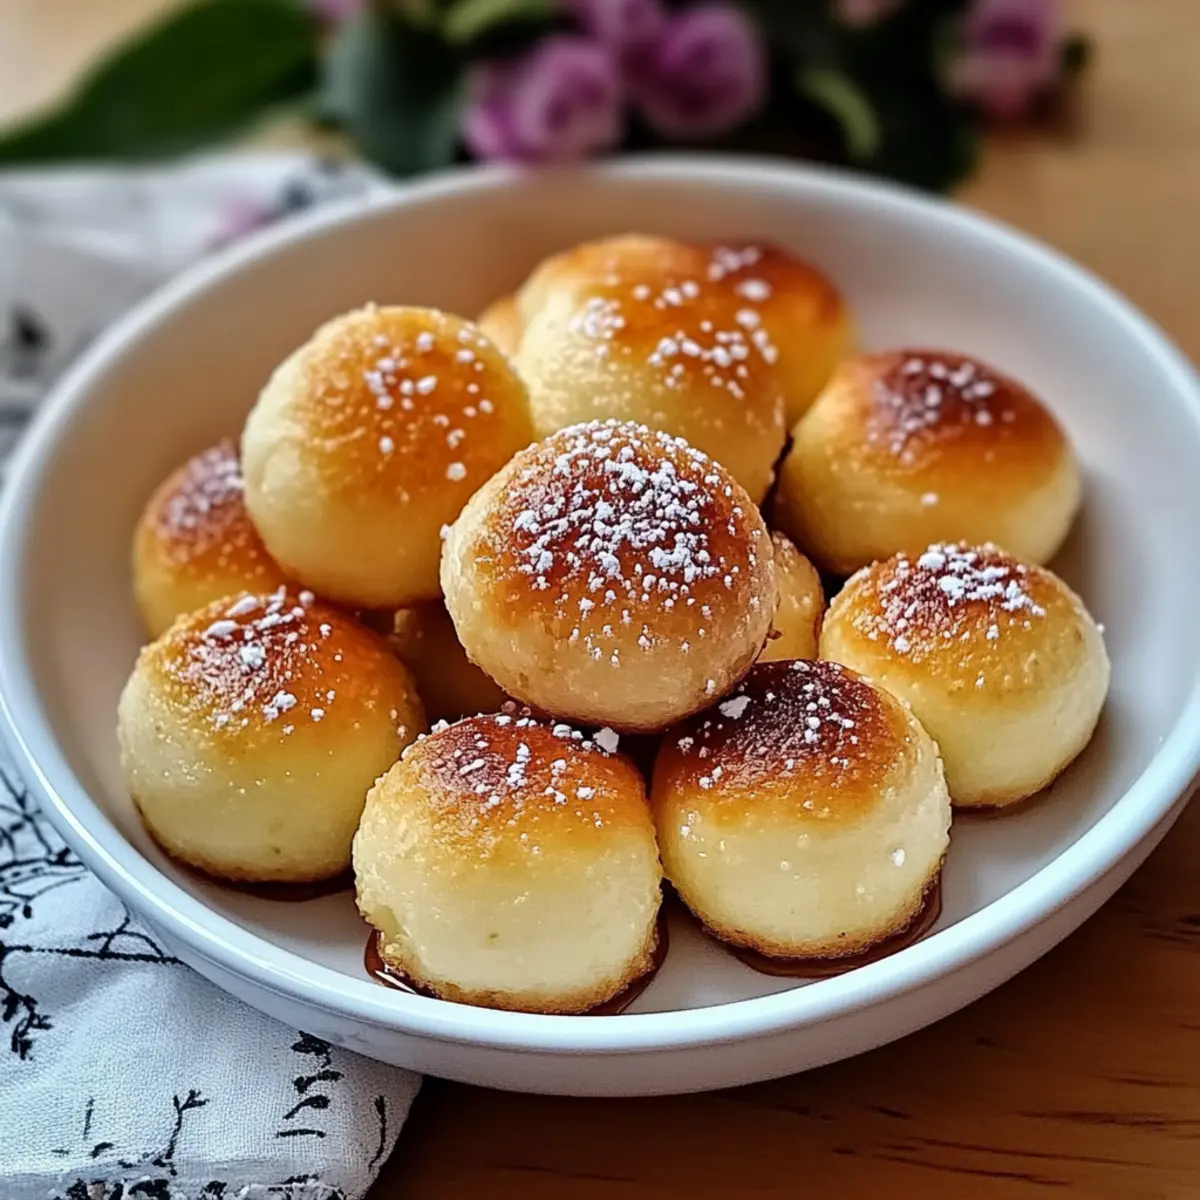
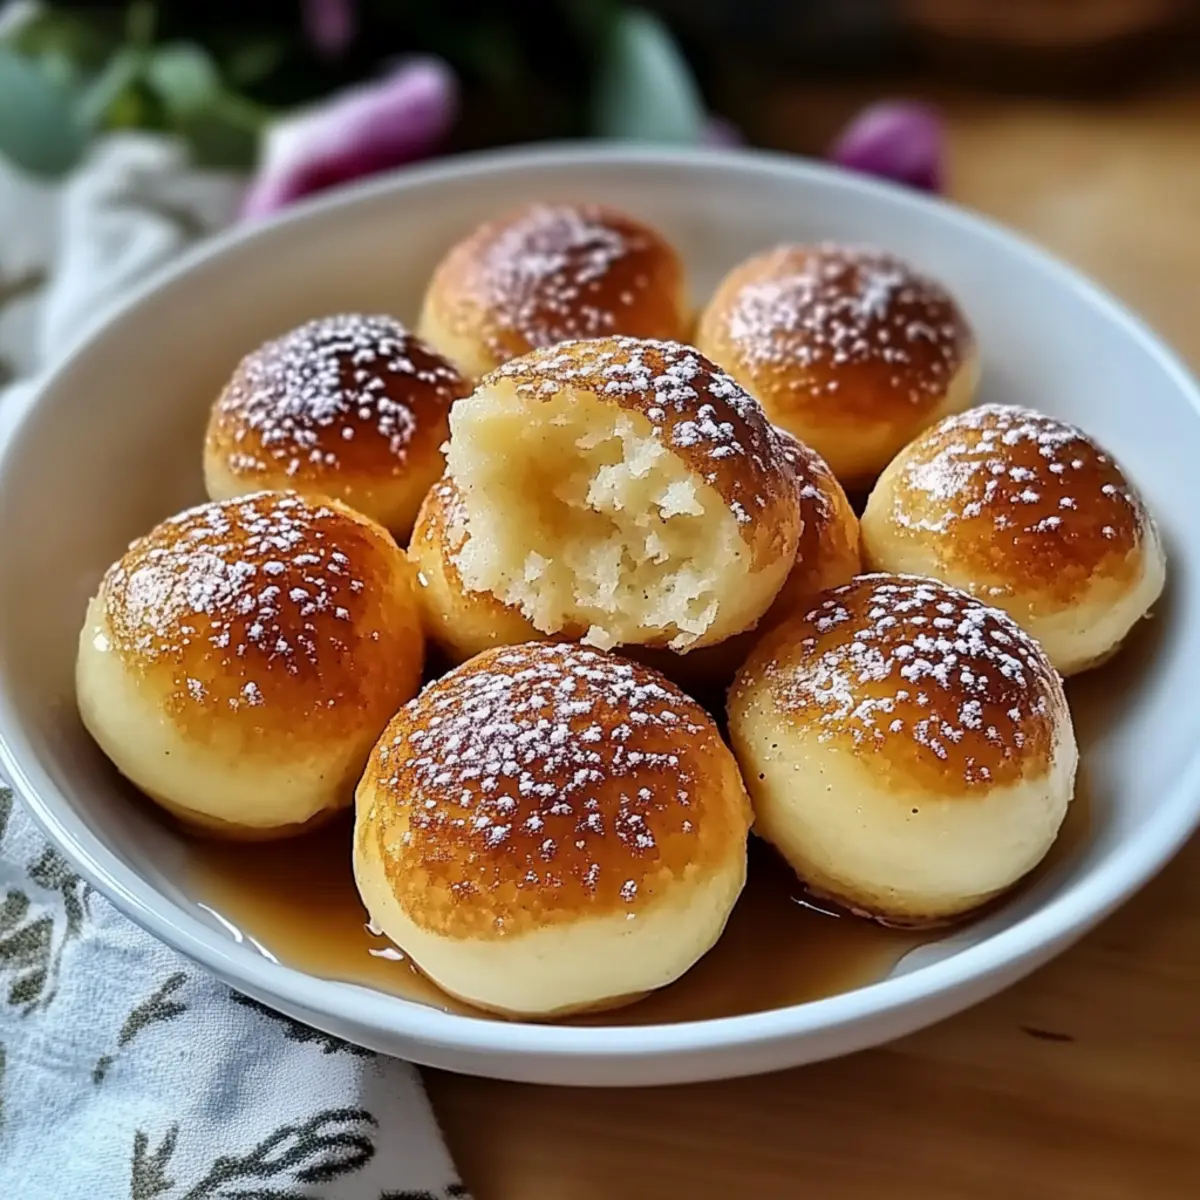
The smell of warm pancakes wafting through the house can ignite a joyful nostalgia, doesn’t it? With my recipe for Pancake Poppers, you can capture that delightful aroma while enjoying a modern twist on a classic favorite! These fluffy, bite-sized delights are perfect for busy mornings; ready in under 30 minutes, they offer a quick yet satisfying breakfast solution that even the littlest ones will adore. What’s more, they’re completely customizable, allowing you to fill them with chocolate chips, fresh berries, or even savory surprises to keep every palate excited. Whether you serve them drizzled with maple syrup or stuffed with your favorite fillings, these pancake poppers are destined to become a beloved addition to your breakfast routine. Want to discover creative variations that will tantalize your taste buds? Let’s dive in!
Why You’ll Crave These Pancake Poppers?
Quick & Easy: Perfect for busy mornings, these pancake poppers come together in under 30 minutes, making them an ideal solution for families on the go.
Customizable Goodness: Endless variations mean you can keep things fresh and exciting by mixing in chocolate chips, berries, or even savory ingredients—everyone will find their favorite!
Kid-Friendly: Even the pickiest eaters will love these bite-sized treats, making breakfast a hit for kiddos and adults alike!
Flavorful Texture: Light and fluffy on the inside, with a slightly crispy exterior, these poppers deliver the delightful experience of pancakes in a new form.
Make-Ahead Convenience: Prepare the batter ahead for an even quicker breakfast; just store it in the fridge and bake whenever you’re ready!
Elevate your breakfast game with these delicious creations, and don’t forget to check out my serving suggestions for even more delicious ideas!
Pancake Poppers Ingredients
For the Batter
• Flour – Provides the structure for the pancake poppers; feel free to use all-purpose, whole wheat, or a gluten-free mix to suit your dietary needs.
• Buttermilk – Adds moisture and richness; if unavailable, substitute with regular milk mixed with vinegar or lemon juice for a similar effect.
• Egg – Acts as a binder, keeping everything together for that perfect fluffy texture.
• Butter – Infuses flavor and moisture; coconut oil can be a great alternative for a dairy-free option.
• Sugar – Adds sweetness; you can substitute with honey or even leave it out for a less sweet option.
• Baking Powder & Baking Soda – Essential leavening agents that ensure your pancake poppers are delightfully fluffy.
• Salt – Enhances the overall flavor, ensuring each bite is delicious.
Optional Add-ins
• Chocolate Chips – Sweeten the deal and add a gooey surprise; typically use about 1 cup to maximize flavor.
• Berries – Fresh or frozen, they contribute delightful bursts of fruity flavor in every bite.
• Nut Butter – A dollop inside adds a creamy texture and richness, elevating your poppers to the next level.
Explore the endless possibilities with these pancake poppers, perfectly customizable for everyone in your family!
Step‑by‑Step Instructions for Pancake Poppers
Step 1: Preheat the Oven
Begin by preheating your oven to 375°F (190°C). While it warms up, take a moment to generously grease a mini muffin tin with butter or non-stick spray, ensuring each cup is well-coated to facilitate easy removal later. This step is key for achieving that perfectly fluffy pancake popper texture!
Step 2: Mix the Dry Ingredients
In a large mixing bowl, whisk together the flour, sugar, baking powder, baking soda, and salt until well combined. This will help to evenly distribute the leavening agents, ensuring your pancake poppers rise beautifully. Set this mixture aside as we prepare the wet ingredients next.
Step 3: Combine the Wet Ingredients
In a separate bowl, whisk together buttermilk, egg, and melted butter until smooth. If you’re using a non-dairy alternative, ensure it’s well-blended! This mixture adds moisture and richness to your pancake poppers. Incorporating this step properly is crucial for the fluffiness we’re after.
Step 4: Combine Mixtures
Gently fold the wet ingredients into the dry ingredients using a rubber spatula. Mix until just combined, being careful not to overmix. A few lumps are perfectly fine! This is essential for maintaining the light, airy texture characteristic of delicious pancake poppers.
Step 5: Fill the Muffin Cups
Using a ladle or measuring cup, pour the batter into the prepared muffin cups, filling each about three-quarters full. If you want to add chocolate chips, berries, or a spoonful of nut butter, now is the time to sprinkle those delightful add-ins into each cup.
Step 6: Bake the Poppers
Place the filled muffin tin in the preheated oven and bake for 12-15 minutes. Keep an eye on them as they bake; you’ll know they’re done when they turn golden brown and a toothpick inserted in the center comes out clean. This golden hue is a visual cue of deliciousness!
Step 7: Cool and Serve
Once baked, remove the muffin tin from the oven and allow the pancake poppers to cool for about 5 minutes. Afterward, gently run a butter knife around the edges to loosen them before popping them out. These little bites of joy are now ready to be drizzled with maple syrup or enjoyed as is!
Expert Tips for Pancake Poppers
Don’t Overmix: Avoid dense poppers by mixing until just combined; a few lumps are okay. This helps keep your pancake poppers light and fluffy.
Proper Greasing: Make sure to grease the muffin tin thoroughly to ensure your poppers pop out easily once baked. Nobody wants a stuck pancake popper!
Let Batter Rest: Allow the batter to sit for 5 minutes before baking. This resting period enhances fluffiness and improves texture.
Balanced Add-ins: If you’re adding in chocolate chips or berries, aim for a balanced mix to keep each popper flavorful and not overloaded.
Experiment Freely: Feel free to explore different flavors; savory options like cheese and herbs make for exciting pancake poppers that cater to adult tastes too!
Storage Tips for Pancake Poppers
-
Room Temperature: Best enjoyed fresh, these pancake poppers can be left out for up to 2 hours before they start to lose that delicious fluffiness.
-
Fridge: Store leftover pancake poppers in an airtight container for up to 4 days to maintain their delightful texture and flavor.
-
Freezer: To keep your pancake poppers for longer, freeze them for up to 3 months. Reheat directly from the freezer, and enjoy warm, fluffy bites anytime!
-
Reheating: For best results, reheat in the oven at 350°F (175°C) for about 5-10 minutes, or pop them in the microwave for 20-30 seconds—just until warmed through.
Make Ahead Options
These Pancake Poppers are perfect for meal prep enthusiasts looking to save time on busy mornings! You can prepare the batter up to 24 hours in advance; simply store it in an airtight container in the refrigerator. To maintain their fluffy texture, mix the wet and dry ingredients just until combined, and remember to let the batter rest for about 5 minutes prior to baking. When you’re ready to enjoy, take the batter out of the fridge, give it a quick stir, and pour it into the muffin tin. Bake as directed, and you’ll have warm, delightful pancake poppers that taste just as delicious as if made fresh!
Pancake Poppers Variations & Substitutions
You’re in charge of creating your perfect pancake poppers, and these delightful options will tempt your taste buds in fresh ways!
-
Choco-Lovers: Add chocolate chips for a gooey, sweet surprise that kids and adults will adore. Nothing says “breakfast bliss” like a warm chocolatey bite!
-
Berry Burst: Incorporate fresh or frozen berries to introduce bursts of fruity flavor in every delicious popper. Strawberries and blueberries can add natural sweetness for a vibrant morning treat.
-
Nutty Delight: Toss in chopped nuts or almond butter for extra crunch and a creamy interior. This adds not just texture but also a nutty richness that elevates the entire experience.
-
Savory Spin: For a tasty shift, mix shredded cheese and herbs into the batter, and skip the sugar. These savory poppers make an excellent brunch option and are fantastic served alongside a fresh green salad.
-
Coconut Twist: Swap ingredients for coconut oil and fold in shredded coconut. The result? A tropical flavor that feels like a vacation in every bite, perfect for those dream-inspired mornings.
-
Sweet Spice: Infuse the batter with cinnamon and nutmeg for a warm, aromatic addition. These subtle spices will and elevate your pancake poppers with a comforting flavor profile reminiscent of cozy breakfasts.
While you’re at it, don’t forget to check out my helpful storage tips to keep these poppers fresh and ready to serve!
What to Serve with Pancake Poppers?
Start your morning off right by creating a delightful table spread that perfectly complements these fluffy bites!
-
Maple Syrup: A classic pairing, warm maple syrup adds a sweet, rich flavor that transforms each popper into a breakfast delight. Drizzled on top, it creates a deliciously decadent experience.
-
Fresh Fruit Salad: A refreshing mix of berries, melon, and citrus not only brightens your plate but also adds a burst of color and sweetness, balancing the rich flavor of pancake poppers beautifully.
-
Greek Yogurt: Offering a protein-packed option, a dollop of creamy Greek yogurt on the side provides a tangy contrast that enhances the sweetness of the poppers while keeping breakfast healthy.
-
Scrambled Eggs: Fluffy, buttery scrambled eggs add heartiness to the morning meal. They complement the pancake poppers with their savory goodness, making this combination irresistibly satisfying.
-
Smoothies: Creating a vibrant fruit smoothie packed with greens is a great way to enhance nutrition. Serve it alongside pancake poppers for a refreshing and energizing breakfast option.
-
Nut Butter Dipping Sauce: A creamy nut butter, such as almond or peanut, makes for a deliciously savory dip for your poppers, adding richness and a fun twist to each bite.
-
Cinnamon Sugar Sprinkling: For a sweet indulgence, sprinkle a mix of cinnamon and sugar on warm pancake poppers for a comforting, seasonal flavor that everyone will love.
Combine these elements for an inviting breakfast spread that warms the heart and pleases every palate!
Pancake Poppers Recipe FAQs
What type of flour should I use for Pancake Poppers?
You can absolutely use all-purpose flour, whole wheat flour, or a gluten-free mix depending on your dietary needs. Each option provides a slightly different flavor and texture, so feel free to experiment and see what you prefer!
How should I store leftover Pancake Poppers?
To keep your pancake poppers fresh, place them in an airtight container in the fridge for up to 4 days. They are best enjoyed fresh, but this method maintains their delightful fluffiness and flavor. For longer storage, you can freeze them!
Can I freeze Pancake Poppers?
Yes, you can freeze pancake poppers for up to 3 months! Just let them cool completely, then place them in a single layer on a baking sheet until frozen. Once solid, transfer them to a freezer-safe bag. Reheat directly from frozen, enjoying warm, fluffy bites whenever you desire!
What should I do if my pancake poppers turn out dense?
If your pancake poppers aren’t as fluffy as you’d like, it often comes down to overmixing the batter. Remember, it’s crucial to mix gently until just combined and to allow the batter some time to rest before baking. If you followed these steps, make sure your baking powder and baking soda are fresh as this could also affect their rise!
Are there any dietary considerations with Pancake Poppers?
Definitely! You can easily make these poppers gluten-free by using a suitable flour blend. If you have nut allergies, be cautious with any nut butters or chopped nuts you may want to include. Always consider your guests’ dietary needs when selecting add-ins, ensuring everyone can enjoy these delightful bites!
Pancake Poppers: Bite-Sized Breakfast Bliss for Everyone
Ingredients
Equipment
Method
- Preheat your oven to 375°F (190°C) and grease a mini muffin tin.
- In a large mixing bowl, whisk together the flour, sugar, baking powder, baking soda, and salt.
- In another bowl, whisk together the buttermilk, egg, and melted butter until smooth.
- Gently fold the wet ingredients into the dry ingredients until just combined.
- Pour the batter into the muffin cups, filling them three-quarters full and adding any optional ingredients.
- Bake for 12-15 minutes until golden brown and a toothpick inserted comes out clean.
- Cool for 5 minutes, then loosen and remove from the tin to serve.
Leave a Reply