
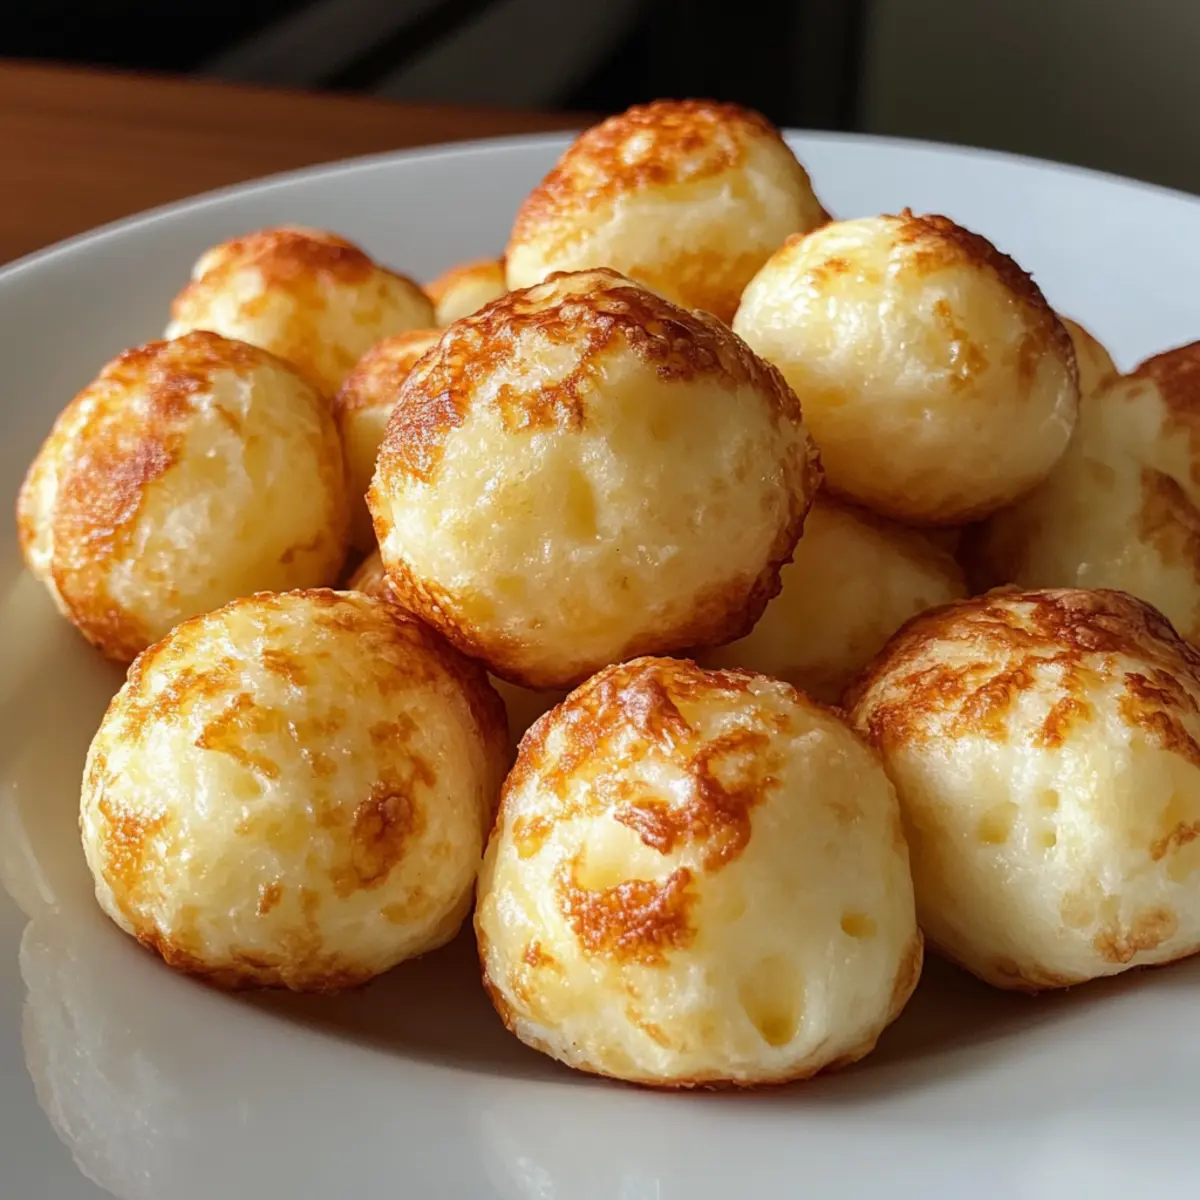
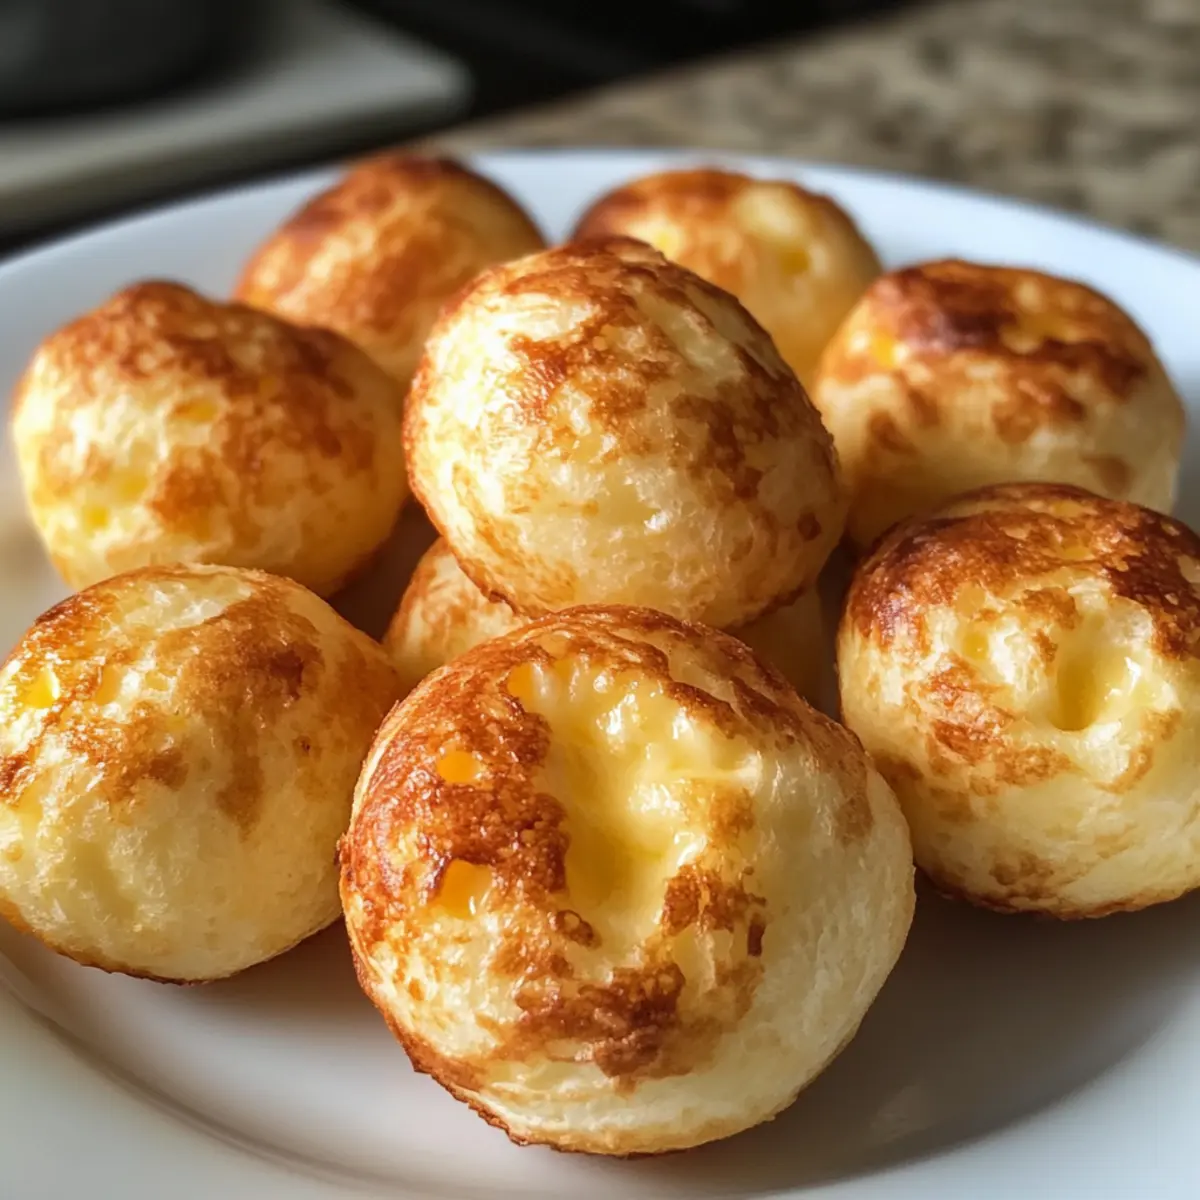
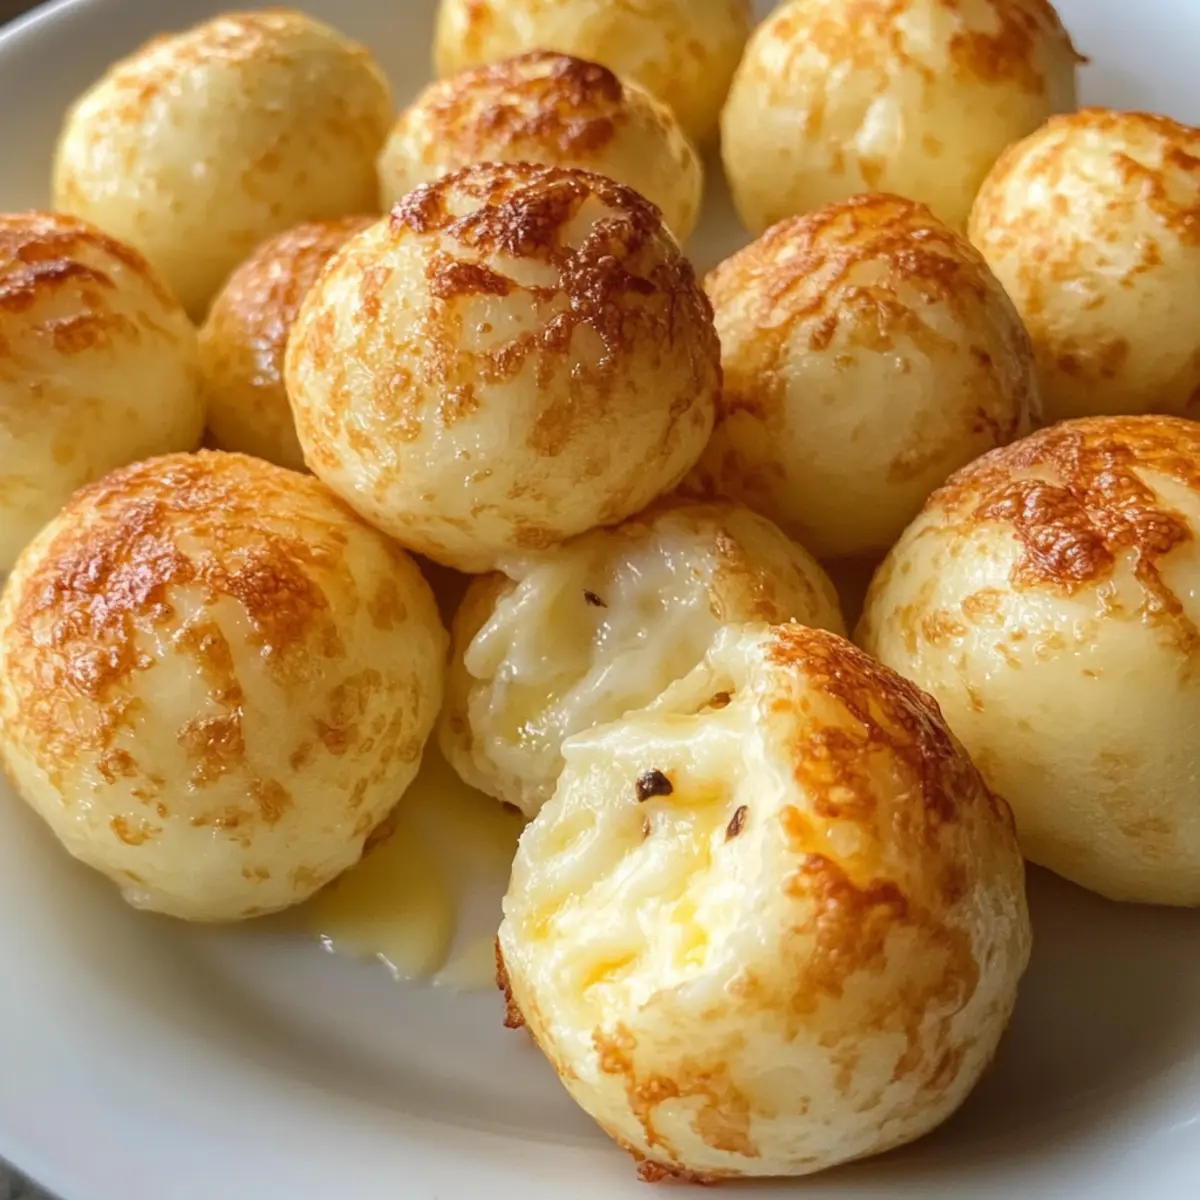
As I stood in my kitchen, the rich aroma of melting cheese wafted through the air, instantly transporting me to the bustling streets of Brazil. Today, I’m thrilled to share my recipe for Pão de Queijo, those irresistible Brazilian Cheese Bread bites that have stolen my heart. What makes them truly special? They’re not only gluten-free and low-carb, making them a perfect guilt-free snack, but they also come together in just 30 minutes! Imagine serving warm, perfectly puffed bites that are delightful on their own or paired with your favorite dips. With a chewy interior enveloped in a golden crust, it’s no wonder these little gems are crowd-pleasers. Ready to take a culinary trip to Brazil right from your kitchen? Let’s get started!
Why Is Pão de Queijo So Irresistible?
Crispy, Each bite of Pão de Queijo offers a perfect balance of crispy exterior and chewy, gooey interior that leaves you wanting more. Quick & Easy: This recipe comes together in just 30 minutes, making it a time-saver for busy weeknights or unexpected guests. Versatile: Enjoy these delightful cheese puffs as a snack, appetizer, or side dish; they pair beautifully with dips or even soups. Health-Conscious: Gluten-free and low-carb, these little bites fit seamlessly into various dietary needs without sacrificing flavor. Crowd Favorite: With their rich cheese flavor and delightful texture, they are sure to impress family and friends! Want to explore more variations? Check out our ideas for creative twists on your Pão de Queijo to make every batch a unique delight!
Pão de Queijo Ingredients
For the Batter
- Tapioca Flour – This essential ingredient provides structure and that signature chewiness many love.
- Whole Milk – Adds moisture to keep the puffs soft; feel free to substitute with unsweetened plant-based milk for a dairy-free version.
- Large Eggs – These bind the ingredients together and help the cheese bread rise brilliantly; consider using flaxseed meal mixed with water as an egg substitute if needed.
- Vegetable Oil – Contributes richness; you can swap it for melted butter to introduce a distinct flavor.
For the Cheese Mixture
- Shredded Sharp Cheddar Cheese – Imparts a rich, savory flavor, but feel free to use any melting cheese that you adore for a personal touch.
- Shredded Mozzarella Cheese – Grants that gooey texture; if you’re looking for a lighter bite, you can even omit this ingredient if desired.
For Seasoning
- Salt – A crucial flavor enhancer; kosher or sea salt works wonderfully for taste.
- Garlic Powder – Adds depth to the flavor profile, but you can swap this out for onion powder or leave it out for a simpler taste.
Dive into making your own Pão de Queijo, the well-loved Brazilian cheese bread, and enjoy the delicious texture and flavors that await you!
Step‑by‑Step Instructions for Pão de Queijo
Step 1: Preheat the Oven and Prepare Pans
Begin by preheating your oven to 400°F (200°C). While it heats, generously coat your mini muffin pans with non-stick spray or a light layer of oil to ensure your Pão de Queijo come out easily once baked. This step is crucial for achieving that golden, crispy exterior everyone loves!
Step 2: Blend the Batter
In a blender, combine the tapioca flour, whole milk, large eggs, vegetable oil, shredded cheddar and mozzarella cheeses, salt, and garlic powder. Blend for about 30 seconds, until the mixture is smooth and frothy, with no lumps. This will create a light batter that’s rich in flavor, setting the stage for your delightful Pão de Queijo.
Step 3: Fill the Muffin Pans
Take your blended batter and carefully pour it into the prepared mini muffin pans. Fill each well about ¾ full, ensuring even distribution for uniform baking. At this stage, the batter should bubble slightly as it fills the pans, which hints at the airy puffiness that is soon to come!
Step 4: Bake to Perfection
Transfer the muffin pans to your preheated oven and bake for 19-20 minutes. Keep an eye on them; the Pão de Queijo will rise beautifully and turn a lovely golden-brown color. You’ll know they’re done when they’re puffed up and slightly firm to the touch, signaling that delectable cheese puffs are ready to be enjoyed.
Step 5: Cool and Serve
Remove the Pão de Queijo from the oven and let them cool in the pans for a few minutes. This will help set their shape. Once slightly cooled, gently remove them from the pans and serve warm. Their tantalizing aroma and texture will make them the star of any gathering!
Storage Tips for Pão de Queijo
-
Room Temperature: Store Pão de Queijo in an airtight container at room temperature for up to 4 days to keep them fresh and delightful.
-
Fridge: If you prefer, you can refrigerate the cheese puffs in an airtight container for up to 1 week. Just be aware they may lose some of their crispiness.
-
Freezer: For longer storage, freeze Pão de Queijo in an airtight bag for up to 3 months. This way, you can enjoy these tasty bites anytime!
-
Reheating: Thaw frozen Pão de Queijo in the fridge overnight, then reheat in the oven or air fryer at 350°F (175°C) for about 5-7 minutes for that fresh-baked texture again.
Make Ahead Options
These Pão de Queijo are fantastic for meal prep and can save you time during busy weeknights! You can prepare the batter up to 24 hours in advance by blending the ingredients and storing the mixture in an airtight container in the refrigerator. This not only keeps everything fresh but also allows the flavors to meld beautifully. When you’re ready to enjoy your Brazilian Cheese Bread, simply pour the chilled batter into the muffin pans and bake as instructed. For added convenience, you can bake a large batch and freeze the puffed cheese bites for up to 3 months; just reheat from frozen in a hot oven until warm and crispy, ensuring they remain just as delicious!
Expert Tips for Pão de Queijo
- Room Temperature Ingredients: Ensure your ingredients—especially eggs and milk—are at room temperature to create a smooth, frothy batter for the best Pão de Queijo.
- Watch the Baking Time: Keep an eye on the oven; overbaking can lead to dense, chewy bites instead of the light and airy texture you desire.
- Re-blend for Consistency: If making multiple batches, be sure to re-blend the batter for 30 seconds to keep the consistency uniform for each batch of Pão de Queijo.
- Explore Cheese Options: Don’t hesitate to experiment with different cheeses to discover unique flavors! Cheddar and mozzarella are classic, but try gouda or pepper jack for a delicious twist.
- Perfect Pairings: Serve your Pão de Queijo warm with dips like salsa, guacamole, or sweet jams to elevate the flavor experience and impress your guests.
What to Serve with Pão de Queijo?
Picture a cozy gathering, with the warm, cheesy aroma wafting through the air, where these delightful Brazilian bites take center stage!
- Creamy Guacamole: The smooth, buttery taste of guacamole perfectly complements the cheesy richness of Pão de Queijo, adding a refreshing contrast.
- Savory Salsa: A tangy salsa brings a burst of flavor that pairs wonderfully with the cheesy puffs, cutting through their richness. Fresh pico de gallo or a zesty mango salsa can elevate these bites even more!
- Zesty Dipping Sauce: A tangy yogurt or sour cream-based sauce spiced with herbs creates a cool contrast while also enhancing the flavors of the puffs.
- Refreshing Salad: A simple mixed greens salad dressed with lemon vinaigrette adds a light and fresh element that balances the richness, making for a complete meal experience.
- Roasted Vegetables: Pairing warm Pão de Queijo with slightly charred, seasoned vegetables can complement their texture while introducing a healthy, earthy flavor.
- Chilled White Wine: A crisp sauvignon blanc or a light pinot grigio pairs beautifully, enhancing the overall flavor of the meal with a refreshing finish.
- Sweet Fruit Preserves: A dollop of sweet fruit jam—like guava or passionfruit—offers a delightful contrast that brightens the cheese bites, creating an avant-garde taste on your palate.
Pão de Queijo Variations & Substitutions
Feel free to unleash your creativity and customize your Pão de Queijo for a unique twist!
-
Dairy-Free: Substitute whole milk with unsweetened almond or oat milk for a delicious, dairy-free version.
This swap not only accommodates lactose intolerance but retains the moisture needed for that delightful chewiness. -
Egg-Free: Use 1 tablespoon of flaxseed meal mixed with 2.5 tablespoons of water as an egg substitute for a vegan option.
This egg replacer will help bind the ingredients together and keep your Pão de Queijo rich and satisfying. -
Spicy Kick: Add 1 teaspoon of crushed red pepper flakes to the batter for an extra burst of heat.
It’s a fantastic way to set your taste buds on fire while complementing the cheesy goodness perfectly! -
Herbed Delight: Fold in 2 tablespoons of chopped fresh herbs like chives or oregano for a fragrant touch.
These fresh flavors will elevate the Pão de Queijo and bring a garden-fresh taste right into your home! -
Cheese Variety: Experiment by blending different cheeses, such as gouda or pepper jack, for a unique flavor experience.
Each cheese brings its distinct character, allowing you to create a flavorful masterpiece every time! -
Add Veggies: Mix in finely chopped spinach or roasted red peppers for added nutrition and a pop of color.
This variation adds depth to your cheese bites and makes them even more delightful and visually appealing. -
Onion Powder: Instead of garlic powder, try onion powder for a milder, sweeter flavor.
This simple swap can soften the flavor profile while still enhancing the overall taste of your Pão de Queijo. -
Nutty Twist: Incorporate 1 tablespoon of nutritional yeast for a cheesy yet dairy-free twist that packs additional nutrients.
Not only does this lend a nutty flavor, but it also adds a kick of vitamins that will make your snack even more wholesome!
Explore these variations to create your perfect batch, and don’t hesitate to share how your Pão de Queijo turns out. Happy baking!
Pão de Queijo Recipe FAQs
What should I look for when selecting tapioca flour?
When selecting tapioca flour, choose a brand that is labeled as ‘gluten-free’ to ensure it meets dietary needs. Look for a fine, powdery texture without any clumps, as this will create a smooth batter. I recommend checking the packaging for quality indicators or recommendations from fellow bakers for the best results!
How should I store leftover Pão de Queijo?
Store leftover Pão de Queijo in an airtight container at room temperature for up to 4 days. If you have more leftovers or want to keep them for longer, they can be refrigerated up to a week in a sealed container, although they may lose some of their delightful crispiness. For the best preservation, freeze them instead!
Can I freeze Pão de Queijo, and how do I do it?
Absolutely! To freeze your Pão de Queijo, first, let them cool completely. Then, place the puffs in a single layer on a baking sheet and freeze until solid (about 1-2 hours). Once frozen, transfer them to an airtight bag, removing as much air as possible before sealing. They’ll keep well for up to 3 months.
What if my Pão de Queijo turns out dense? Any troubleshooting tips?
If your Pão de Queijo turns out dense, it may be due to overmixing the batter or overbaking. Ensure you blend just until smooth, about 30 seconds in your blender, and keep an eye on them while baking to avoid overcooking. Aim for that golden-brown color and puffed appearance—this is the indicator that they are ready!
Are there any dietary considerations for Pão de Queijo?
Yes! Pão de Queijo is naturally gluten-free, making it a great option for those with gluten sensitivities. However, if serving to friends with dietary restrictions, always check the cheese types for lactose content and other allergens. For a dairy-free option, simply substitute the whole milk with an unsweetened plant-based alternative and use vegan cheese.
Can I use different types of cheese in my Pão de Queijo?
Very! Experimenting with different cheeses can lead to delightful variations in flavor. While cheddar and mozzarella are classic options, you can try incorporating gouda for a smoky flavor or pepper jack if you enjoy a bit of spice. Just ensure the cheese you choose melts well to keep that lovely gooey texture!

Crispy Pao de Queijo: Your New Favorite Cheese Snack!
Ingredients
Equipment
Method
- Preheat your oven to 400°F (200°C) and coat mini muffin pans with non-stick spray.
- Blend the tapioca flour, whole milk, eggs, vegetable oil, cheddar, mozzarella, salt, and garlic powder in a blender until smooth.
- Pour the batter into prepared muffin pans, filling each well about ¾ full.
- Bake in the preheated oven for 19-20 minutes until golden brown and puffed up.
- Cool in the pans for a few minutes before removing and serving warm.
Leave a Reply