
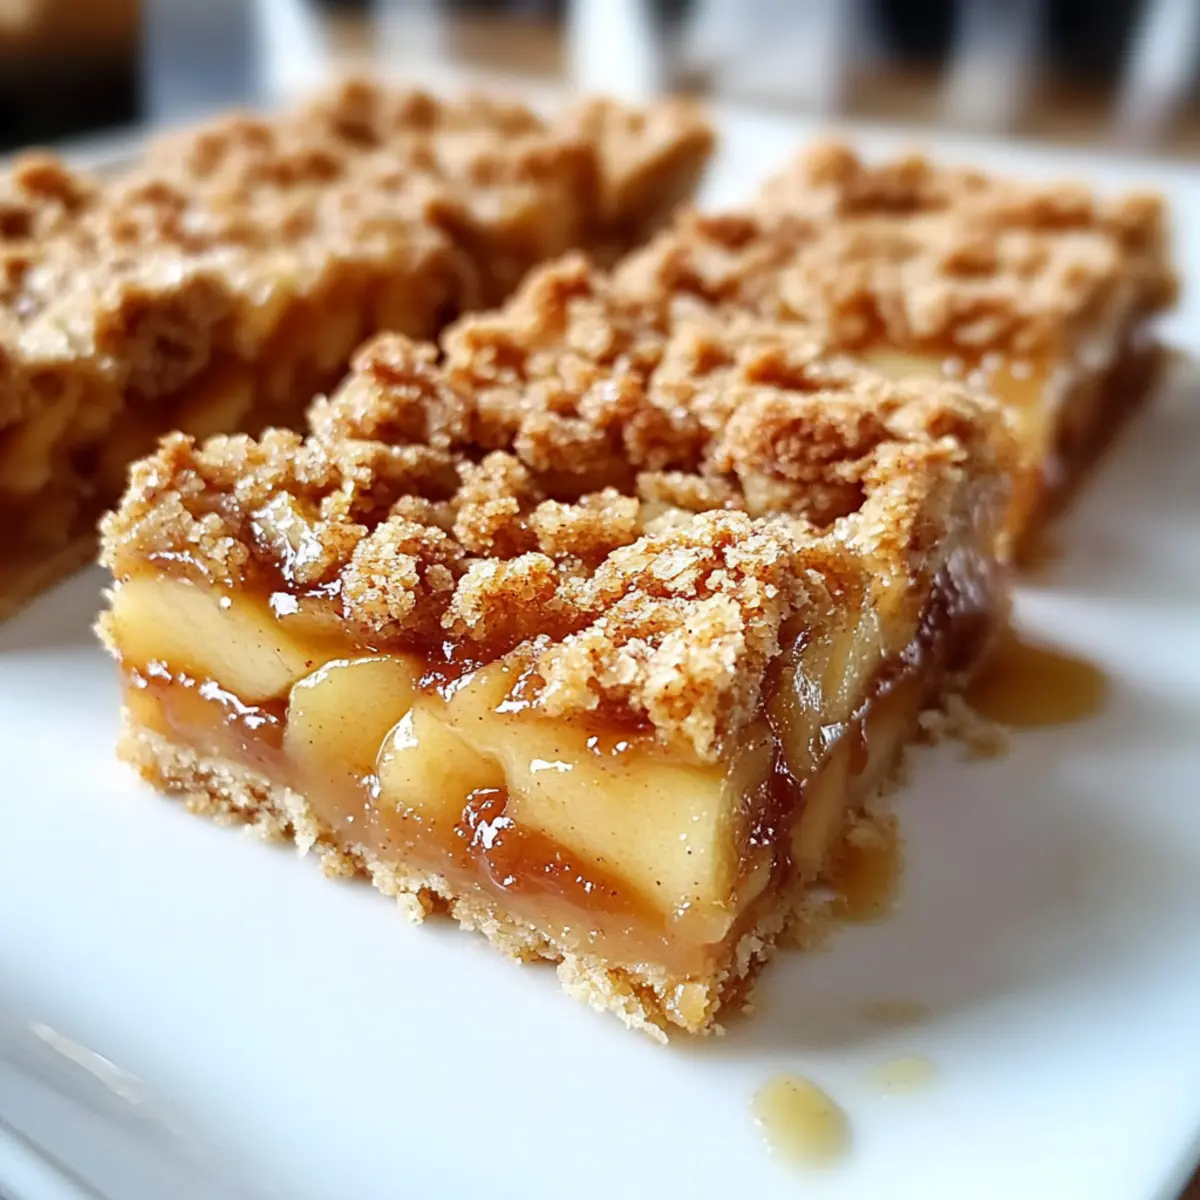
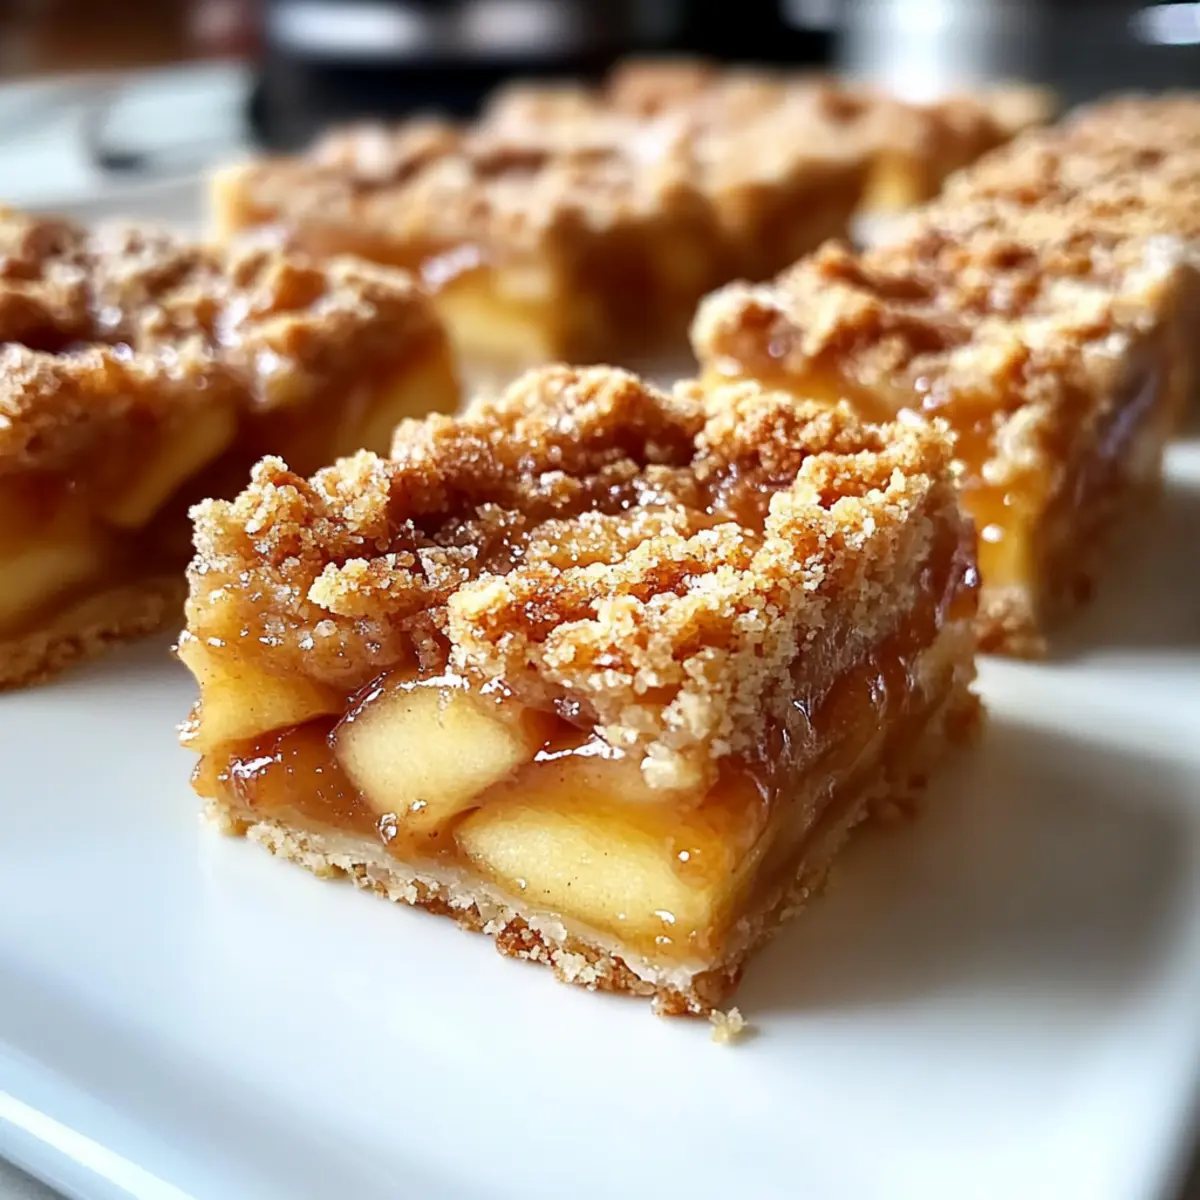
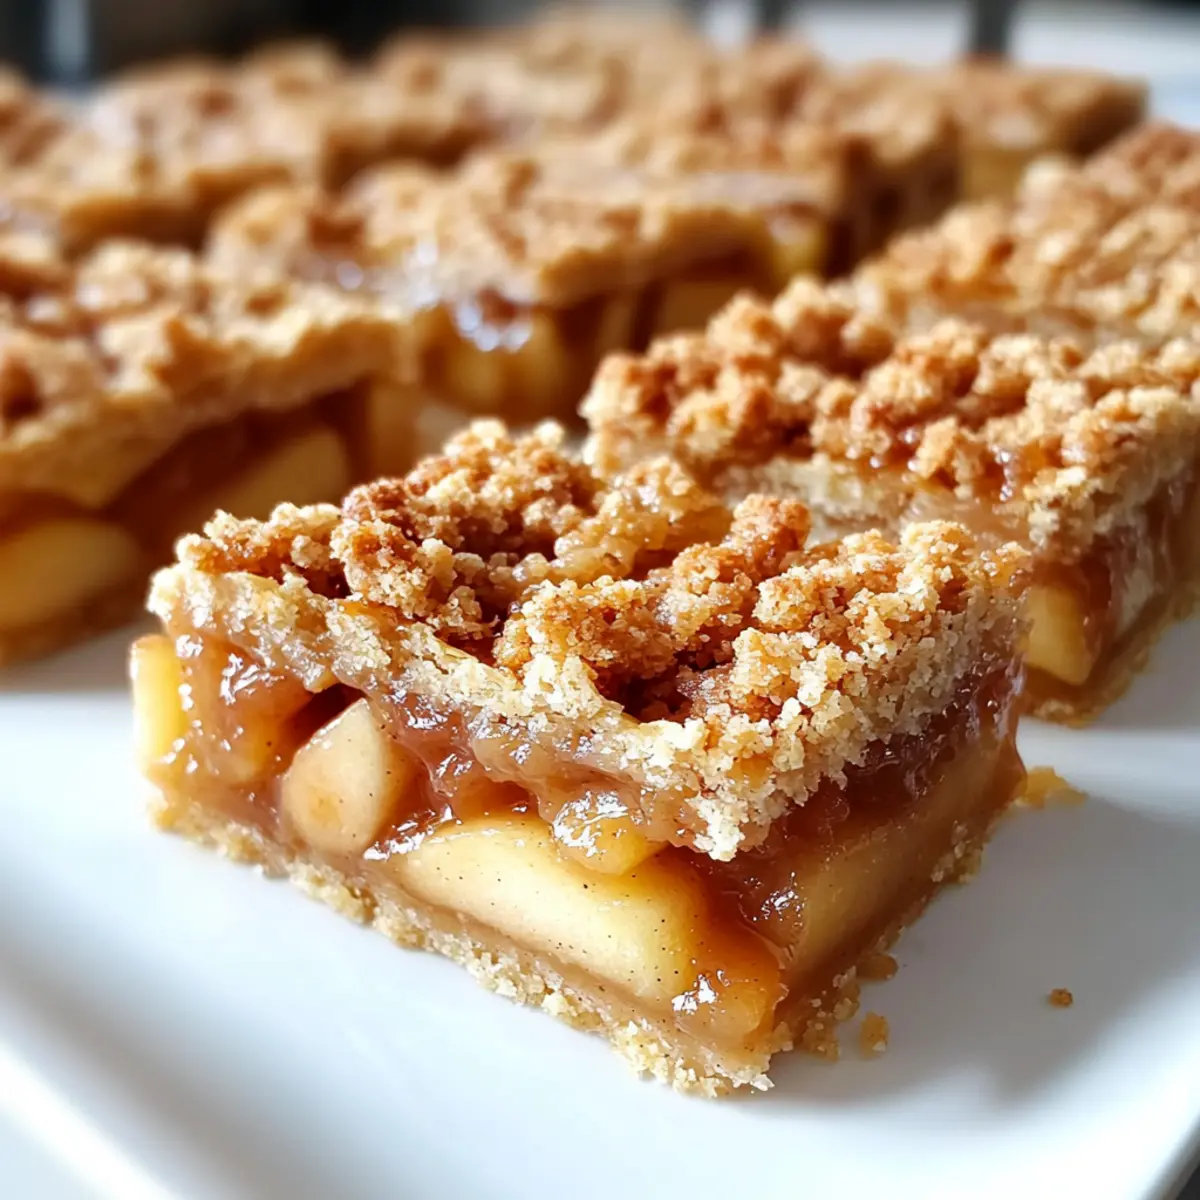
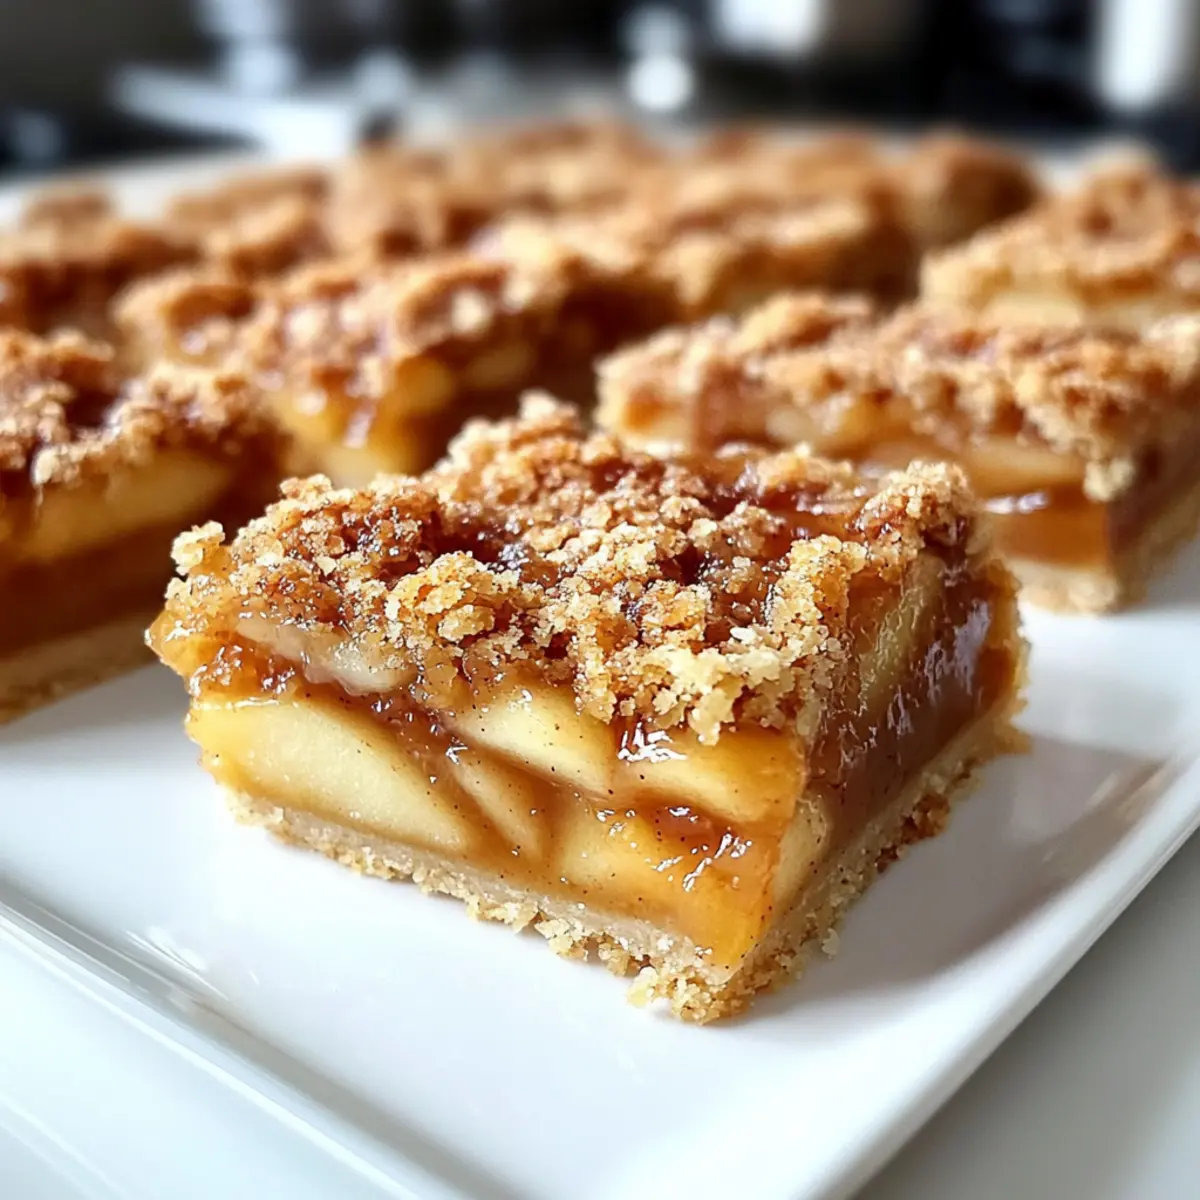
Walking through a sun-drenched orchard, the sweet aroma of ripe apples hangs in the air, awakening delightful memories of autumn gatherings and homemade treats. These Cozy & Easy Apple Pie Bars capture that nostalgic essence while offering the ease of a portable dessert. With a crumbly, golden top and a gooey spiced apple filling, they’re perfect for those who crave the comforting flavors of traditional apple pie without the fuss. Plus, they’re a breeze to make ahead, ideal for busy schedules or impromptu get-togethers. Whether served as a cozy nightcap or the star of a potluck, these apple pie bars promise to delight. Curious about how you can bring this taste of home into your kitchen? Let’s dive in!
Why Will You Love These Apple Pie Bars?
Simplicity at Its Best: This recipe streamlines the traditional pie-making process, making it accessible even for novice bakers.
Portable Dessert Delight: These apple pie bars are easy to take along to picnics, potlucks, or just for a cozy dessert at home, merging convenience with indulgence.
Nostalgic Flavors: The warm spices and sweet apples evoke cherished memories of autumn gatherings, ensuring every bite is brimming with comfort.
Make-Ahead Magic: Perfect for busy lifestyles, these bars can be prepared in advance, allowing you to savor the flavors without a last-minute rush.
Versatile Enjoyment: Top with a scoop of vanilla ice cream or a drizzle of caramel for an extra touch, making them perfect for any occasion.
Apple Pie Bars Ingredients
For the Crust and Topping
- All-Purpose Flour – Provides structure to the crust; substitute with gluten-free all-purpose flour for a gluten-free version.
- Granulated Sugar – Adds sweetness to the crust; can be replaced with coconut sugar for a lower glycemic option.
- Salt – Enhances flavor.
- Cold Butter – Creates a flaky texture in the crust and crumble topping; ensure it’s well-chilled for optimal results.
For the Apple Filling
- Brown Sugar – Adds rich molasses flavor to the apple filling.
- Ground Cinnamon – Infuses warm spice flavor into the filling.
- Ground Nutmeg – Enhances complexity and warmth to the apple filling.
- Cornstarch – Thickens the filling, ensuring it’s not watery.
- Lemon Juice – Brightens the apple flavor and balances sweetness.
- Vanilla Extract – Elevates the overall flavor profile of the filling.
- Apples (e.g., Granny Smith and Honeycrisp) – Provides a dynamic balance of tartness and sweetness; a mix is ideal for depth in flavor.
Step‑by‑Step Instructions for Apple Pie Bars
Step 1: Preheat the Oven
Begin by preheating your oven to 350°F (175°C). While it heats, prepare a 9×13 inch baking pan by lining it with parchment paper, allowing some overhang on the sides. This will make it easier to lift the apple pie bars out once they are baked.
Step 2: Make the Crust Mixture
In a large mixing bowl, combine all-purpose flour, granulated sugar, and salt. Using a pastry cutter or your fingers, cut in cold butter until the mixture resembles coarse crumbs. Remember to reserve about one-third of this mixture, as it will serve as the crumble topping later.
Step 3: Form the Crust
Take the remaining two-thirds of your crumb mixture and press it firmly into the bottom of the prepared baking pan. Make sure it’s evenly distributed to create a solid crust. Place the pan in the oven and bake for 15 minutes, or until the crust is lightly golden. Once baked, allow it to cool slightly.
Step 4: Prepare the Apple Filling
While the crust cools, peel, core, and slice your apples into thin pieces. In a separate bowl, toss the sliced apples with brown sugar, ground cinnamon, ground nutmeg, cornstarch, lemon juice, and vanilla extract until evenly coated. This mixture will create a deliciously spiced filling for your apple pie bars.
Step 5: Assemble the Bars
Spread the apple filling evenly over the cooled crust in the baking pan. Then, take the reserved crumble topping and sprinkle it generously over the apple mixture. This creates a crunchy layer that contrasts beautifully with the soft apples beneath.
Step 6: Bake the Apple Pie Bars
Return the assembled pan to the oven and bake for 35 to 40 minutes. You’ll know the apple pie bars are done when the top is golden brown and the filling is bubbling. Keep an eye on them towards the end of the baking time to avoid over-browning.
Step 7: Cool and Slice
Once baked, remove the apple pie bars from the oven and allow them to cool completely in the pan. Once cooled, lift the bars out using the parchment overhang. Place on a cutting board and slice into squares. Enjoy these delightful apple pie bars, perfect for sharing with family and friends!
What to Serve with Apple Pie Bars
Indulging in these sweet, spiced treats opens the door to delightful meal pairings that elevate your dessert experience.
- Vanilla Ice Cream: Creamy and cool, a scoop of vanilla ice cream beautifully contrasts the warm, sweet apple filling.
- Drizzle of Caramel Sauce: Rich and sticky, caramel adds a luxurious finish to every bite, enhancing the pie’s flavor.
- Whipped Cream: Light and fluffy, a dollop of freshly whipped cream pairs perfectly for a classic touch to the apple goodness.
- Coffee or Hot Tea: A warm beverage complements the sweet, comforting flavors, making every bite feel cozy and inviting.
Serve your apple pie bars with a side of cozy spiced chai for a lovely warm hug in a mug. The aromatic spices mirror those in the bars, creating a harmonious dessert experience.
- Cinnamon Tea: Infused with the same warm spices found in the bars, this drink is a delightful match that enhances the overall flavor.
- Chocolate Sauce: A drizzle of chocolate adds a luxurious twist, creating an unexpected and decadent pairing for chocolate lovers.
- Nuts (e.g., Pecans or Walnuts): Crunchy nuts sprinkled on top add texture and a nutty richness that syncs beautifully with the apple’s softness.
- Fruit Salad: A fresh, bright mix of seasonal fruits brings a refreshing contrast, balancing the richness of the bars for a lighter finish.
- Cheese Platter: Add a few slices of sharp cheddar or creamy brie to complement the sweetness with a savory note, providing a sophisticated touch.
How to Store and Freeze Apple Pie Bars
Room Temperature: Store your apple pie bars in an airtight container at room temperature for up to 3 days. This makes for a convenient sweet treat anytime!
Fridge: Keep the bars in the refrigerator to extend freshness, lasting about 5 days. Make sure they are well-sealed to prevent drying out.
Freezer: For longer storage, freeze sliced apple pie bars in a freezer-safe container for up to 3 months. Individually wrap each slice for easy access!
Reheating: To enjoy warm, heat frozen bars in the microwave for 15–20 seconds or bake in the oven at 350°F (175°C) for about 10 minutes. These apple pie bars are irresistible even when reheated!
Expert Tips for Apple Pie Bars
-
Chill Your Butter: Always use cold butter for the crust and topping; this ensures a flaky texture that’s absolutely divine.
-
Cool Completely: Allow the bars to cool fully before slicing. This prevents them from crumbling apart and gives you those lovely clean edges.
-
Mix Apple Varieties: For a richer flavor, mix tart apples like Granny Smith with sweeter options like Honeycrisp. This depth enhances your apple pie bars.
-
Watch the Baking Time: Keep a close eye during the last few minutes of baking. Once golden-brown on top, they’ll be perfect, so avoid over-baking!
-
Serve Warm: For an extra treat, serve your apple pie bars warm with a scoop of vanilla ice cream or a drizzle of caramel sauce—pure comfort!
-
Make-Ahead Magic: These apple pie bars can be made ahead of time. Store them in an airtight container for up to three days or freeze for longer freshness.
Apple Pie Bars Variations & Substitutions
Ready to take your Apple Pie Bars to the next level? Let your creativity flow with these delightful twists and swaps!
- Gluten-Free Option: Substitute all-purpose flour with gluten-free all-purpose flour for a gluten-free treat.
- Sweetener Swap: Replace granulated sugar with coconut sugar for a lower glycemic version of the crust.
- Spice it Up: Add a dash of ground ginger or allspice for extra warmth in your apple filling.
- Fruit Fusion: Mix in some dried cranberries or raisins for a burst of flavor and chewiness among the apples.
- Nutty Crunch: Sprinkle chopped walnuts or pecans on top for a satisfying crunch that enhances each bite.
- Citrus Zest: Add lemon or orange zest to the filling to brighten the flavor and elevate the taste experience.
- Heat it Up: For those who enjoy a kick, add a pinch of cayenne or crushed red pepper flakes to the apple mix for a surprising heat.
- Caramel Swirls: Drizzle caramel sauce over the apple filling before adding the crumble topping for an indulgent sweet surprise.
Feel inspired to experiment! You can easily make your bars shine by embracing your flavors wherever they may take you. Don’t forget, these variations can also complement other treats, such as vanilla ice cream or a scoop of homemade whipped cream, enhancing their warmth and charm at any gathering or cozy night in.
Make Ahead Options
These Apple Pie Bars are perfect for meal prep enthusiasts! You can prepare the crust and topping up to 24 hours in advance by making the crumble and storing it in an airtight container in the refrigerator. The apple filling can also be prepped and stored separately in the fridge for up to 3 days; just toss the sliced apples with the sugar and spices before storing to keep them fresh and avoid browning. When you’re ready to bake, simply layer the refrigerated filling over the crust and sprinkle the topping on before baking as directed. This way, you’ll enjoy delicious, homemade bars with minimal effort, perfect for busy weeknights or unexpected gatherings!
Apple Pie Bars Recipe FAQs
How do I choose the right apples for my apple pie bars?
Absolutely! For the best apple pie bars, I recommend using a mix of tart and sweet apples. Granny Smith apples bring that delightful tartness, while Honeycrisp or Fuji apples add sweetness. This balance ensures your filling has depth and flavor, making every bite a culinary delight!
How should I store my apple pie bars for maximum freshness?
You can store your apple pie bars in an airtight container at room temperature for up to 3 days. If you want them to last longer, refrigerate them for about 5 days. Just be sure they’re well-sealed to keep them from drying out. I often place parchment paper between layers if I stack them to maintain their crumbly texture!
Can I freeze apple pie bars, and if so, how?
Yes, you can absolutely freeze your apple pie bars! First, allow them to cool completely after baking. Then, slice the bars and individually wrap each piece in plastic wrap. Place these wrapped slices in a freezer-safe container or bag for up to 3 months. When you’re ready to enjoy them, simply reheat in the microwave for 15-20 seconds or bake at 350°F (175°C) for about 10 minutes. This way, they taste freshly baked even after freezing!
What if my apple filling turns out too watery?
If your filling is too watery, it may be due to using overly ripe apples or not enough cornstarch. I recommend selecting firm apples and ensuring you add the right amount of cornstarch. The cornstarch acts as a thickener. If your filling is too runny, you can try cooking it in a pan over medium heat for a few minutes to reduce the liquid before spreading it over the crust.
Are these apple pie bars suitable for those with dietary restrictions?
Very! For a gluten-free option, simply substitute all-purpose flour with gluten-free all-purpose flour or oat flour. You can also use coconut sugar instead of granulated sugar for a lower glycemic alternative. Always double-check your ingredients to ensure they meet any specific dietary needs, especially if you’re serving guests with allergies or sensitivities.
Can I prepare the apple pie bars in advance?
Absolutely! These apple pie bars are perfect for making ahead of time. You can prepare them a day in advance, and they’ll taste even better as the flavors meld together overnight. Store them in an airtight container after they cool. This make-ahead convenience makes them a great choice for busy schedules or last-minute gatherings!
Irresistible Apple Pie Bars Perfect for Cozy Gatherings
Ingredients
Equipment
Method
- Preheat the oven to 350°F (175°C) and prepare a 9x13 inch baking pan with parchment paper.
- In a large mixing bowl, combine flour, sugar, and salt. Cut in cold butter until resembling coarse crumbs. Reserve one-third for topping.
- Press the remaining mixture into the baking pan evenly. Bake for 15 minutes until lightly golden and cool slightly.
- Peel, core, and slice apples. Toss with brown sugar, cinnamon, nutmeg, cornstarch, lemon juice, and vanilla until evenly coated.
- Spread the apple filling over the cooled crust and sprinkle reserved topping on top.
- Bake for 35 to 40 minutes until golden brown and filling is bubbling.
- Cool completely in the pan before lifting out with parchment and slicing.
Leave a Reply