
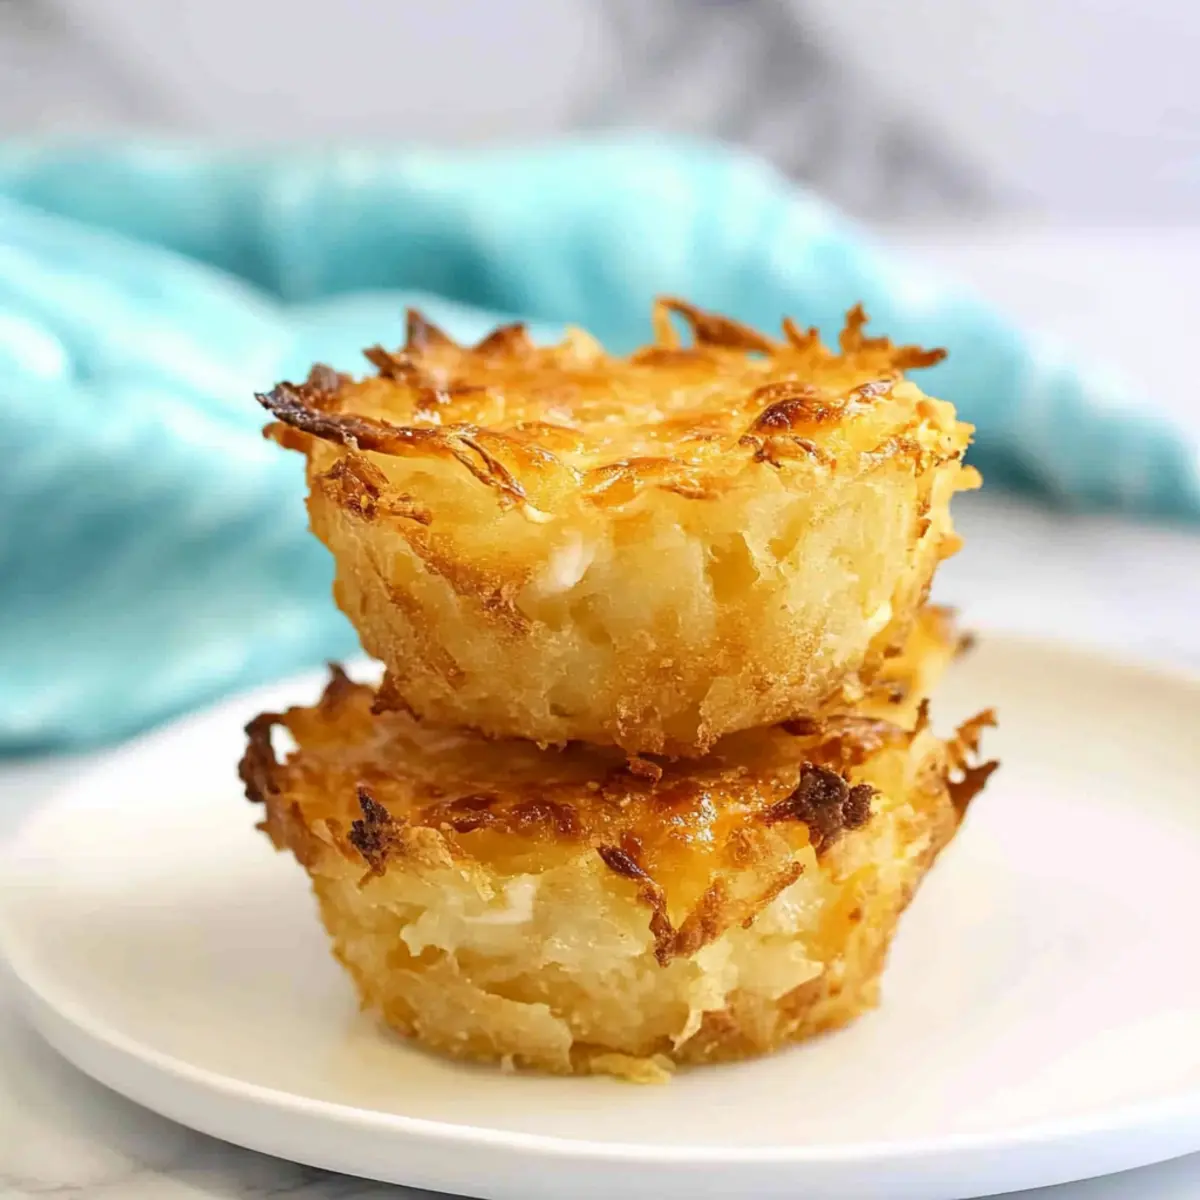
As I stood in my kitchen, the delightful aroma of crispy hash browns wafted through the air, transporting me back to cherished family breakfasts. Today, I’m excited to share my latest delight: Baked Hash Brown Cups! These charming little cups not only offer the satisfying crunch you crave but also a tender, cheesy center that feels like a warm hug. With just nine simple ingredients, they’re a breeze to prepare—a perfect make-ahead breakfast option for busy weekdays or a fun addition to brunch gatherings. Not only are they family-friendly, but they can also be made gluten-friendly and frozen for those spontaneous breakfast cravings. So, are you ready to rise and shine with this tasty treat? Let’s dive into the recipe and discover how to make your mornings a little more special!
Why Are Baked Hash Brown Cups Perfect?
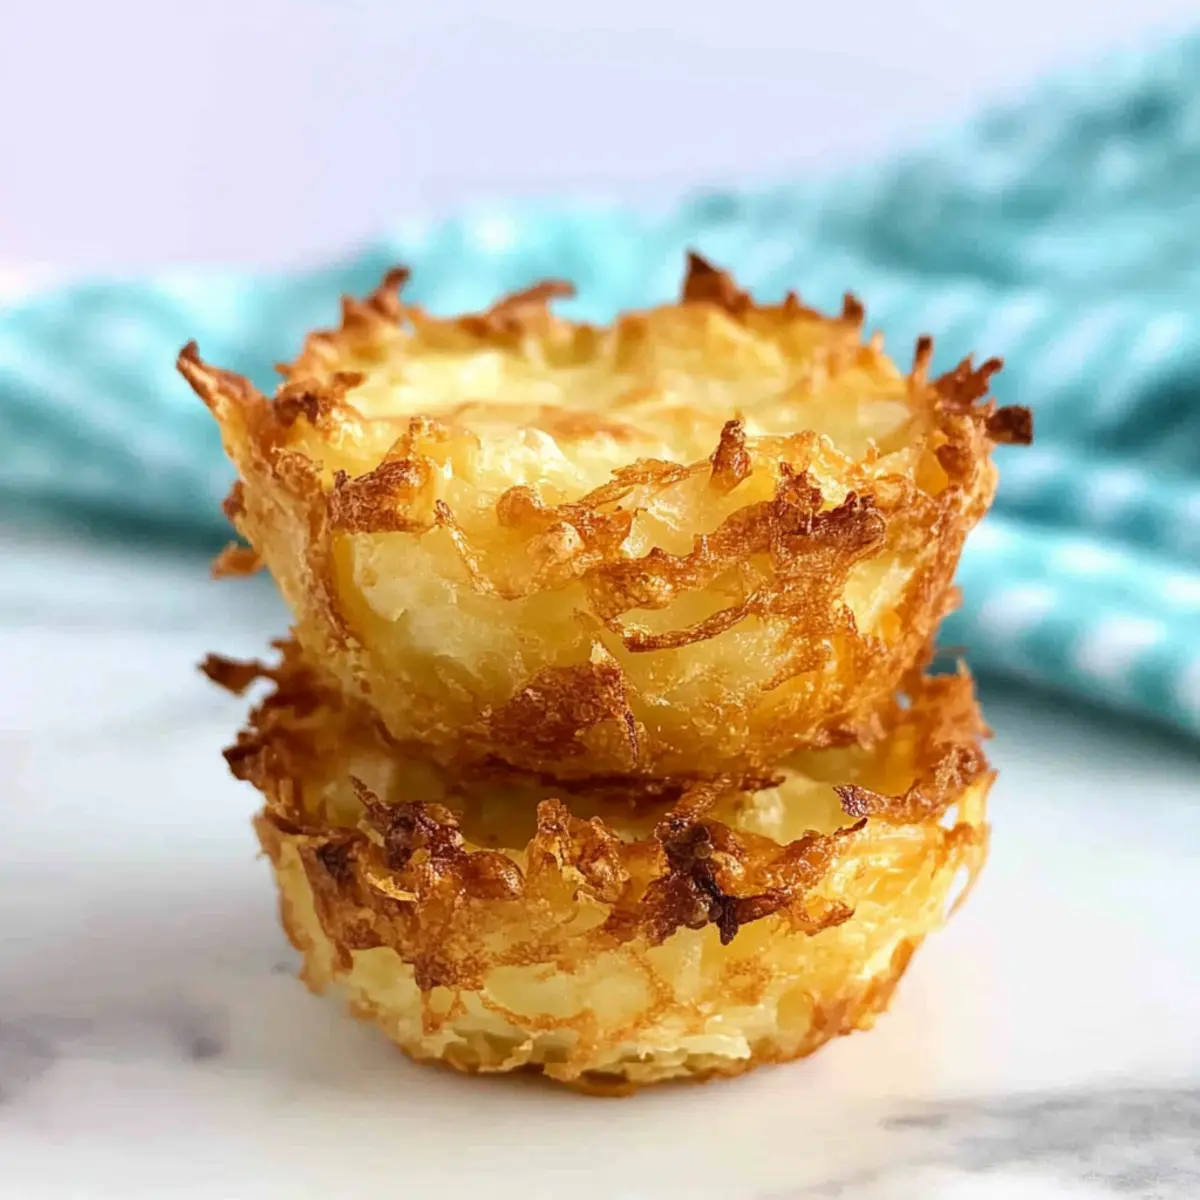
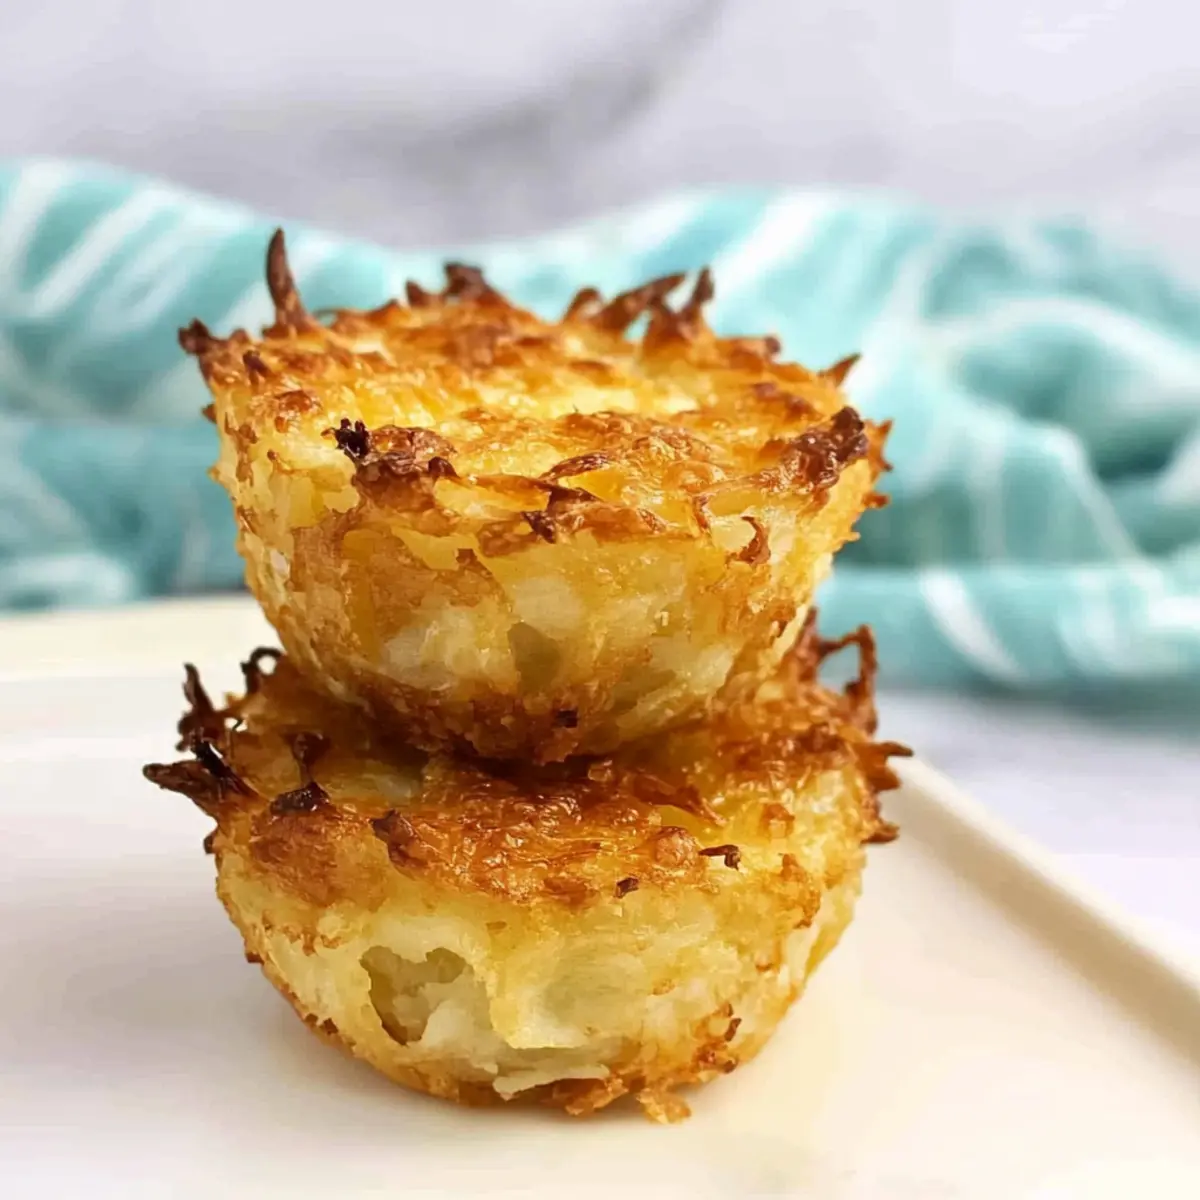
Flavor-Packed Delight: With crispy edges and a gooey center, these Baked Hash Brown Cups deliver a taste sensation that’s hard to resist.
Easy To Make: Minimal prep and straightforward steps make this recipe ideal for both novice and experienced cooks.
Versatile Options: Feel free to personalize your cups by adding your favorite cheeses or vegetables, ensuring there’s a flavor for everyone.
Make-Ahead Convenience: Prep them the night before for a quick breakfast solution, or make a batch to freeze and reheat whenever the mood strikes!
Crowd-Pleasing Appeal: These bite-sized wonders are perfect for family gatherings, brunches, or even as a hearty appetizer at parties—everyone loves them!
Elevate your breakfast experience with these delightful cups and explore more delicious recipes with options for customization!
Baked Hash Brown Cups Ingredients
For the Cups
- Shredded Hash Brown Potatoes – Use a 16-ounce bag, preferably thawed, for easier mixing.
- Parmesan Cheese – This adds a rich flavor and helps bind the mixture; feel free to swap with cheddar if you prefer.
- Panko Bread Crumbs – These create a delightful crispy texture; opt for gluten-free panko for a gluten-friendly option.
- Olive Oil – Ensures moisture and promotes that golden brown color when baked.
- Salt – Use to enhance flavor; adjust based on your dietary needs.
- Pepper – Adds a mild spice; you can omit it if you prefer a milder taste.
- Garlic Powder – Provides depth of flavor; fresh garlic works too but use it in smaller amounts.
- Onion Powder – Elevates the overall taste of the cups; fresh onion can be used if sautéed finely first.
- Paprika – Adds warmth and color; smoked paprika offers an exciting twist!
Feel free to mix and match, creating your perfect Baked Hash Brown Cups that everyone in the family will love!
Step‑by‑Step Instructions for Baked Hash Brown Cups
Step 1: Preheat the Oven
Begin by preheating your oven to 350°F (175°C). While the oven warms up, grab a muffin tin and generously spray it with cooking spray to prevent sticking. This preparation ensures that your Baked Hash Brown Cups release easily and maintain their delightful shape as they bake to golden perfection.
Step 2: Mix Ingredients
In a large mixing bowl, combine the shredded hash brown potatoes, Parmesan cheese, panko bread crumbs, olive oil, salt, pepper, garlic powder, onion powder, and paprika. Stir the mixture thoroughly until all ingredients are evenly coated and well combined. The goal is to create a cohesive mixture that will pack well into the muffin tin.
Step 3: Fill Muffin Tin
Using a spoon or your hands, evenly distribute the hash brown mixture into the prepared muffin cups. Make sure to press down firmly to pack the mixture tightly, ensuring the cups maintain their shape while baking. Each cup should be filled to the brim, as they will shrink slightly during baking, while retaining their delicious cheesy essence.
Step 4: Bake
Place the muffin tin in the preheated oven and bake for approximately 40 minutes, or until the tops of the Baked Hash Brown Cups turn a rich golden brown color and crisp up nicely. Keep an eye on them in the last few minutes for your desired level of crispiness, adjusting the time as needed to achieve your perfect texture.
Step 5: Cool and Serve
Once baked to perfection, carefully remove the muffin tin from the oven and allow the cups to cool for about 10-15 minutes. This cooling period helps them set and makes it easier to remove them from the tin without breaking. Serve the Baked Hash Brown Cups warm, or let them cool completely to enjoy later!
How to Store and Freeze Baked Hash Brown Cups
Fridge: Store leftover Baked Hash Brown Cups in an airtight container in the fridge for up to 3 days. They can be enjoyed cold or reheated for a quick morning treat.
Freezer: If you want to keep them longer, freeze the cups in a single layer, then transfer to a freezer bag. They can last up to 2 months in the freezer.
Reheating: For best results, reheat Baked Hash Brown Cups from frozen at 350°F (175°C) for about 12-14 minutes or until heated through, ensuring they remain crispy. If refrigerated, reheat for 6-8 minutes.
Avoid Moisture: To prevent sogginess, make sure to cool the cups completely before storage, and keep any excess moisture away by wrapping them properly.
What to Serve with Cheesy Baked Hash Brown Cups
Create a delightful breakfast spread that complements the crispy and cheesy goodness of baked hash brown cups.
-
Scrambled Eggs: Served fluffy and soft, the warm eggs balance the crispy texture while adding protein to your meal.
-
Breakfast Sausages: Juicy, savory sausages bring a hearty touch, making your breakfast or brunch feel more satisfying and complete.
-
Fresh Fruit Salad: A vibrant mix of berries, melons, and citrus adds a refreshing burst of sweetness, contrasting beautifully with the richness of the hash brown cups.
-
Avocado Toast: Creamy avocado provides a healthy fat option, which pairs wonderfully with the crunchy, cheesy cups for extra texture and flavor.
-
Greek Yogurt with Honey: A dollop of tangy Greek yogurt drizzled with honey offers a creamy, sweet contrast that rounds out the breakfast experience.
-
Coffee or Tea: Start your day right with a warm cup of coffee or herbal tea, helping to wake up your palate and enhance your breakfast enjoyment.
-
Maple Syrup for Dipping: Drizzling a bit of maple syrup over the cups adds a lovely touch of sweetness that complements the savory flavors.
These pairing suggestions make your breakfast a comforting and delightful experience!
Baked Hash Brown Cups: Make It Your Own!
Feel free to explore various twists and substitutions to tailor these delightful cups to your taste and dietary needs!
-
Cheese Variation: Use mozzarella or cheddar for a different flavor, giving each bite a unique twist that will surprise your taste buds.
-
Veggie Boost: Add diced bell peppers or spinach to the mix; these colorful additions bring freshness and nutrition while enhancing flavors.
-
Protein-Packed: Stir in cooked bacon or sausage to make it a heartier breakfast. The savory bites elevate each cup, perfect for meat lovers.
-
Cauliflower Swap: For a healthier option, substitute half of the hash browns with cauliflower rice to lower carbs without sacrificing flavor.
-
Spicy Kick: Add a dash of cayenne pepper or jalapeños for those who crave a little heat. The spice adds excitement and a whole new level of flavor!
-
Gluten-Free Twist: Make your dish entirely gluten-friendly by using gluten-free panko or switching to crushed nuts for a crunchy layer that everyone can enjoy.
-
Herb Seasoning: Infuse with fresh herbs like chives or parsley for a burst of freshness. It brightens up the flavor and adds a lovely touch of color.
-
Sweet Surprise: For a fun brunch twist, consider adding a dollop of cream cheese or sour cream on top; it makes for a delicious contrast to the savory hash browns.
As you explore these variations, don’t hesitate to make them your own and check out more ideas for meal prepping with family-friendly recipes, or dive into different spin-offs of beloved dishes like Potato Skins for more hearty inspirations.
Expert Tips for Baked Hash Brown Cups
-
Perfect Packing: Ensure you press the mixture firmly into the muffin tin; this helps the Baked Hash Brown Cups hold their shape while baking and promotes a crispy texture.
-
Mix and Match: Don’t hesitate to experiment with different cheeses or add in veggies like bell peppers or spinach to personalize your cups according to your family’s taste preferences.
-
Watch the Time: Baking times can vary by oven; check for that golden brown color around the 35-minute mark to reach your desired crispiness without overbaking.
-
Storage Solutions: For make-ahead convenience, keep any leftovers in the fridge for up to three days or freeze them for later cravings—just reheat at 350°F until warmed through.
-
Fresh vs. Dried: If substituting fresh garlic or onion for the powder, remember that fresh ingredients pack more punch; use smaller amounts to avoid overpowering the mix.
Make Ahead Options
These Cheesy Baked Hash Brown Cups are perfect for busy home cooks looking to streamline their mornings! You can prepare the entire hash brown mixture up to 24 hours in advance; simply combine all the ingredients and store the mixture in an airtight container in the refrigerator. To prevent the ingredients from becoming too soggy, keep the mixture tightly sealed and avoid incorporating wet items too soon. When you’re ready to bake, just fill the muffin tin and pop them in the oven, adjusting the baking time if they are chilled. With this make-ahead method, you can enjoy these delightful cups with minimal effort, saving you precious time on hectic mornings!

Baked Hash Brown Cups Recipe FAQs
What kind of potatoes are best for Baked Hash Brown Cups?
For the best results, I recommend using shredded hash brown potatoes found in a 16-ounce bag. Make sure they are thawed before mixing—this allows for easier blending of ingredients and helps the cups hold their shape when baked.
How should I store leftover Baked Hash Brown Cups?
To keep your Baked Hash Brown Cups fresh, store them in an airtight container in the fridge for up to 3 days. You can enjoy them cold or reheat them to restore their delicious crunch.
Can I freeze Baked Hash Brown Cups?
Absolutely! To freeze, first let the cups cool completely. Arrange them in a single layer on a baking sheet and place them in the freezer until frozen solid. Then, transfer the cups to a freezer-safe bag or container. They’ll last up to 2 months this way!
How do I reheat frozen Baked Hash Brown Cups?
To properly reheat from frozen, preheat your oven to 350°F (175°C). Bake the cups for about 12-14 minutes, or until thoroughly warmed. This method helps maintain their crispy texture, so you can enjoy them the way they were meant to be!
Can I make these Baked Hash Brown Cups gluten-free?
Yes! To ensure your Baked Hash Brown Cups are gluten-friendly, simply use gluten-free panko bread crumbs instead of regular ones. This swap makes it easy for those with gluten sensitivities to enjoy this tasty breakfast treat without compromising flavor.
What can I do if my Baked Hash Brown Cups are falling apart?
If your Baked Hash Brown Cups are crumbly, it’s likely they need more binding. Make sure to mix in enough cheese and pack the mixture tightly into the muffin tin before baking. If the problem persists, consider reducing the moisture in your ingredients or adding a bit more cheese to help hold everything together.
Baked Hash Brown Cups – Crispy, Cheesy Breakfast Bliss
Ingredients
Equipment
Method
- Preheat your oven to 350°F (175°C) and spray a muffin tin with cooking spray.
- In a large mixing bowl, combine the shredded hash brown potatoes, Parmesan cheese, panko bread crumbs, olive oil, salt, pepper, garlic powder, onion powder, and paprika. Stir until well combined.
- Evenly distribute the hash brown mixture into the muffin cups, pressing down firmly.
- Bake for approximately 40 minutes, or until golden brown and crispy.
- Allow to cool for 10-15 minutes before serving.
Leave a Reply