
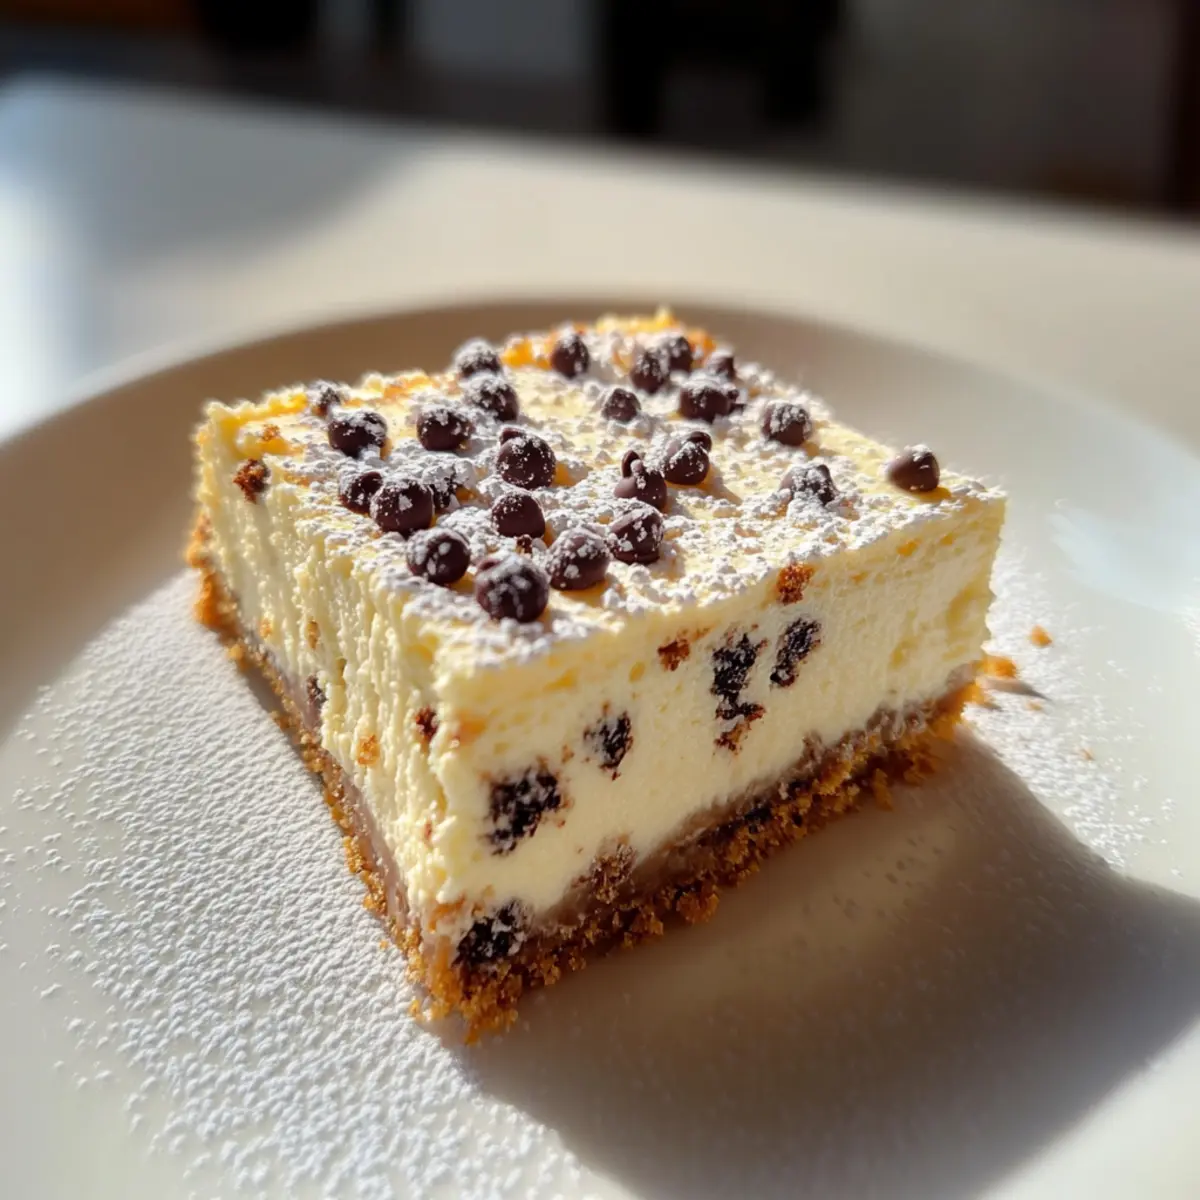
Standing in the kitchen, I had a mini crisis: a craving for something sweet but no time for complicated baking. That’s when I stumbled upon the magic of Cannoli Cheesecake Bars. These delightful treats combine the creamy richness of classic cheesecake with the irresistible flavors of traditional cannoli, all wrapped in a quick-to-make crust. In just 15 minutes of active time, I can whip up these no-fuss bars that are perfect for a last-minute gathering or a cozy night in. Not only are they easy enough for any home chef, but they also cater to gluten-free diets with a simple almond flour swap. As I prepared my ingredients, a smile crossed my face, knowing these bars would be a welcomed crowd-pleaser. Curious where to find that perfect balance of cheesecake and cannoli, too? Keep reading to discover the secret to making them at home!
Why are Cannoli Cheesecake Bars a Must-Try?
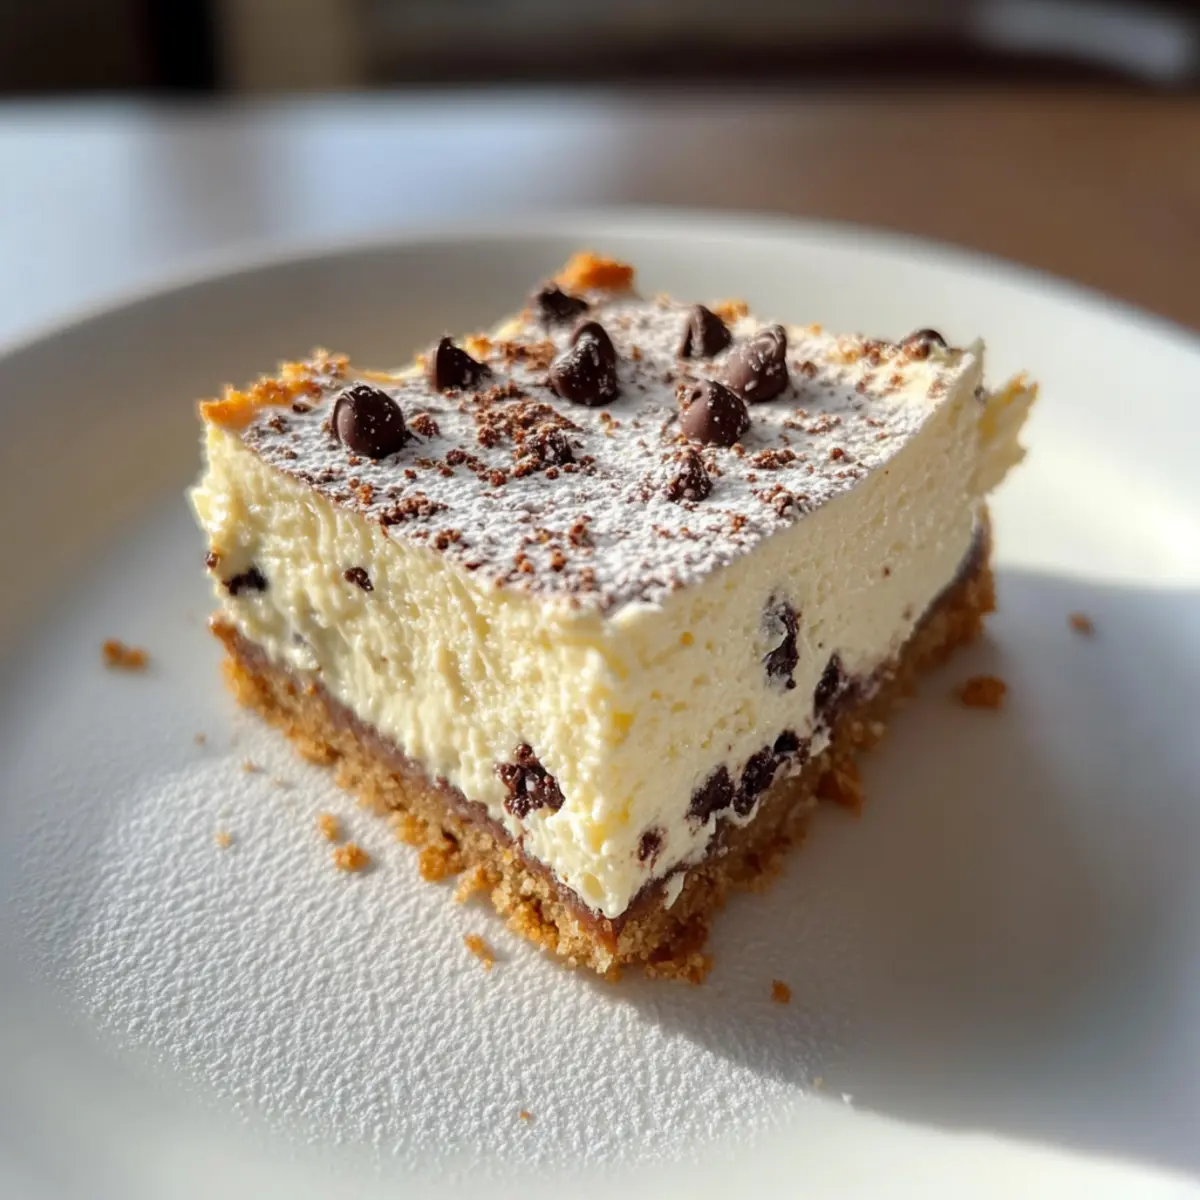
Indulgent Creaminess: The velvety ricotta filling delivers an authentic cannoli experience, combined with the smoothness of cheesecake that melts in your mouth.
Quick and Easy: With just 15 minutes of active prep time, you’ll have a dessert ready in no time, perfect for those busy weekdays or surprise guests.
Versatile Options: Want to cater to dietary preferences? This recipe offers a gluten-free twist using almond flour, and you can even find dairy-free alternatives, ensuring everyone enjoys a slice.
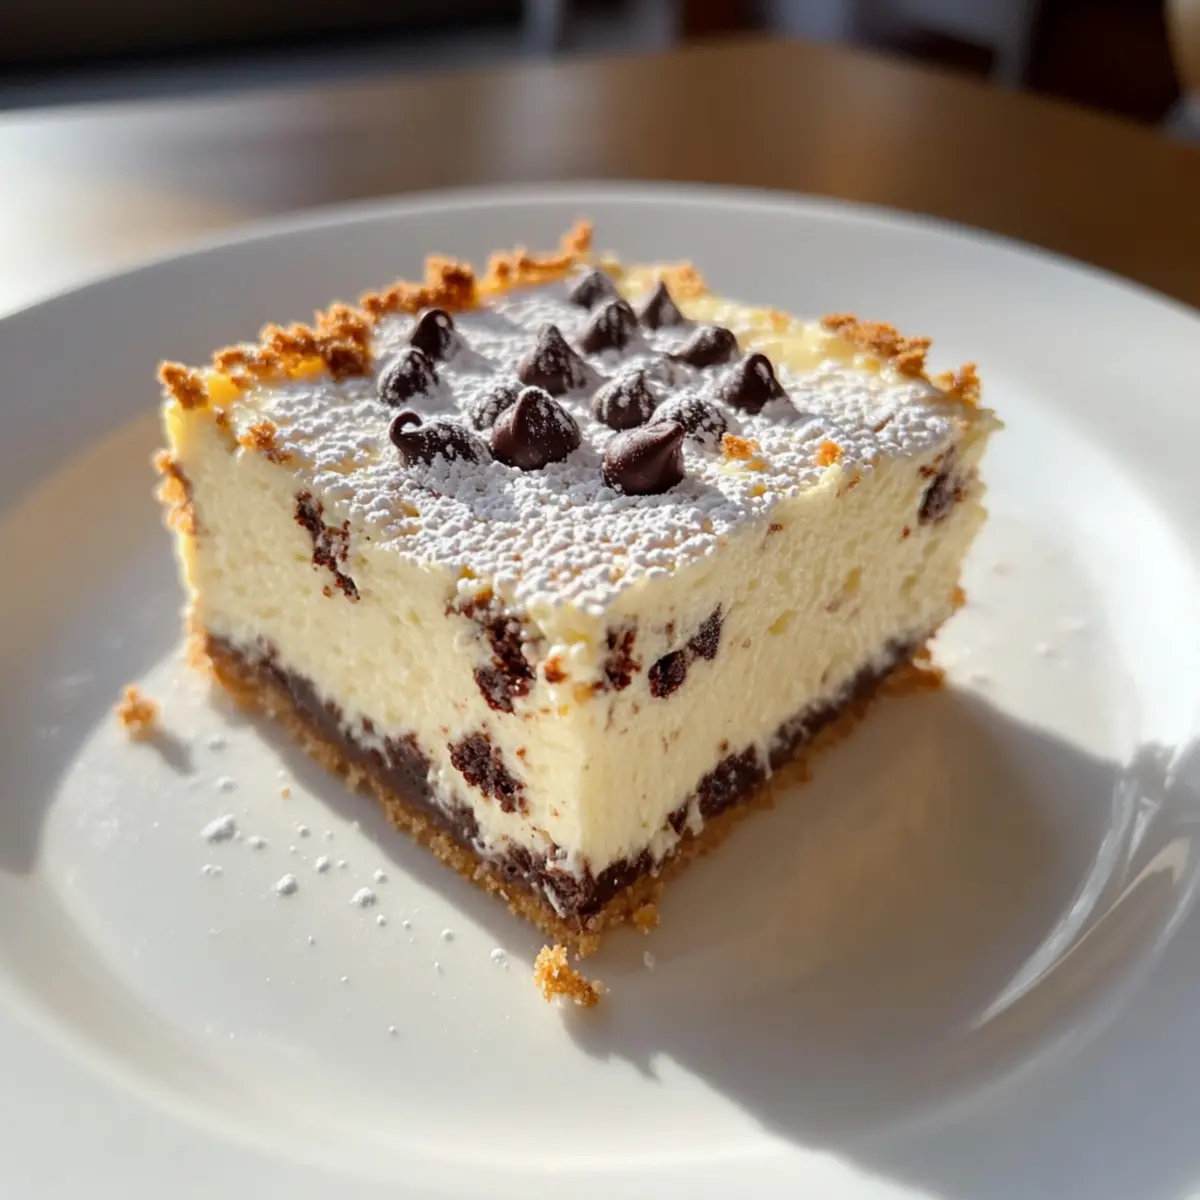
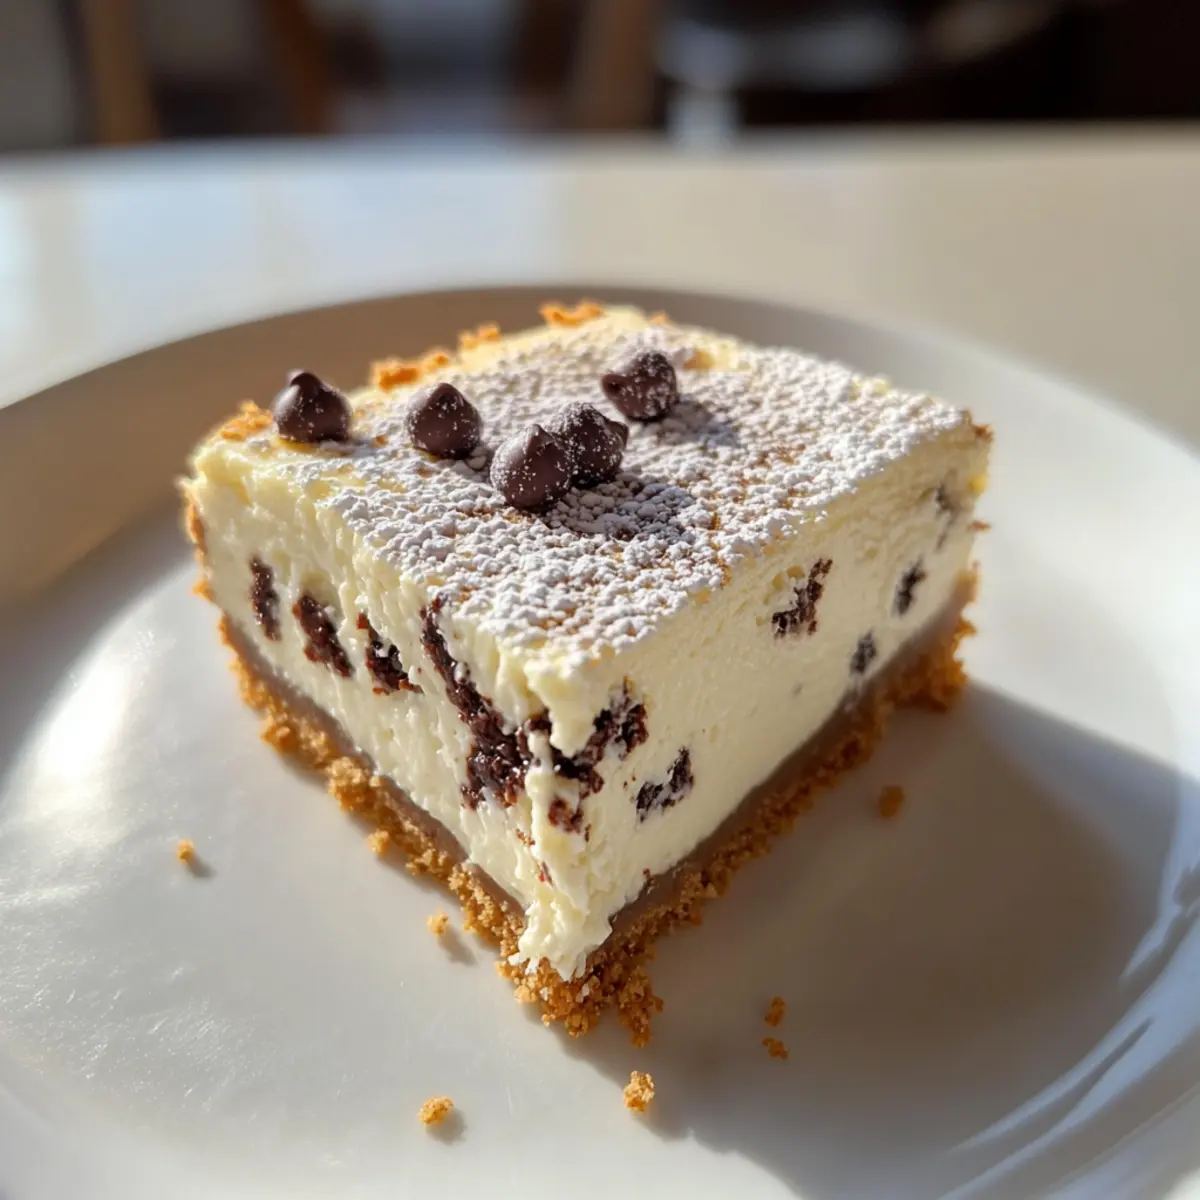
Impressive Presentation: Just one bite reveals the beautiful layers, making these bars an eye-catching addition to any gathering – you’ll be the star of the dessert table!
Get ready to impress with these delicious Cannoli Cheesecake Bars that are made to please. Don’t forget to check out more delightful fusion desserts for your next baking adventure!
Cannoli Cheesecake Bars Ingredients
For the Crust
• Graham Cracker Crumbs – This forms the base; substitute with 1 ¼ cups almond flour mixed with 2 tbsp sugar for a gluten-free option.
• Granulated Sugar – Sweetens the crust and filling; adjust according to your taste preferences.
• Butter – Binds the crust ingredients; opt for unsalted for more precise control over salt levels.
For the Filling
• Cream Cheese – Essential for that creamy texture; ensure it’s at room temperature to avoid lumps.
• Ricotta Cheese – Provides the authentic cannoli flavor and lightness; this ingredient is key to your Cannoli Cheesecake Bars.
• Eggs – Acts as a binding agent; add one at a time for even mixing.
• Vanilla Extract – Boosts the overall flavor; use pure vanilla for the richest taste.
• Mini Chocolate Chips – Add a sweet touch and delightful texture; mini chips stay light and airy without sinking.
Get ready to bring this delicious Cannoli Cheesecake Bars recipe to life with these simple yet essential ingredients!
Step‑by‑Step Instructions for Cannoli Cheesecake Bars
Step 1: Prepare the Crust
Begin by preheating your oven to 325°F (160°C). In a mixing bowl, combine 1 ½ cups of graham cracker crumbs, ¼ cup of granulated sugar, and ½ cup of melted unsalted butter until the mixture resembles wet sand. Firmly press this mixture into the bottom and slightly up the sides of a lined 9×9 inch baking pan to form a sturdy crust.
Step 2: Make the Filling
In another mixing bowl, beat 8 ounces of room-temperature cream cheese with ½ cup of granulated sugar using an electric mixer until smooth and creamy, about 2-3 minutes. Gradually add 2 eggs, one at a time, mixing well after each addition. Stir in 1 teaspoon of vanilla extract, followed by 15 ounces of ricotta cheese until just blended, ensuring not to overmix.
Step 3: Add Chocolate Chips
Gently fold in ¾ cup of mini chocolate chips to the cheesecake filling, being careful not to break them. This will add delightful bursts of sweetness to your Cannoli Cheesecake Bars. Ensure the chips are evenly distributed throughout the mixture, creating a tasty contrast to the creamy filling.
Step 4: Bake the Cheesecake Bars
Pour the luscious filling evenly over the prepared crust in the baking pan. Bake in your preheated oven at 325°F (160°C) for 40-45 minutes. You’ll know they’re ready when the edges are set, yet the center still jiggles slightly. This indicates a perfect texture for your cheesecake bars.
Step 5: Cool the Bars
Once baked, remove the pan from the oven and let the Cannoli Cheesecake Bars cool at room temperature for about 1 hour. After cooling, transfer them to the refrigerator and chill for at least 4 hours, preferably overnight, to allow the flavors to meld and the bars to firm up beautifully.
Step 6: Serve and Garnish
After chilling, remove the cheesecake bars from the refrigerator. Dust the top generously with powdered sugar for a tempting finish. For an extra touch, you may sprinkle additional mini chocolate chips or a bit of orange zest on top, adding color and flavor to your delightful Cannoli Cheesecake Bars before slicing and serving.
Cannoli Cheesecake Bars Customizations
Feel free to make these delicious bars your own with these fun variations and substitutions!
- Gluten-Free: Use 1 ¼ cups almond flour mixed with 2 tbsp sugar instead of graham cracker crumbs for a gluten-free crust.
- Dairy-Free: Swap out the cream cheese and ricotta cheese with creamy coconut yogurt and dairy-free cream cheese for a luscious alternative. You won’t sacrifice flavor in this twist!
- Nutty Twist: Add ½ cup chopped pistachios or almonds to the filling for a delightful crunch that enhances the authentic cannoli experience.
- Citrus Zest: Stir in 1 tablespoon of orange or lemon zest for a fresh, zesty flavor that pairs beautifully with the creamy filling.
- Chocolate Lovers: Replace mini chocolate chips with dark chocolate chunks or even a swirl of Nutella for an indulgent twist! This variation will satisfy every chocolate craving.
- Spicy Kick: Add a pinch of ground cinnamon or a dash of nutmeg to the filling for a warm, aromatic flavor element that adds depth to your dessert.
- Easy No-Bake: For a no-bake version, omit the baking step and chill in the fridge for several hours until set. The bars will still be delightfully creamy!
- Fruity Flair: Top with fresh berries or a berry compote when serving for a bright, juicy contrast to the rich cheesecake base.
Feel inspired to make these Cannoli Cheesecake Bars your very own! You can also check out my tips for delightful fusion desserts or explore more variations on making desserts gluten-free. Enjoy your culinary creativity!
Expert Tips for Cannoli Cheesecake Bars
-
Room Temperature Dairy: Ensure all dairy ingredients, especially cream cheese and ricotta, are at room temperature to avoid lumps in your filling.
-
Gentle Mixing: Avoid overmixing the filling. This keeps your Cannoli Cheesecake Bars light and fluffy rather than dense; mix just until combined.
-
Oven Door Trick: For even baking, leave the oven door slightly ajar for 30 minutes post-baking. This gradual cooling helps prevent cracks in your bars.
-
Proper Cooling Time: Patience is key! Allow the bars to cool completely for at least 4 hours. Overnight cooling enhances flavor and sets the texture perfectly.
-
Storage Savvy: Store your Cannoli Cheesecake Bars in an airtight container in the fridge for up to 5 days or freeze for up to 2 months for optimal freshness.
What to Serve with Cannoli Cheesecake Bars
Elevate your dessert experience by pairing your dreamy cannoli cheesecake bars with delightful accompaniments that bring out their rich flavors and textures.
-
Fresh Berries: Juicy strawberries or tangy raspberries add a refreshing contrast, cutting through the richness and enhancing every bite. Their vibrant colors make for an eye-catching presentation, too.
-
Whipped Cream: A dollop of lightly sweetened whipped cream complements the creamy cheesecake texture, bringing a cloud-like lightness to each forkful.
-
Espresso: A small cup of bold espresso offers a lovely bitter balance to the sweetness of the cheesecake bars, enriching the overall flavor profile.
-
Citrus Zest: Sprinkling some freshly grated lemon or orange zest brightens the dessert and introduces a zesty, aromatic complexity that perfectly pairs with the creamy filling.
-
Chocolate Sauce: Drizzling a dark chocolate sauce over the bars creates a luscious layer of flavor that elevates the dessert to new indulgent heights.
-
Pistachio Nuts: Chopped pistachios add a delightful crunch and nutty flavor, enhancing the cannoli-inspired experience with a touch of earthy satisfaction. Their green color also adds a beautiful pop to the dessert.
-
Mint Leaves: A sprig of fresh mint serves as a lovely garnish and contributes a refreshing note that will brighten the flavors of this rich treat.
-
Ice Cream: Pair the bars with a scoop of vanilla bean ice cream; its creaminess complements the cheesecake while adding a nostalgic, comforting element to your dessert ensemble.
How to Store and Freeze Cannoli Cheesecake Bars
Fridge: Store your Cannoli Cheesecake Bars in an airtight container for up to 5 days. This keeps them fresh and maintains their creamy texture.
Freezer: For longer storage, freeze the bars wrapped tightly in plastic wrap, then in aluminum foil, for up to 2 months. Thaw in the refrigerator before serving.
Reheating: These bars are best enjoyed chilled or at room temperature. Avoid reheating in the microwave to preserve their delightful texture.
Cutting Tips: When ready to serve, cut the bars with a warm knife for clean, neat edges, enhancing presentation.
Make Ahead Options
These Cannoli Cheesecake Bars are a fantastic choice for meal prep, saving you precious time during busy weeks! You can prepare the crust up to 24 hours in advance by mixing the graham cracker crumbs, sugar, and butter, then pressing it in your baking pan – simply cover it tightly with plastic wrap to keep it fresh. The filling can also be made ahead and stored in an airtight container in the refrigerator for up to 3 days. When you’re ready to finish, just pour the filling onto the crust and bake. This way, your Cannoli Cheesecake Bars will be just as delicious when serving, allowing you to enjoy restaurant-quality results with minimal effort!
Cannoli Cheesecake Bars Recipe FAQs
How do I choose the right ricotta cheese?
Absolutely! For the best flavor and texture in your Cannoli Cheesecake Bars, opt for whole milk ricotta. Check the label to ensure it has a creamy consistency and avoid brands with excess liquid. If you find your ricotta is a bit watery, simply strain it through a cheesecloth or fine sieve to achieve that luscious texture you want!
What’s the best way to store leftovers?
Very! To keep your Cannoli Cheesecake Bars fresh, store them in an airtight container in the refrigerator for up to 5 days. This method locks in moisture and maintains the delightful creamy texture you love. Place parchment paper between layers if stacking helps to avoid sticking.
Can I freeze Cannoli Cheesecake Bars?
Of course! To freeze your Cannoli Cheesecake Bars, wrap them tightly in plastic wrap followed by aluminum foil to protect against freezer burn. They can be stored in the freezer for up to 2 months. When ready to enjoy, simply thaw them in the refrigerator overnight. This keeps them from becoming soggy, preserving that decadent flavor.
Why are my cheesecake bars cracking during baking?
Ah, a common concern! Cracks usually happen when the temperature is too high or if they cool too quickly. To avoid this, bake the bars at a gentle 325°F and leave the oven door slightly ajar for 30 minutes after baking. This gradual cooling prevents the sudden temperature drop that causes cracks, ensuring your dessert looks just as good as it tastes!
Are there any allergy considerations for this recipe?
Absolutely! For those with gluten allergies, you can substitute the graham cracker crumbs with 1 ¼ cups of almond flour mixed with 2 tablespoons of sugar for a delightful gluten-free option. If you’re catering to dairy allergies, consider using cashew cream or a dairy-free cream cheese alternative. Just be sure to check labels to avoid cross-contamination!
Delightful Cannoli Cheesecake Bars That Wow Every Bite
Ingredients
Equipment
Method
- Preheat your oven to 325°F (160°C). In a mixing bowl, combine graham cracker crumbs, granulated sugar, and melted butter until the mixture resembles wet sand. Firmly press this mixture into the bottom and slightly up the sides of a lined 9x9 inch baking pan to form a sturdy crust.
- In another mixing bowl, beat cream cheese with granulated sugar using an electric mixer until smooth and creamy, about 2-3 minutes. Gradually add eggs, one at a time, mixing well after each addition. Stir in vanilla extract, followed by ricotta cheese until just blended.
- Gently fold in mini chocolate chips to the cheesecake filling, ensuring even distribution.
- Pour the filling evenly over the prepared crust. Bake in the oven for 40-45 minutes until the edges are set and the center jiggles slightly.
- Let the Cannoli Cheesecake Bars cool at room temperature for about 1 hour, then chill in the refrigerator for at least 4 hours, preferably overnight.
- Dust the top with powdered sugar before serving. Optionally sprinkle mini chocolate chips or orange zest.
Leave a Reply