
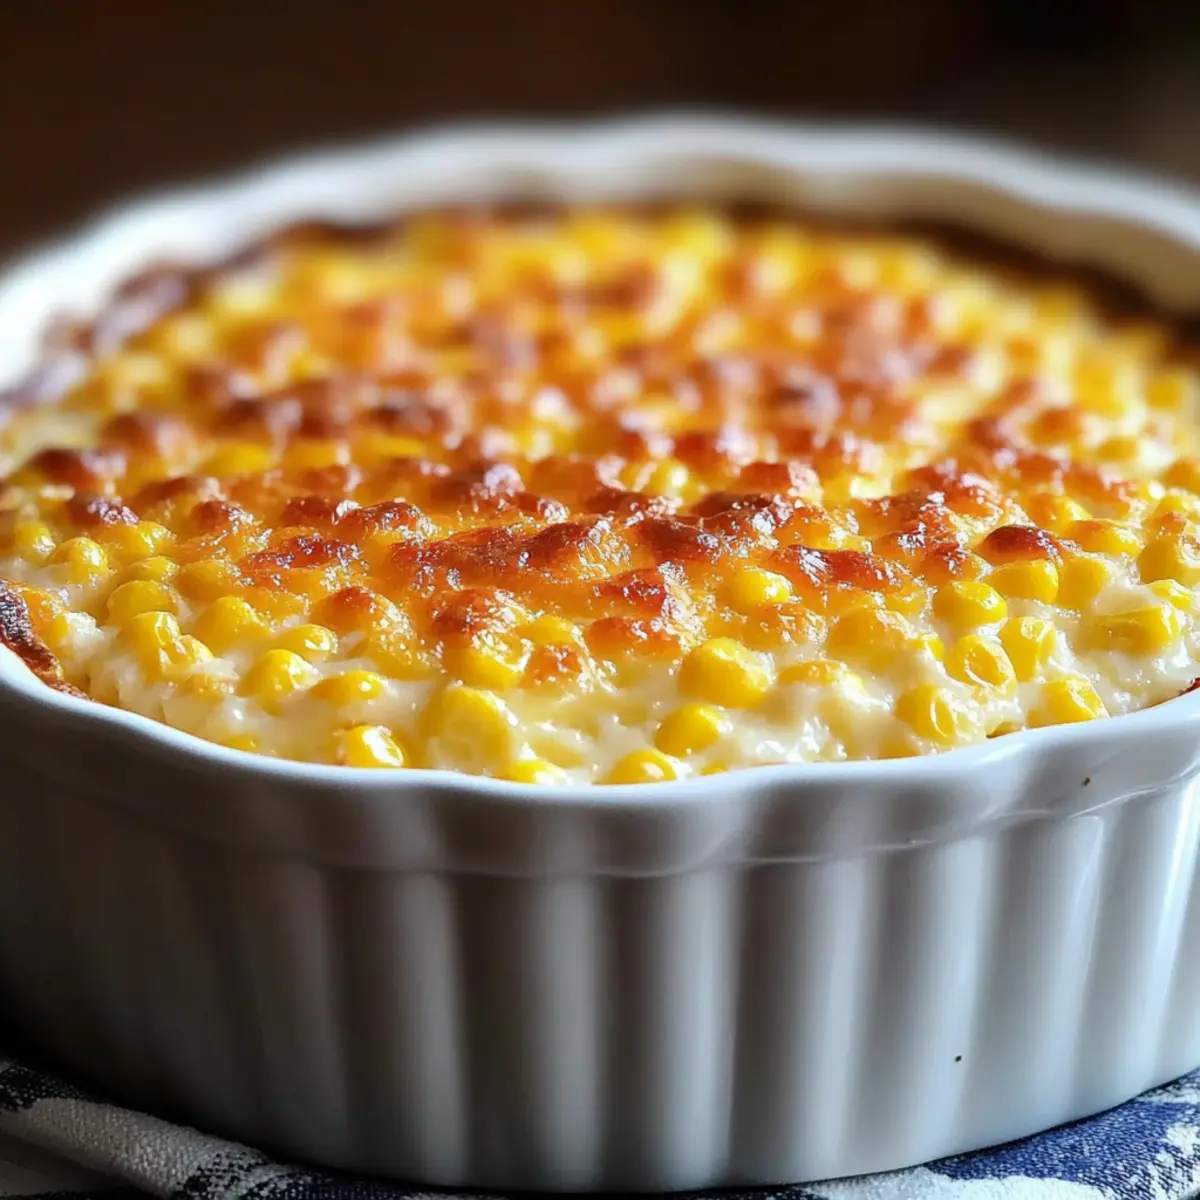
Walking into my kitchen, I can’t help but get a whiff of nostalgia—it’s like a comforting hug from my grandmother. Today, I’m excited to share her cherished recipe for Grandmother’s Corn Pudding, a dish that perfectly balances a creamy, custard-like texture with the natural sweetness of corn. Not only is this gluten-free comfort food a delightful addition to family gatherings, but it’s also a breeze to whip up with pantry staples. Plus, there’s room for creativity with variations from a cheesy twist to a savory kick, making it just as fun to make as it is to enjoy. So, how will you personalize this classic recipe to make it your own?
Why is Corn Pudding a Must-Try?
Comforting and nostalgic, this Corn Pudding brings the warmth of family gatherings to your table. Simple to make, it requires just a few pantry staples and is ready to delight in under an hour. Versatile at heart, why not try adding a cheesy twist or a spicy kick? Gluten-free goodness means everyone can enjoy this dish, making it perfect for diverse gatherings. Plus, it’s a fantastic make-ahead option; you can prepare it a day in advance and bake it fresh when you’re ready!
Corn Pudding Ingredients
• Discover the essential components of this delightful dish!
For the Base
- Eggs – Essential for structure and that creamy, custard-like texture; remember to whisk them lightly.
- Melted Butter – Adds a rich, velvety flavor; substitute with vegetable oil if you want a lighter alternative.
- Sugar – Provides sweetness; you can cut it down to 1 tablespoon if you prefer a less sweet pudding.
- Milk – Contributes a luscious creaminess; whole milk works best, but feel free to use non-dairy milk for a gluten-free option.
- Cornstarch – Acts as a thickening agent to ensure your pudding sets perfectly; always confirm it’s gluten-free.
For the Corn
- Whole-Kernel Corn – Delivers a satisfying texture; fresh or frozen corn can be used for an even more vibrant flavor.
- Cream-Style Corn – Adds moisture and sweetness to the pudding; you can substitute fresh corn if desired.
Optional Additions
- Cheddar Cheese – Introduces a savory twist; add ½ to 1 cup for a delightful cheesy experience.
- Cayenne Pepper – Provides a hint of spice; include ½ teaspoon to elevate the flavor.
- Green Onions/Bacon – Bring in a savory element; swap green onions or crumbled bacon for sugar to create a unique flavor profile.
Step‑by‑Step Instructions for Grandmother’s Corn Pudding
Step 1: Preheat and Prepare
Preheat your oven to 400°F (200°C) and grab a 2-quart casserole dish. Generously grease the dish with butter or cooking spray to ensure your Corn Pudding comes out effortlessly smooth after baking. This step is crucial for achieving that delightful golden-brown crust on top.
Step 2: Whisk the Eggs
In a large mixing bowl, lightly whisk 4 eggs until they are fully combined and slightly frothy. This process will create a nice airy texture for the Corn Pudding. The eggs are essential for forming the custard-like consistency, so make sure to achieve an even blend without overmixing.
Step 3: Combine Wet Ingredients
Add ½ cup of melted butter, ½ cup of sugar, 1 cup of milk, and 2 tablespoons of cornstarch to the bowl with the eggs. Whisk all the ingredients together until the mixture is smooth and homogeneous, ensuring that the cornstarch is fully dissolved. This blend will create a creamy base for your Corn Pudding.
Step 4: Mix in the Corn
Gently fold in 1 cup of whole-kernel corn and 1 cup of cream-style corn into the mixture. Stir carefully until the corn is evenly distributed without deflating the mixture you just prepared. This step infuses the pudding with a delightful texture and sweetness that you will truly love.
Step 5: Bake the Pudding
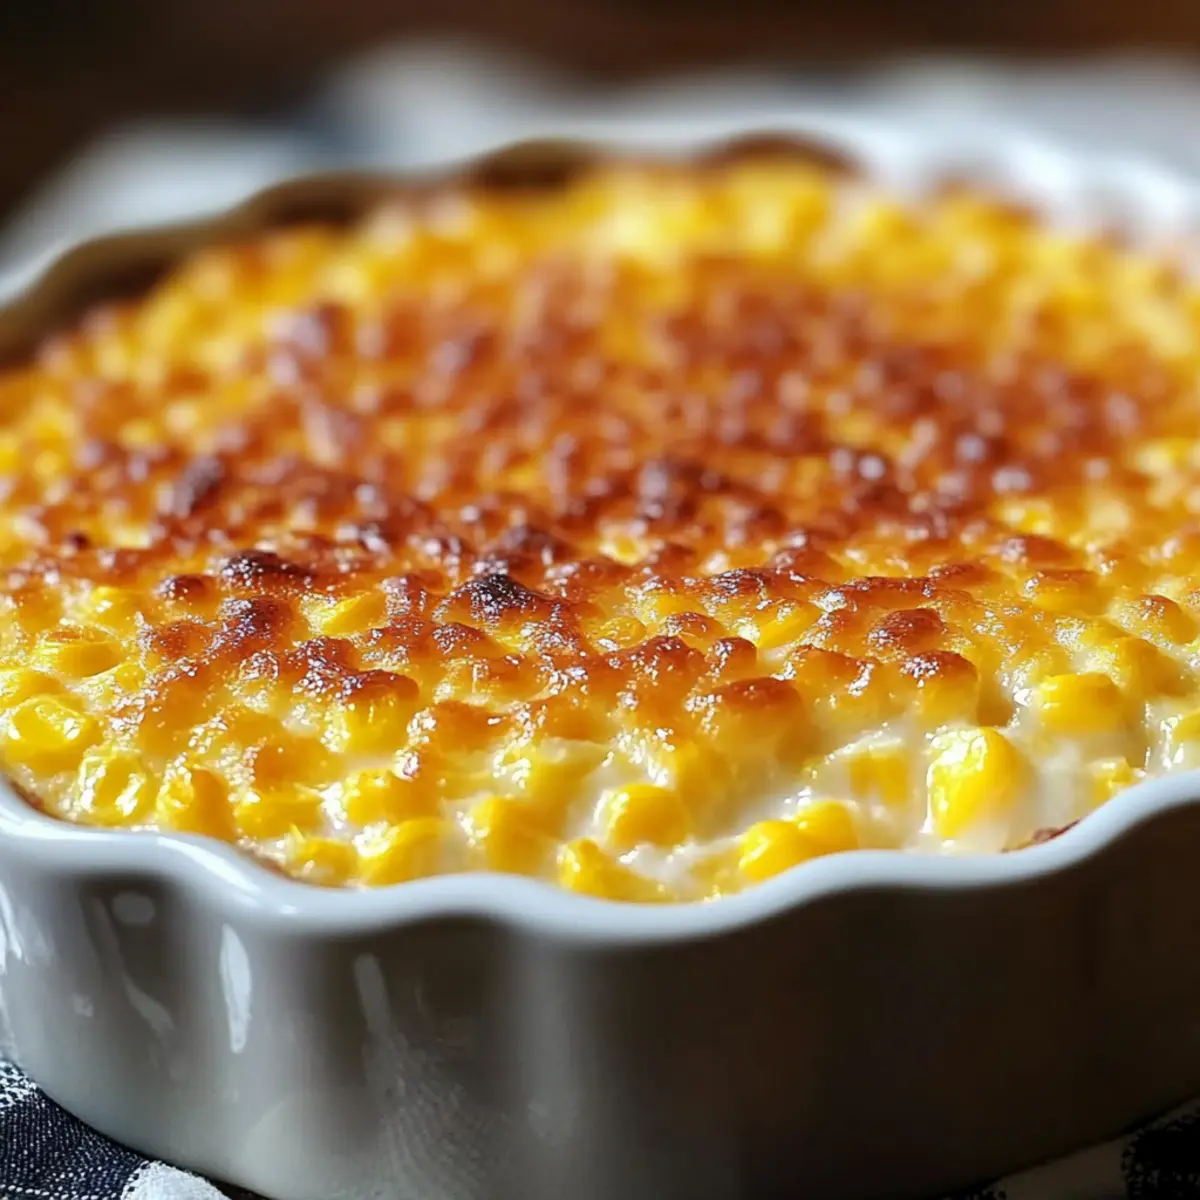
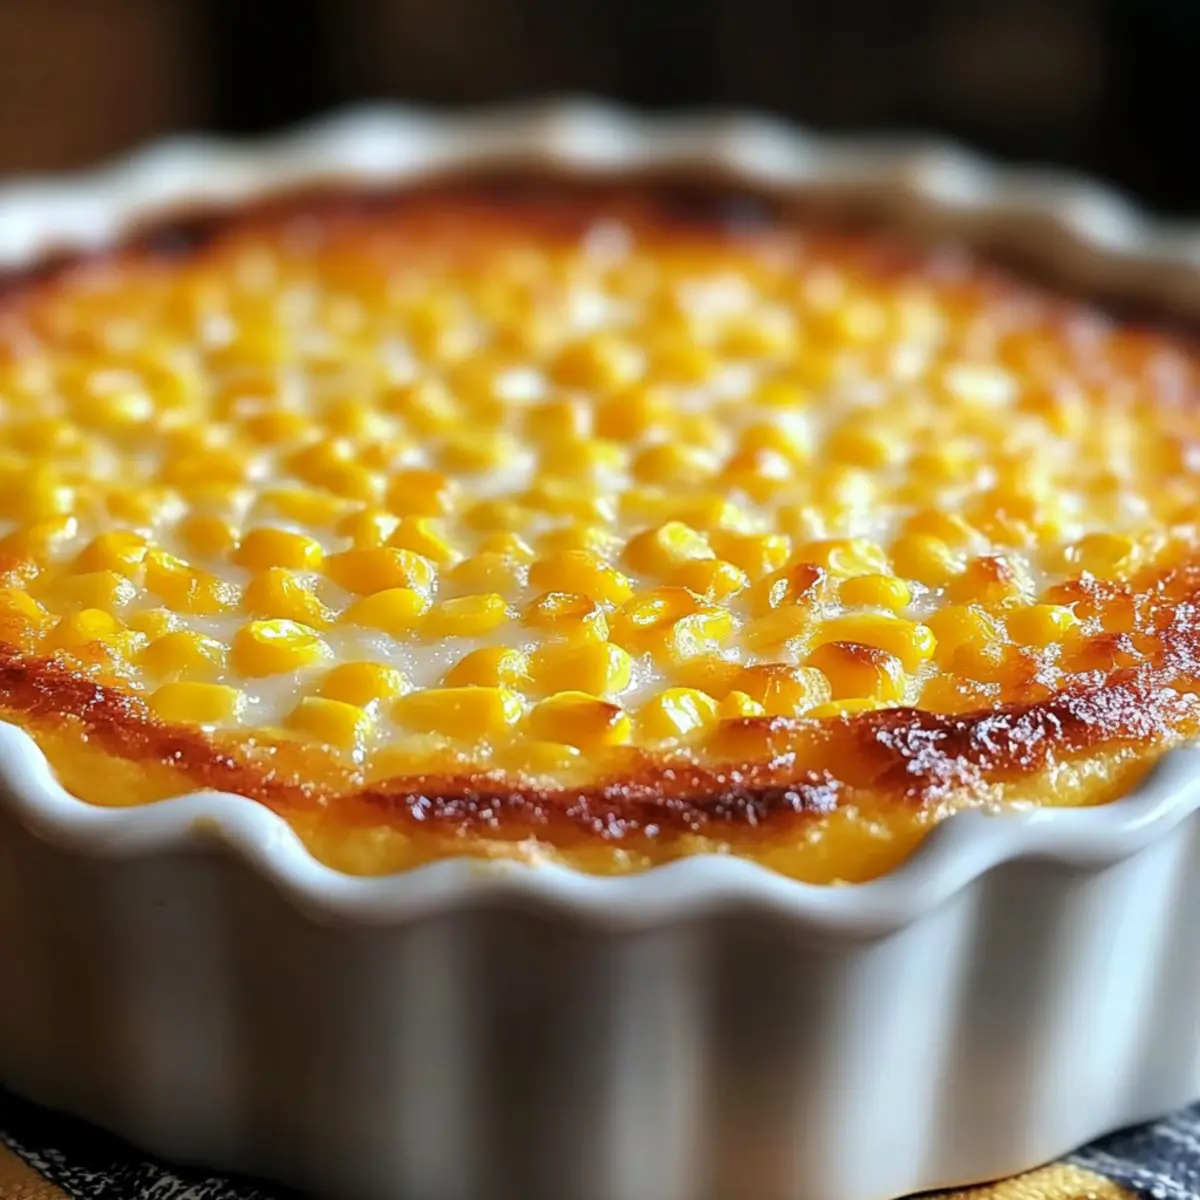
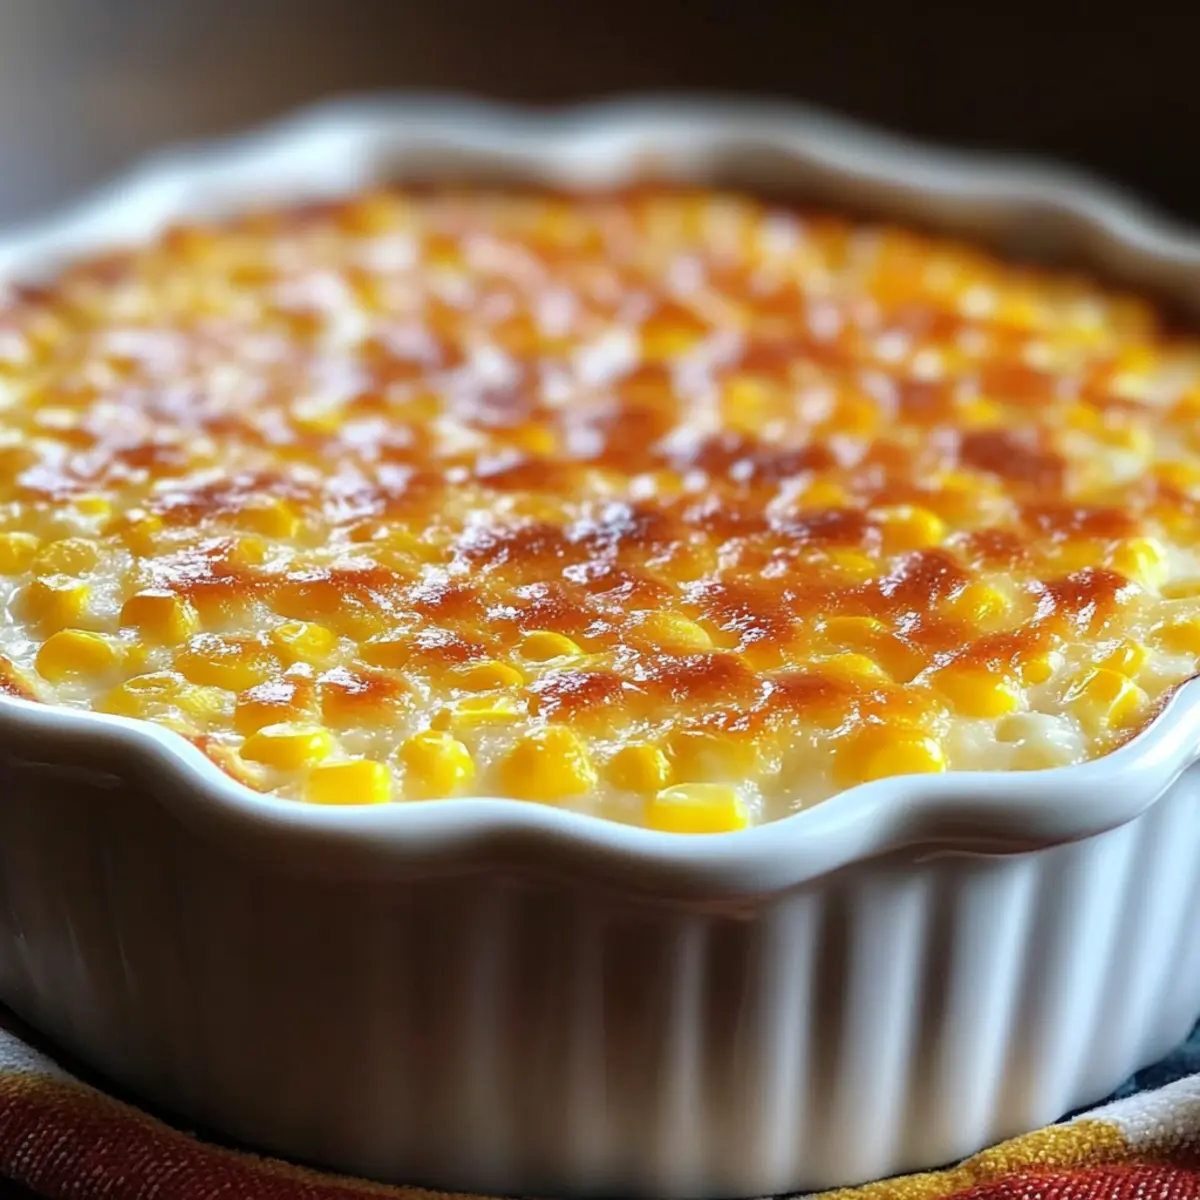
Pour the Corn Pudding mixture into your greased casserole dish, spreading it evenly. Bake in the preheated oven for about 1 hour. Keep an eye on it; the top should turn golden brown, and a toothpick inserted in the center should come out clean. This indicates it’s perfectly set and ready to delight.
Step 6: Cool and Serve
Once out of the oven, let the Corn Pudding rest for 5-10 minutes to firm up before serving. This cooling time allows the flavors to meld and ensures the pudding holds its shape. Scoop generous portions to enjoy the comforting warmth of this delightful dish alongside your favorite main course.
How to Store and Freeze Corn Pudding
Refrigerator: Store leftover Corn Pudding in an airtight container for up to 4 days to maintain its creamy texture and prevent drying out.
Freezer: For long-term storage, wrap the cooled Corn Pudding tightly in foil or freezer-safe wrap. It can be frozen for up to 3 months; remember to label it with the date!
Thawing: Thaw frozen Corn Pudding overnight in the refrigerator for best results. This gradual thawing helps preserve the dish’s delightful consistency.
Reheating: To reheat, warm in a 350°F (175°C) oven for 15-20 minutes until heated through, or microwave individual servings for about 1 minute until warmed.
Corn Pudding Variations & Substitutions
Feel free to mix and match these fun ideas to put your unique spin on Corn Pudding!
-
Cheesy Delight: Stir in 1 cup of shredded cheddar cheese for a comforting, savory twist. The melted cheese adds creaminess that is hard to resist!
-
Spicy Kick: Add ½ teaspoon of cayenne pepper or your favorite hot sauce for a zesty flavor infusion. This small change can elevate your dish and surprise your taste buds!
-
Savory Swap: Replace sugar with chopped green onions or crumbled bacon for a savory and flavorful profile. This unique combination complements the natural sweetness of the corn beautifully.
-
Sweetness Adjustments: Reduce the sugar to just 1 tablespoon for a less sweet option. This subtle alteration lets the corn’s natural sweetness shine through more.
-
Fresh Corn Twist: Use 2 cups of fresh corn or thawed frozen corn instead of canned for an added freshness and crunch. Recognizing the natural flavors will warm your heart even more.
-
Hearty Variation: Incorporate cooked and crumbled sausage or diced ham for a more filling dish that turns this side into a hearty main course. It’s a fantastic way to add protein and texture!
-
Dairy-Free Option: Swap whole milk with almond or coconut milk to make this dish dairy-free. Both options will keep your pudding creamy while adapting to dietary needs.
Explore these delicious variations, and don’t hesitate to create your own! If you’re looking for other comfort foods to enjoy, check out my recipe for classic mac and cheese or a warm bowl of chicken pot pie that pairs perfectly with this Corn Pudding!
What to Serve with Grandmother’s Corn Pudding
Imagine the delightful aroma of warm corn pudding filling your kitchen, setting the stage for a truly memorable meal.
- Roasted Chicken: Juicy and seasoned to perfection, it pairs beautifully with the creamy sweetness of the corn pudding.
- Grilled Pork Chops: The smoky flavors of these chops create a delicious contrast to the soft, sweet pudding.
- Holiday Ham: Savory and sweet, a slice of ham complements the luscious texture of corn pudding splendidly.
- Garden Salad: A refreshing mix of greens adds a crispy, fresh element that brightens your plate.
- Green Beans Almondine: Crunchy, buttery green beans provide the perfect textural contrast against the soft pudding.
- Cranberry Sauce: The tartness of cranberries brings a lively kick that enhances the warm flavors of the corn.
- Biscuits: Fluffy and buttery, freshly baked biscuits are wonderful for mopping up the creamy goodness of the pudding.
- Chardonnay: A chilled glass of Chardonnay enhances the meal with its crisp acidity, perfectly balancing the richness of both the pudding and your main dish.
Expert Tips for Corn Pudding
- Eggs Matter: Whisk your eggs lightly to create an airy texture. Overmixing can lead to a dense pudding, so blend just until combined.
- Fresh vs. Canned: Opt for fresh or frozen corn over canned for a fresher flavor. This little change can elevate your corn pudding significantly!
- Baking Time: Watch your baking time closely; using a larger dish may require additional baking time. Ensure the center is set before pulling it out.
- Make-Ahead Magic: Prepare the mixture a day in advance and refrigerate. Just remember to bake it fresh right before serving for the best texture.
- Flavor Variations: Don’t hesitate to add shredded cheese or spices. These variations can give your corn pudding an exciting twist that family and friends will love!
Make Ahead Options
These Grandmother’s Corn Pudding make-ahead options make meal planning a breeze for busy cooks! You can prepare the entire mixture up to 24 hours in advance; simply combine all the ingredients and refrigerate it in a covered container. This preparation saves you time and ensures the flavors meld beautifully overnight, keeping your pudding just as delicious. When you’re ready to bake, pour the chilled mixture into a greased casserole dish and pop it in the preheated oven as directed. Remember, if it’s been in the fridge, you may need to add a few extra minutes to the baking time. Enjoy a comforting meal without the stress of last-minute cooking!
Grandmother’s Comforting Corn Pudding Recipe FAQs
How do I select the best corn for my Corn Pudding?
Absolutely! Fresh corn off the cob is preferred for its sweetness and crunch. Look for firm kernels with bright, plump cobs that don’t have dark spots all over. If you opt for frozen corn, ensure it’s from a reputable brand and hasn’t been thawed before purchasing. Canned corn works in a pinch, but using fresh or frozen will give you a more vibrant flavor.
How should I store leftover Corn Pudding?
No problem! To keep your Corn Pudding fresh, transfer leftovers to an airtight container and store them in the refrigerator for up to 4 days. This helps maintain its creamy texture and flavor. When reheating, cover with foil to prevent drying out.
Can I freeze Corn Pudding and how do I do it?
Yes, you can! To freeze Corn Pudding, first let it cool completely. Then, wrap it tightly in foil or place it in a freezer-safe container. Label it with the date and freeze for up to 3 months. For the best results, thaw it overnight in the refrigerator before reheating.
What should I do if my Corn Pudding doesn’t set properly?
Not to worry; this can happen! If it comes out too runny, make sure you’re using the right ratio of cornstarch to liquids. If it hasn’t set after baking, it may need a bit more time—check the center with a toothpick. It should come out clean when done. Remember, every oven heats differently, and larger dishes might need longer baking times.
Can Corn Pudding be adapted for dietary restrictions?
Certainly! This recipe is naturally gluten-free, so you can enjoy it guilt-free. If you need to make it dairy-free, substitute whole milk with almond or oat milk. Just ensure your cornstarch is gluten-free as well, and you can omit sugar or replace it with a sweetener like maple syrup for a different flavor profile.
What are some variations I can try with my Corn Pudding?
Very! Get creative! You can mix in shredded cheddar cheese for a savory flavor, or add spices like cayenne pepper for a kick. If you like, introduce chopped green onions or crumbled bacon into the mix for an extra layer of taste. The more the merrier—tailor it to your family’s preferences!
Rustic Corn Pudding: A Warm Hug in Every Bite
Ingredients
Equipment
Method
- Preheat your oven to 400°F (200°C) and grease a 2-quart casserole dish.
- In a large bowl, lightly whisk the eggs until frothy.
- Add melted butter, sugar, milk, and cornstarch. Whisk until smooth.
- Gently fold in the whole-kernel and cream-style corn until evenly distributed.
- Pour into the greased casserole dish and bake for about 1 hour.
- Let the pudding cool for 5-10 minutes before serving.
Leave a Reply