
As I stood in my kitchen, the joyful sounds of laughter and playful chatter filled the air—Easter was upon us! Suddenly, a genius idea popped into my head: why not whip up a No-Bake Easter Dirt Cake Casserole? This nostalgic treat melds creamy pudding, crunchy chocolate cookie layers, and vibrant toppings, making it a seriously fun dessert for both kids and adults alike. Not only is it super easy to prepare, but this delightful casserole can be made ahead of time, leaving you free to enjoy the holiday festivities. Gather your loved ones around the table, and watch their eyes light up with joy as they dig into this whimsical creation. Ready to discover how to make your very own festive masterpiece? Let’s dive in!
Why is This the Perfect Easter Dessert?
No-Bake Ease: This Easter Dirt Cake Casserole requires zero baking, perfect for busy cooks! Kid-Friendly Fun: The playful presentation and sweet flavors make it a hit with little ones. Unforgettable Texture: Experience a delightful harmony of creamy and crunchy layers in every bite. Make-Ahead Magic: Prepare it a day in advance to save time, allowing flavors to meld beautifully. Flexible Variations: From chocolate to fruity toppings, customize it to fit your family’s preferences. This dessert truly captivates hearts and taste buds alike!
Easter Dirt Cake Casserole Ingredients
For the Creamy Layer
- Instant Pudding – Provides flavor and structure; use chocolate for a richer taste or vanilla for a classic twist.
- Cream Cheese – Adds richness and creaminess to the pudding base; low-fat cream cheese works well for a lighter option.
- Whipped Topping – Ensures the dessert remains light and airy; opt for light whipped topping to cut back on calories.
For the “Dirt” Layer
- Crushed Chocolate Cookies – Creates the “dirt” layer; chocolate graham crackers can substitute for a lighter alternative.
For the Toppings
- Colorful Easter Candies – Offers visual appeal and sweet bursts; substitute with mini chocolate eggs or fresh berries if desired.
- Mini Marshmallows – Add texture and sweetness on top; feel free to include optional sprinkles for extra fun!
This list of ingredients comes together beautifully to create a refreshing and delightful Easter Dirt Cake Casserole that you and your family will adore!
Step‑by‑Step Instructions for Easter Dirt Cake Casserole
Step 1: Prepare the Creamy Layer
In a large mixing bowl, use an electric mixer to beat 8 ounces of softened cream cheese until smooth and creamy. Gradually add in the instant pudding mix and 2 cups of cold milk, whisking until the mixture thickens, about 2 minutes. Gently fold in 8 ounces of whipped topping until the entire creamy layer is airy and lump-free, ensuring a light texture for your Easter Dirt Cake Casserole.
Step 2: Layer the Dessert
Take a trifle dish or a 9×13-inch baking pan and start layering your Easter Dirt Cake Casserole. Begin with a generous layer of the creamy pudding mixture at the bottom, smoothing it evenly. Next, sprinkle a layer of crushed chocolate cookies over the pudding, creating that “dirt” effect. Repeat these layers until you reach the top, ensuring to finish with a layer of crushed cookies to create a beautiful presentation.
Step 3: Add Toppings
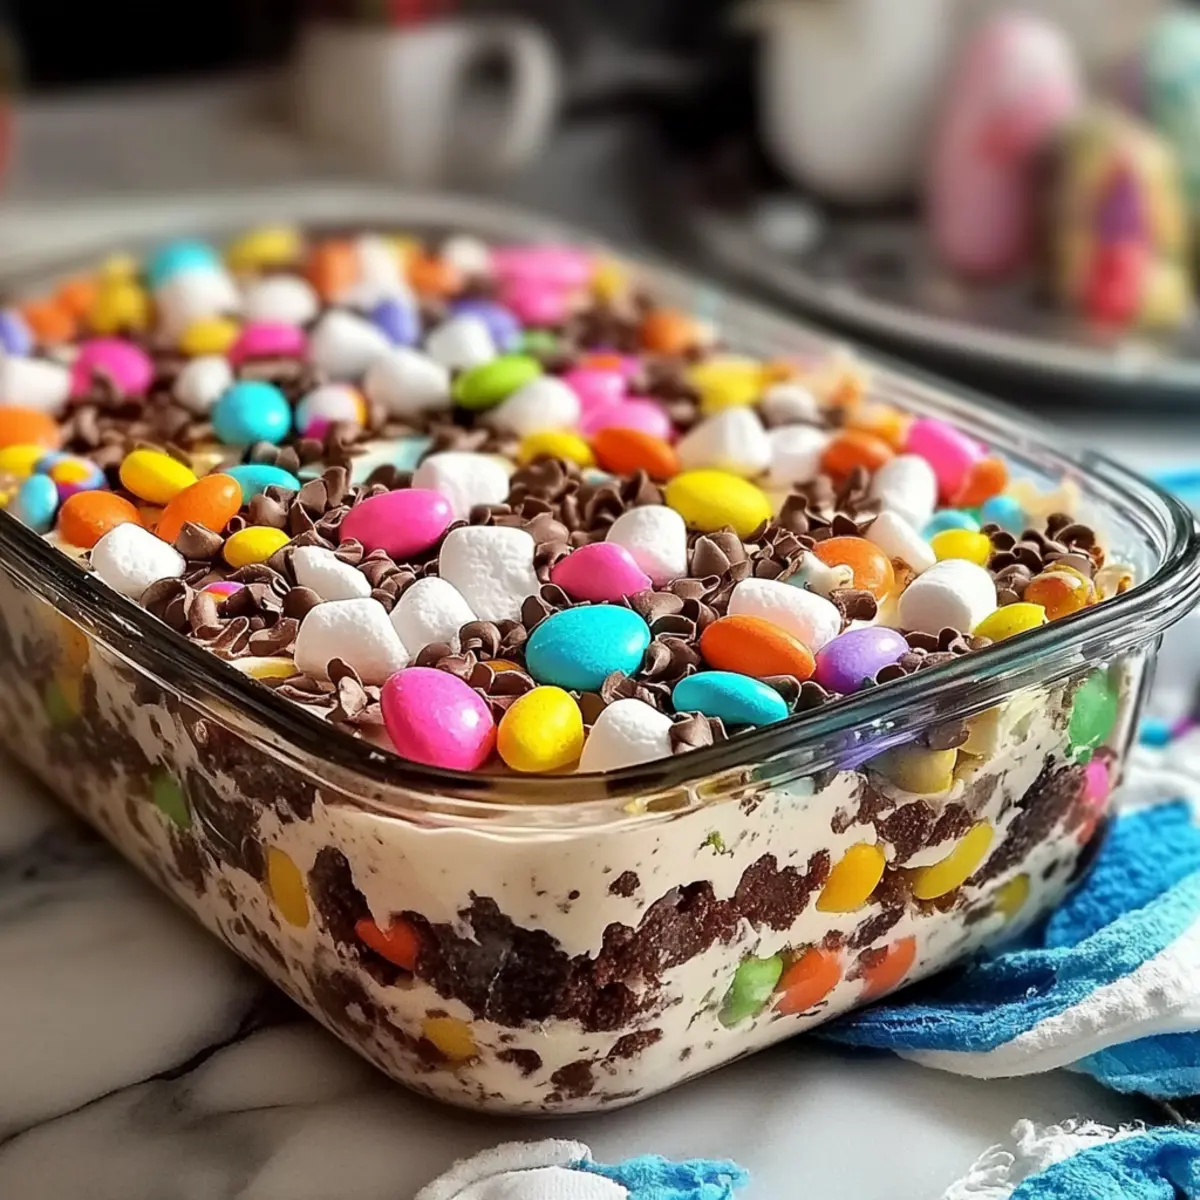
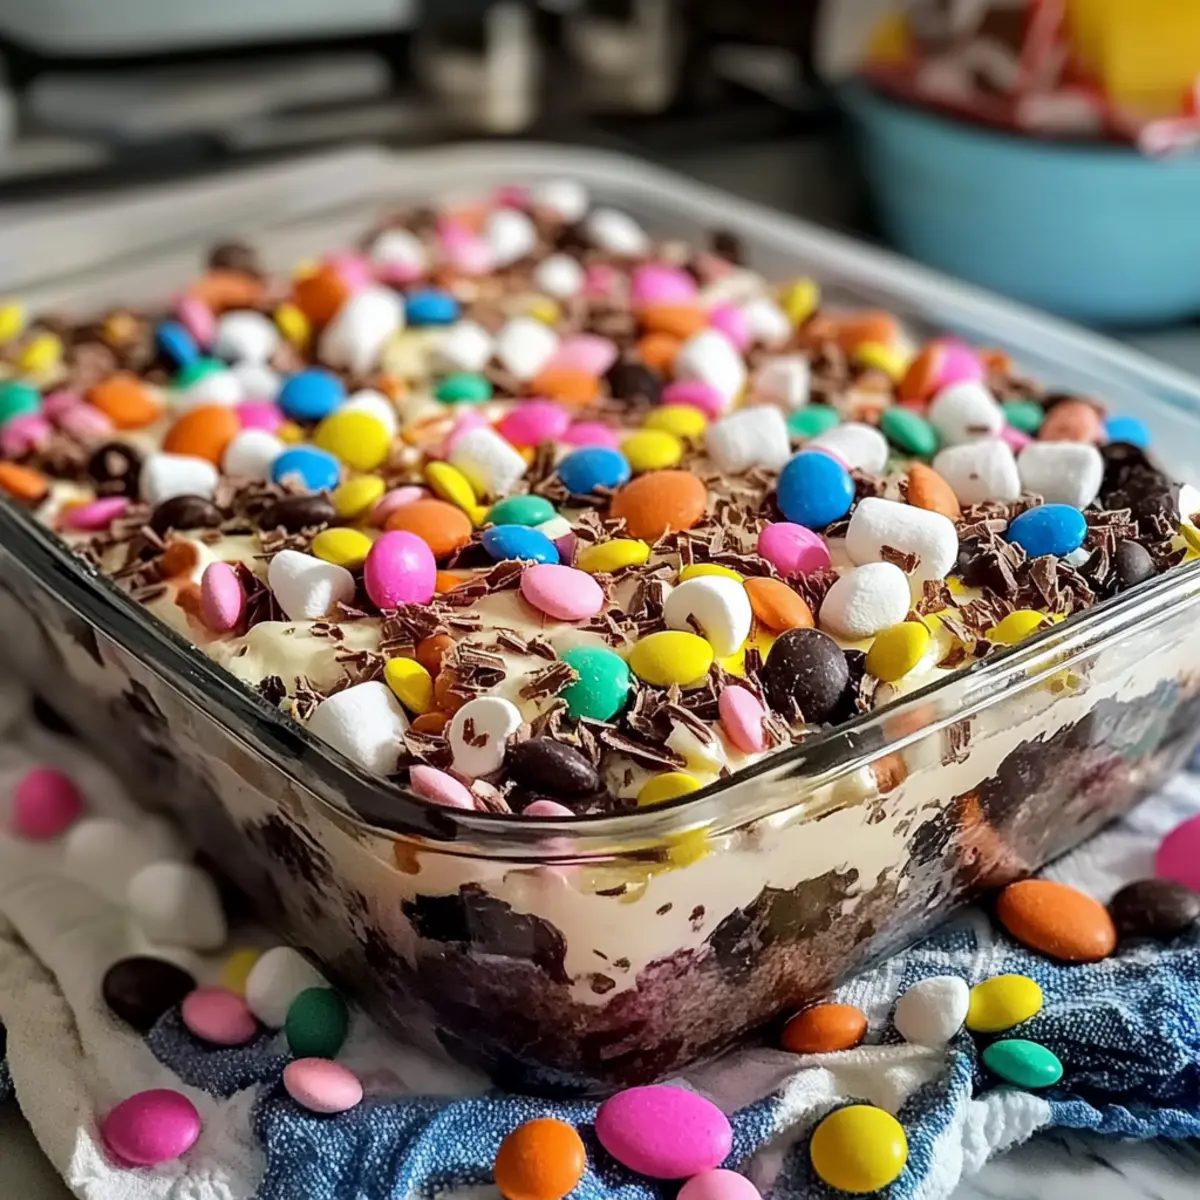
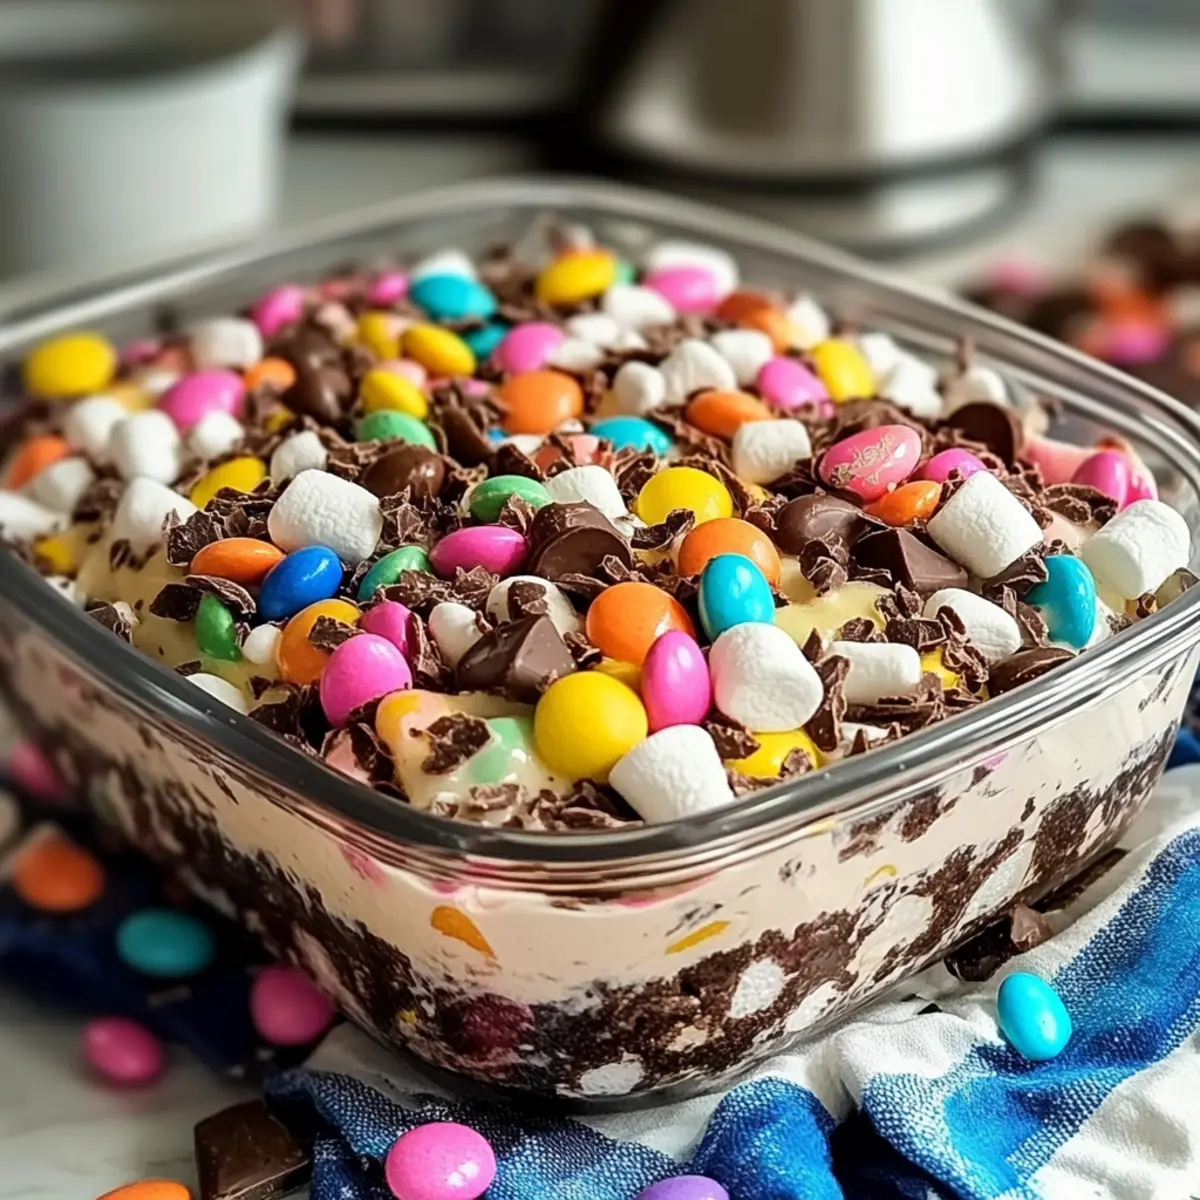
Once your final cookie layer is in place, it’s time to make your Easter Dirt Cake Casserole look festive! Sprinkle mini marshmallows generously over the cookie layer, adding colorful Easter candies for visual appeal. Feel free to add optional sprinkles on top for an extra fun touch that captures the essence of the holiday and will delight both kids and adults.
Step 4: Chill
Cover your Easter Dirt Cake Casserole with plastic wrap or a lid and place it in the refrigerator. Allow it to chill for at least 2-3 hours, enabling the flavors to meld beautifully and the pudding to set. This chilling period is essential for achieving the perfect texture, so be patient—you’ll be rewarded with a refreshing dessert that’s ready to impress!
Step 5: Serve and Enjoy
When you’re ready to serve, remove the casserole from the fridge. If desired, add a sprinkle of additional crushed cookies just before serving to maintain that crunchy texture. Scoop out portions into bowls or serve directly from the dish, and watch as your family and friends delight in every creamy, chocolatey bite of your Easter Dirt Cake Casserole!

Expert Tips for Easter Dirt Cake Casserole
- Soften Cream Cheese: Always ensure your cream cheese is softened to room temperature; this prevents lumps and ensures a smooth, creamy mixture.
- Layer Wisely: For an eye-catching presentation, layer ingredients evenly and consider using a clear glass dish to showcase the beautiful layers of your Easter Dirt Cake Casserole.
- Chill Time: Don’t skip the chilling step! Allowat least 2-3 hours for the flavors to meld and for the pudding to set for the best texture.
- Crunchy Cookies: If you find the cookie layers getting soggy in the fridge, add a sprinkle of crushed cookies just before serving to keep that delightful crunch.
- Substitution Flexibility: Feel free to mix and match toppings or use lighter options; this Easter Dirt Cake Casserole can be customized to fit all dietary preferences while still being a hit!
What to Serve with Easter Dirt Cake Casserole
Enjoy your festive dessert alongside delightful sides that echo the joy and vibrancy of Easter!
- Fresh Fruit Salad: A colorful mix of berries and citrus provides a refreshing contrast to the creamy dessert.
- Vanilla Ice Cream: A scoop of creamy ice cream melts beautifully into the casserole, adding an additional layer of indulgence.
- Chocolate Dipped Strawberries: These sweet treats are a perfect festive touch that complements the chocolatey flavors of the casserole.
- Mini Cupcakes: Offer a variety of mini cupcakes for guests to enjoy, creating a playful dessert table that invites indulgence.
- Lemonade or Iced Tea: A refreshing, citrusy drink balances the sweet richness of the dessert, providing a delightful contrast.
- Spring Vegetable Platter: Crunchy, fresh vegetables add a light touch to your celebration, making it feel well-rounded and festive.
With a blend of sweetness and refreshing contrasts, these pairings will ensure your Easter Dirt Cake Casserole shines even brighter!
Make Ahead Options
The Easter Dirt Cake Casserole is a perfect candidate for make-ahead preparation, saving you time and stress on the big day! You can prepare the creamy pudding layer and layer it in your dish up to 24 hours in advance. Just keep it covered in the refrigerator to maintain its freshness. Additionally, consider layering the crushed cookies just before serving to keep them crunchy—this prevents them from becoming soggy. When you’re ready to enjoy, simply add your festive toppings, chill for about 30 minutes if needed, and serve this delightful dessert. You’ll have a show-stopping treat that’s just as delicious as when freshly made!
Easter Dirt Cake Casserole Variations
Feel free to explore these delightful twists to make the Easter Dirt Cake Casserole your very own!
-
Dairy-Free: Use coconut cream and dairy-free whipped topping for a luscious, creamy base without dairy. This presents the same delightful flavors while catering to those with lactose intolerance.
-
Sugar-Free: Opt for sugar-free pudding and use a sugar substitute in place of sweetened ingredients to create a guilt-free version that still satisfies your sweet tooth.
-
Fruit-Loaded: Add layers of sliced strawberries, bananas, or blueberries between the creamy layers for a refreshing, fruity twist. This adds a burst of color and natural sweetness to brighten the dish!
-
S’mores Style: Swap out chocolate cookies for crushed graham crackers and add mini chocolate bars alongside the marshmallows. This variation captures the beloved flavors of summer camping in your spring dessert!
-
Nutty Crunch: For an added texture, incorporate crushed nuts such as walnuts or almonds into the “dirt” layer, giving extra crunch. The nutty flavor elevates the dessert while providing healthy fats.
-
Chocolate Lovers: Mix chocolate pudding with crushed Oreos on top for an extra chocolate hit. Drizzle melted chocolate over the top for an indulgent finish that true chocoholics will adore.
-
Spicy Twang: Sprinkle in some cinnamon or cayenne pepper to the creamy layer for a unique flavor kick, bringing some warmth and depth to the sweet layers.
These variations not only keep the spirit of the original Easter Dirt Cake Casserole alive but also ensure that there’s something for everyone to enjoy! If you’re curious about how to balance flavors, don’t forget to check out my no-bake desserts for more inspiration.
Storage Tips for Easter Dirt Cake Casserole
- Fridge: Keep your Easter Dirt Cake Casserole covered in the refrigerator for up to 3-4 days. This ensures it stays fresh and creamy for your family to enjoy.
- Freezer: If you want to store it longer, you can freeze individual portions in airtight containers for up to 2 months. Thaw in the fridge overnight before enjoying.
- Reheating: This dessert is best served chilled, so there’s no need to reheat. Simply let it thaw in the fridge if frozen, and it will be ready to delight your family once again!
- Airtight Storage: To maintain the texture and flavor, always cover the casserole tightly with plastic wrap or a lid to prevent it from absorbing odors from other foods.
Easter Dirt Cake Casserole Recipe FAQs
Can I use different types of pudding for the Easter Dirt Cake Casserole?
Absolutely! While chocolate pudding is a classic choice, you can also try vanilla pudding for a lighter flavor or even mix both for a delightful twist. Don’t hesitate to experiment with various instant pudding flavors to surprise your taste buds!
How should I store leftover Easter Dirt Cake Casserole?
Keep your Easter Dirt Cake Casserole covered in the refrigerator for up to 3-4 days. Make sure it’s tightly wrapped with plastic wrap or a lid to keep it fresh and delicious. This way, you can enjoy the creamy, chocolatey goodness even after the holiday!
Can I freeze Easter Dirt Cake Casserole for later?
Yes! To freeze your Easter Dirt Cake Casserole, cut it into individual portions and place them in airtight containers. It can be stored in the freezer for up to 2 months. When you’re ready to enjoy, simply thaw it in the fridge overnight, and it will be just as delightful!
What should I do if the cookie layers in my casserole become soggy?
If you notice the cookie layers starting to soften, it’s a good idea to sprinkle some extra crushed cookies on top just before serving. This adds a nice crunch and visually appealing texture, ensuring your Easter Dirt Cake Casserole retains that fun, dirt-like essence!
Is this recipe suitable for kids or those with allergies?
This Easter Dirt Cake Casserole is very kid-friendly and can be adjusted for dietary considerations! For those with dairy allergies, swap cream cheese and whipped topping for dairy-free alternatives. Additionally, check for any nut or gluten allergies in your guests and choose toppings accordingly, like using gluten-free cookie options.
Easter Dirt Cake Casserole That Will Delight Your Family
Ingredients
Equipment
Method
- In a large mixing bowl, use an electric mixer to beat cream cheese until smooth. Gradually add instant pudding mix and cold milk, whisk until thickened. Fold in whipped topping.
- Layer the creamy pudding mixture in a trifle dish or baking pan. Add a layer of crushed chocolate cookies, and repeat until all layers are finished, topping with crushed cookies.
- Sprinkle mini marshmallows and colorful Easter candies over the final cookie layer.
- Cover and refrigerate for at least 2-3 hours to allow flavors to meld and pudding to set.
- Before serving, sprinkle additional crushed cookies on top if desired, then scoop out portions to serve.
Leave a Reply