
As I watched the clouds drift lazily across the sky on a busy weeknight, the thought struck me: there’s nothing like a comforting dinner to unwind and reconnect. This Quick & Easy Oyakodon, or Japanese Chicken & Egg Rice Bowl, embodies that cozy sensation we all crave. It’s a delightful one-pan dish that combines tender chicken and creamy eggs simmered in a sweet and savory broth, served over warm rice. Not only does it come together in just 15 minutes, but it’s also a fantastic way to turn an ordinary weekday meal into something extraordinary. Whether you’re cooking for yourself or loved ones, this dish is sure to become a go-to favorite. Are you ready to transform your dinner routine and savor the flavors of Japan?
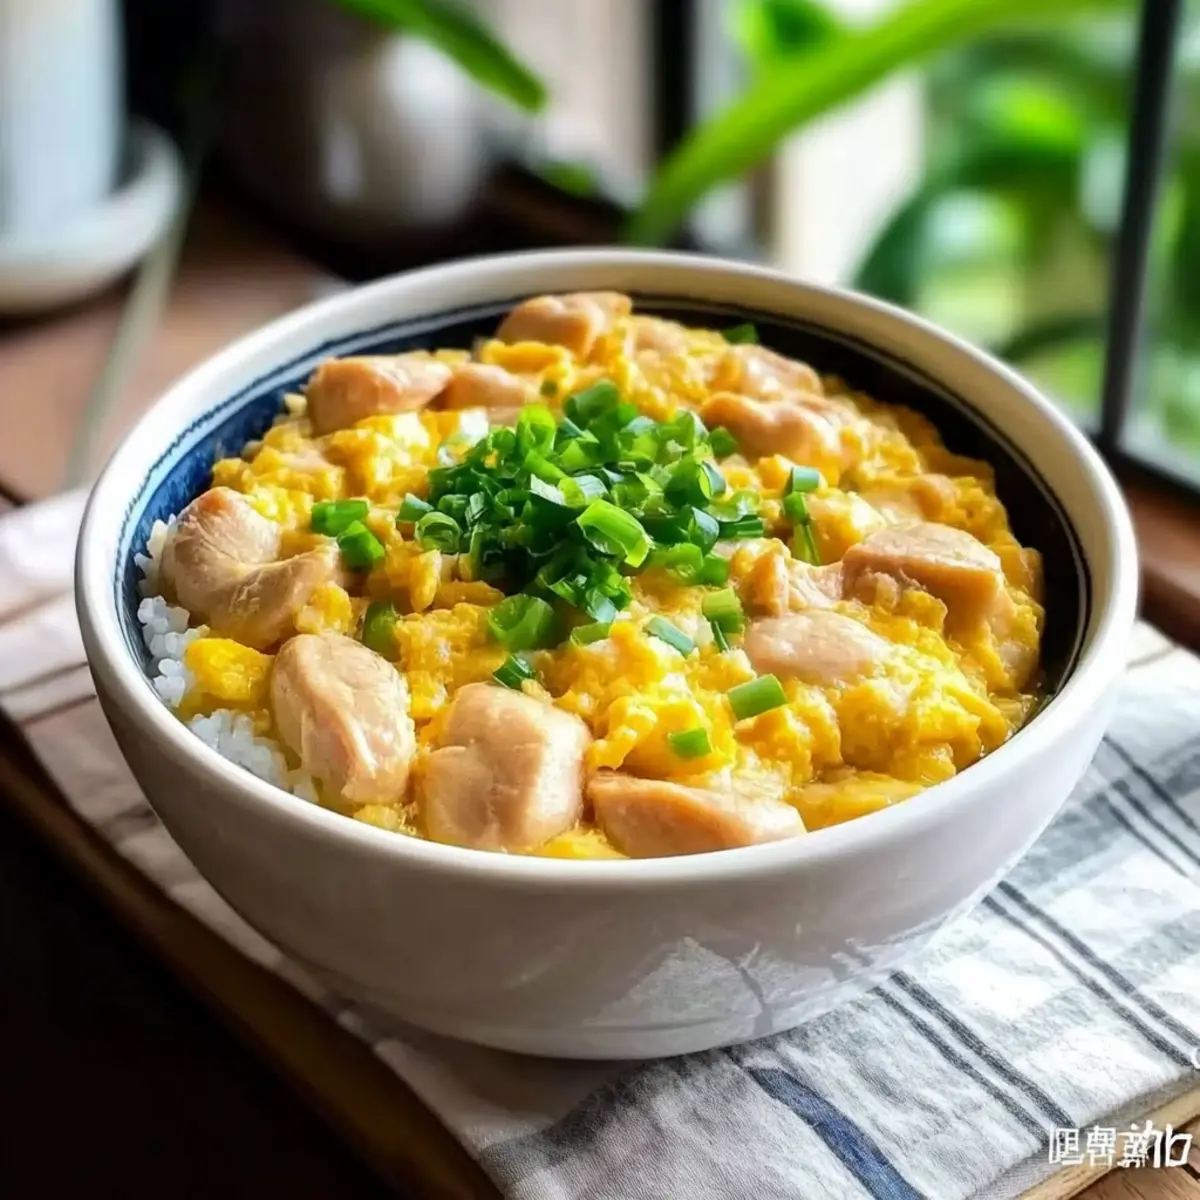
Why is Oyakodon a Must-Try Dish?
Simplicity at its finest: This one-pan meal makes cooking a breeze, ensuring minimal cleanup!
Delicious flavor explosion: The sweet and savory broth elevates the tender chicken and creamy eggs to new heights.
Comfort food done right: With its warm, cozy essence, Oyakodon brings a delightful hug of flavor to your dinner table.
Quick and easy: Perfect for busy weeknights, you can whip this up in just 15 minutes! Plus, you’ll love how versatile it is—try adding your favorite vegetables or even swapping protein. Explore the world of Japanese cuisine with this fantastic homemade dish that’s both satisfying and nourishing!
Japanese Chicken & Egg Rice Bowl Ingredients
Experience the simplicity of this classic dish with just a handful of ingredients!
For the Chicken & Broth
- Chicken Thighs (150 g) – Main protein source providing richness and flavor; substitute with chicken breast for a leaner option.
- Onion (1/2 medium) – Adds aromatic sweetness and depth; any mild onion variety can be substituted.
- Chicken Stock or Dashi (1/2 cup) – Liquid for simmering that imparts umami flavor; use vegetable stock for a vegetarian version.
- Soy Sauce (1 tbsp) – Provides saltiness and umami depth; tamari can be used for a gluten-free option.
- Mirin (1 tbsp) – Adds sweetness and balances the savory elements; sherry or a mix of sugar and water can serve as a substitute.
- Sugar (1 tsp) – Enhances sweetness and balances the broth’s flavors; adjust to taste or omit for low-sugar diets.
For the Egg & Rice
- Eggs (2 large) – Creates a soft, creamy texture; no good substitute; use a flax egg for a vegan version.
- Cooked Rice (1 1/2 cups) – Base for the dish; jasmine or short-grain rice works best.
Optional Garnishes
- Green onion – Adds a fresh crunch; slice thinly for the best flavor.
- Sesame oil – Drizzle for an extra layer of richness; a little goes a long way!
- Nori – Provides a salty sea flavor; toast slightly for added crunch.
- Togarashi – A spicy finish that gives an extra kick of flavor to your bowl.
Dive into this Japanese Chicken & Egg Rice Bowl to enjoy a truly comforting culinary experience!
Step‑by‑Step Instructions for Japanese Chicken & Egg Rice Bowl
Step 1: Marinate the Chicken
In a mixing bowl, combine diced chicken thighs, soy sauce, mirin, and sugar. Allow the chicken to marinate for about 5-10 minutes to soak up those savory flavors. This step enhances the richness of your Japanese Chicken & Egg Rice Bowl, giving it that deep umami essence.
Step 2: Prepare the Eggs
Crack the two large eggs into another bowl and gently beat them until well mixed, ensuring some whites remain visible for a pleasing texture. Set this aside as you’ll pour the egg mixture over the chicken later, creating that luxurious, creamy layer in your dish.
Step 3: Sauté the Onions
Heat a non-stick skillet over medium heat and pour in the chicken stock. Once the stock reaches a gentle boil, add the sliced onion, cooking for about 1 minute until it becomes fragrant and slightly translucent. This aromatic base will contribute essential flavor to your Oyakodon.
Step 4: Cook the Chicken
Add the marinated chicken to the pan, ensuring it sizzles upon contact. Cook for about 1-2 minutes on each side or until the chicken is nearly cooked through and turns golden brown. The vibrant color signifies the chicken is absorbing the broth’s flavors.
Step 5: Add the Egg Mixture
Evenly pour the beaten eggs over the chicken and onion mixture in the skillet. Allow it to sit undisturbed for a few seconds as the edges begin to set. This technique ensures that each bite of your Japanese Chicken & Egg Rice Bowl will have that beautifully soft, creamy texture.
Step 6: Scramble Lightly
Using a spatula, gently scrape through the eggs to lightly scramble them, being careful not to overcook. Remove the skillet from heat while the eggs are still slightly runny; the residual heat will continue cooking them, creating a luscious finish for your bowl.
Step 7: Serve the Dish
Spoon the chicken and egg mixture over a bowl of warm cooked rice. The comforting aroma will envelop your kitchen, inviting everyone to the table. Add optional garnishes like sliced green onion, a drizzle of sesame oil, or a sprinkle of togarashi to elevate the flavors of your Oyakodon.
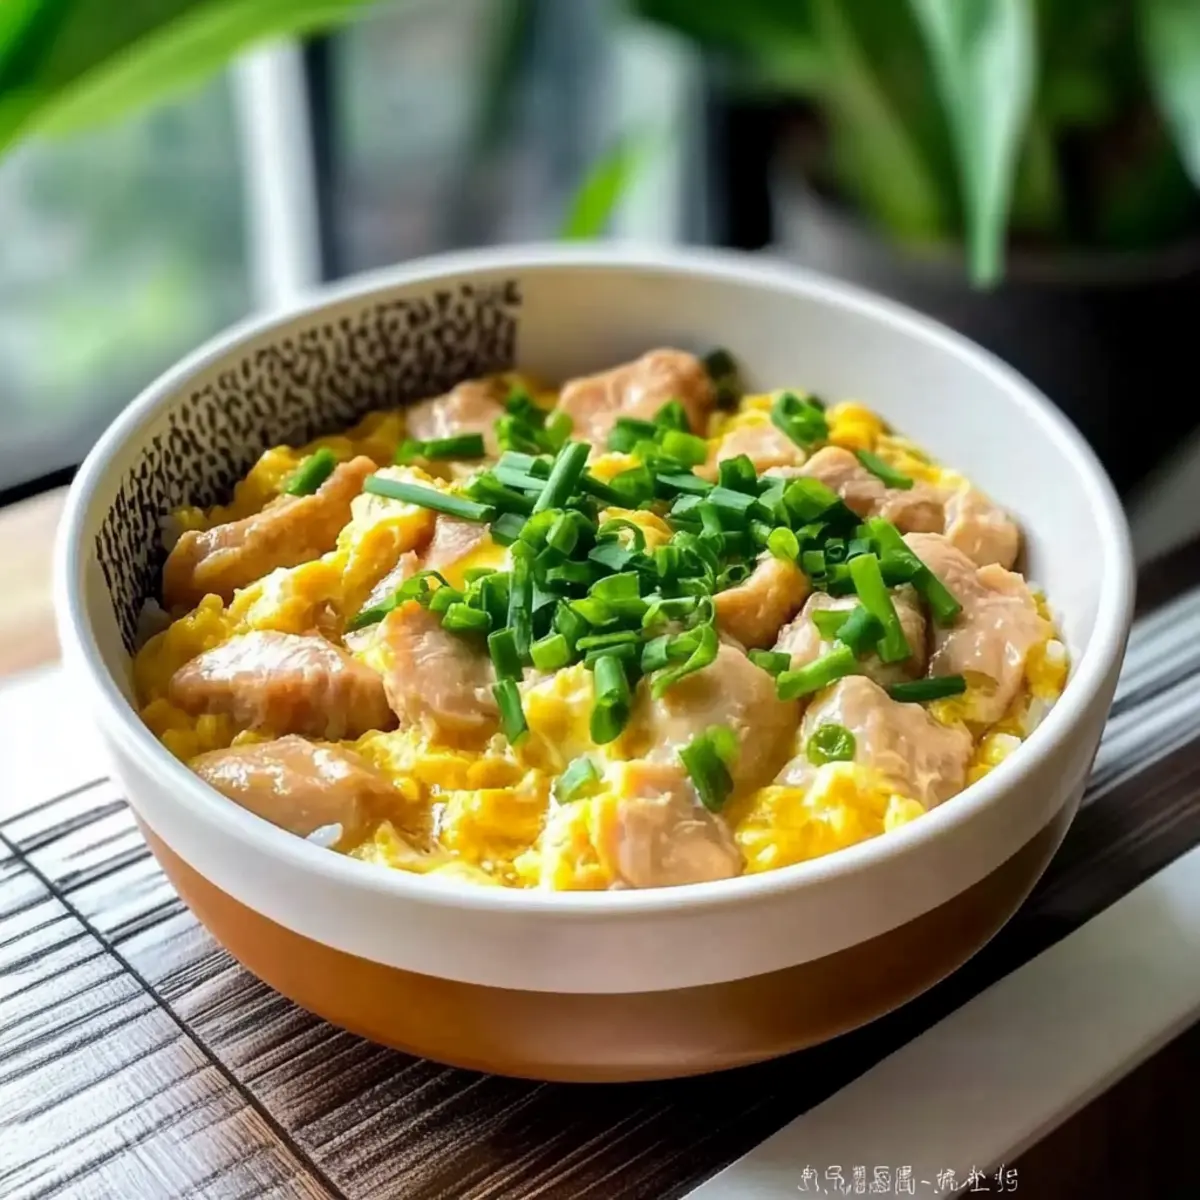
Japanese Chicken & Egg Rice Bowl Variations
Feel free to explore these delightful twists on your Oyakodon to suit different tastes and dietary preferences!
-
Vegetarian Option: Substitute chicken with tofu or seitan for a protein-packed vegetarian delight. This swap brings a different texture while ensuring your bowl remains comforting.
-
Extra Veggies: Toss in bell peppers, spinach, or mushrooms for added nutrition and vibrant color. Not only do they enhance the dish’s visual appeal, but they also elevate the flavor profile wonderfully!
-
Spicy Kick: For those who like a little heat, incorporate some diced jalapeños or a drizzle of sriracha. This spicy addition creates an exciting contrast to the creamy eggs and savory broth.
-
Coconut Broth: Swap chicken stock for coconut milk and add a bit of curry powder for a tropical, fragrant version. This variation transforms your rice bowl into a delightful fusion dish!
-
Garlic & Ginger: Elevate the richness by sautéing minced garlic and ginger with the onions. These aromatic ingredients infuse your bowl with an irresistible warmth and zest.
-
Sushi Rice: Instead of the standard jasmine rice, try cooking sushi rice seasoned with rice vinegar, sugar, and salt. The slight acidity adds a refreshing touch to the overall dish.
-
Low-Sodium Option: Use low-sodium soy sauce and stock to make the dish lighter on salt while maintaining the rich umami flavor. It’s a simple way to keep your meal both tasty and healthy.
-
Herb Garnishes: Experiment with fresh herbs like cilantro or basil as a garnish for an unexpected freshness. These herbs add a delightful pop of flavor and color to your Japanese Chicken & Egg Rice Bowl.
Feel free to mix and match these ideas, and who knows? You might just create your next favorite comfort food experience! And if you’re curious to learn more about the cultural significance of Oyakodon, don’t miss out on the chance to explore its rich history!
How to Store and Freeze Oyakodon
Fridge: Store leftovers in an airtight container for up to 1-2 days to maintain freshness. Reheat gently, adding a splash of chicken stock for moisture.
Freezer: Oyakodon can be frozen for up to 2 months. To freeze, cool completely, then transfer to a freezer-safe container. Thaw in the fridge before reheating.
Reheating: When reheating from the fridge or freezer, do it on low heat in a pan, stirring occasionally until heated through, ensuring the eggs remain creamy.
Cooking Tip: For the best results, make Oyakodon fresh, as the texture may change after freezing.
What to Serve with Quick & Easy Oyakodon
Transform your lovely Oyakodon into an unforgettable meal by pairing it with delightful side dishes and drinks that elevate your dining experience.
-
Pickled Vegetables: Their tangy crunch provides a refreshing contrast to the creamy broth, enhancing every bite of your rice bowl. The bright colors and flavors also bring a vibrant touch to the meal.
-
Miso Soup: A warm bowl of miso soup makes an excellent companion, adding a comforting umami flavor that pairs beautifully with the sweetness of the Oyakodon.
-
Crispy Tempura: Light and airy, tempura adds a crunchy texture that beautifully balances the softness of the chicken and egg, creating an enjoyable textural contrast.
-
Steamed Broccoli: Fresh, vibrant, and nutrient-packed, broccoli adds a burst of color and can be sprinkled with sesame seeds for added flavor and presentation.
-
Cucumber Salad: A cool and crunchy cucumber salad dressed in rice vinegar offers a refreshing palate cleanser that lightens up the meal perfectly.
-
Japanese Green Tea: Sipping freshly brewed green tea harmonizes beautifully with your Oyakodon, imparting a gentle bitterness that enhances the dish’s savory and sweet notes.
Add these sides to your Quick & Easy Oyakodon for a well-rounded and delightful Japanese dining experience!
Make Ahead Options
These Quick & Easy Oyakodon bowls are a lifesaver for meal prep enthusiasts! You can marinate the chicken thighs in soy sauce, mirin, and sugar up to 24 hours in advance, allowing the flavors to deepen. Additionally, you can slice the onions and store them in the refrigerator for up to 3 days. When you’re ready to cook, just follow the remaining steps: sauté the onions, add the marinated chicken, and pour the beaten eggs over it. To maintain the creamy texture of the eggs, be sure to remove the pan from heat while they’re still slightly runny. With these make-ahead strategies, you’ll enjoy a comforting Japanese Chicken & Egg Rice Bowl with minimal effort on busy weeknights!
Expert Tips for the Best Oyakodon
-
Marinate Well: Letting the chicken marinate for 5-10 minutes not only infuses flavor but enhances the overall richness of your Japanese Chicken & Egg Rice Bowl.
-
Perfect Rice: For the best results, slightly reduce the water used when cooking your rice. This allows it to absorb more of the flavorful broth from the chicken.
-
Egg Technique: Whisk the eggs until just mixed (70-80% combined) to achieve that desirable creamy texture with visible egg whites in your dish.
-
Avoid Overcooking: Gently scramble the eggs and remove from heat while they’re still slightly runny to ensure a soft, silky finish in your Japanese Chicken & Egg Rice Bowl.
-
Creative Add-ins: Feel free to add pre-cooked vegetables like mushrooms or spinach for added nutrition and flavor complexity, making it uniquely yours!
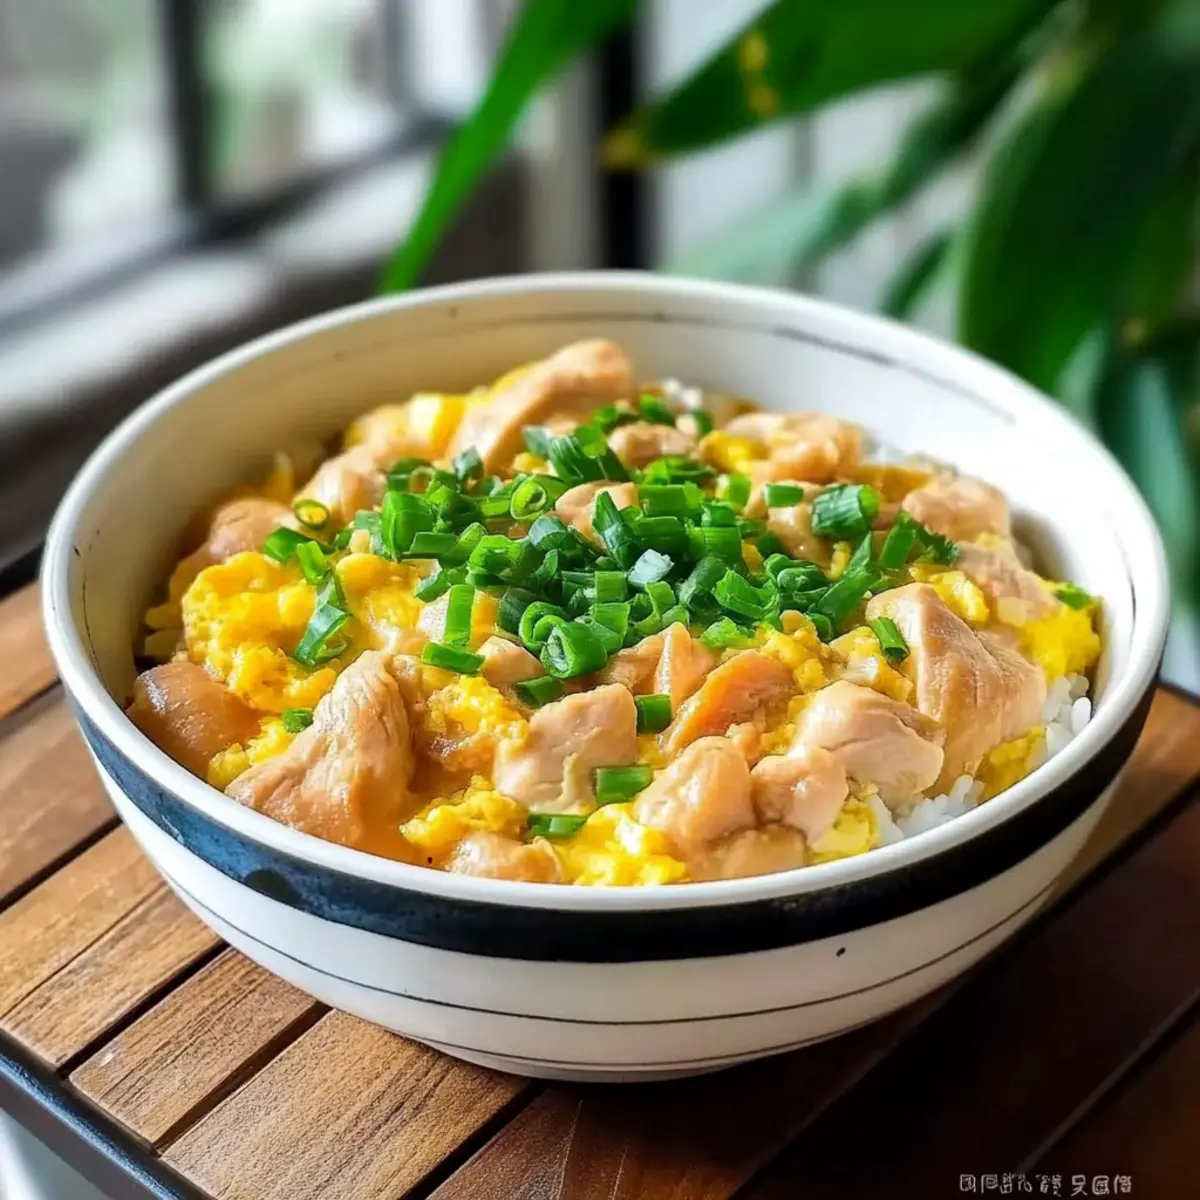
Japanese Chicken & Egg Rice Bowl Recipe FAQs
What kind of chicken should I use?
Absolutely, I recommend using chicken thighs for their rich flavor and juiciness. If you’re looking for a leaner option, chicken breast can be a great substitute, but keep in mind it may result in a slightly drier texture.
How long can I store Oyakodon?
You can store leftovers in an airtight container in the refrigerator for up to 1-2 days. To maintain its best qualities, gently reheat it on the stove, adding a splash of chicken stock to keep it moist and creamy.
Can I freeze Oyakodon?
Certainly! To freeze your Japanese Chicken & Egg Rice Bowl, cool it completely after cooking, then transfer it to a freezer-safe container. It will keep well for up to 2 months. When you’re ready to enjoy it again, thaw it overnight in the fridge and reheat gently on the stove, stirring occasionally to keep everything nice and creamy.
What should I do if the eggs are overcooked?
If your eggs turn out a bit overcooked, don’t fret! You can still enjoy your dish by adding a splash of water or chicken stock while reheating; this will help create a saucier consistency.
Are there any dietary considerations for pets or allergies?
Yes! Oyakodon contains common allergens like soy (in soy sauce) and eggs, so it’s important to keep it away from pets and individuals with allergies to these ingredients. If you’re preparing it for someone with dietary restrictions, consider using tamari for a gluten-free option and substituting flax eggs for a vegan version.
What kind of rice works best with Oyakodon?
Short-grain rice or jasmine rice is ideal for Oyakodon, as they hold up well to the broth and complement the dish’s creamy texture. If you’re curious, you can also explore using brown rice for a more wholesome alternative!
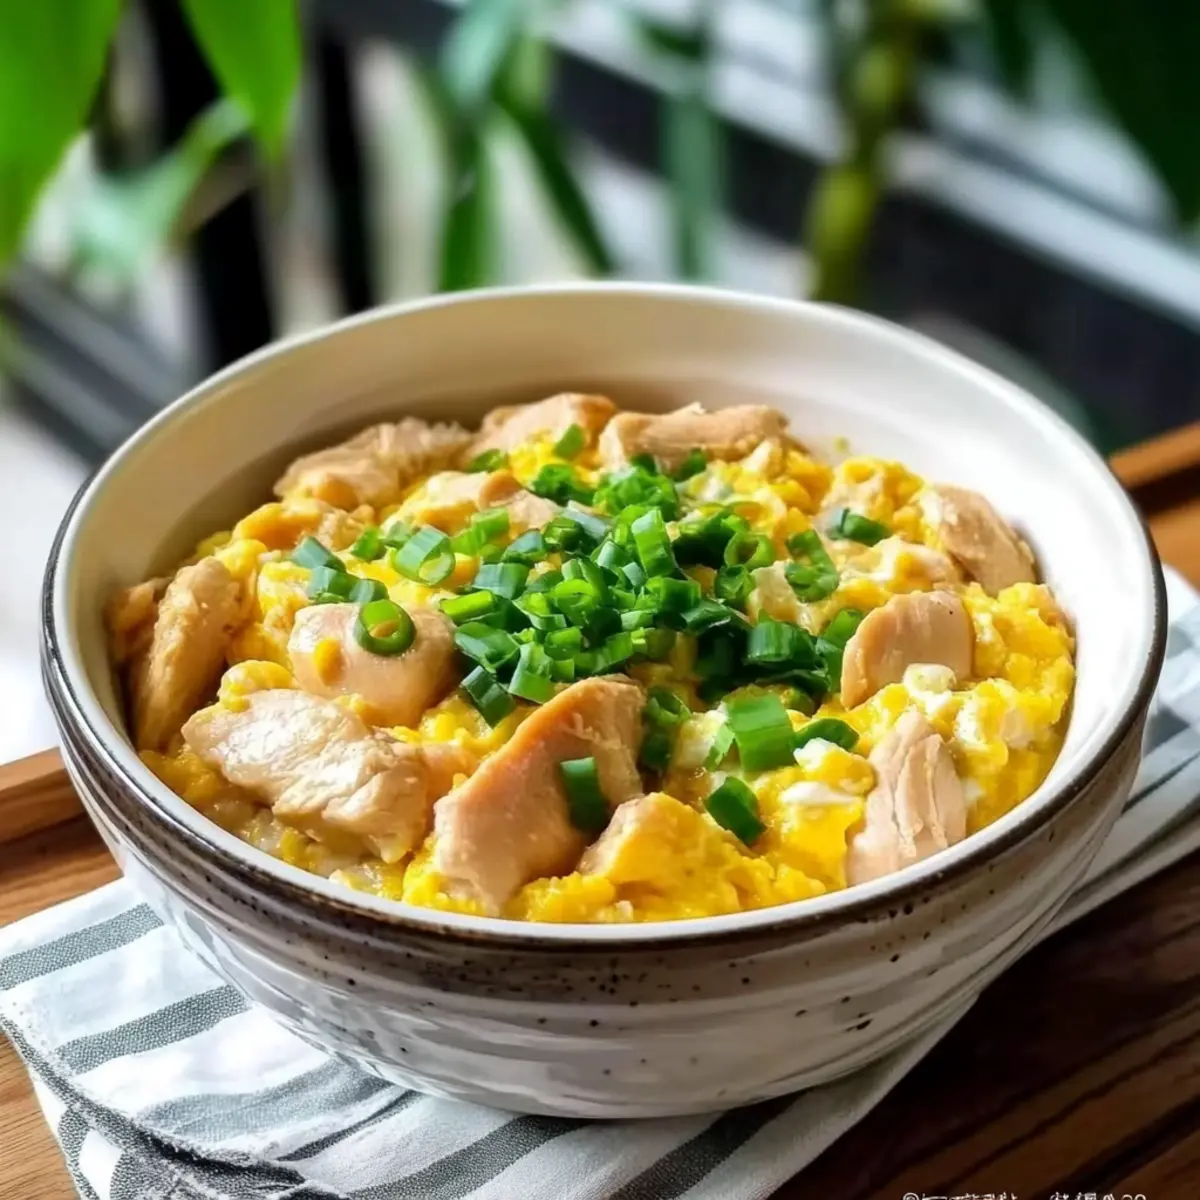
Japanese Chicken & Egg Rice Bowl: Quick Comfort Food Delight
Ingredients
Equipment
Method
- In a mixing bowl, combine diced chicken thighs, soy sauce, mirin, and sugar. Allow the chicken to marinate for about 5-10 minutes.
- Crack the two large eggs into another bowl and gently beat them until well mixed.
- Heat a non-stick skillet over medium heat and pour in the chicken stock. Once boiling, add the sliced onion and cook for about 1 minute.
- Add the marinated chicken to the pan and cook for about 1-2 minutes on each side until nearly cooked through.
- Evenly pour the beaten eggs over the chicken and onion mixture in the skillet. Allow it to sit undisturbed for a few seconds.
- Using a spatula, gently scrape through the eggs to lightly scramble them, ensuring they are still slightly runny.
- Spoon the chicken and egg mixture over a bowl of warm cooked rice. Add optional garnishes and serve.
Leave a Reply