
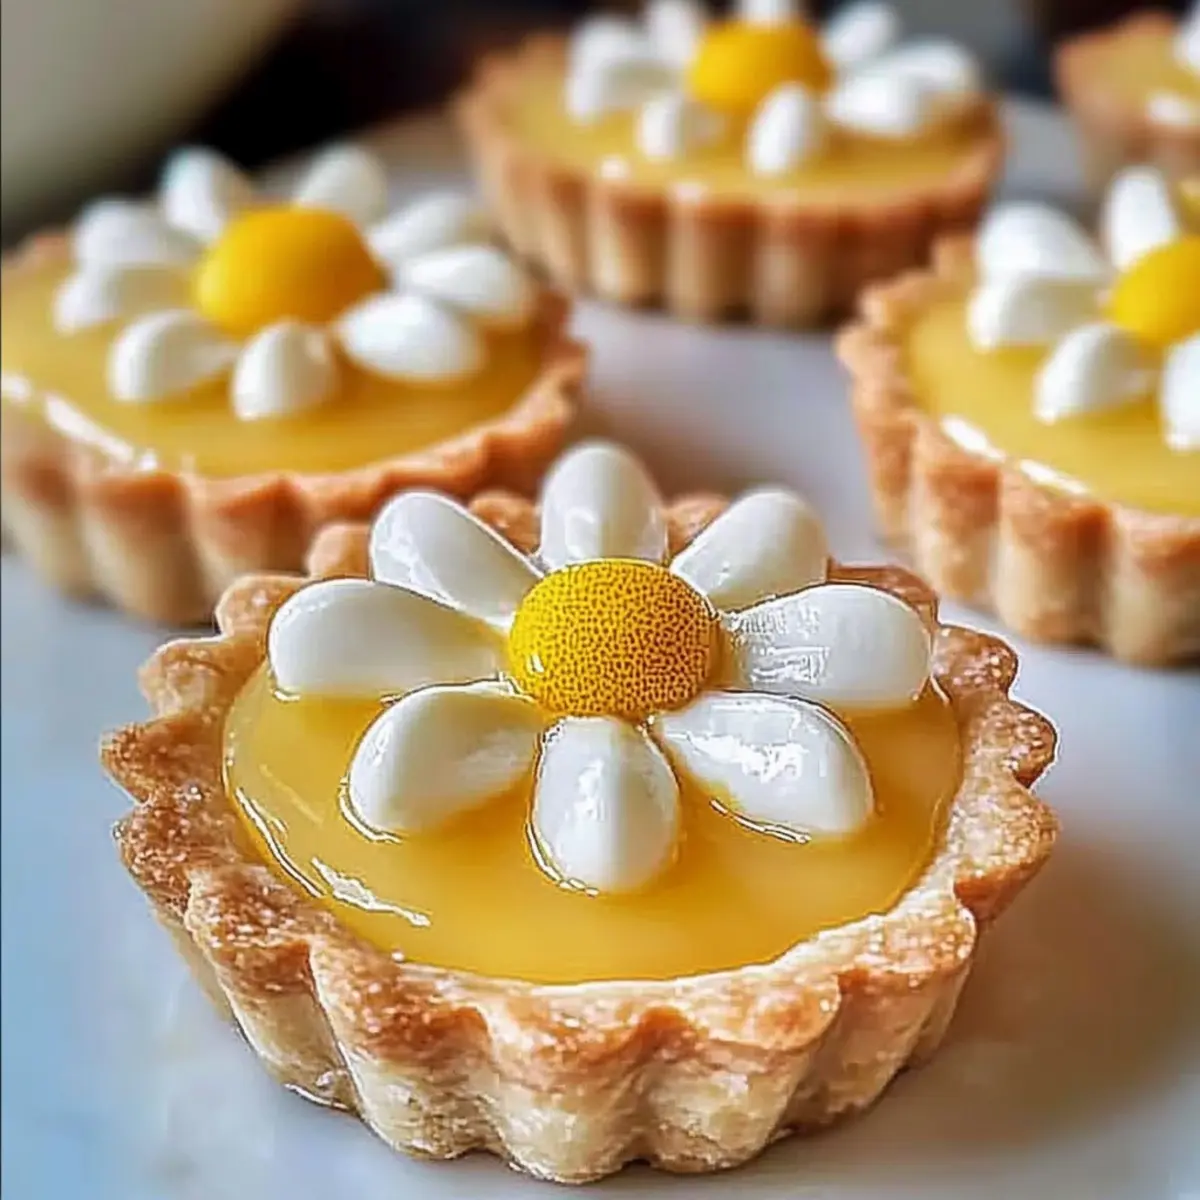
As I stood in my kitchen, surrounded by the zesty aroma of fresh lemons, I suddenly realized I had the perfect recipe to share: Lemon Tartlets! This French-inspired treat is a delightful way to brighten any gathering, transforming simple ingredients into a show-stopping dessert. These Lemon Tartlets not only offer a tangy and sweet flavor that dances on the palate but also come together quickly—making them a fantastic option for both seasoned and novice cooks alike. Whether you’re planning a cozy tea party or just looking for an easy way to elevate snack time, these tartlets will charm your taste buds and impress your guests. Curious about how to create this little slice of sunshine? Let’s dive into the details!
Why Love These Lemon Tartlets?
Tangy Delight: These Lemon Tartlets are bursting with a refreshing citrus flavor that will brighten any meal.
Quick and Easy to Make: Even if you’re short on time, you can whip these up in no time at all!
Perfect for Any Occasion: Ideal for tea parties, desserts, or casual snacks, they cater to every craving.
Gluten-Free Option: You can easily modify them to be gluten-free without compromising on taste!
Admired by All: Your friends and family will rave about this delightful dessert; it’s sure to impress!
These tartlets are perfect to enjoy with a cup of tea or as a light dessert at a dinner party. Try pairing them with a scoop of vanilla ice cream for an added touch of indulgence!
Lemon Tartlet Ingredients
• Here’s what you’ll need for these delicious Lemon Tartlets!
For the Tartlet Shells
- All-Purpose Flour – Provides structure for the tartlet shells; substitute with gluten-free flour for a gluten-free option.
- Unsalted Butter (cold and cubed) – Ensures a tender, flaky texture; keep the butter cold for the best results.
- Granulated Sugar – Adds sweetness to both the crust and the curd; can be adjusted to lower the sweetness.
- Egg Yolk – Binds and enriches the dough; remember, only the yolk is needed for this recipe.
- Cold Water (if needed) – Adjusts moisture in the dough; add gradually to avoid a wet mixture.
- Salt (pinch) – Enhances the flavor in the crust.
For the Lemon Curd
- Fresh Lemon Juice – The key flavor component adding brightness; fresh juice yields the best taste, but bottled can be used in a pinch.
- Lemon Zest – Provides aromatic oils and depth of flavor; use fresh zest for optimal results.
- Large Eggs – Creates the creamy custard consistency of the curd; fresh eggs make all the difference.
- Unsalted Butter (cut into small pieces) – Adds richness and smoothness to the curd.
These ingredients come together to create a symphony of flavors and textures, making your Lemon Tartlets the star of any dessert table!
Step‑by‑Step Instructions for Lemon Tartlets
Step 1: Prepare the Tartlet Dough
In a food processor, combine all-purpose flour, granulated sugar, and a pinch of salt. Add cold cubed unsalted butter and pulse until the mixture resembles coarse crumbs, about 10 seconds. Then, add the egg yolk and pulse again until mixed. If the mixture feels too dry, gradually add cold water, pulsing until the dough comes together into a ball.
Step 2: Chill the Dough
Turn the dough out onto a lightly floured surface and knead briefly until smooth. Shape into a disk and wrap tightly in plastic wrap. Chill in the refrigerator for at least 30 minutes. This step is crucial for achieving crisp, flaky tartlet shells that will perfectly complement your lemon curd filling.
Step 3: Preheat the Oven
After chilling, preheat your oven to 350°F (175°C). While the oven is heating, roll out the chilled dough on a floured surface to about 1/8 inch thick. Using a round cutter, cut out circles that will fit your tartlet molds. This will ensure even baking and a beautiful final appearance for your Lemon Tartlets.
Step 4: Shape and Bake the Shells
Press the dough circles gently into the tartlet molds, ensuring they cover the sides. Use a fork to prick the bottoms, which prevents bubbling during baking. Place the molds on a baking sheet and bake for 12-15 minutes or until the edges are golden brown. Let the shells cool completely in their molds before filling.
Step 5: Make the Lemon Curd
In a heatproof bowl, whisk together fresh lemon juice, zest, granulated sugar, and large eggs until combined. Set the bowl over a pot of simmering water, ensuring the bowl doesn’t touch the water. Cook, whisking constantly for about 8-10 minutes, until the mixture thickens and coats the back of a spoon perfectly.
Step 6: Add Butter to the Curd
Once thickened, remove the bowl from the heat and whisk in the cut pieces of cold unsalted butter until smooth and creamy. This will give your lemon curd a rich, velvety texture, enhancing the overall flavor of your Lemon Tartlets. Strain the curd through a fine-mesh sieve to remove any lumps.
Step 7: Chill the Lemon Curd
Cover the curd with plastic wrap, pressing it directly onto the surface to prevent a skin from forming. Chill in the refrigerator for at least 1 hour to allow the flavors to meld and the curd to set, creating a luscious filling for your tartlet shells.
Step 8: Assemble the Tartlets
Once the tartlet shells are cool and the lemon curd is chilled, spoon or pipe the lemon curd into the tartlet shells, filling them generously. This delightful filling will create a perfect balance of tanginess and sweetness in your Lemon Tartlets, ready to impress your guests.
Step 9: Optional Garnish
For an extra touch of elegance, dust the tops with powdered sugar, or add fresh berries or a dollop of whipped cream. This not only enhances the visual appeal but also adds layers of flavor and texture to your delicious Lemon Tartlets.
Step 10: Serve and Store
Best enjoyed fresh, your Lemon Tartlets can be refrigerated for up to 3 days, covered with plastic wrap or stored in an airtight container. Serve chilled for a refreshing dessert, perfect for any gathering or a delightful treat just for you!
Lemon Tartlets Variations & Substitutions
Feel free to add your personal touch and enjoy these lemon tartlets even more!
- Gluten-Free: Substitute all-purpose flour with a gluten-free flour blend for a delightful alternative without compromising texture.
- Citrus Swap: For a refreshing twist, replace fresh lemon juice with lime juice or even a mix of both for a zesty flavor.
- Sweetener Change: Try using honey or maple syrup in place of granulated sugar for a natural sweetener option.
- Herbal Infusion: Add a hint of freshness by incorporating finely minced fresh mint or basil into the lemon curd for a unique flavor combination.
- Fruit Fusion: Mix in berry purees like raspberry or strawberry into the lemon curd to create a lovely marbled effect and delicious new flavors.
- Creamy Indulgence: Add a dollop of cream cheese to the lemon curd for extra richness and a tangy depth that enhances the overall experience.
- Nutty Texture: For an added crunch, sprinkle finely chopped nuts such as pistachios or almonds over the curd before serving.
- Sizzling Spice: Dust a pinch of cayenne pepper or finely chopped jalapeños to the lemon curd for a spicy kick that surprises the palate.
No matter how you choose to customize your tartlets, they’ll surely be a hit among friends and family. Serve them alongside a refreshing cup of herbal tea for a delightful afternoon treat!
Expert Tips for Lemon Tartlets
Cold Butter Only: Keep your butter cold prior to mixing to achieve that flaky, tender crust everyone loves in lemon tartlets.
Don’t Rush the Chilling: Allow the dough to chill for at least 30 minutes. This step is crucial for preventing shrinkage during baking.
Whisk Constantly: While cooking the lemon curd, constant whisking is essential to avoid curdling. This ensures a silky-smooth texture.
Use Fresh Ingredients: Opt for fresh lemon juice and zest to enhance the vibrant flavor. Bottled alternatives can’t match the freshness.
Cool Before Filling: Let the tartlet shells cool completely before adding the lemon curd. This prevents the curd from melting into the shells.
Make Ahead Options
These Lemon Tartlets are a fantastic choice for meal prep enthusiasts! You can prepare the tartlet shells up to 24 hours in advance; simply bake and cool them, then store in an airtight container at room temperature to maintain their crispiness. The lemon curd can be made up to 3 days ahead—just make sure to cover it with plastic wrap directly on the surface to prevent a skin from forming. When you’re ready to serve, fill the cooled tartlet shells with the chilled lemon curd and, if desired, garnish with powdered sugar or berries for a pop of color. This prep will save you time and ensure your dessert is just as delightful as fresh!
Storage Tips for Lemon Tartlets
- Fridge: Store your Lemon Tartlets in the refrigerator, covered with plastic wrap or in an airtight container, for up to 3 days to retain freshness and flavor.
- Freezer: For longer storage, freeze the shells without curd for up to 1 month. Wrap them tightly in plastic wrap and foil to prevent freezer burn.
- Reheating: If you prefer warm tartlets, reheat the shells in a 350°F (175°C) oven for about 5-7 minutes, then fill with chilled lemon curd just before serving.
- Best Enjoyed Fresh: While they can be stored, these tartlets are best enjoyed fresh for the ultimate zest and creaminess in every bite!
What to Serve with Lemon Tartlets
These delightful lemon tartlets are a vibrant addition to any meal, bursting with zesty flavors and brightening your dining experience.
-
Fresh Berries: Perfectly complements the tartness with a burst of natural sweetness. Try strawberries or raspberries for a burst of color and flavor.
-
Whipped Cream: A dollop of lightly sweetened whipped cream enhances the creaminess of the lemon curd, creating a luxurious mouthfeel.
-
Herbal Iced Tea: A refreshing herbal iced tea lends an aromatic touch that balances the vibrant citrus. Opt for a mint or chamomile blend!
-
Champagne or Sparkling Wine: The bubbles and slight sweetness of sparkling wine elevate the elegance of your dessert, making it feel festive and special.
-
Cheese Plate: Serve alongside mild cheeses like brie or goat cheese for a delightful contrast. The creaminess of the cheese enhances the tartness of the lemon curd.
-
Chocolate-Dipped Biscotti: For a touch of indulgence, pair with crispy biscotti. The deep flavors of chocolate balance the bright lemon, creating a luxurious snack.
-
Fruit Sorbet: A scoop of fruity sorbet, like raspberry or mango, adds a refreshing element that pairs uniquely with the tartlets.
-
Mint Leaves Garnish: A sprig of fresh mint can elevate the presentation while introducing a refreshing flavor note to your dessert experience.
Lemon Tartlets Recipe FAQs
What is the best way to select lemons for the curd?
Absolutely! Look for lemons that are bright yellow with a smooth, shiny skin. They should feel heavy for their size, indicating juiciness. Avoid any that have dark spots or a dull appearance, as they may be overripe or dry.
How should Lemon Tartlets be stored?
You can store your Lemon Tartlets in the refrigerator for up to 3 days. Be sure to cover them with plastic wrap or place them in an airtight container to keep them fresh and delicious. Keeping them chilled ensures the curd remains silky and the shells stay crisp.
Can Lemon Tartlets be frozen?
Very! For freezing, I recommend removing the lemon curd and wrapping the tartlet shells tightly in plastic wrap, followed by aluminum foil to prevent freezer burn. These shells can be frozen for up to 1 month. When you are ready to enjoy them, simply thaw in the fridge, fill with fresh lemon curd, and serve immediately.
What should I do if my lemon curd isn’t thickening?
If your lemon curd isn’t thickening as expected, don’t worry! It might need a little more time. Keep it over the simmering water, whisking continuously for an additional 2-3 minutes. If it still doesn’t thicken, you could add a cornstarch slurry (1 teaspoon of cornstarch mixed with 1 tablespoon of cold water) to help it along. Just blend it in while whisking until it reaches the desired consistency.
Are there any dietary considerations for Lemon Tartlets?
Definitely! For those with gluten sensitivities, you can easily substitute all-purpose flour with a gluten-free blend. However, note that individuals with egg allergies should avoid this recipe entirely, as it relies on eggs for both the tartlet dough and the lemon curd. Always double-check each ingredient to ensure it fits your dietary needs.
Lemon Tartlets - Irresistibly Tangy and Delightfully Refreshing
Ingredients
Equipment
Method
- Prepare the Tartlet Dough: In a food processor, combine all-purpose flour, granulated sugar, and a pinch of salt. Add cold cubed unsalted butter and pulse until the mixture resembles coarse crumbs, about 10 seconds. Then, add the egg yolk and pulse again until mixed. If the mixture feels too dry, gradually add cold water, pulsing until the dough comes together into a ball.
- Chill the Dough: Turn the dough out onto a lightly floured surface and knead briefly until smooth. Shape into a disk and wrap tightly in plastic wrap. Chill in the refrigerator for at least 30 minutes.
- Preheat the Oven: After chilling, preheat your oven to 350°F (175°C). Roll out the chilled dough to about 1/8 inch thick. Cut out circles that will fit your tartlet molds.
- Shape and Bake the Shells: Press the dough circles into the tartlet molds, prick the bottoms with a fork, and bake for 12-15 minutes or until edges are golden brown. Let cool completely.
- Make the Lemon Curd: Whisk together fresh lemon juice, zest, granulated sugar, and large eggs in a heatproof bowl. Set over simmering water and cook, whisking constantly for 8-10 minutes until thickened.
- Add Butter to the Curd: Once thickened, whisk in the small pieces of cold unsalted butter until smooth and creamy.
- Chill the Lemon Curd: Cover the curd with plastic wrap to prevent a skin from forming and chill in the refrigerator for at least 1 hour.
- Assemble the Tartlets: Spoon or pipe the lemon curd into the cooled tartlet shells generously.
- Optional Garnish: Dust with powdered sugar, or add fresh berries or whipped cream.
- Serve and Store: Best enjoyed fresh, can be refrigerated for up to 3 days.
Leave a Reply