
As I was rummaging through my pantry the other day, I stumbled upon a generous stash of sweet potatoes, craving something cozy yet effortlessly delicious. Enter my Melting Sweet Potatoes—a recipe that promises both comfort and simplicity. With their creamy, custard-like centers and caramelized edges, these sweet potatoes are not only quick to prepare but also adaptable for gluten-free and dairy-free needs, making them perfect for any gathering. Picture this dish gracing your dinner table, exuding warmth while being a versatile side that pairs beautifully with everything from roasted chicken to sautéed greens. Ready to transform your mealtime with an unforgettable twist on a classic? Let’s dive into this delightful recipe!
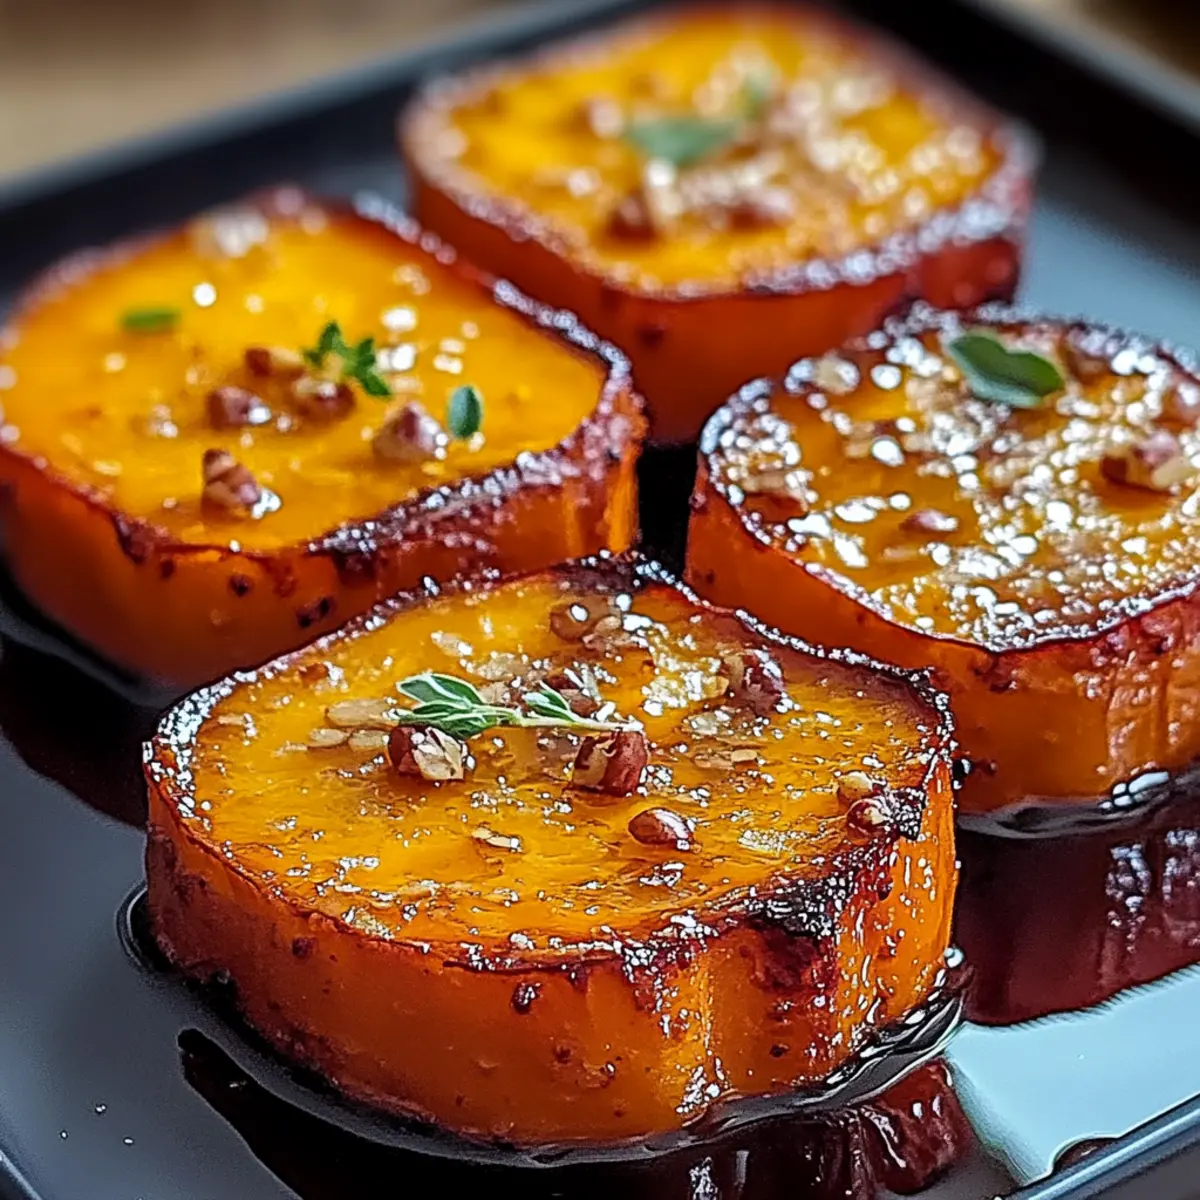
Why Are Melting Sweet Potatoes Irresistible?
Comfort food at its finest: These melting sweet potatoes create a warm, satisfying side dish that warms the heart and the home.
Versatile for everyone: Perfectly adaptable for gluten-free and dairy-free diets, making it a dish that everyone can enjoy.
Quick preparation: With simple ingredients and straightforward steps, you’ll have this recipe ready in no time—ideal for busy weeknights!
Flavor explosion: The combination of earthy sweet potatoes, the rich maple syrup, and the subtle smokiness from paprika creates a symphony of flavors.
Perfect for gatherings: Whether it’s a family dinner or holiday feast, this dish impresses guests and complements a variety of main courses.
Ready to get cooking? Check out my tips on make-ahead meals to save time and enjoy these delicious sweet potatoes even more!
Melting Sweet Potatoes Ingredients
For the Base
• Sweet Potatoes – The star of the dish, providing a natural sweetness and creamy texture. Substitution: Butternut squash can be used for a different taste.
• Olive Oil – Adds flavor and richness during roasting. Substitution: Avocado oil is a good alternative.
• Salt – Enhances the sweet potatoes’ natural sweetness. Adjust to taste.
• Pepper – Provides a gentle warmth to the dish. Adjust to taste.
For Extra Flavor
• Butter – Optional for an extra creamy finish. Note: Use plant-based for a dairy-free option.
• Maple Syrup – Contributes sweetness and promotes caramelization. Substitution: Honey or agave syrup can be used.
• Smoked Paprika – Adds a delightful smoky note. Alternative: Chili powder works as well.
For the Crunch
• Toasted Nuts – Introduces a satisfying crunch and gourmet touch. Suggestions: Pecans or walnuts are ideal.
Step‑by‑Step Instructions for Melting Sweet Potatoes
Step 1: Preheat the Oven
Begin your melting sweet potatoes journey by preheating your oven to 325°F (163°C). This gentle temperature is crucial for achieving the tender, custard-like interior you’re aiming for. Make sure your oven is fully preheated before moving on to the next step, as this ensures even cooking and caramelization later on.
Step 2: Prepare the Sweet Potatoes
Next, peel and slice the sweet potatoes into 1-inch thick rounds. This uniform thickness allows the sweet potatoes to cook evenly, ensuring that every bite is consistently delicious. Place your slices on a clean cutting board, focusing on maintaining that perfect width so they will all melt beautifully in the oven.
Step 3: Arrange and Season
Spread the sweet potato rounds on a large baking sheet in a single layer. Drizzle them generously with olive oil, then season with salt and pepper to enhance their natural sweetness. Use your hands or a spatula to ensure all surfaces are coated, promoting crisp edges while baking; the aromatic smell will start to fill your kitchen.
Step 4: Bake to Tenderness
Slide the baking sheet into the preheated oven and let the sweet potatoes bake for 45 minutes. Flip the slices halfway through to ensure they toast evenly on both sides. You’ll know they’re ready when they are tender and can be easily pierced with a fork, with a beautiful golden hue beginning to form.
Step 5: Create Creamy Interiors
After baking, remove the sweet potatoes from the oven and gently press down on each slice using a spatula or the back of a spoon. This step is vital for achieving the creamy texture that defines melting sweet potatoes; aim for a slight flattening without losing their shape as you expose that custard-like interior.
Step 6: Add Richness and Flavor
Top each sweet potato slice with a small pat of butter and drizzle over some maple syrup to enhance the sweetness. Return the baking sheet to the oven for an additional 15 minutes. This final bake allows the edges to get crispy and caramelized while the inside remains irresistibly soft and flavorful.
Step 7: Garnish for Crunch
Once the melting sweet potatoes are beautifully golden and crisped, take them out of the oven and let them cool slightly. For an extra gourmet touch, sprinkle your favorite toasted nuts over the top—think pecans or walnuts—to add a delightful crunch that complements the creamy texture.
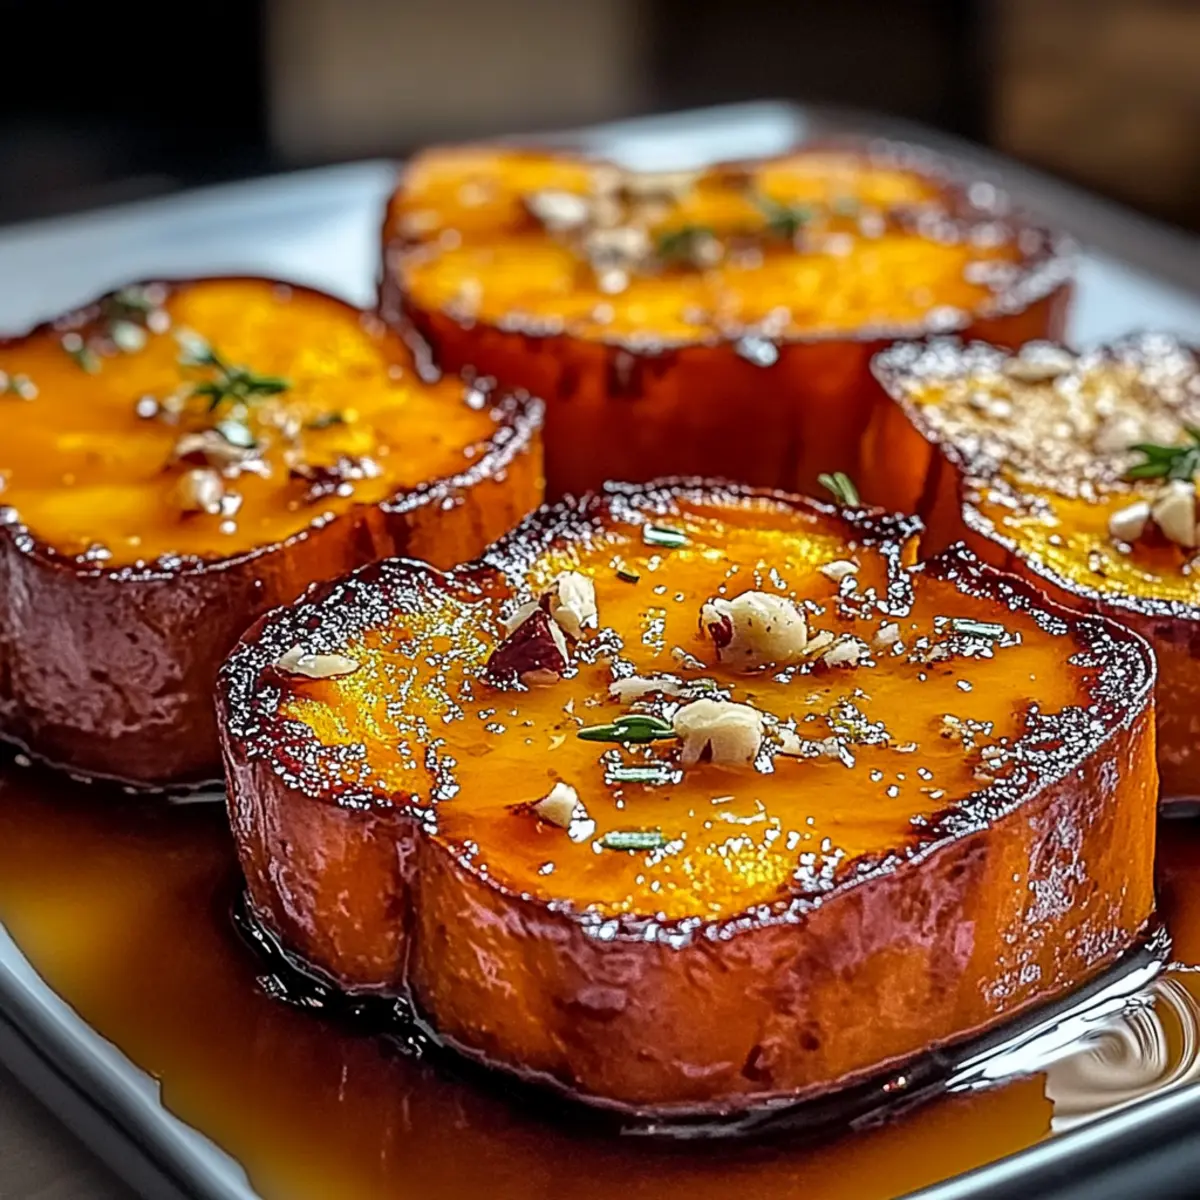
What to Serve with Irresistibly Velvety Melting Sweet Potatoes
Whether it’s a cozy weeknight dinner or a festive gathering, creating the perfect meal around these sweet potatoes is a delightful endeavor.
-
Roasted Chicken: Juicy and tender, roasted chicken pairs beautifully with the melting sweet potatoes, providing a savory contrast to their sweetness. The seasoned skin adds depth to each bite, enriching the overall experience.
-
Grilled Salmon: The flaky texture of grilled salmon matches perfectly with sweet potatoes, creating a delicious balance of flavors. The fish’s richness complements the creamy interior of the potatoes, making for a delightful plate.
-
Sautéed Kale: Fresh, sautéed kale introduces a vibrant color and a wholesome crunch. The slight bitterness of the greens beautifully contrasts the sweet, buttery potatoes, offering a wholesome and nourishing experience.
-
Honey-Glazed Carrots: The natural sweetness of honey-glazed carrots elevates the flavor profile of the dish. Their tender, caramelized edges resonate with the melting sweet potatoes, creating a harmonious side pairing that is hard to resist.
-
Fresh Green Salad: A light and crisp green salad with a tangy vinaigrette adds a refreshing touch. The crunch of the greens and the acidity from the dressing perfectly balance the creamy texture of the sweet potatoes.
-
Chardonnay: A glass of chilled Chardonnay enhances the meal beautifully. Its fruity notes and crisp acidity can lift the rich flavors of the sweet potatoes and make each bite even more enjoyable.
-
Apple Crisp: End the meal on a sweet note with a warm apple crisp. The comforting combination of spiced apples and crunchy topping mirrors the sweet potato’s texture and flavor, creating a delightful finish.
Embrace the warmth and comfort of these pairings and watch your dining experience transform into a cozy culinary celebration!
How to Store and Freeze Melting Sweet Potatoes
-
Fridge: Store leftovers in an airtight container in the refrigerator for up to 4 days. Let them cool completely before sealing to prevent condensation.
-
Freezer: Freeze cooked melty sweet potatoes in a freezer-safe container for up to 3 months. To maintain their texture, ensure they’re fully cooled before freezing.
-
Reheating: To reheat, drizzle with olive oil and bake from frozen at 350°F (175°C) for 15-20 minutes. This method helps retain their creamy goodness while giving them a crispy edge.
-
Make-Ahead: Consider preparing sweet potatoes ahead of time for family meals or gatherings, as they get even more flavorful during storage!
Melting Sweet Potatoes Variations & Substitutions
Feel free to let your culinary creativity shine by customizing this delicious dish to suit your taste and dietary preferences!
- Gluten-Free: Naturally gluten-free, this dish already suits those with gluten sensitivities, so enjoy without hesitation.
- Dairy-Free: Swap out regular butter for your favorite plant-based alternative to maintain richness while keeping it dairy-free.
- Flavor Boost: Add a sprinkle of cinnamon or nutmeg before baking for a warm, comforting spice that enhances the sweetness.
- Different Sweetness: Use honey or agave syrup in place of maple syrup to switch up your sweetener while keeping that lovely glaze intact.
- Nutty Crunch: Try topping with toasted pecans, walnuts, or even almonds for a satisfying crunch that contrasts beautifully with the creamy sweetness.
- Spicy Kick: For those who like it hot, sprinkle in a dash of cayenne pepper or chili powder to add a surprising element of heat for an exciting twist.
- Vegetable Medley: Mix in other veggies like carrots or parsnips for added color, flavor, and nutritional diversity; just remember to adjust baking times!
- Additional Herbs: Fresh herbs like rosemary or thyme added just before serving can elevate the dish with aromatic freshness and a touch of gourmet flair.
With these variations, your melting sweet potatoes can be a different culinary adventure each time! For tips on how to make the most of your prep time, consider exploring my insights on make-ahead meals, making your gatherings wonderfully delightful!
Expert Tips for Melting Sweet Potatoes
-
Uniform Slices: Ensure sweet potato rounds are the same thickness for even cooking; uneven sizes can lead to some slices being undercooked or burnt.
-
Control Temperature: Maintain the low baking temperature for a tender interior; too high of a heat can dry out your melting sweet potatoes.
-
Gentle Pressing: Gently press down on each baked slice to achieve creaminess without flattening completely; this helps create that signature custard-like texture.
-
Make-Ahead Friendly: Prepare your sweet potatoes ahead of time; their flavor deepens as they sit, making reheating even more delightful.
-
Experiment with Toppings: Consider adding spices like cinnamon or nutmeg for a seasonal twist; a touch of feta can contribute a satisfying salty contrast to the sweetness.
Make Ahead Options
These Irresistibly Velvety Melting Sweet Potatoes are perfect for busy home cooks looking to save time during hectic weeknights! You can peel and slice the sweet potatoes up to 24 hours in advance, storing them in a bowl of cold water in the refrigerator to prevent browning. Additionally, you can fully bake the sweet potatoes and refrigerate them for up to 3 days; just reheat in a 350°F (175°C) oven until warmed through. To maintain their creamy texture and flavor, drizzle with a little olive oil before reheating. When ready to serve, simply add the butter and maple syrup for a final 15-minute bake, ensuring they’re just as delicious as when freshly prepared!
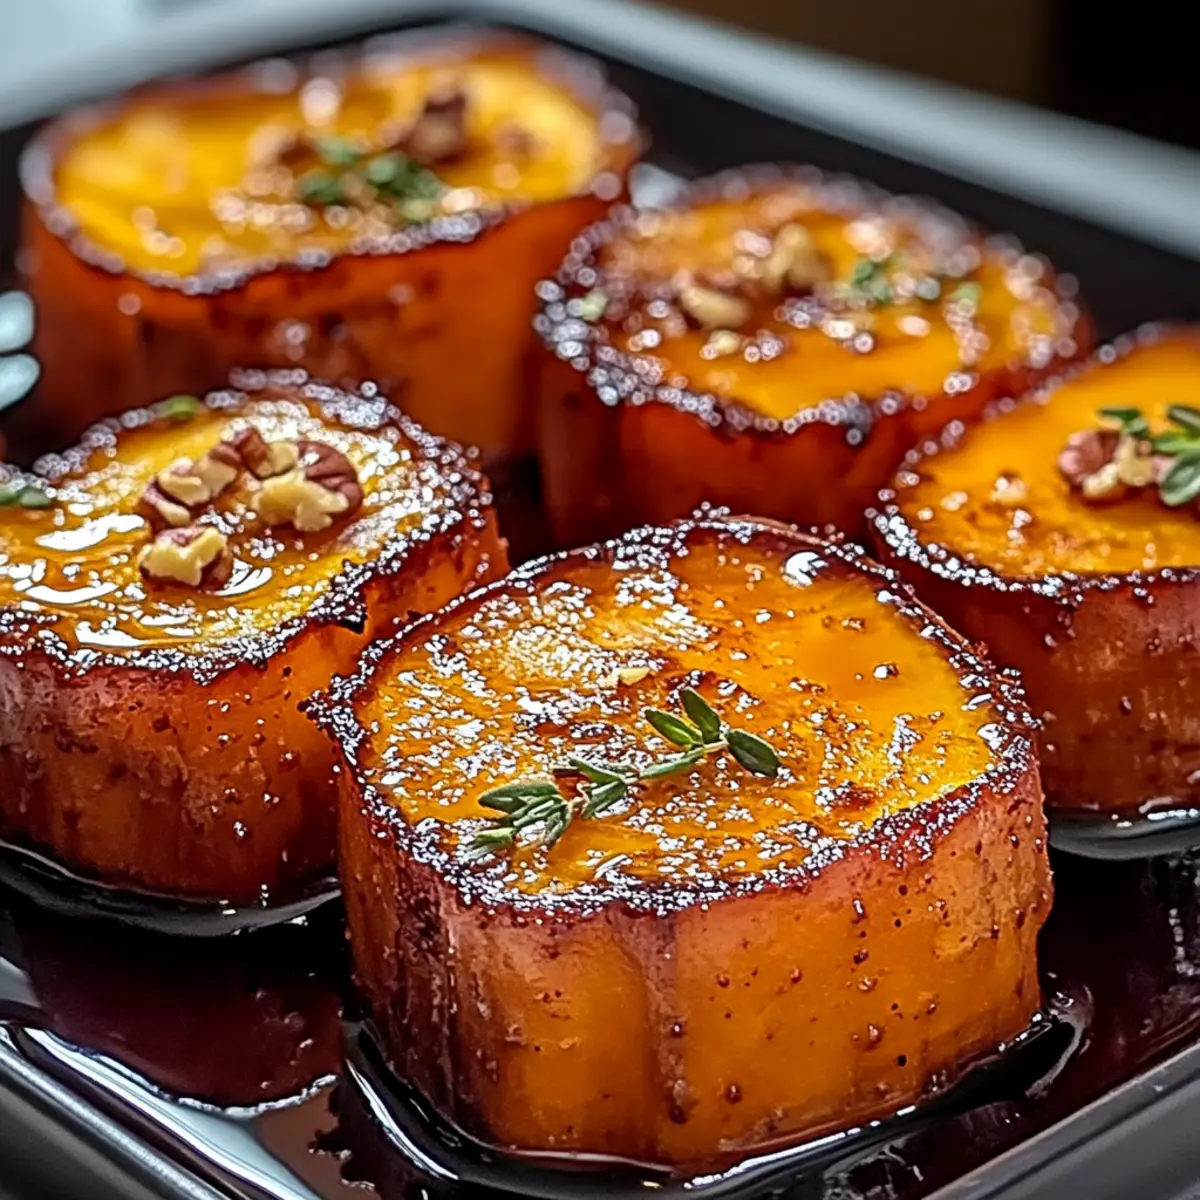
Melting Sweet Potatoes Recipe FAQs
How do I select sweet potatoes for the best flavor?
Absolutely! Look for sweet potatoes that are firm, with smooth skin and no dark spots or blemishes. If they’re covered in dark spots all over, they may be overripe. For a delightful flavor, harvest ones that are medium-sized; they usually have a better sweetness and texture than larger ones.
What is the best way to store leftover melting sweet potatoes?
Very! After letting your melting sweet potatoes cool completely, store them in an airtight container in the refrigerator. They’ll maintain their flavor for up to 4 days. Just make sure to seal them tightly to prevent any moisture from making them soggy.
Can I freeze cooked melting sweet potatoes?
Certainly! Freezing is a great option. First, allow the sweet potatoes to cool down completely. Then, place them in a freezer-safe container or heavy-duty freezer bag, ensuring as much air as possible is removed. They’ll stay fresh for up to 3 months. When ready to enjoy them, reheat directly from frozen!
What should I do if my sweet potatoes are dry or undercooked?
Oh no, I’ve been there! If your sweet potatoes turn out dry after baking, next time try baking them at a lower temperature and ensure they’re well-coated in oil to retain moisture. In the case of undercooked sweet potatoes, bake them longer in the oven, checking every 5 minutes until they’re tender. Uniform slicing is key, too!
Are these melting sweet potatoes suitable for my gluten-free or dairy-free diet?
Absolutely! This recipe is inherently gluten-free, and by using olive oil and a dairy-free butter substitute, you can easily make it suitable for a dairy-free diet as well. They’re perfect for everyone, ensuring no one misses out on this comforting goodness!
Can I prepare melting sweet potatoes ahead of time?
Very much so! You can slice and season them the day before, then store them in the fridge in an airtight container. When you’re ready to bake, just pop them in the oven as directed. This makes for a stress-free meal prep and allows the flavors to meld beautifully. Enjoy!
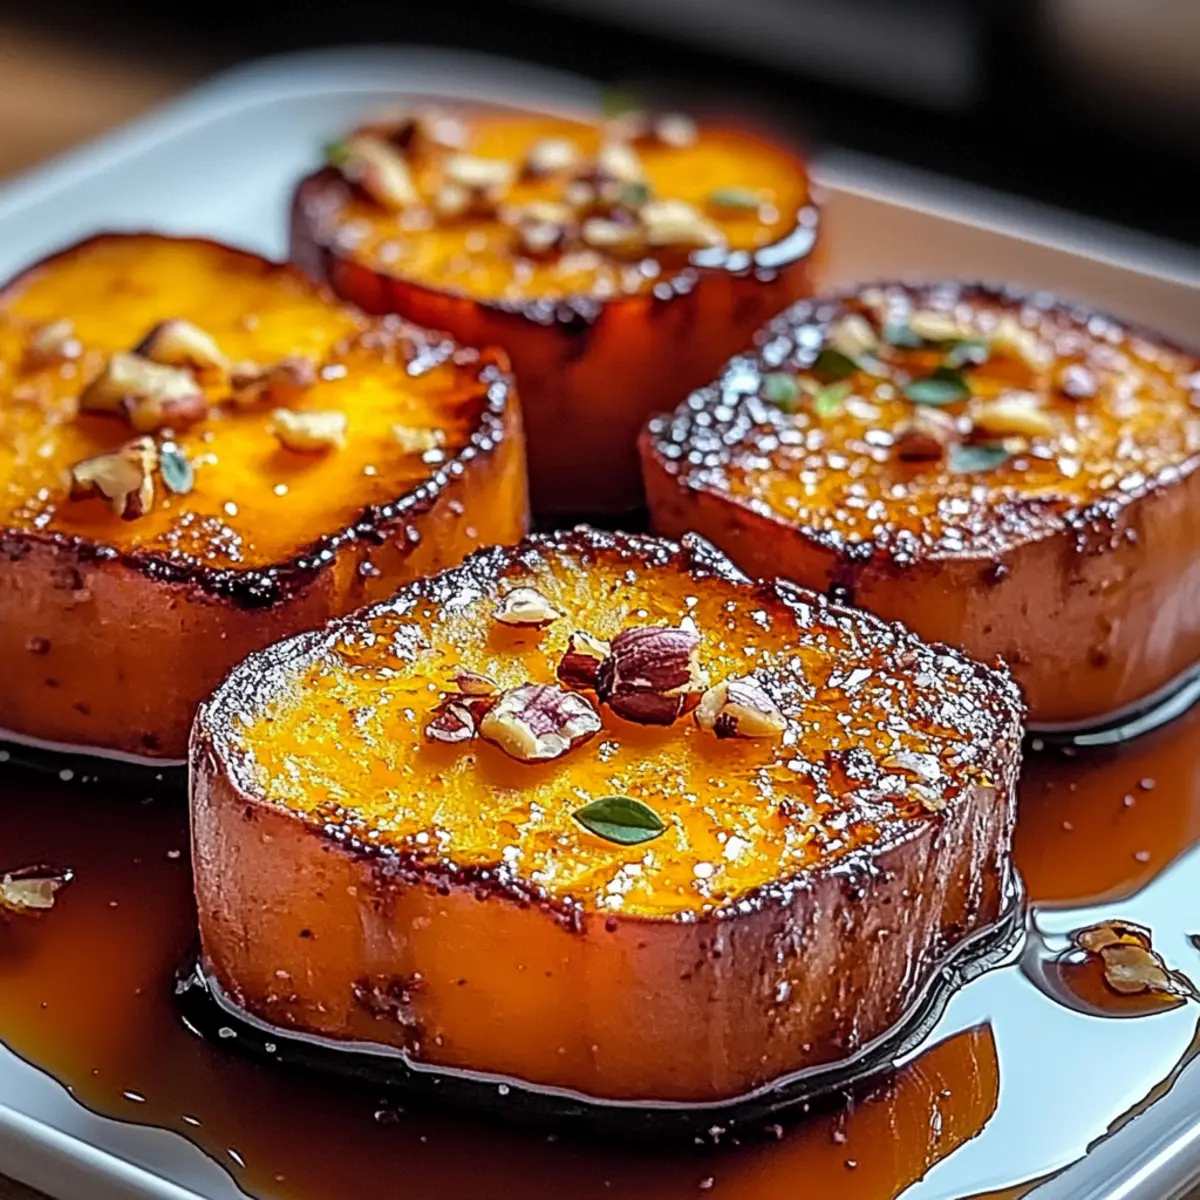
Melting Sweet Potatoes: Comfort Food That Delights Every Bite
Ingredients
Equipment
Method
- Preheat your oven to 325°F (163°C).
- Peel and slice the sweet potatoes into 1-inch thick rounds.
- Spread the sweet potato rounds on a large baking sheet in a single layer. Drizzle with olive oil and season with salt and pepper.
- Bake in the preheated oven for 45 minutes, flipping halfway through.
- Remove from the oven and gently press down on each slice to create a creamy texture.
- Top each slice with butter and drizzle with maple syrup, then return to the oven for another 15 minutes.
- Sprinkle toasted nuts over the top before serving.
Leave a Reply