
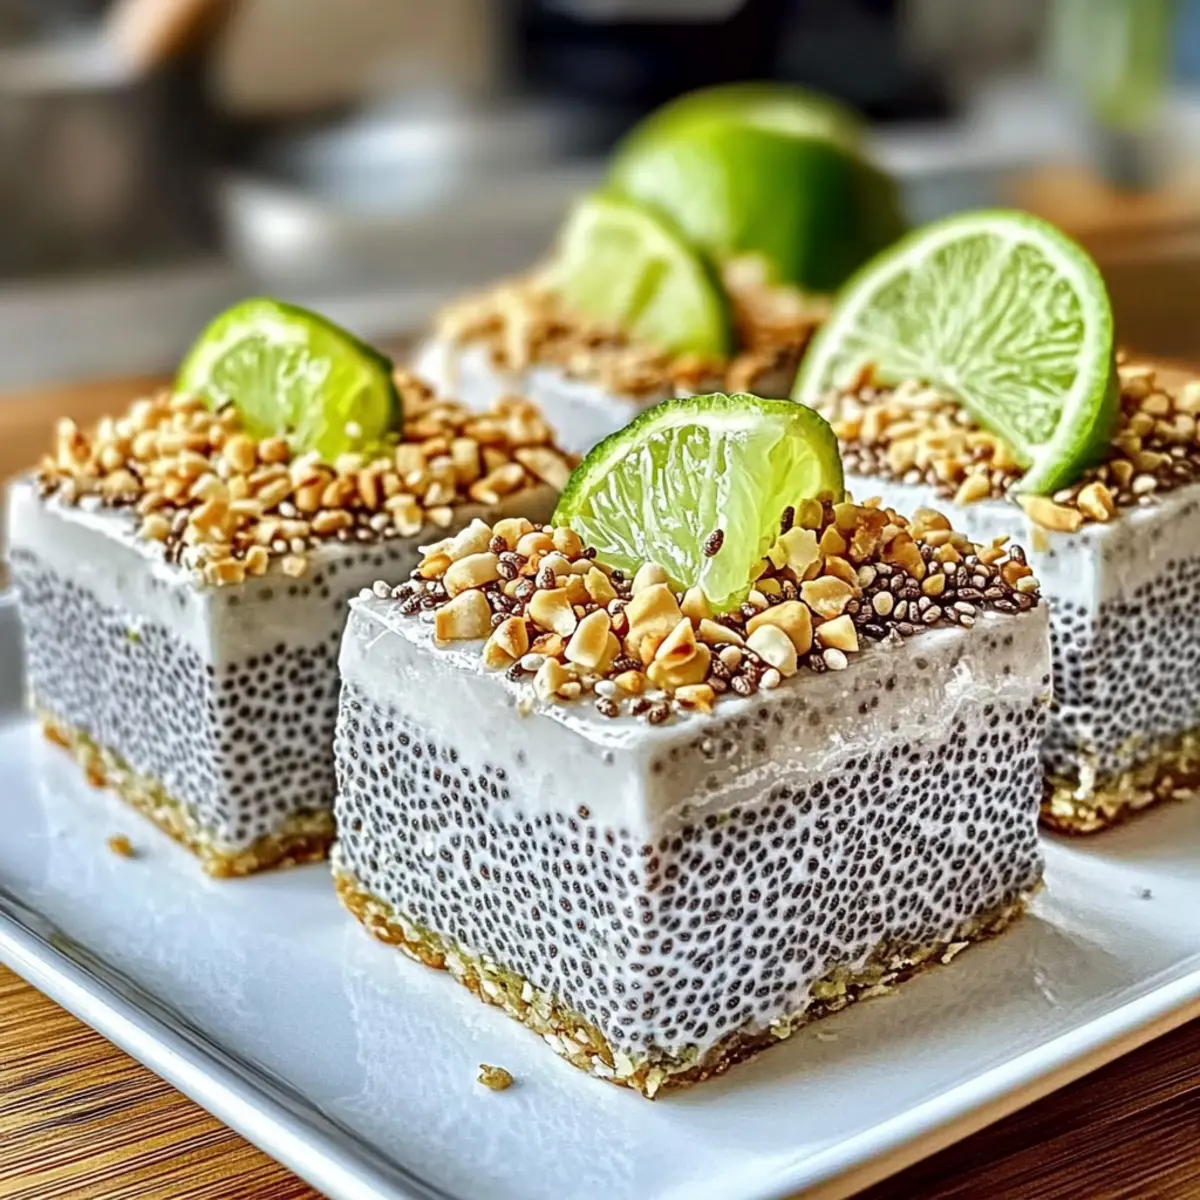
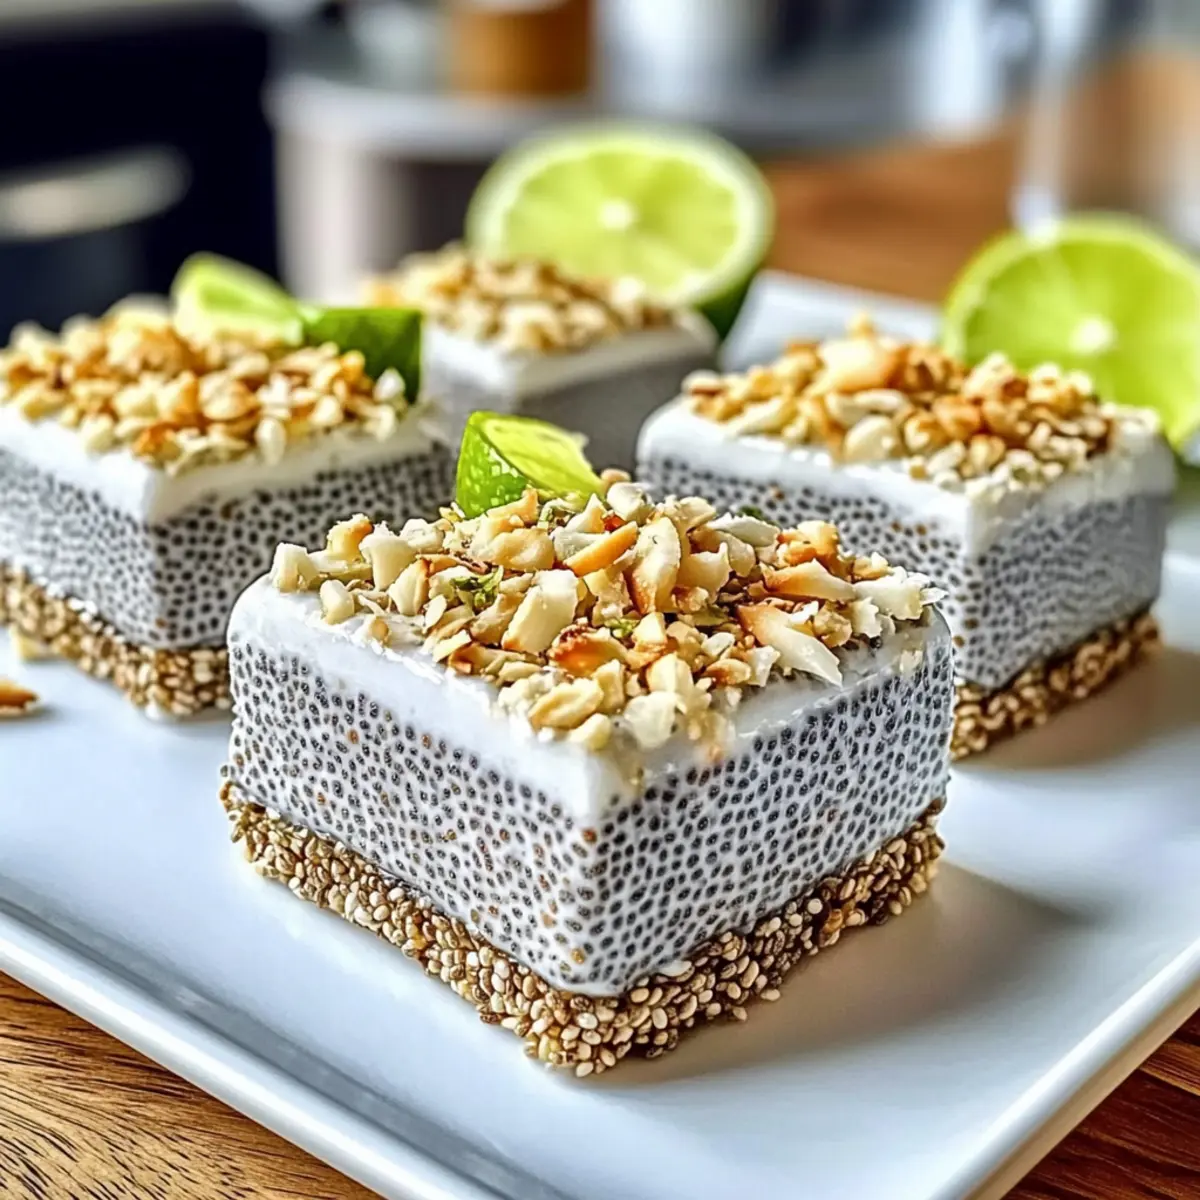
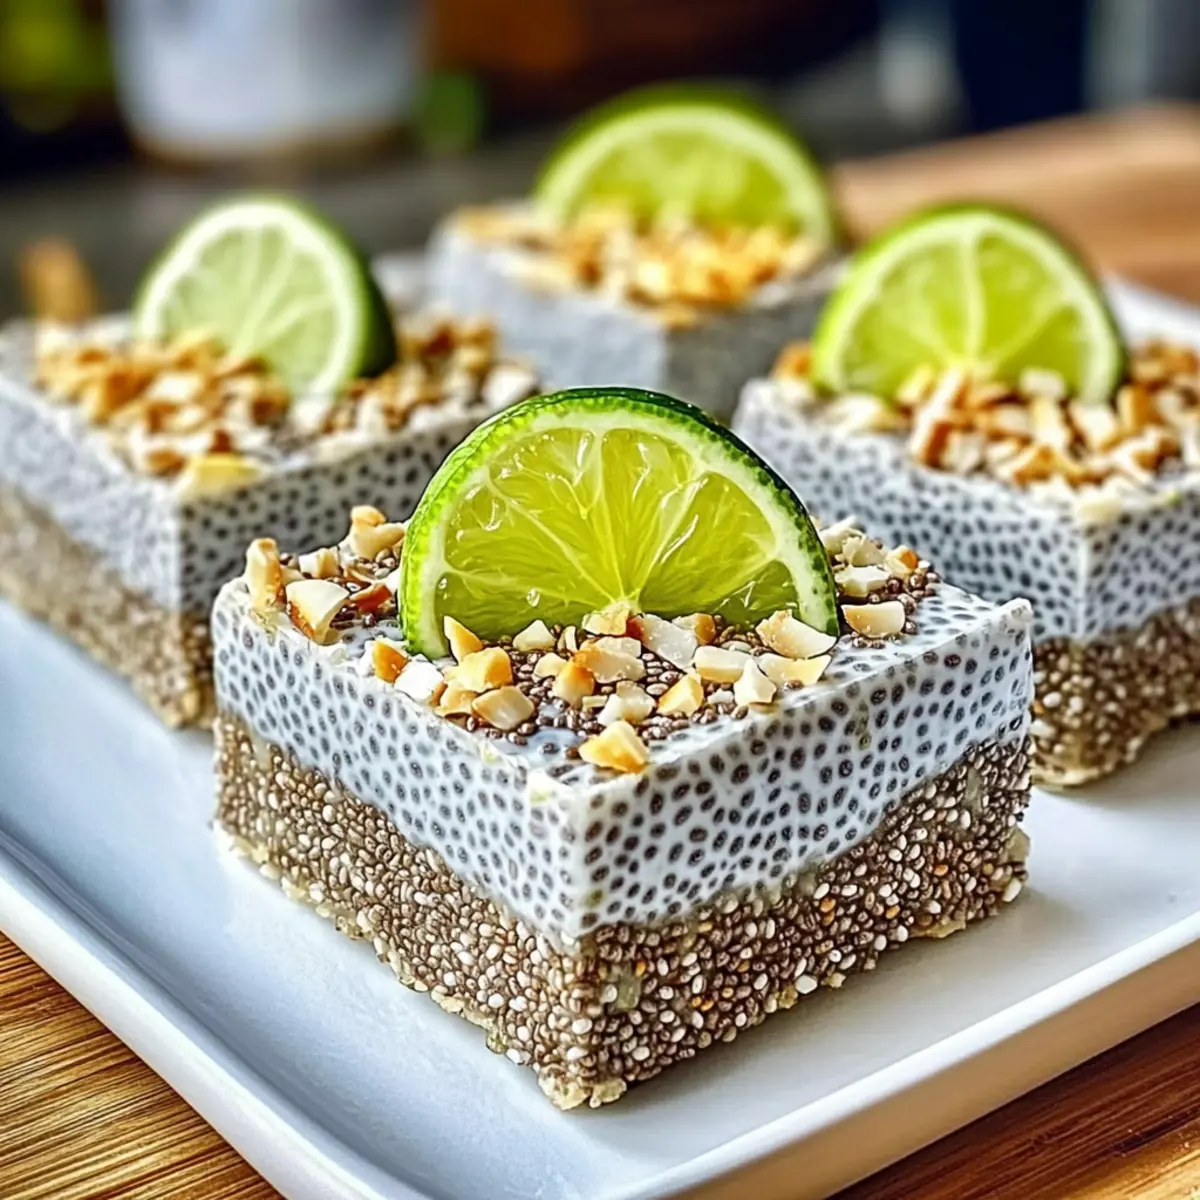
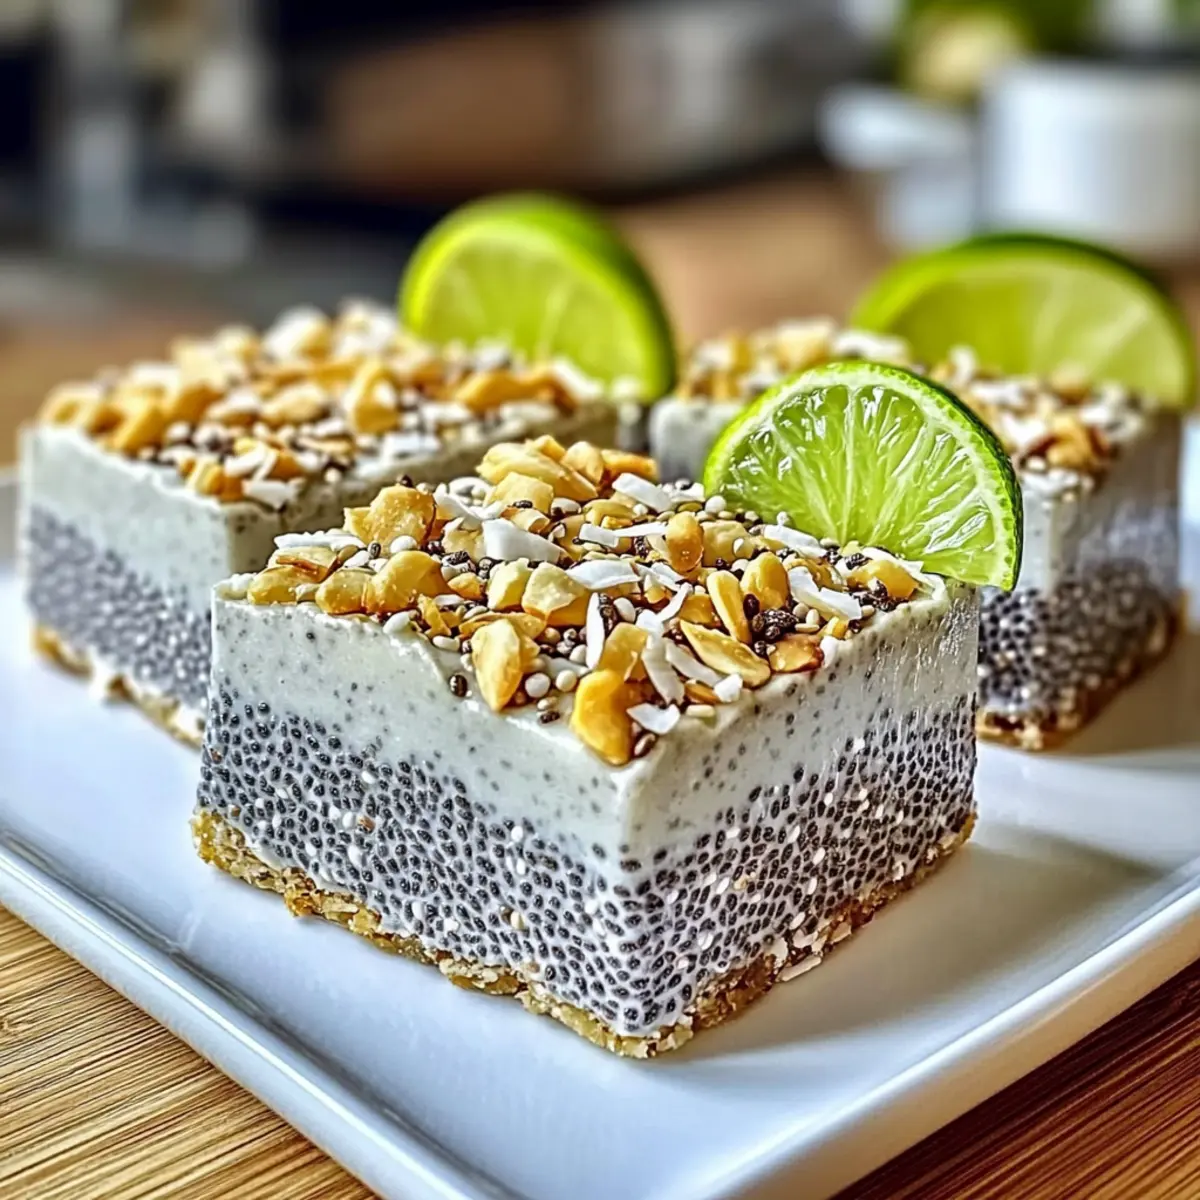
As I recoiled from the overly sweet heat of summer days, I stumbled upon a blissful escape: these Refreshing No-Bake Chia Pudding Bars! With the delightful zing of coconut and lime, each bite is like a trip to a tropical paradise right in your kitchen. Crafted with simplicity and love, this vegan treat comes together in just 15 minutes, making it perfect for those hectic afternoons when you crave something nutritious yet indulgent. Not only are these bars quick to whip up, but they also offer a satisfying crunch that pairs wonderfully with the creamy chia pudding, all while being free from the guilt of fast food. Ready to elevate your snacking game with a taste of the tropics? Let’s dive in!
Why Are These Bars So Refreshing?
Tropical Escape: Each bite transports you to a sunny beach with a refreshing zing of lime and coconut.
Quick and Easy: In just 15 minutes, you’ll have a delightful treat that’s ready to chill in your fridge!
Vegan-Friendly: Perfect for everyone, these bars are made with wholesome ingredients that are plant-based.
Versatile Delight: Customize with your favorite nuts or fruits for added flavor and nutritional benefits; try adding berries for a fun twist!
Guilt-Free Indulgence: Satisfy your sweet tooth without the excess sugar of fast food – a nutritious snack that’s truly satisfying!
Crowd-Pleaser: Ideal for gatherings or meal prep, impress friends and family with delightful tropical flavors and nutritious goodness.
No-Bake Chia Pudding Bars Ingredients
For the Crust (Optional)
• Almonds or Cashews – A crunchy base for optional crust; can substitute with any preferred nut or skip for a crustless version.
• Shredded Coconut – Enhances the tropical flavor and adds texture; opt for unsweetened to reduce sugar content.
• Medjool Dates – Natural sweetener and binder for the crust; maple syrup or agave can be used instead, adjusting the quantity to taste.
• Coconut Oil – Binds the crust ingredients while adding richness; feel free to substitute with any neutral oil if desired.
For the Filling
• Chia Seeds – The star of the show providing creaminess and nutrients; flax seeds can work as a similar alternative if needed.
• Full-Fat Coconut Milk – Gives the pudding its rich, creamy texture; almond or oat milk is a lighter option, but it may vary in thickness.
• Maple Syrup or Agave – Sweetens the pudding; honey is a non-vegan alternative to consider as well.
• Lime Zest and Juice – Essential for that zesty flavor pop; swapping with lemon provides a delightful citrus twist.
• Vanilla Extract – Amplifies the overall flavor; although optional, it’s recommended for added depth.
This combination of wholesome ingredients makes for the fabulous No-Bake Chia Pudding Bars that your taste buds will adore!
Step‑by‑Step Instructions for No-Bake Chia Pudding Bars
Step 1: Prepare the Crust (Optional)
In a food processor, combine your choice of almonds or cashews, shredded coconut, Medjool dates, and melted coconut oil. Pulse until the mixture reaches a clumpy consistency resembling coarse crumbs. Press this blend firmly into the bottom of an 8×8 inch pan lined with parchment paper. Chill the crust in the refrigerator for about 15 minutes while you prepare the filling.
Step 2: Make the Filling
In a large mixing bowl, whisk together full-fat coconut milk, chia seeds, maple syrup or agave, lime zest, lime juice, vanilla extract, and a pinch of salt until everything is thoroughly combined. Let the mixture sit for 5-10 minutes to allow the chia seeds to absorb some liquid and thicken. After that, whisk again to ensure the pudding is smooth and free of clumps.
Step 3: Pour and Chill
Once the filling is prepared, carefully pour it over the chilled crust or into the lined pan if making crustless No-Bake Chia Pudding Bars. Spread it evenly using a spatula, ensuring a smooth top surface. Cover the pan with plastic wrap and place it in the refrigerator to chill for at least 4 hours or overnight for the best results, allowing the bars to firm up.
Step 4: Finish and Serve
After chilling, remove the pan from the refrigerator and lift the bars out using the parchment paper. If desired, sprinkle toasted coconut flakes and extra lime zest on top for added texture and flavor. Cut into squares with a sharp knife, and serve chilled to enjoy the refreshing tropical taste of your No-Bake Chia Pudding Bars.
Expert Tips for No-Bake Chia Pudding Bars
• Avoid Clumps: Whisking thoroughly is key to achieving that smooth, creamy texture. This helps prevent any clumping in the chia pudding mixture.
• Chill Overnight: For the best flavor and texture, let your bars chill overnight. This gives them a firmer consistency and allows the flavors to meld beautifully.
• Store Properly: Keep your leftover No-Bake Chia Pudding Bars in an airtight container in the fridge for 4-5 days. This keeps them fresh and ready to enjoy!
• Customize Your Mix: Feel free to add your favorite fruits or nuts into the pudding mixture for added flavor and nutrition. Berries work wonderfully with the tropical theme!
• Use Unsweetened Coconut: For a healthier option, opt for unsweetened shredded coconut. This minimizes excess sugar while still delivering that tropical flavor.
Make Ahead Options
These Refreshing No-Bake Chia Pudding Bars are perfect for meal prep enthusiasts! You can prepare the crust up to 24 hours in advance by blending almonds or cashews with coconut and dates, then chilling it in the refrigerator. The chia pudding filling can also be made a day ahead; simply whisk together the coconut milk, chia seeds, lime zest, and sweetener, and let it thicken in the fridge. To maintain quality, be sure to cover the mixture tightly to avoid any absorption of fridge odors. When ready to serve, just pour the filling over the crust or directly into the lined pan, chill for at least another 4 hours (overnight is best), and enjoy your delicious, hassle-free snack!
Storage Tips for No-Bake Chia Pudding Bars
Fridge: Store your No-Bake Chia Pudding Bars in an airtight container for up to 4-5 days. This keeps them fresh and delicious, perfect for snacking anytime!
Freezer: For longer storage, wrap individual bars tightly in plastic wrap or foil, and freeze for up to 2 months. Thaw in the fridge before enjoying.
Make-Ahead: Feel free to prepare the bars 1-2 days in advance. Just chill them in the fridge until you’re ready to serve!
Reheating: These bars are best enjoyed chilled, but if you prefer a softer texture, allow them to sit at room temperature for a few minutes before serving.
What to Serve with Refreshing No-Bake Chia Pudding Bars?
Elevate your tropical escape with delightful pairings that enhance those bright, zesty flavors.
-
Fresh Fruit Salad: Bursting with vibrant colors and natural sweetness, a fruit salad adds freshness and balances the creamy texture of the pudding bars.
-
Crunchy Granola: A sprinkle of granola brings a satisfying crunch and extra fiber, creating a delightful contrast to the soft chia pudding.
-
Coconut Whipped Cream: Light and airy, this creamy topping mirrors the coconut flavor and adds a luscious layer of indulgence to each bite.
-
Iced Herbal Tea: A refreshing, caffeine-free choice, iced herbal tea complements the tropical theme while offering a soothing contrast to the lush flavors.
-
Yogurt Parfait: Layering creamy yogurt with berries and chia pudding bars creates a harmonious texture and flavor combination that makes for a wholesome dessert.
-
Chocolate Dipping Sauce: For a touch of indulgence, a drizzle of dark chocolate sauce enhances the zesty lime while satisfying any sweet tooth cravings.
Pairing these elements with your No-Bake Chia Pudding Bars not only creates a delightful meal but also transports your taste buds to a sunny paradise. Enjoy!
No-Bake Chia Pudding Bars Variations
Feel free to get creative with these bars and tailor them to your taste or dietary needs!
-
Dairy-Free: Use almond or oat milk instead of full-fat coconut milk for a lighter, vegan-friendly twist.
-
Nut-Free: Omit the nuts in the crust and consider using seeds like sunflower or pumpkin seeds for a similar crunch. These will add a delightful new texture without compromising flavor.
-
Berry Blast: Fold in your favorite berries into the pudding mixture for an extra fruity delight and a pop of color. Raspberries and blueberries work especially well!
-
Citrus Swap: Swap lime for lemon or orange juice and zest for a refreshing change in flavor. Each citrus brings its own unique brightness to the bars.
-
Sweetness Adjust: If you prefer a sweeter bar, increase the syrup by a tablespoon or two, or try adding a ripe banana to the filling for natural sweetness.
-
Chocolate Lover: Stir in cocoa powder or mini chocolate chips into the pudding for a decadent chocolate chia bar. The rich flavor will surprise and delight anyone with a sweet tooth!
-
Frozen Treat: Pop these bars in the freezer for 1-2 hours for a cold, refreshing snack on hot days. Just let them thaw for a few minutes before enjoying.
-
Tropical Twist: Add diced mango or pineapple to the pudding for a burst of tropical flavor that complements the coconut and lime beautifully. For an exciting flavor adventure, your taste buds will thank you!
Each of these variations allows you to explore a world of flavors while enjoying these fabulous bars. And don’t forget, if you want more delicious inspiration, check out our easy no-bake desserts or the health benefits of chia seeds!
No-Bake Chia Pudding Bars Recipe FAQs
How do I know if my chia seeds are fresh?
Make sure to check for a consistent color and no off-odors. Fresh chia seeds should be slightly shiny and have a nutty smell. If they appear discolored or have a rancid smell, it’s best to replace them.
What is the best way to store leftover No-Bake Chia Pudding Bars?
Absolutely! Store your bars in an airtight container in the refrigerator for up to 4-5 days. This keeps them fresh and ready to snack on. Just make sure they’re fully cooled before sealing them up!
Can I freeze No-Bake Chia Pudding Bars?
Very! For longer storage, wrap each bar tightly in plastic wrap or foil, and freeze for up to 2 months. When you’re ready to eat, simply thaw them in the refrigerator overnight for a chilled treat.
What if my chia pudding mixture doesn’t thicken?
No worries! If your chia pudding doesn’t thicken, you may not have whisked it thoroughly enough. Ensure you mix it well, and allow it to sit for an additional 5-10 minutes to give the chia seeds more time to absorb the liquid. If it’s still too runny, add a few more chia seeds and let it sit longer.
Are No-Bake Chia Pudding Bars safe for people with nut allergies?
You can certainly make them nut-free! Substitute the nuts in the crust with seeds like sunflower or pumpkin seeds. Also, ensure to double-check any other ingredients for cross-contamination to keep it allergen-free.
How long can I keep these bars in the refrigerator?
You can enjoy your No-Bake Chia Pudding Bars for up to 4-5 days when properly stored in an airtight container in the refrigerator. Perfect for meal prepping as you can prepare them ahead of time and still have a delicious healthy treat ready to go!
Delicious No-Bake Chia Pudding Bars Packed with Tropical Flavor
Ingredients
Equipment
Method
- In a food processor, combine almonds or cashews, shredded coconut, Medjool dates, and melted coconut oil. Pulse until the mixture reaches a clumpy consistency resembling coarse crumbs. Press firmly into the bottom of an 8x8 inch pan lined with parchment paper. Chill in the refrigerator for about 15 minutes.
- In a large mixing bowl, whisk together full-fat coconut milk, chia seeds, maple syrup or agave, lime zest, lime juice, vanilla extract, and a pinch of salt until everything is thoroughly combined. Let the mixture sit for 5-10 minutes to thicken.
- Once the filling is prepared, pour it over the chilled crust or into the lined pan if making crustless bars. Spread evenly and cover with plastic wrap. Chill for at least 4 hours or overnight.
- After chilling, lift the bars out using the parchment paper. Optionally sprinkle toasted coconut flakes and extra lime zest on top. Cut into squares and serve chilled.
Leave a Reply