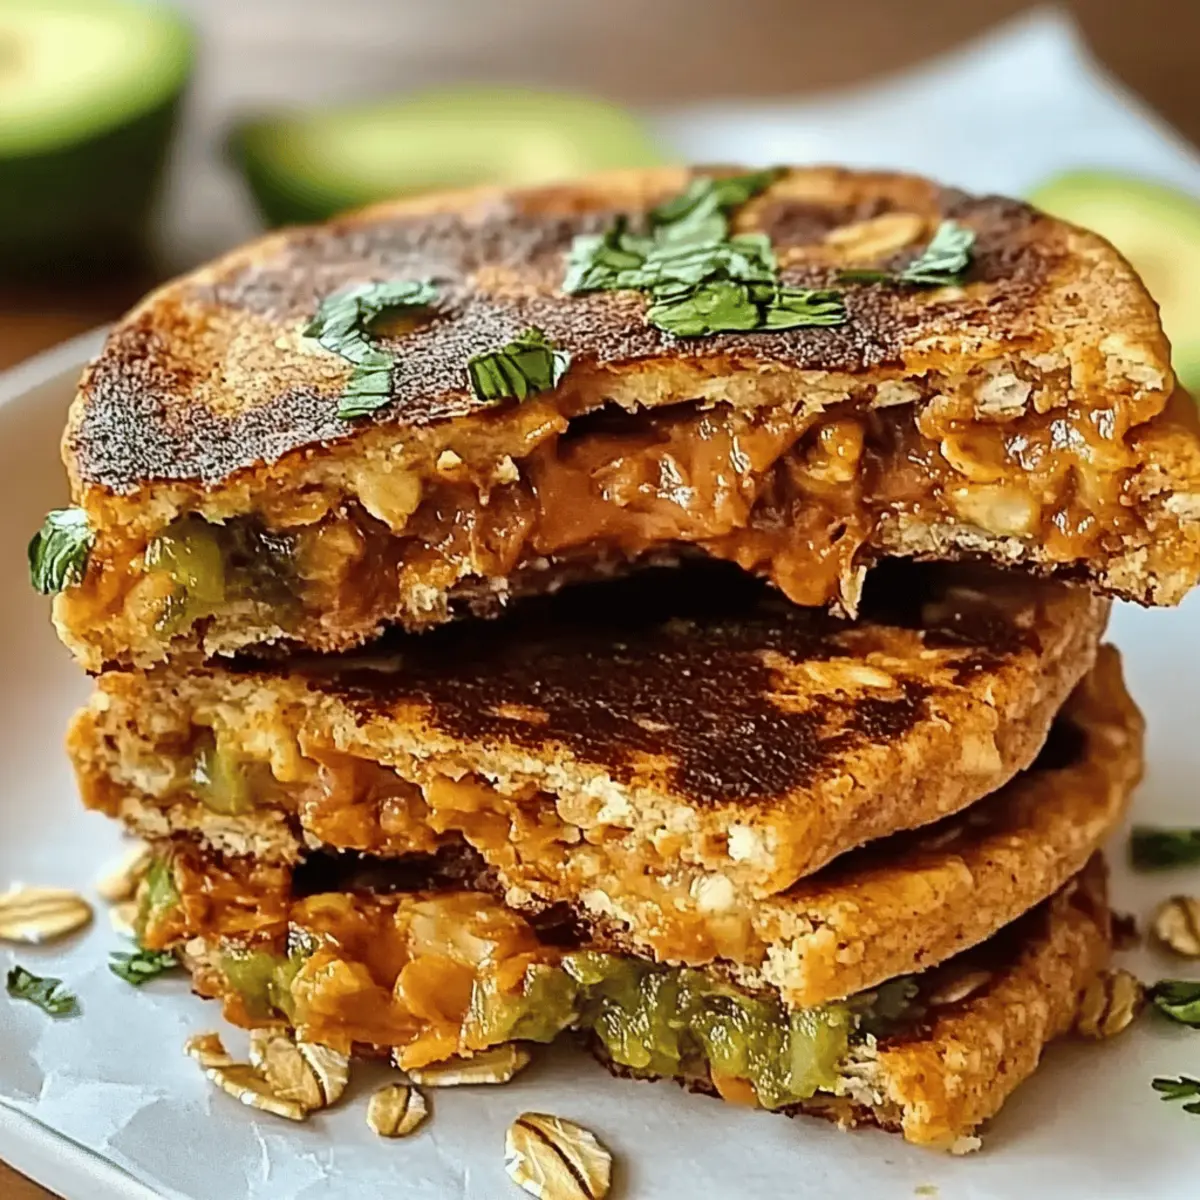
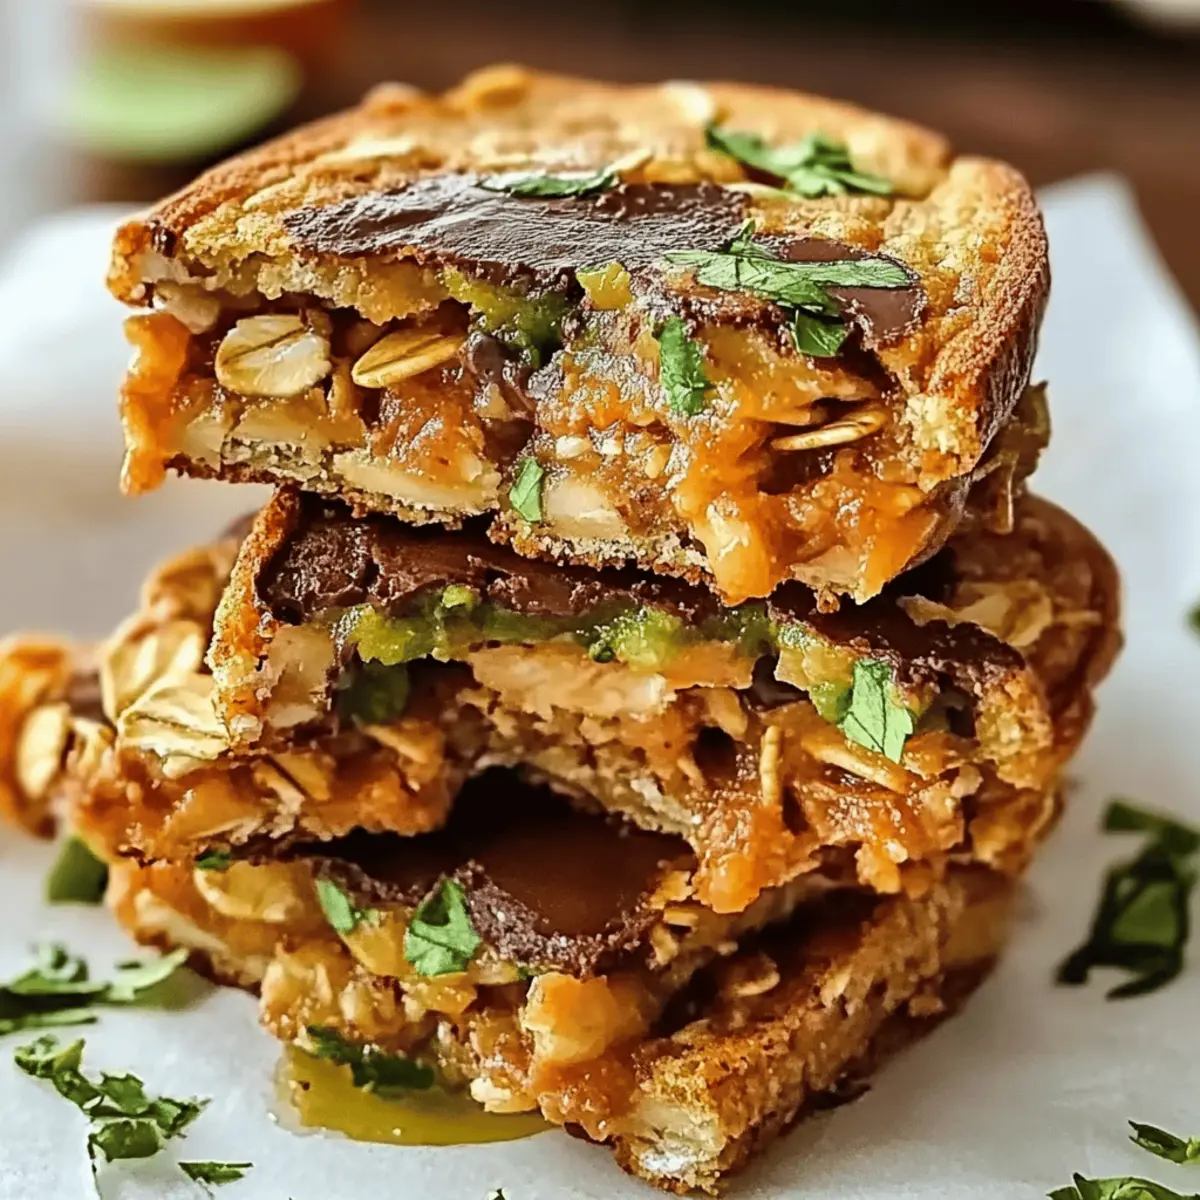
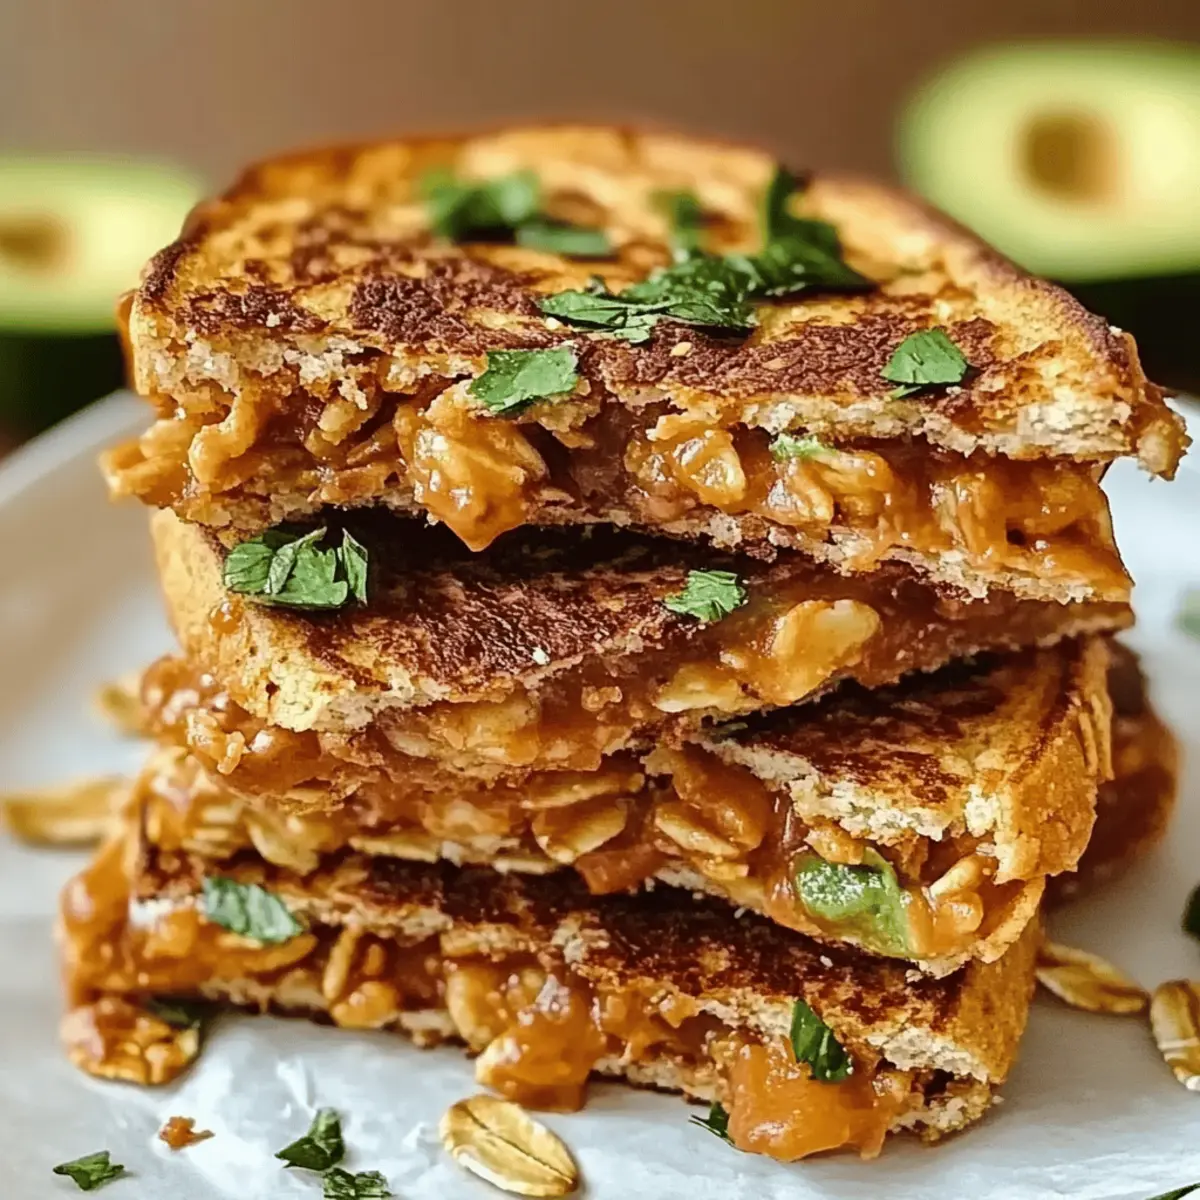
“Are you ready for a kitchen triumph that’s not only quick but also packed with nourishing ingredients? My No-Bake Chocolate Oatmeal Cookies will save you from the clutches of fast food, turning your snack time into a guilt-free indulgence in just 15 minutes. What I love most about these cookies is their delightful combination of chewy oats and creamy chocolate—effortlessly customizable to fit gluten-free and various dietary preferences! Plus, no oven is required, making clean-up a breeze. Imagine whipping up a batch on a lazy afternoon, knowing you’ll have a sweet treat that won’t derail your healthy eating goals. Ready to dive into this simple yet satisfying recipe? Let’s make it happen!”

Why are No-Bake Cookies the Best?
Quick and Easy: In just 15 minutes, you can whip up these delightful No-Bake Chocolate Oatmeal Cookies without the hassle of baking.
Customizable Goodness: With variations for nut butters and natural sweeteners, these cookies fit perfectly into any dietary lifestyle, whether gluten-free or vegan.
Guilt-Free Indulgence: Made with wholesome ingredients, they deliver a rich chocolate flavor without the added sugars often found in store-bought treats.
Crowd-Pleaser: Who can resist a chewy, chocolatey cookie? Perfect for sharing, they’re sure to tantalize everyone’s taste buds!
No Mess, No Stress: Say goodbye to complicated recipes and multiple baking dishes—a single pot is all you need!
Elevate your snack game with these quick delights and pair them with a refreshing glass of milk or even a Chicken Avocado Melt for a balanced treat!
No-Bake Chocolate Oatmeal Cookies Ingredients
For the Cookies
• Old-Fashioned Oats – Provides structure and chewiness; you can use quick-cooking oats for a finer texture.
• Cocoa Powder – Adds a rich chocolate flavor; substitute with carob powder for a caffeine-free version.
• Peanut Butter – Acts as a binding agent while adding creaminess; can be swapped with almond butter for nut allergies.
• Honey or Maple Syrup – Sweetens the mixture naturally; agave nectar is a great vegan alternative.
• Milk – Moistens the mixture; use almond milk to make it dairy-free.
• Vanilla Extract – Enhances the overall flavor; it’s optional but highly recommended for depth.
Optional Add-Ins
• Dried Fruits – Add raisins or cranberries for extra texture and sweetness.
• Shredded Coconut – Incorporate for additional flavor and texture; it pairs wonderfully with the chocolate.
Whip up these delightful No-Bake Chocolate Oatmeal Cookies and savor the deliciousness while maintaining your healthy eating goals!
Step‑by‑Step Instructions for No-Bake Chocolate Oatmeal Cookies
Step 1: Combine Dry Ingredients
In a medium saucepan, over medium heat, combine 1 ½ cups of old-fashioned oats and ½ cup of cocoa powder. Stir them together until evenly mixed, ensuring there are no clumps. This blend of dry ingredients will create the foundation of your No-Bake Chocolate Oatmeal Cookies, setting the stage for a rich, chocolatey treat.
Step 2: Add Wet Ingredients
Pour in ½ cup of milk and stir the mixture until well combined. Continue heating for about 2-3 minutes, allowing the ingredients to come together and warm through. You’ll notice the oats absorbing the cocoa and milk, creating a slightly thickened batter—this step is essential for the texture of your cookies.
Step 3: Mix in Nut Butter and Sweetener
Remove the saucepan from the heat and immediately add in ¾ cup of peanut butter and ½ cup of honey or maple syrup. Stir vigorously for about 1-2 minutes until everything is fully blended, and you achieve a smooth, creamy mixture. This combination will act as the binding agent for your No-Bake Chocolate Oatmeal Cookies, ensuring they stay together beautifully.
Step 4: Cool the Mixture
Allow the mixture to cool at room temperature for about 5 minutes. This cooling period is crucial as it makes the batter easier to handle, preventing it from melting in your hands when you form the cookies. You’ll know it’s ready once the mixture is warm but no longer hot.
Step 5: Shape the Cookies
Using a cookie scoop or your hands, form small mounds of the mixture onto a piece of wax paper or a baking sheet. Aim for uniform sizes for even cooling. Each mound should be about 1-2 inches apart, giving them space to set properly without merging into one another as they chill.
Step 6: Refrigerate to Set
Refrigerate the shaped cookies for at least 30 minutes, or until they are firm to the touch. This step allows the flavors to meld together and ensures your No-Bake Chocolate Oatmeal Cookies hold their shape. When they’re ready, the cookies will have a deliciously chewy texture, perfect for snacking.
Step 7: Serve and Store
Once set, serve your No-Bake Chocolate Oatmeal Cookies chilled for the best flavor and texture. Store any leftovers in an airtight container in the refrigerator for up to a week. Indulge in this guilt-free treat anytime you have a craving, knowing they’re made with wholesome ingredients!

Helpful Tricks for No-Bake Cookies
Well-Combined Mixture: Ensure the oats and cocoa powder are thoroughly mixed before adding wet ingredients to avoid clumping. A smooth mixture is key for perfect no-bake chocolate oatmeal cookies.
Cooling Time Matters: Don’t rush the cooling step after mixing. Allowing 5 minutes for the mixture to cool makes it easier to shape, preventing messy hands and melted cookies.
Uniform Sizes: Use a cookie scoop for mounds of consistent size. This ensures even cooling and the perfect texture for your no-bake chocolate oatmeal cookies!
Avoid Overheating: Keep an eye on the saucepan while heating. Stir constantly to avoid burning the mixture and ruining the rich chocolate flavor you’re aiming for.
Experiment Freely: Don’t hesitate to play with add-ins! Incorporate different nut butters or sweeteners depending on your dietary preferences for a unique twist on your no-bake cookies.
Storage Tips for No-Bake Chocolate Oatmeal Cookies
Room Temperature: Store cookies in an airtight container at room temperature for up to 3 days. If your kitchen is warm, refrigeration is better to maintain their texture.
Fridge: Keep the no-bake chocolate oatmeal cookies in an airtight container in the fridge for up to one week. This will help preserve their chewy texture and rich flavor.
Freezer: For longer storage, freeze the cookies in a single layer, then transfer to a freezer bag. They can last for up to 3 months, perfect for quick snacking!
Reheating: To enjoy, thaw cookies in the fridge overnight or at room temperature for a few hours. No reheating is necessary, as they’re delightful straight out of the fridge.
Make Ahead Options
These No-Bake Chocolate Oatmeal Cookies are perfect for meal prep enthusiasts! You can prepare the mixture up to 24 hours in advance; simply follow the first four steps and store the cooled mixture in an airtight container in the refrigerator. This not only saves you time but also allows the flavors to meld beautifully overnight. When you’re ready to enjoy your sweet treat, just scoop the mixture into mounds and refrigerate for an additional 30 minutes to set. For optimal quality, make sure the mixture is well-combined to prevent crumbling. With these simple prep ahead instructions, your homemade cookies will be just as delicious, perfect for satisfying your cravings at a moment’s notice!
Chicken Avocado Melt Sandwich Variations
Feel free to get creative with your Chicken Avocado Melt Sandwich, enhancing flavor and catering to different tastes!
-
Veggie Delight: Add crisp lettuce, juicy tomatoes, or sliced cucumbers for a refreshing crunch. These additions elevate your sandwich while still keeping it light and delightful.
-
Spicy Kick: Mix in jalapeños or a dash of hot sauce for those who crave heat. The warmth from the spice will balance beautifully with the creaminess of the avocado!
-
Herbs & Seasonings: Experiment with fresh herbs like cilantro or basil, or a sprinkle of garlic powder for a flavorful twist. A simple add-in can transform this sandwich into a gourmet treat.
-
Bread Choice: Swap out regular bread for whole grain, sourdough, or a gluten-free option. Each choice brings its unique flavor and texture, giving your sandwich a personal touch.
-
Cheese Lover’s Dream: Add a slice of cheddar, mozzarella, or pepper jack cheese for an extra layer of goodness. As it melts, the cheese creates that gooey, indulgent experience you’ll crave.
-
Protein Variations: For a twist, substitute chicken with tuna or roasted turkey. Each protein brings its distinct flavor profile, making it a wholly different sandwich!
-
Creamy Alternatives: Use hummus or tzatziki instead of mayonnaise for a lighter, refreshing option. These creamy spreads offer a delightful addition without overpowering the main ingredients.
-
Accompaniments: Serve your sandwich with a side of homemade potato chips or a crisp salad. Pairing enhances the casual yet satisfying eating experience, making it even more enjoyable.
Try out these variations for your next Chicken Avocado Melt Sandwich, and you might just discover your new favorite version! And for a delightful chocolatey dessert afterward, whip up a batch of my No-Bake Chocolate Oatmeal Cookies to satisfy that sweet tooth!
What to Serve with No-Bake Chocolate Oatmeal Cookies?
Indulging in a batch of these chocolatey wonders opens the door to endless serving possibilities that enhance every bite.
-
Creamy Vanilla Ice Cream:
Perfectly complements the chewy texture and rich chocolate flavor while adding a cool creaminess that delights the senses. -
Fresh Berries:
Juicy strawberries or raspberries offer a tart contrast, brightening the richness of the cookies and providing a pop of color to your plate. -
Nut Butter Dip:
Serving with a side of almond or cashew butter adds an extra layer of nutty goodness, making each cookie indulgently satisfying. -
Coconut Milk Smoothie:
A refreshing smoothie made with coconut milk and bananas creates a tropical twist that pairs wonderfully with the chocolate. -
Chocolate Milk:
Whether dairy or plant-based, the classic pairing with chocolate cookies remains a favorite, enriching the experience with its creamy richness. -
Fruit Salad:
A light, refreshing fruit salad with a hint of mint enhances the sweetness of the cookies while adding necessary freshness. -
Nutty Granola:
Crushing some granola on top of the cookies adds a delightful crunch, transforming your treat into a trail mix-inspired snack! -
Herbal Tea:
Try a soothing cup of chamomile or mint tea; the warm infusion balances the sweetness and refreshes the palate wonderfully. -
Almond Milk:
A glass of cold almond milk enhances the gluten-free element of the cookies while perfectly complementing their flavor with its nutty notes.

No-Bake Chocolate Oatmeal Cookies Recipe FAQs
What kind of oats should I use?
Absolutely! For the best texture, I recommend using old-fashioned oats as they provide substantial chewiness. If you prefer a smoother texture, quick-cooking oats will also work nicely, giving you that perfect no-bake cookie consistency.
How long do these cookies last when stored?
These delicious no-bake chocolate oatmeal cookies can be stored in an airtight container in the refrigerator for up to one week. If you want to keep them longer, you can freeze them for up to 3 months, perfect for those days when you need a sweet treat!
Can I freeze these cookies? How should I do it?
Very! Freezing is a great option. First, place the shaped cookies in a single layer on a baking sheet and freeze them until firm—about 1 to 2 hours. Then, transfer them to a freezer bag or airtight container, separating layers with parchment paper to prevent sticking. Thaw them in the fridge overnight when you’re ready to enjoy.
What if my mixture is too runny?
If you find your cookie mixture is too runny, don’t worry! You can add a bit more oats—start with 1/4 cup at a time—mixing thoroughly until you reach your desired consistency. This will help absorb excess moisture and ensure your cookies hold their shape when set.
Are these cookies suitable for people with nut allergies?
Absolutely! You can easily modify this recipe to be nut-free by substituting peanut butter with sunflower seed butter. This way, everyone can enjoy the rich, chocolatey flavor without worrying about allergies! Just ensure you check all ingredient labels to avoid cross-contamination.
Can I use a different sweetener?
Absolutely! You can substitute honey or maple syrup with agave nectar for a vegan alternative, or if you’re looking for lower-glycemic options, try coconut sugar. Just remember that it might affect the texture slightly, so adjust your liquid ingredients accordingly to balance it out!

Savor the Creamy Chicken Avocado Melt Sandwich Delight
Ingredients
Equipment
Method
- In a medium saucepan, combine old-fashioned oats and cocoa powder over medium heat.
- Pour in milk and stir until well combined, heating for 2-3 minutes.
- Remove from heat, add peanut butter and honey or maple syrup, stir until smooth.
- Allow the mixture to cool at room temperature for about 5 minutes.
- Form small mounds of the mixture onto wax paper or a baking sheet.
- Refrigerate for at least 30 minutes until firm to the touch.
- Serve chilled and store leftovers in an airtight container in the refrigerator.

Leave a Reply