
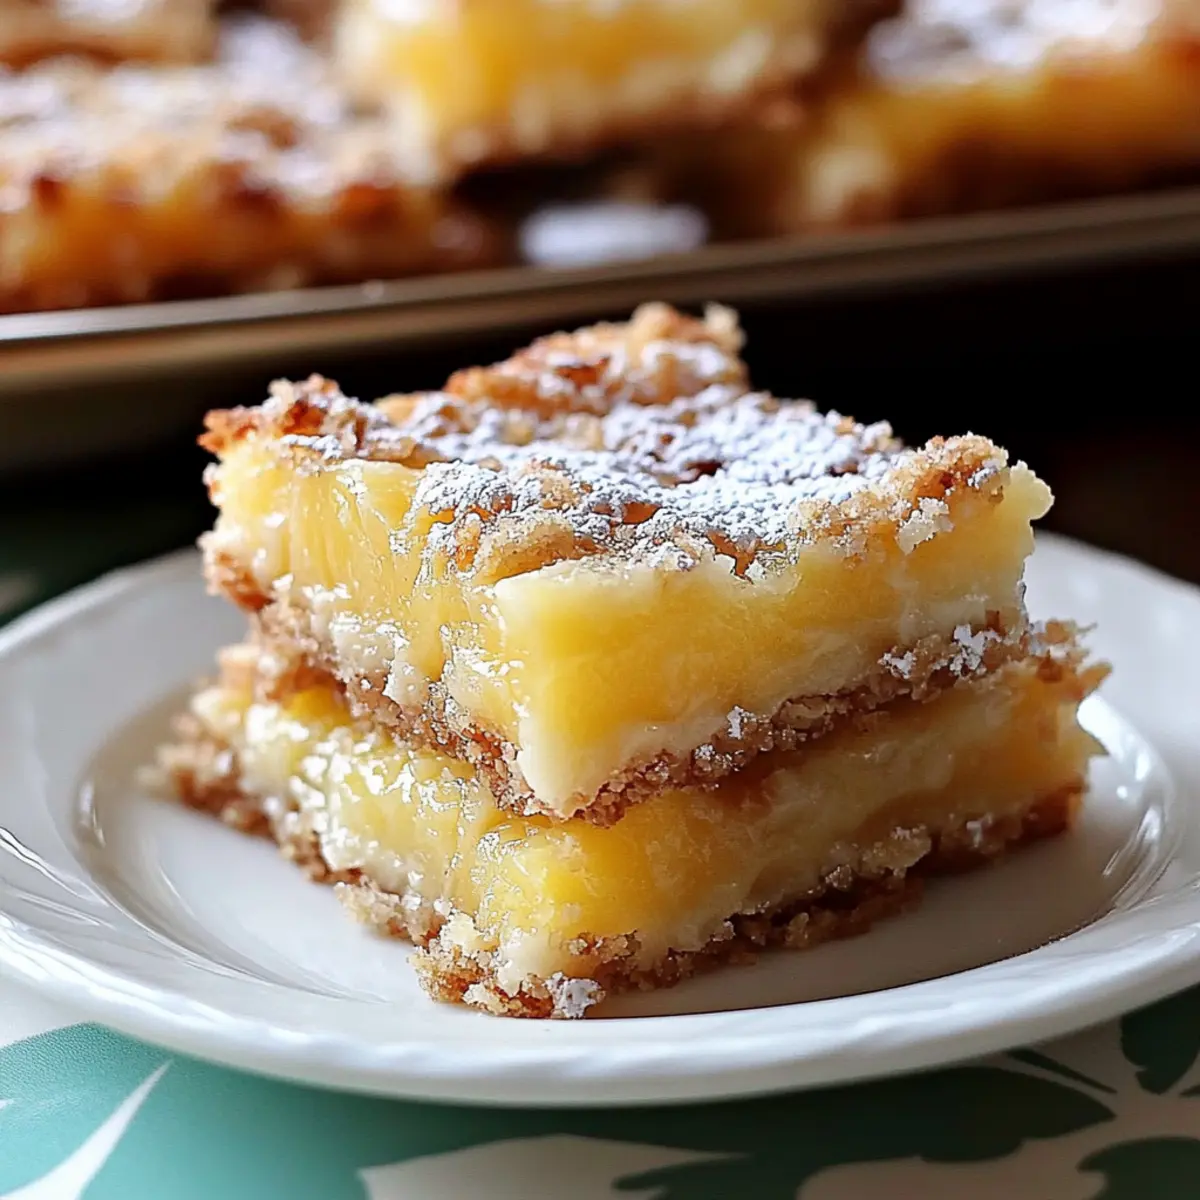
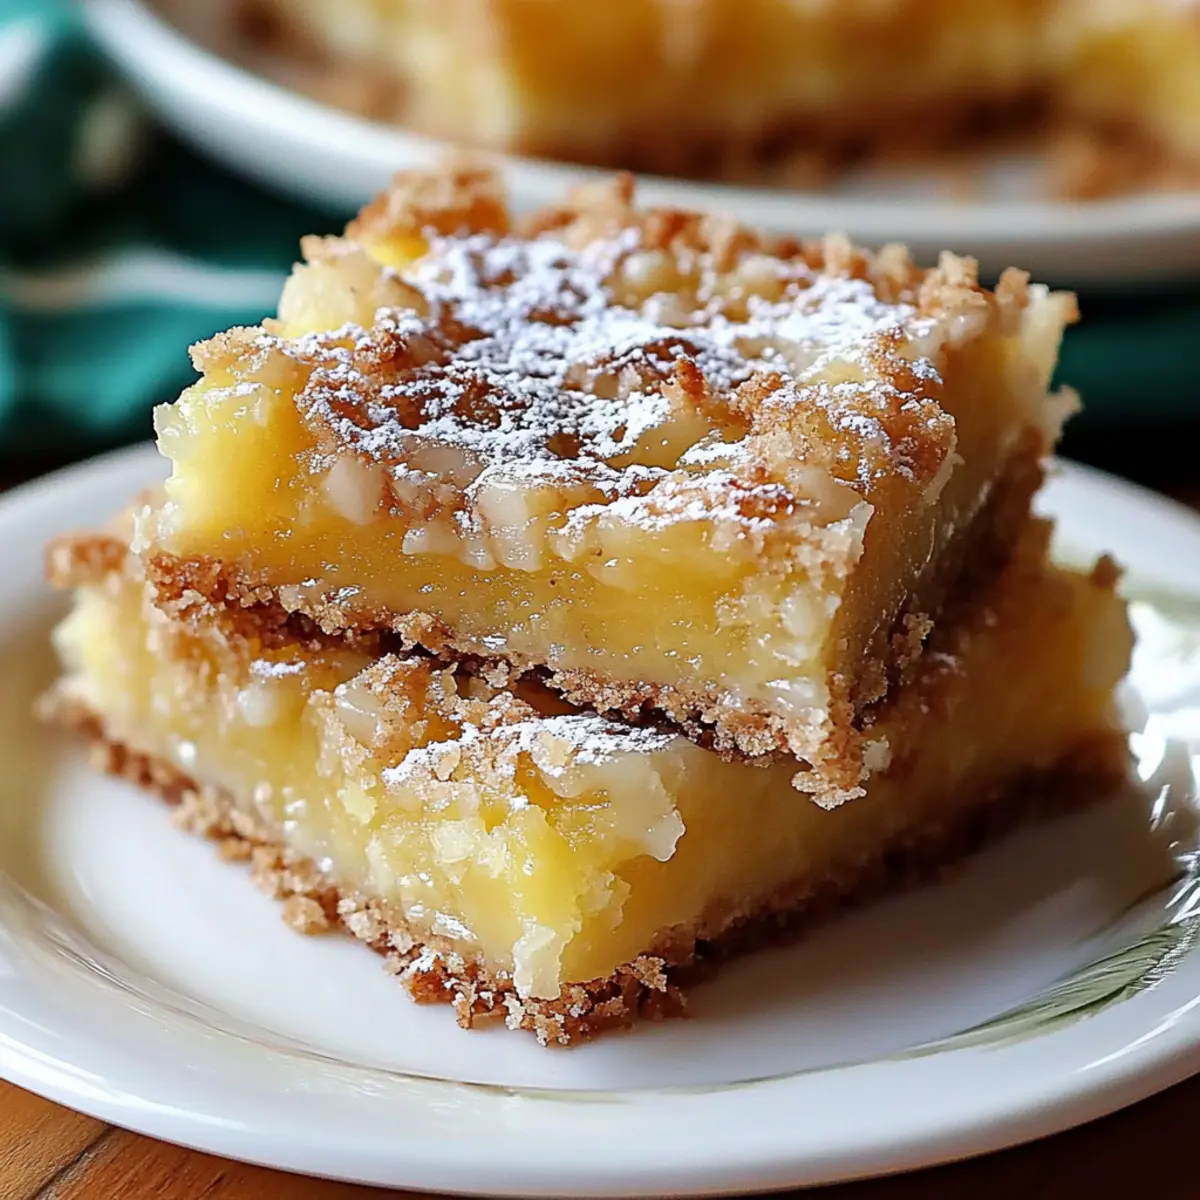
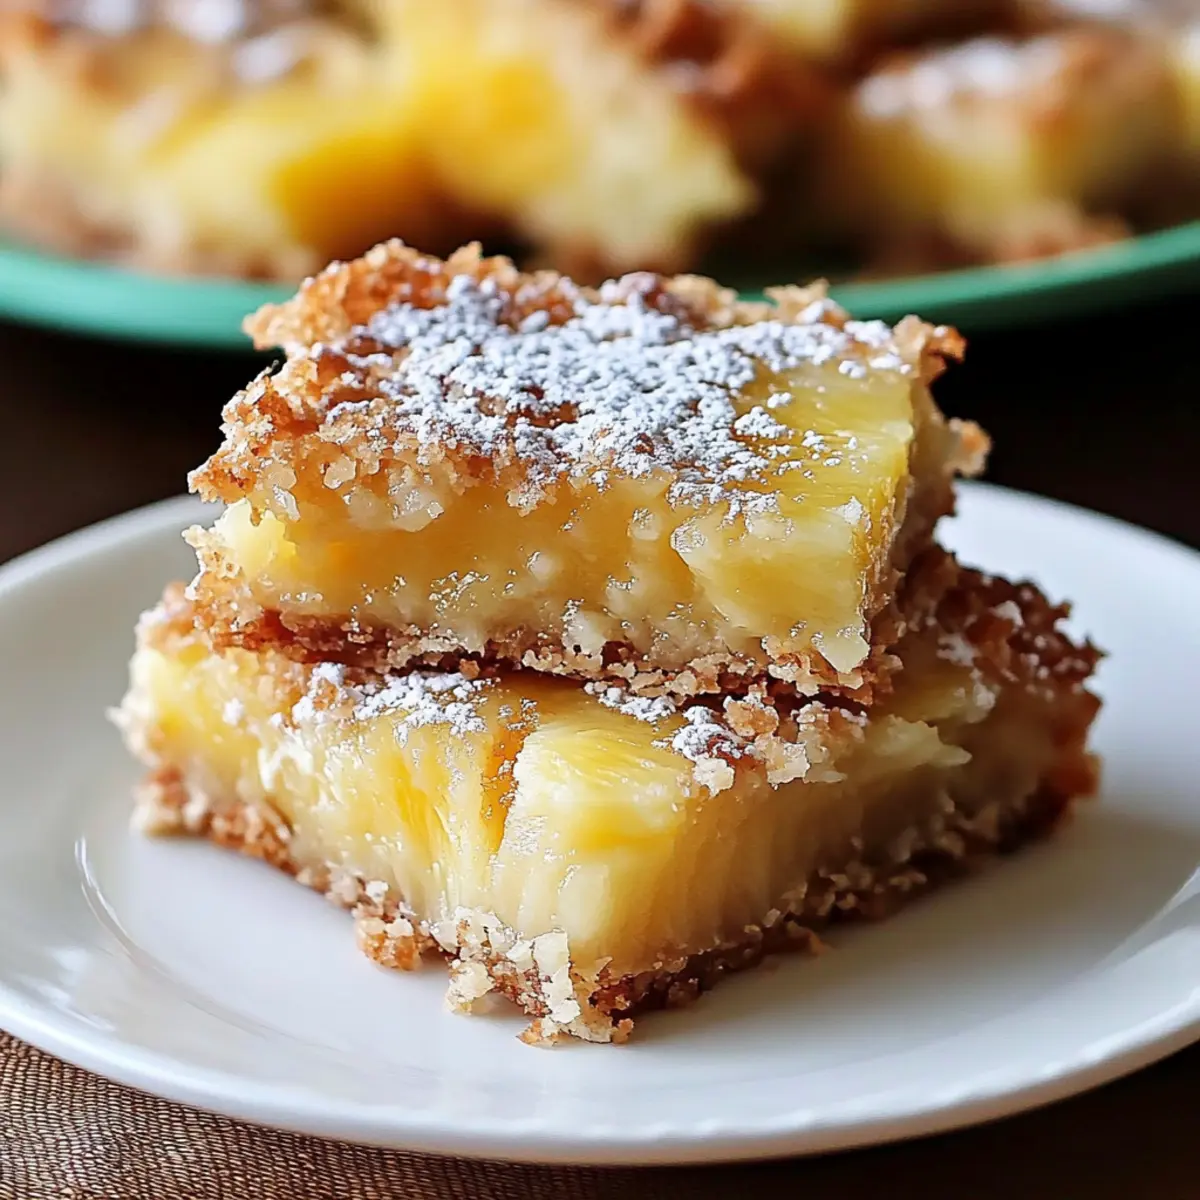
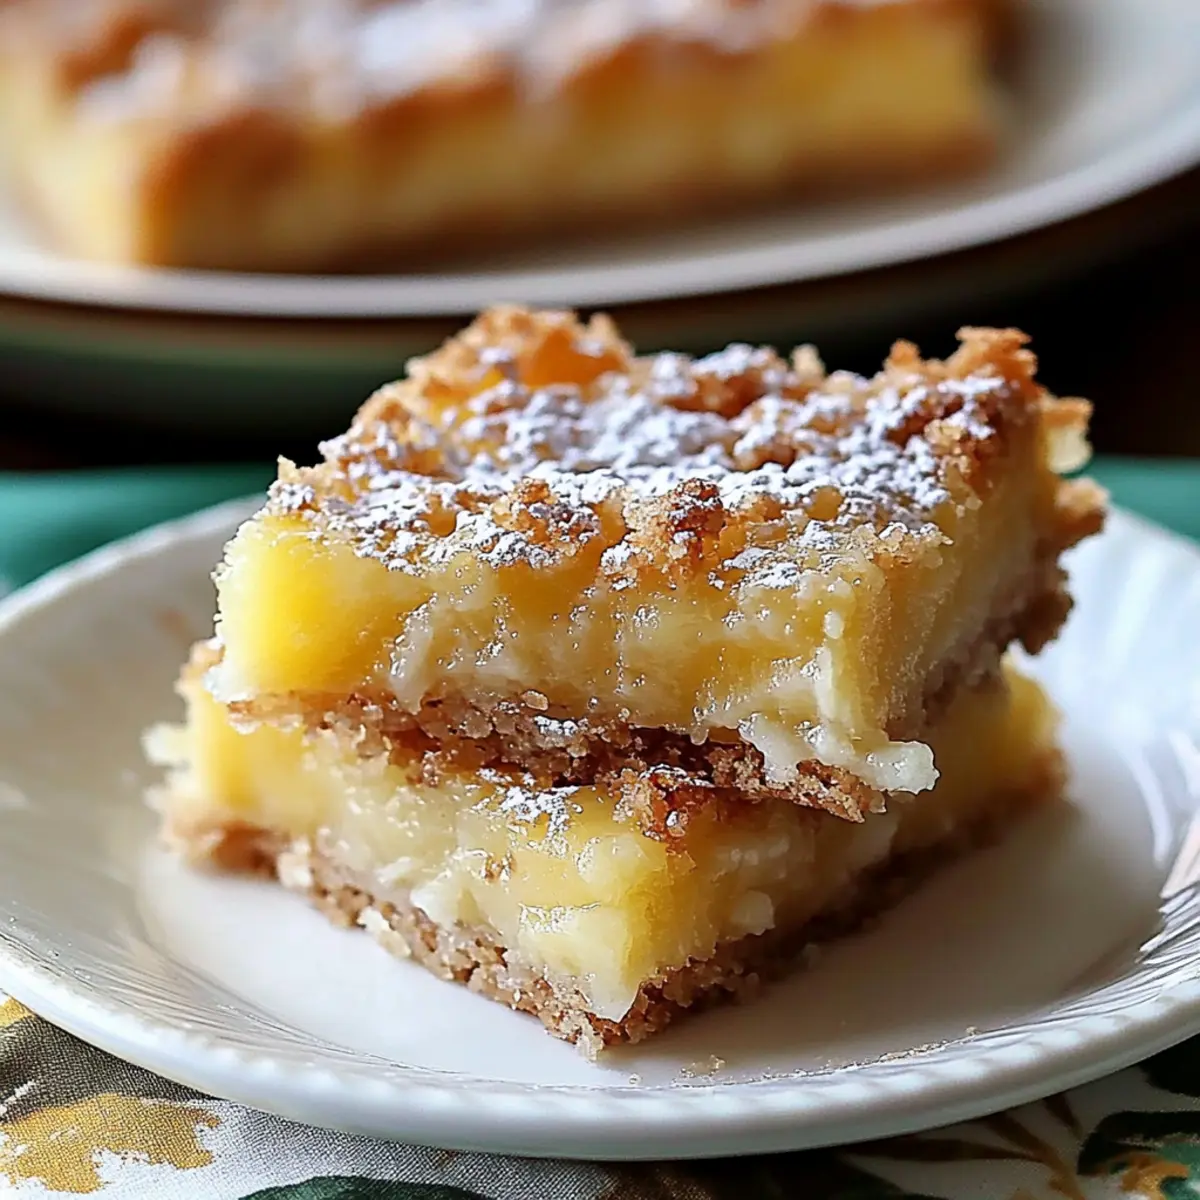
The sweet scent of sun-ripened pineapple wafts through my kitchen, instantly transporting me to a tropical getaway. Today, I’m excited to share my recipe for Pineapple Bliss Bars, a delightful treat that combines a buttery shortbread base with a luscious, gooey pineapple filling. These bars are not just a spectacular dessert; they’re quick to whip up and make for the perfect crowd-pleaser at any gathering. Whether you’re looking for a refreshing end to a summer meal or a cozy indulgence on a chilly night, these bliss bars fit the bill. With just a handful of simple ingredients, you’ll be one step closer to a slice of paradise. Curious about how to make this tropical delight? Let’s dive into the recipe!
Why Are Pineapple Bliss Bars So Amazing?
Tropical Escape: Each bite transports you to a sun-kissed beach, making any day feel like a vacation.
Quick and Easy: With simple ingredients, these bars are a breeze to prepare, appealing to both novice and seasoned bakers.
Versatile Flavors: Customize with fresh pineapple or coconut for an extra burst of tropical essence.
Perfect for Sharing: Ideal for parties or gatherings, these bars will have everyone asking for the recipe.
Sweet and Tart Bliss: The balance of creamy pineapple and buttery crust creates an unforgettable taste sensation.
Explore more delicious ideas by checking out our best summer desserts or try out other fruity treats in our tropical recipe collection!
Pineapple Bliss Bars Ingredients
For the Crust
- All-purpose flour – Provides the structure for a buttery base; substitute with gluten-free flour if desired.
- Granulated sugar – Adds sweetness to both the crust and filling; feel free to swap some for brown sugar for a deeper flavor.
- Salt – Enhances the overall taste; it’s essential for balancing sweetness.
- Cold unsalted butter – Creates a rich, crumbly texture for the crust; using cold butter is key for the best results.
For the Filling
- Crushed pineapple – Brings tropical flavor and moisture; make sure it’s well-drained to avoid sogginess.
- Large eggs – Acts as the binding agent for the filling, ensuring a cohesive texture.
- Baking powder – A leavening agent that gives the filling a light and airy texture.
- Vanilla extract – Adds an extra layer of flavor; opt for pure vanilla for a highly aromatic profile.
For Dusting
- Powdered sugar – Perfect for a sweet finishing touch and beautiful presentation.
With just these ingredients, you’re on your way to creating delicious Pineapple Bliss Bars that will brighten any day!
Step‑by‑Step Instructions for Pineapple Bliss Bars
Step 1: Preheat the Oven
Begin by preheating your oven to 350°F (175°C). While the oven heats, grab a 9×13 inch baking pan and line it with parchment paper, leaving some overhang for easy removal later. This setup creates the perfect foundation for our Pineapple Bliss Bars, ensuring they don’t stick.
Step 2: Make the Crust
In a mixing bowl, combine all-purpose flour, granulated sugar, and salt. Cut in the cold unsalted butter using a pastry cutter or your fingers until the mixture resembles coarse crumbs. Press this crumbly mixture evenly into the bottom of your prepared pan. Bake for 15 minutes, until lightly golden around the edges, giving your crust a perfect texture.
Step 3: Prepare the Pineapple Filling
As the crust bakes, work on the filling. In a separate bowl, whisk together the large eggs and granulated sugar until smooth. Gently fold in the flour, baking powder, and vanilla extract, ensuring there are no lumps. Finally, add the well-drained crushed pineapple, mixing just until combined. This tropical filling is what makes your Pineapple Bliss Bars truly delightful.
Step 4: Combine Layers
Once the crust has finished baking and cooled slightly, pour the pineapple filling over the crust, spreading it out evenly. Make sure the edges are well covered for a beautiful finish. Return the Pan to your oven and bake for 25-30 minutes, or until the filling is set around the edges but still slightly jiggly in the center—this indicates a gooey texture.
Step 5: Cool and Serve
Remove the baking pan from the oven and allow the bars to cool completely in the pan on a wire rack. This cooling period is essential for clean slicing later. Once cooled, dust the top with powdered sugar for a sweet finish, then use the parchment overhang to lift the Pineapple Bliss Bars out of the pan. Slice into squares and serve, reveling in their tropical bliss!
Pineapple Bliss Bars: Customization Ideas
Feel free to let your creativity shine as you explore delightful variations of these luscious bars.
- Gluten-Free: Substitute all-purpose flour with gluten-free flour for a deliciously inclusive treat everyone can enjoy.
- Coconut Kick: Add ½ cup of shredded coconut into the filling for a boost of flavor and texture that’s reminiscent of a tropical paradise.
- Fresh Fruit Swap: Fresh, well-chopped pineapple can be used instead of crushed pineapple for a brighter, more vibrant flavor profile.
- Sweetener Twist: Replace half the granulated sugar with brown sugar for a deeper, richer sweetness that complements the pineapple beautifully.
- Citrus Zest: Incorporate a teaspoon of lime or lemon zest into the filling for an exciting citrus kick that elevates the tropical experience.
- Nutty Crunch: Fold in chopped macadamia nuts or pecans for an added crunch that contrasts wonderfully with the creamy filling.
- Spice it Up: A pinch of cinnamon or nutmeg in the crust can add a warm, comforting undertone that balances the tropical sweetness.
- Serve Stylishly: Elevate presentation by serving bars drizzled with chocolate or a dollop of whipped cream on the side for that extra indulgence.
For even more inspiration, why not check out our best summer desserts or explore fruity delights in our tropical recipe collection? Enjoy the journey of creating your perfect Pineapple Bliss Bars!
Expert Tips for Pineapple Bliss Bars
-
Well-Drained Pineapple: Ensure that your crushed pineapple is thoroughly drained to avoid a soggy filling, which can affect the overall texture of your bliss bars.
-
Cool Completely: Allow your bars to cool completely in the pan before slicing. This helps achieve clean cuts and prevents the filling from oozing out.
-
Butter Temperature: Make sure your cold unsalted butter is truly cold before mixing it into the crust. This results in a crumbly texture that’s key to a perfect base for your Pineapple Bliss Bars.
-
Add Coconut: For a tropical twist, consider mixing in ½ cup of shredded coconut into the filling for added flavor and texture.
-
Mind the Baking Time: Keep an eye on your bars during baking; they’re done when the edges are set but the center is still slightly jiggly. This ensures that sweet and gooey mouthfeel we all crave!
Make Ahead Options
These Pineapple Bliss Bars are perfect for busy home cooks looking to save time! You can prepare the crust up to 24 hours in advance; simply make the crust, bake it, and allow it to cool before wrapping it tightly in plastic wrap and refrigerating it. The pineapple filling can be made up to 3 days ahead; just whisk the eggs and sugar together, add the remaining ingredients, and store it in an airtight container in the fridge. When you’re ready to bake, pour the filling over the chilled crust, pop it in the oven, and enjoy restaurant-quality Pineapple Bliss Bars with minimal effort—just as delicious as if they were made fresh!
How to Store and Freeze Pineapple Bliss Bars
Fridge: Store your Pineapple Bliss Bars in an airtight container for up to 5 days. This keeps them fresh and ready to enjoy whenever you need a tropical treat.
Freezer: For longer storage, slice the bars and wrap them tightly in plastic wrap before placing in an airtight container. They will last for up to 2 months in the freezer.
Thawing: To enjoy frozen bars, simply transfer them to the fridge for a few hours or let them sit at room temperature for about 30 minutes before serving.
Reheating: If you’re in the mood for a warm delight, pop the bars in the microwave for 10-15 seconds, just until warm. Enjoy the gooey goodness!
What to Serve with Pineapple Bliss Bars
The aroma of sun-kissed pineapple wafts through the air, inviting you to complete the experience with delightful pairings that complement this tropical treat.
-
Tropical Fruit Salad: A vibrant mix of mango, kiwi, and berries adds freshness that balances the richness of the bars.
-
Coconut Custard: Creamy and indulgent, this custard brings a velvety texture that harmonizes beautifully with the pineapple filling.
-
Whipped Cream: A dollop of sweet, fluffy whipped cream enhances each slice, making every bite feel like a celebration.
-
Toasted Coconut Flakes: Sprinkling these on top of the bars adds a crunchy element, providing a delightful contrast to the gooey filling.
-
Pineapple Sorbet: Serve a scoop alongside for an extra cold treat; it echoes the tropical flavors while providing a refreshing finish.
-
Sparkling Water with Lime: The effervescence cuts the sweetness and cleanses the palate, making each bite a crisp and delightful experience.
-
Chocolate Dipping Sauce: A drizzle of warm chocolate creates a decadent fusion, perfectly marrying the fruity sweetness with rich flavors.
-
Frozen Yogurt: This could be a cool and tangy contrast to the bars, enhancing their tropical flair while offering a creamy complement.
Enjoy crafting a full meal that brings warmth, joy, and a taste of the tropics into your home!
Pineapple Bliss Bars Recipe FAQs
How do I choose the right pineapple?
Absolutely! When selecting pineapple for your Pineapple Bliss Bars, look for a fruit that feels heavy for its size, indicating juiciness. The skin should be golden-yellow with no dark spots all over. A sweet, fragrant aroma at the base is also a good sign of ripeness. If you’re using canned crushed pineapple, make sure it’s in natural juice rather than syrup for a more refreshing flavor.
What is the best way to store leftover bars?
To keep your Pineapple Bliss Bars fresh, store them in an airtight container in the refrigerator for up to 5 days. This will help maintain their delightful moist texture. You can place parchment paper between layers to prevent sticking. If you plan to keep them longer, freezing is a great option!
Can I freeze Pineapple Bliss Bars, and how?
Very! To freeze your Pineapple Bliss Bars, start by slicing them into squares. Wrap each piece tightly in plastic wrap, then place them in an airtight container or a zip-top freezer bag to prevent freezer burn. They can be frozen for up to 2 months. When you’re ready to enjoy, let them thaw in the fridge for a few hours or at room temperature for about 30 minutes.
My filling turned out too soggy. What happened?
If your filling ended up soggy, ensure your crushed pineapple was well-drained before mixing it into the batter. Excess moisture from un-drained pineapple can introduce unwanted sogginess. If you’re making it again, you could also squeeze out a little extra juice using a clean kitchen towel to absorb any additional liquid.
Are Pineapple Bliss Bars suitable for gluten-free diets?
Absolutely! You can easily make these scrumptious bars gluten-free by substituting all-purpose flour with a gluten-free flour blend. Look for one that includes xanthan gum to mimic the texture of traditional flour. Just check your other ingredients (like baking powder) to ensure they’re also gluten-free, and you’re all set for a gluten-free treat!
Can I add other fruits or toppings to the bars?
Yes! The more the merrier! Besides the traditional pineapple, feel free to mix in other fruits like shredded coconut for a tropical flair, or even chopped mango for a flavorful twist. Toppings like toasted coconut flakes or a drizzle of chocolate can also elevate your dessert; just sprinkle them on top before serving to entice your guests even more.
Pineapple Bliss Bars: A Tropical Treat to Brighten Your Day
Ingredients
Equipment
Method
- Preheat your oven to 350°F (175°C) and line a 9x13 inch baking pan with parchment paper.
- Combine all-purpose flour, granulated sugar, and salt in a mixing bowl. Cut in the cold unsalted butter until crumbly, then press it into the bottom of the pan. Bake for 15 minutes until golden.
- In a separate bowl, whisk together large eggs and granulated sugar until smooth. Fold in the flour, baking powder, and vanilla. Add the well-drained crushed pineapple and mix until combined.
- Pour the pineapple filling over the crust and spread evenly. Return to the oven and bake for 25-30 minutes until set but slightly jiggly in the center.
- Let the bars cool completely in the pan before slicing. Dust with powdered sugar and serve.
Leave a Reply