
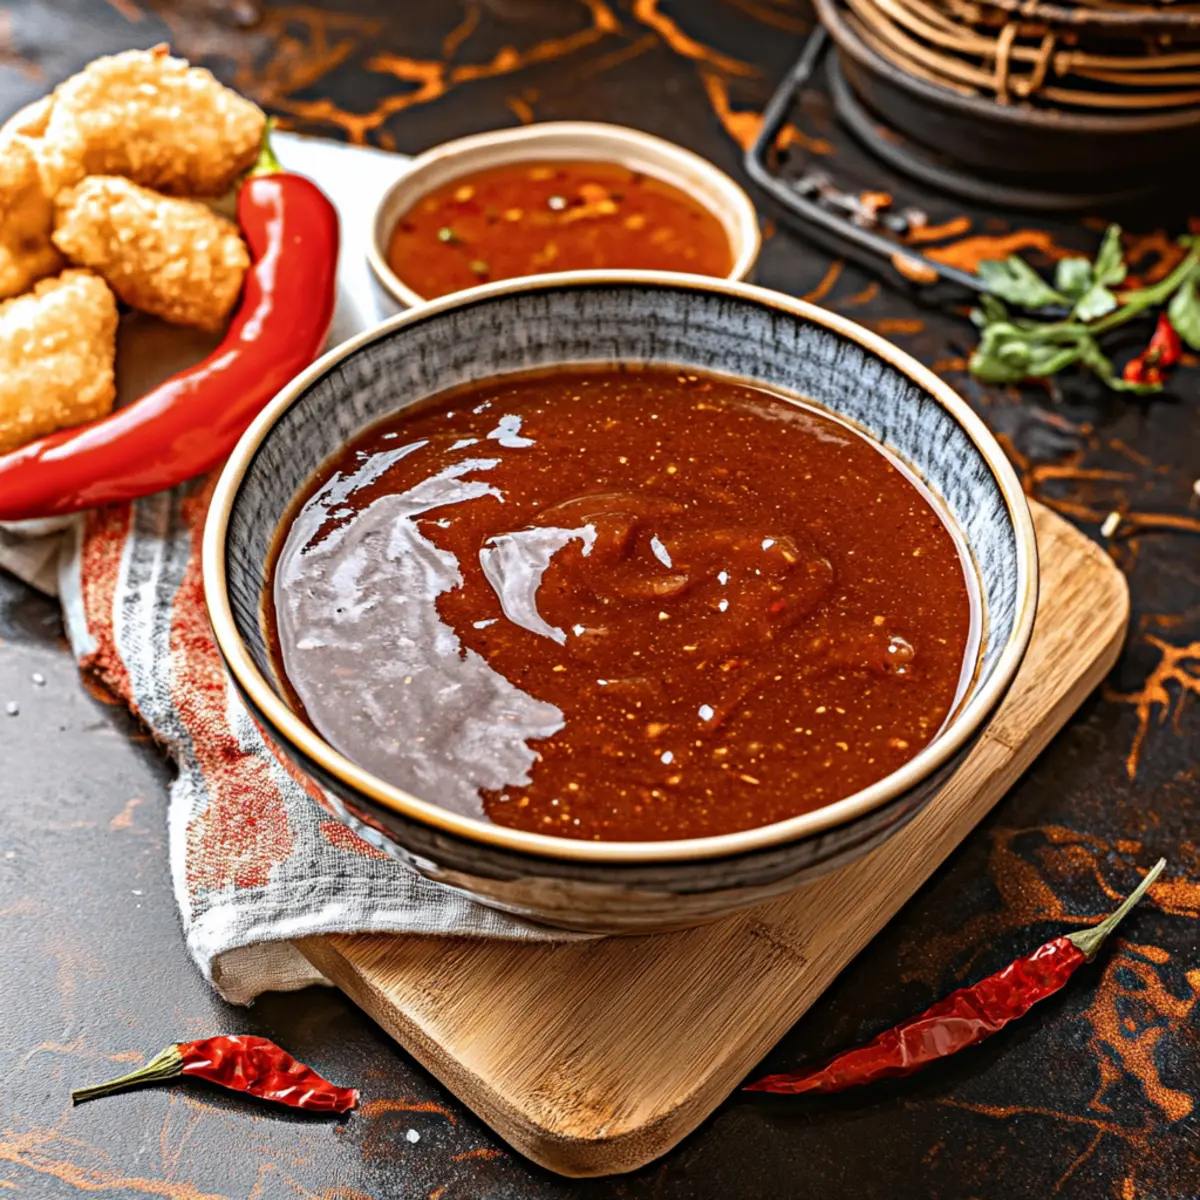
It’s amazing how a simple blend of pantry staples can transform your meals! This Sweet and Sour Sauce without pineapple is a quick and easy recipe that brings a vibrant zing to your Asian-inspired dishes. Ready in just 5 minutes, you’ll find it’s a frugal alternative to store-bought options, showcasing the delightful balance of sweetness and tanginess that completes everything from stir-fry to nuggets. No more reaching for those jarred sauces – this homemade concoction not only curtails food waste but also ensures you’re using fresh, recognizable ingredients. Whether you’re entertaining guests or simply looking to elevate your weeknight dinner, I’m betting you’ll fall in love with this versatile sauce that’s just as good drizzled over glazed ham as it is served as a dip. Ready to make your next meal a little sweeter?
Why is this Sweet and Sour Sauce special?
Fresh, homemade flavor: Unlike store-bought options, this sauce combines pantry staples to deliver a burst of freshness, enhancing any dish without artificial preservatives.
Quick and easy: With just 5 minutes of prep time, you’ll have a delicious sauce ready to elevate your meal, allowing you to enjoy cooking without the hassle.
Versatile use: Perfect for a variety of dishes, this sauce pairs beautifully with stir-fries, chicken nuggets, or even as a glaze for ham, making it a must-have for any kitchen.
Budget-friendly: Creating your own sauce helps reduce food waste and saves you money while ensuring quality ingredients.
Adjustable flavors: Customize the taste to your liking by tweaking the sugar and vinegar levels or adding a spicy kick with red pepper flakes. This homemade Sweet and Sour Sauce is a fantastic way to bring balance to your favorite meals!
Sweet and Sour Sauce Ingredients
For the Sauce
- Cornstarch – Thickens the sauce for a desirable texture; substitute with arrowroot for a gluten-free option.
- Water – Activates cornstarch to create the slurry; no substitutes required.
- Rice Vinegar – Provides acidity and tang; cider vinegar can be used for a different flavor profile.
- Brown Sugar – Adds sweetness that balances the tartness; can be replaced with honey or maple syrup for a less refined sugar option.
- Ketchup – Contributes to sweetness and thickness; you can substitute with homemade ketchup or tomato paste for a more natural option.
- Soy Sauce – Provides the umami flavor; coconut aminos works for a soy-free version.
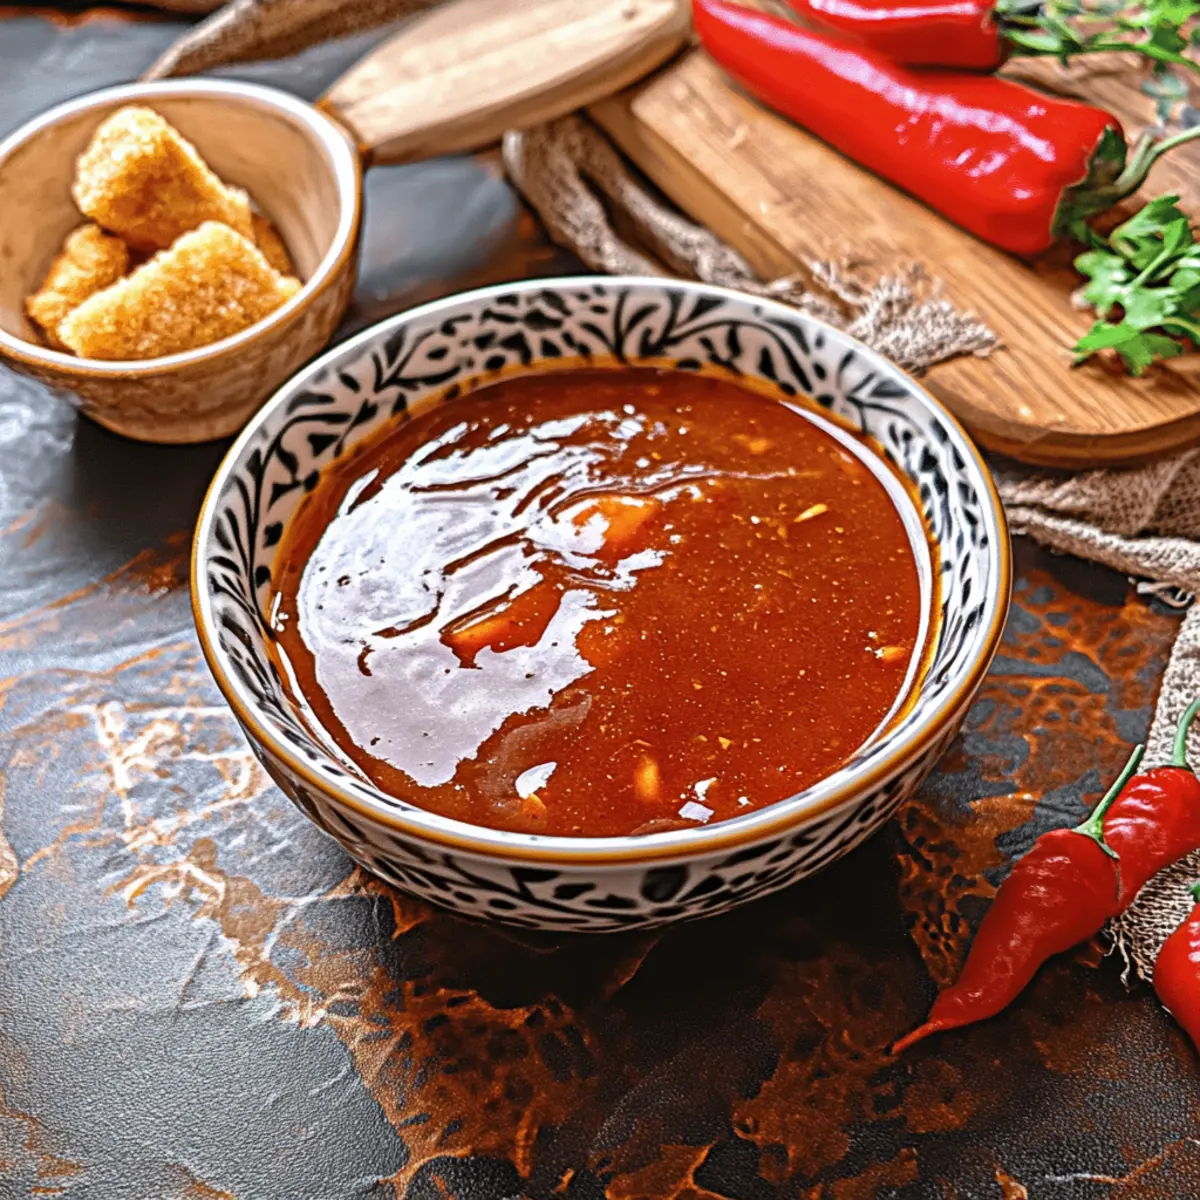
This quick and easy Sweet and Sour Sauce will leave your dishes bursting with flavor!
Step‑by‑Step Instructions for Sweet and Sour Sauce
Step 1: Make the Cornstarch Slurry
In a small bowl, whisk together cornstarch and water until smooth, creating a slurry. This mixture is crucial for thickening your sweet and sour sauce, so ensure there are no lumps. Set the slurry aside while you prepare the sauce base, as it will be added later to achieve the desired consistency.
Step 2: Combine Sauce Ingredients
In a small saucepan, mix together rice vinegar, brown sugar, ketchup, and soy sauce. Place the saucepan over medium heat and stir gently as you bring the mixture to a boil. The sugars should dissolve completely, and the sauce will become fragrant. Watch for tiny bubbles indicating it has reached a rolling boil, which is essential before adding the cornstarch slurry.
Step 3: Add the Slurry
Once the sauce reaches a boil, gradually stir in the cornstarch slurry while mixing continuously. This will help to incorporate the slurry evenly into the sauce, preventing any clumping. You will notice the sauce beginning to thicken and take on a glossy finish. Ensure you keep stirring for about 30 seconds to blend everything well.
Step 4: Cook Until Thickened
Continue to cook the sauce on medium heat for an additional 1-2 minutes, stirring frequently. You’ll know it’s ready when the sauce has thickened to a desirable consistency, coating the back of a spoon. The vibrant orange-red color should deepen, reflecting its sweet and tangy flavor profile.
Step 5: Cool and Store
Remove the saucepan from heat and allow the sweet and sour sauce to cool slightly before using. This sauce can be served warm or at room temperature. If you’re not using it immediately, transfer it to a glass container and store in the refrigerator for up to two weeks, ready for your next meal!
Expert Tips for Sweet and Sour Sauce
Proper Thickness: Ensure that the sauce reaches a rolling boil before adding the cornstarch slurry; this is key for a thick and glossy finish.
Taste Adjustments: To customize your Sweet and Sour Sauce, feel free to adjust the balance of sugar and vinegar to suit your palate.
Spice It Up: If you enjoy some heat, add red pepper flakes or a dash of sriracha for a spicy twist that complements the sweetness.
Storage Reminder: Store your sauce in a glass container in the refrigerator for up to two weeks, but remember to reheat gently to preserve texture.
Prevent Clumping: Stir the cornstarch slurry well before adding it to the boiling sauce to avoid any lumps, ensuring a smooth texture throughout.
How to Store and Freeze Sweet and Sour Sauce
Refrigerator: Store the sauce in an airtight glass container for up to 2 weeks. Be sure it’s completely cooled before sealing to maintain freshness.
Freezer: For longer storage, freeze the sauce in ice cube trays. Once frozen, transfer cubes to a freezer-safe bag for up to 3 months. It’s perfect for quick meal prep!
Reheating: Gently reheat on the stove over low heat or microwave in short bursts, stirring often to restore its luscious consistency.
Thawing: If frozen, transfer the desired amount to the fridge overnight to thaw, then reheat before serving. The sweet and sour sauce will taste just as fresh!
What to Serve with Sweet and Sour Sauce?
Elevate your meals by pairing this vibrant sauce with delightful side dishes and complementing flavors!
- Steamed Jasmine Rice: This fragrant base absorbs the sauce beautifully, offering a tender contrast that balances out the tanginess.
- Crispy Spring Rolls: Packed with savory fillings, these crunchy bites become a delightful treat when dipped into the sweet and sour sauce.
- Grilled Chicken Skewers: The charred, juicy chicken pairs perfectly with the sauce’s tang, enhancing each bite with flavor and zest.
- Sautéed Broccoli: Its bright green color and slight crunch create a fresh element, providing a nutritious balance to the richness of the sauce.
- Pineapple Fried Rice: While featuring no pineapple in the sauce, the sweet fruit in fried rice complements the sauce’s flavors beautifully, creating harmony on your plate.
- Chili Garlic Noodles: The spicy, garlicky noodles present a delicious contrast, ensuring a meal with layers of flavor that welcomes your sweet and sour drizzle.
- Refreshing Cucumber Salad: Crisp and cool, this salad helps cleanse the palate, making each bite of the main dish pop with flavor.
- Iced Green Tea: A light, refreshing drink that enhances the vibrant profiles of Asian cuisine, balancing the meal’s sweetness effortlessly.
- Mango Sorbet: To finish your meal on a sweet note, this fruity dessert provides a chilled contrast to the savory dishes enjoyed beforehand.
- Chocolate Mousse: A contrast of sweetness that rounds off your meal elegantly, this rich dessert has a silky texture to delight your senses.
Make Ahead Options
These Sweet and Sour Sauce preparations are perfect for busy weeknights! You can mix the sauce, store it in a glass container, and refrigerate it for up to two weeks before serving. To prepare ahead effectively, make the sauce in advance and allow it to cool completely before transferring it to the fridge. When you’re ready to use the sauce, simply reheat it gently in a saucepan over low heat or in the microwave until warmed through, making sure to stir occasionally for even heating. This strategy not only saves you time but also allows the flavors to meld beautifully, ensuring it’s just as delicious when served later!
Sweet and Sour Sauce Variations
Feel free to get creative with this sauce, customizing it to suit your taste buds and dietary needs!
- Spicy Kick: Add red pepper flakes or a dash of sriracha to introduce a delightful heat. A spoonful of sriracha can ramp up the flavor profile while retaining the sauce’s essence.
- Thicker Texture: Increase the cornstarch by a tablespoon or reduce the water to create a more robust consistency. This adjustment gives your sauce a hearty cling, perfect for coating fried dishes.
- Sour Twist: Try using apple cider vinegar instead of rice vinegar for a different tangy flavor. It brightens the sauce, offering a refreshing twist to the classic recipe.
- Sweet Alternatives: Swap brown sugar for honey or maple syrup to create a richer sweetness with added layers of flavor. These natural sweeteners not only enhance the taste but also bring health benefits!
- Tomato-Free Option: For a tomato-free version, replace ketchup with tomato paste or even experiment with a homemade version for a fresh taste. This adds a less sweet and more robust flavor, providing a unique twist.
- Soy-Free Alternative: Use coconut aminos in place of soy sauce for a soy-free, slightly sweeter version. It’s a fantastic option for those avoiding soy while still craving umami.
- Nutty Flavor: Incorporate a splash of sesame oil for a deeper, nuttier flavor that enhances the Asian notes of your sauce. Just a few drops can elevate the entire dish!
- Fresh Vegetables: If you’re looking for added texture, try incorporating chopped bell peppers or fresh pineapple for a chunkier sauce that offers both sweet and savory elements. This creates a vibrant presentation and a mouthwatering taste!
With these variations, make each batch of your sweet and sour sauce uniquely yours while keeping that homemade goodness! If you’re eager for more delightful homemade sauces, check out my guide on easy homemade ketchup and learn how to whip up your own batch!
Sweet and Sour Sauce Recipe FAQs
What type of vinegar should I use for Sweet and Sour Sauce?
I recommend using rice vinegar for its mild acidity and unique flavor that perfectly complements the rest of the ingredients. If you don’t have rice vinegar on hand, cider vinegar is a great alternative which can add a touch of fruity acidity instead.
How long can I store Sweet and Sour Sauce in the fridge?
You can store your homemade Sweet and Sour Sauce in an airtight glass container in the refrigerator for up to 2 weeks. Make sure it has completely cooled before sealing to maintain freshness and prevent any condensation inside the container.
Can I freeze Sweet and Sour Sauce?
Absolutely! For long-term storage, pour your Sweet and Sour Sauce into ice cube trays and freeze. Once solid, transfer the cubes to a freezer-safe bag where they can be kept for up to 3 months. This makes for an excellent quick meal prep option – just pop out a cube when you need some sauce!
How do I reheat Sweet and Sour Sauce after it’s been refrigerated or frozen?
When ready to use your chilled sauce, gently reheat it on the stove over low heat, stirring often to restore its luscious consistency. If frozen, thaw the desired amount in the refrigerator overnight and then reheat. This will keep the flavors fresh and delicious!
What if my Sweet and Sour Sauce is too thick?
If your sauce turns out thicker than desired, simply whisk in a bit of water while reheating until the consistency is just right. Start with a tablespoon at a time, stirring well until you achieve your desired thickness. It’s an easy fix that ensures the perfect sauce every time!
Are there any dietary considerations for my Sweet and Sour Sauce?
If you’re adjusting for dietary restrictions, you can make this sauce gluten-free by using tamari instead of soy sauce, or try coconut aminos for a soy-free variant. Additionally, honey or maple syrup can be used instead of brown sugar if you’re looking for a less refined sweetener alternative. Always check ingredient labels to ensure they’re suitable for your needs.

Quick Homemade Sweet and Sour Sauce Everyone Will Love
Ingredients
Equipment
Method
- In a small bowl, whisk together cornstarch and water until smooth, creating a slurry. Set aside.
- In a small saucepan, mix together rice vinegar, brown sugar, ketchup, and soy sauce over medium heat. Stir gently as you bring the mixture to a boil.
- Once the sauce reaches a boil, gradually stir in the cornstarch slurry while mixing continuously. Cook for about 30 seconds.
- Continue to cook on medium heat for an additional 1-2 minutes, stirring frequently until sauce thickens.
- Remove from heat, allow to cool slightly before use. Store in a glass container if not using immediately.
Leave a Reply