
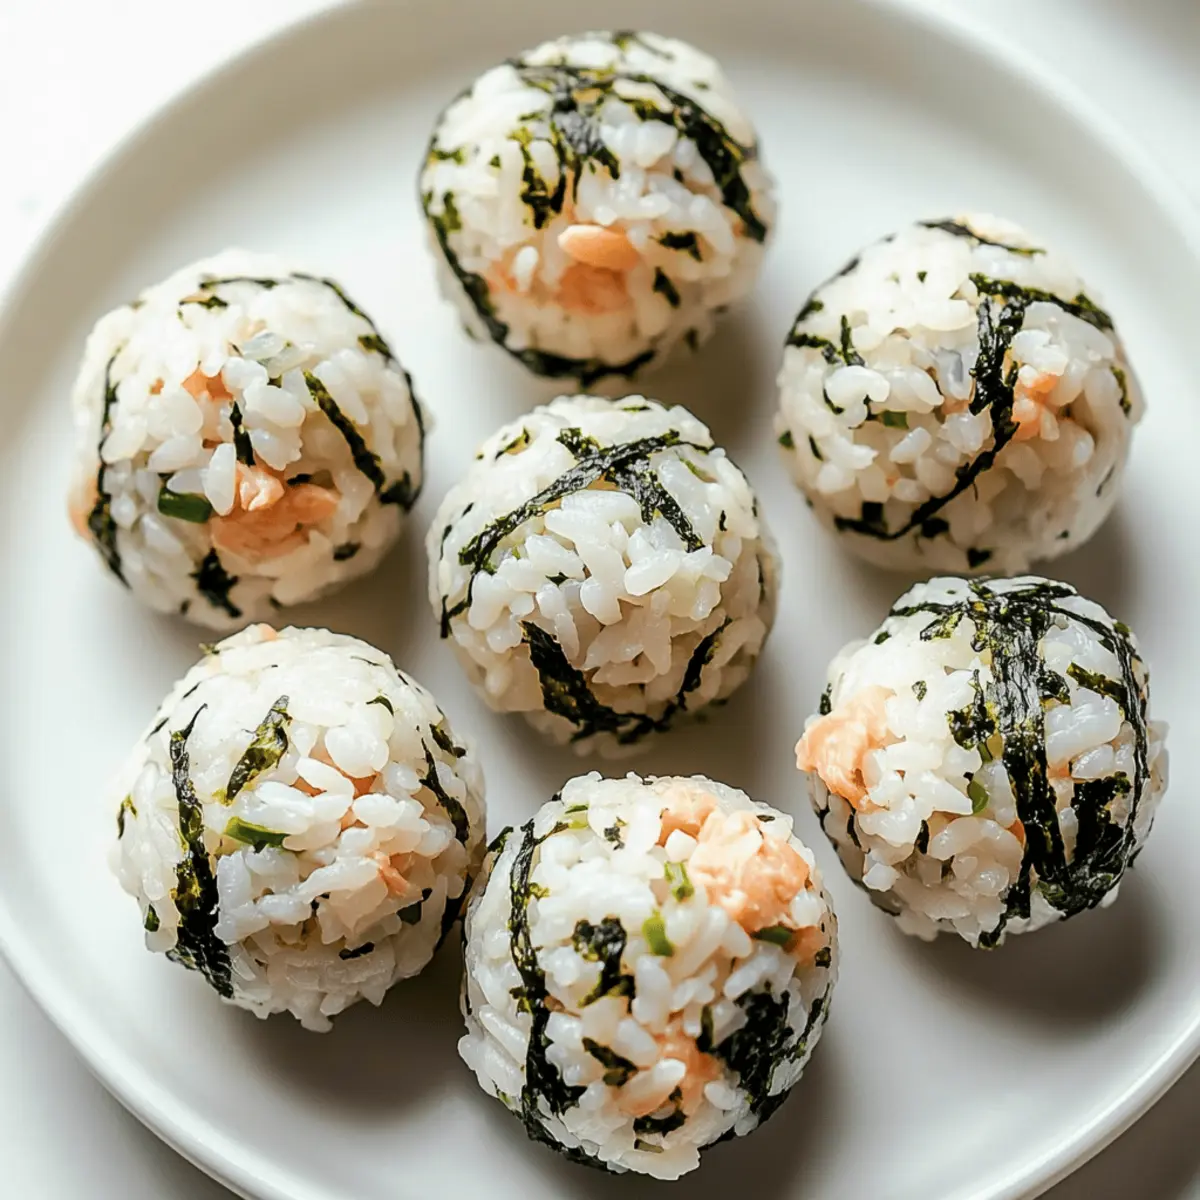
While rummaging through my pantry one busy afternoon, I stumbled upon a couple of cans of tuna and leftover rice—classic staples that always promise quick satisfaction. That’s when I decided to whip up these Easy Tuna Rice Balls, the perfect fusion of convenience and taste. Not only are they a budget-friendly meal solution, but they can be easily tailored for vegetarians and vegans alike! With just a handful of ingredients, you can create a portable lunch that’s both filling and delicious. Whether you’re meal prepping for the week or looking for a fun way to elevate your lunch game, these little rice balls will be a delightful addition to your culinary repertoire. Curious how to transform those humble pantry items into a satisfying bite? Let’s dive in!
Why Are Tuna Rice Balls So Popular?
Delicious combination: The blend of savory tuna and comforting rice creates a satisfying bite that’s hard to resist.
Versatile options: Easily customizable with vegetarian substitutes like chickpeas or tofu, making them friendly for any dietary preference.
Quick preparation: Perfect for busy weeknights, these rice balls can be whipped up in under 30 minutes, getting you back to what matters.
Budget-friendly: Utilizing pantry staples, this recipe keeps costs low without sacrificing flavor. Looking for more budget-conscious dishes? Check out our section on budget-friendly meals.
Family-friendly fun: Kids and adults alike will enjoy making (and eating) these delightful snacks, turning cooking into a fun, family activity.
Tuna Rice Balls Ingredients
For the Base
• Cooked Rice – A hearty base that holds everything together; consider using brown rice or quinoa for extra nutrition.
• Canned Tuna – The star of the show, providing protein and flavor; for a vegetarian twist, use mashed chickpeas or crumbled firm tofu.
For Creaminess
• Mayonnaise – Makes the mixture rich and creamy; you can switch to Japanese mayonnaise or for a vegan option, try plant-based mayo or mashed avocado.
For Flavor
• Sesame Oil – Elevates the dish with a nutty aroma; although optional, it adds an authentic touch.
• Seaweed (e.g., Nori flakes) – Brings umami goodness; it’s essential for that traditional taste but can be omitted for those avoiding seafood.
Embrace these simple ingredients to create your own Tuna Rice Balls, and let your culinary creativity shine!
Step‑by‑Step Instructions for Tuna Rice Balls
Step 1: Combine Ingredients
In a large mixing bowl, add the cooked rice, drained canned tuna, mayonnaise, sesame oil, and seaweed. Use a spatula to mix the ingredients together well, ensuring even distribution of flavors. Aim for a creamy consistency, adjusting the amount of mayonnaise as desired. This process should take about 2 minutes.
Step 2: Form the Mixture
Once everything is well combined, flatten the mixture in the bowl to create an even surface. Using a knife, divide the mixture into 8 equal portions, much like slicing a pizza. This method ensures that each Tuna Rice Ball has a consistent size, which should take about 1 minute.
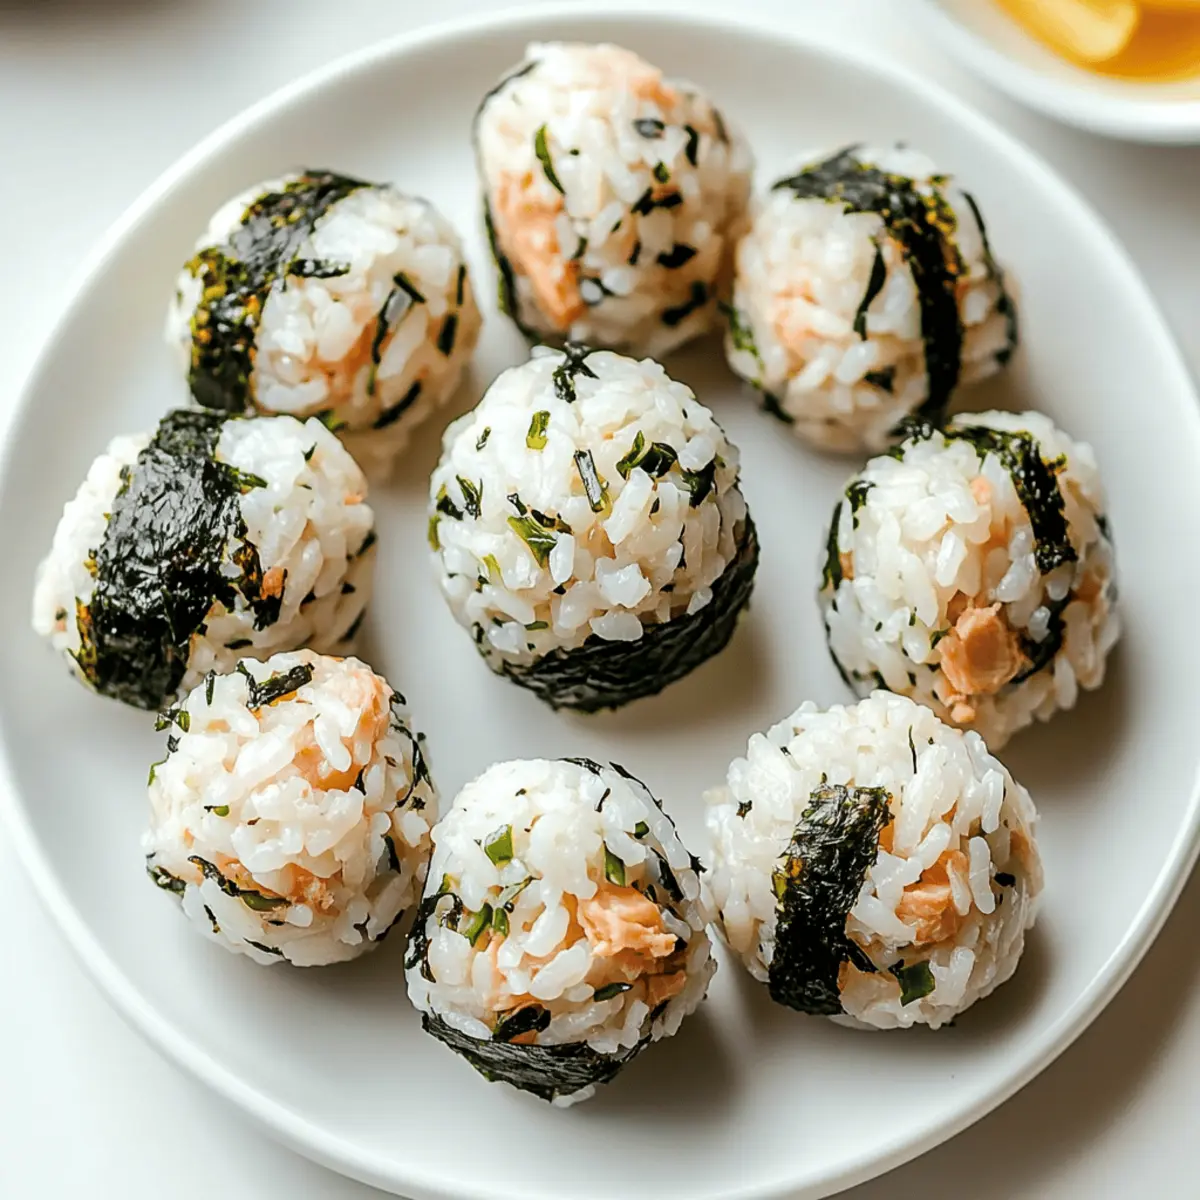
Step 3: Shape the Rice Balls
With clean hands, or wearing gloves for a tidy preparation, take each portion and roll it into a tightly packed ball. Be gentle yet firm to ensure the balls hold their shape. Continue this process until all portions are formed into neat rice balls, which should take around 5 minutes.
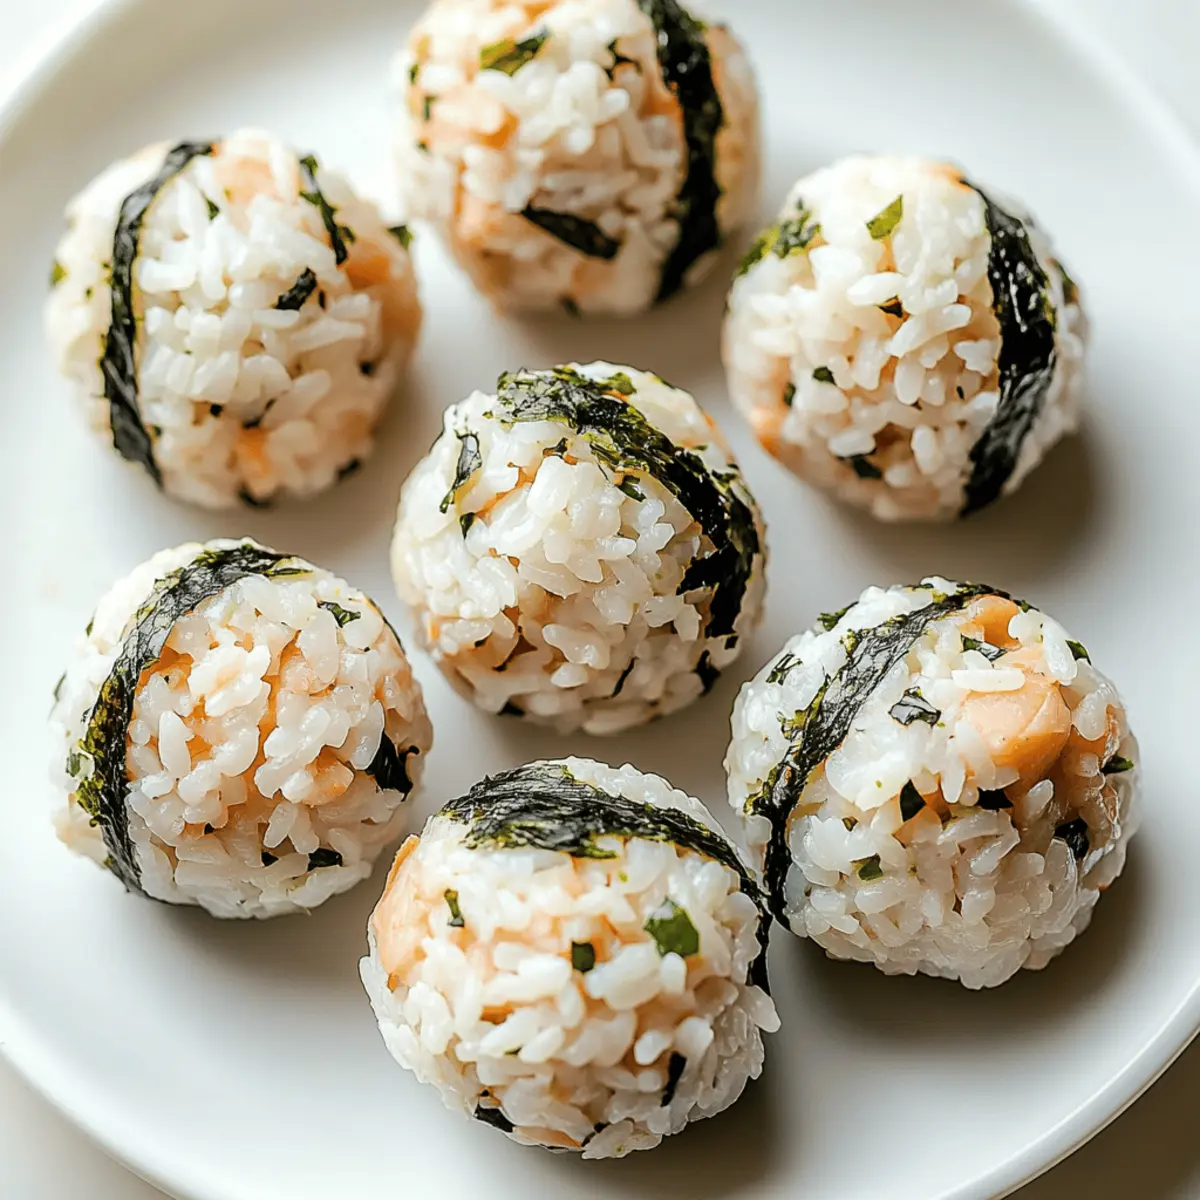
Step 4: Serve or Store
The Tuna Rice Balls are best served fresh for optimal flavor and texture. Arrange them on a platter and consider serving with soy sauce or pickled vegetables for an authentic Japanese experience. If you need to store them, place the rice balls in an airtight container in the refrigerator for up to 2 days, allowing easy access for later enjoyment.
What to Serve with Easy Tuna Rice Balls
Elevate your meal experience with delightful side dishes that perfectly complement these tasty bites.
-
Soy Sauce: A classic pairing that enhances the umami flavors of the rice balls, bringing a delightful zing to each bite.
-
Pickled Vegetables: Their tanginess offers a refreshing contrast to the savory rice balls, making each mouthful feel balanced and satisfying.
-
Crisp Salad: A light, crunchy salad with mixed greens and a citrus dressing adds freshness and texture, creating a well-rounded meal. Pair it with a sesame vinaigrette for an extra layer of flavor!
-
Edamame: These protein-packed green beans served lightly salted provide a nutty taste that meshes beautifully with the rice balls, making for a wholesome side.
-
Miso Soup: Warm and comforting, this traditional broth complements the flavors of the rice balls while providing a soothing, homely touch to your dining experience.
-
Fruit Skewers: Fresh fruit adds a sweet and vibrant contrast, perfect for cleansing the palate after savory bites. Try combining melon, strawberries, and pineapple for a colorful presentation.
-
Green Tea: A calming drink choice, its delicate flavors and subtle bitterness highlight the savory notes of tuna rice balls, making it an ideal accompaniment for a quaint lunch or dinner.
Make Ahead Options
These Tuna Rice Balls are a fantastic option for meal prep enthusiasts! You can prepare the rice mixture up to 24 hours in advance. Simply combine the cooked rice, drained tuna, mayonnaise, sesame oil, and seaweed in a bowl, mixing until well combined. Store this mixture in an airtight container in the refrigerator to maintain freshness. When you’re ready to serve, simply form the mixture into balls and enjoy! This method not only saves you valuable time on busy days but also ensures that your Tuna Rice Balls are just as delicious, allowing you to enjoy a stress-free meal at a moment’s notice.
Tuna Rice Balls Variations & Substitutions
Feel free to get creative and personalize your Tuna Rice Balls with these fun variations!
-
Vegetarian Option: Substitute canned tuna with mashed chickpeas or crumbled firm tofu for a protein-packed vegetarian delight.
-
Vegan Friendly: Use plant-based mayonnaise instead of regular mayo and swap tuna for chickpeas for a wholesome vegan treat.
-
Quinoa Twist: Replace cooked rice with quinoa for a nutty flavor and added nutrition that will keep you feeling full longer.
-
Flavor Boost: Add a splash of soy sauce or a sprinkle of sesame seeds into the mixture for a savory kick that elevates the taste.
-
Veggie Power: Fold in diced vegetables like bell peppers, carrots, or corn to enhance color, flavor, and nutrition in your rice balls. Kids love the crunch!
-
Heat It Up: For an exciting twist, mix in finely chopped jalapeños or a dash of sriracha to your mixture for a spicy kick that ignites the palate.
-
Rice Variety: Experiment with brown rice or wild rice for a different texture and flavor, giving your rice balls a wholesome, earthy taste.
-
Herb Infusion: Enhance with fresh herbs like cilantro or parsley to brighten the flavors and add freshness, making each bite a vibrant experience.
These variations allow you to enjoy the versatility of Tuna Rice Balls, whether you’re trying new flavors or accommodating dietary needs. Feel encouraged to make these dishes your own, and if you’re on the hunt for more ideas, check out our healthy substitutions!
Expert Tips for Tuna Rice Balls
-
Cool Rice First: Make sure the rice is completely cooled before mixing; warm rice can make the balls mushy and difficult to shape.
-
Use Gloves: Handling the mixture can get messy; wearing gloves helps maintain cleanliness and makes shaping the Tuna Rice Balls easier.
-
Adjust Mayo Wisely: When adding mayonnaise, start with less and gradually add more until you achieve your desired creaminess without making the mixture too wet.
-
Experiment with Substitutes: Don’t be afraid to swap tuna for chickpeas or tofu. It’s a simple yet tasty way to enjoy versatile, vegetarian Tuna Rice Balls.
-
Add Extra Nutrition: Enhance your rice balls by folding in diced veggies or herbs. This not only boosts nutrition but also adds vibrant colors and flavors!
How to Store and Freeze Tuna Rice Balls
Fridge: Store your Tuna Rice Balls in an airtight container for up to 2 days. Enjoy them cold as a refreshing snack or quick lunch!
Freezer: For longer storage, freeze the rice balls in a single layer on a baking sheet, then transfer to a freezer bag, where they can keep for up to 3 months.
Thawing: To enjoy frozen Tuna Rice Balls, thaw them in the fridge overnight and reheat in the microwave for a quick meal.
Reheating: If reheating, do so gently in the microwave to maintain their texture, ensuring they are warmed through but not overcooked.
Easy Tuna Rice Balls Recipe FAQs
How should I choose the best canned tuna for my rice balls?
Absolutely! Opt for chunk light tuna packed in water for a milder flavor, or go for solid white albacore if you want a richer taste. Ensure the can is in good condition, with no dents or rust. Additionally, check the expiration date for freshness!
How long can I store leftover Tuna Rice Balls in the fridge?
Very! These tasty rice balls can be stored in an airtight container for up to 2 days in the fridge. For the best flavor and texture, it’s advisable to consume them fresh, but they can still make a delightful snack later on.
Can I freeze Tuna Rice Balls for later use?
Absolutely! To freeze your Tuna Rice Balls, begin by arranging them in a single layer on a baking sheet. Freeze them for about 1-2 hours until they are solid. After that, transfer the rice balls to a freezer bag, removing as much air as possible. They can be stored in the freezer for up to 3 months!
What should I do if my rice balls are falling apart?
Very common! If your rice balls are crumbling, check if your rice was too warm when mixed or if the ratio of mayonnaise was insufficient. To salvage the mixture, try adding more cooled rice and a little extra mayonnaise to help bind it together. Rolling them tighter when forming can also help maintain their shape.
Are there any dietary considerations I should keep in mind?
I often make these rice balls with family in mind! For those with allergy concerns, ensure you’re using safe canned tuna and mayonnaise. For a vegetarian option, replace tuna with mashed chickpeas or crumbled tofu; and for vegan, opt for plant-based mayonnaise. Always check labels for allergens when using pre-packaged ingredients.
How can I serve Tuna Rice Balls for a party?
Very easy! Arrange them on a beautiful platter and serve with a side of soy sauce or homemade dipping sauce. You can also accompany them with pickled vegetables for an authentic touch. They make lovely finger foods that everyone will adore at your gathering!

Tuna Rice Balls: Quick & Easy Bites for Busy Days
Ingredients
Equipment
Method
- In a large mixing bowl, add the cooked rice, drained canned tuna, mayonnaise, sesame oil, and seaweed. Use a spatula to mix the ingredients together well, ensuring even distribution of flavors.
- Once everything is well combined, flatten the mixture in the bowl to create an even surface. Using a knife, divide the mixture into 8 equal portions.
- With clean hands, take each portion and roll it into a tightly packed ball.
- The Tuna Rice Balls are best served fresh on a platter with soy sauce or pickled vegetables.
Leave a Reply