
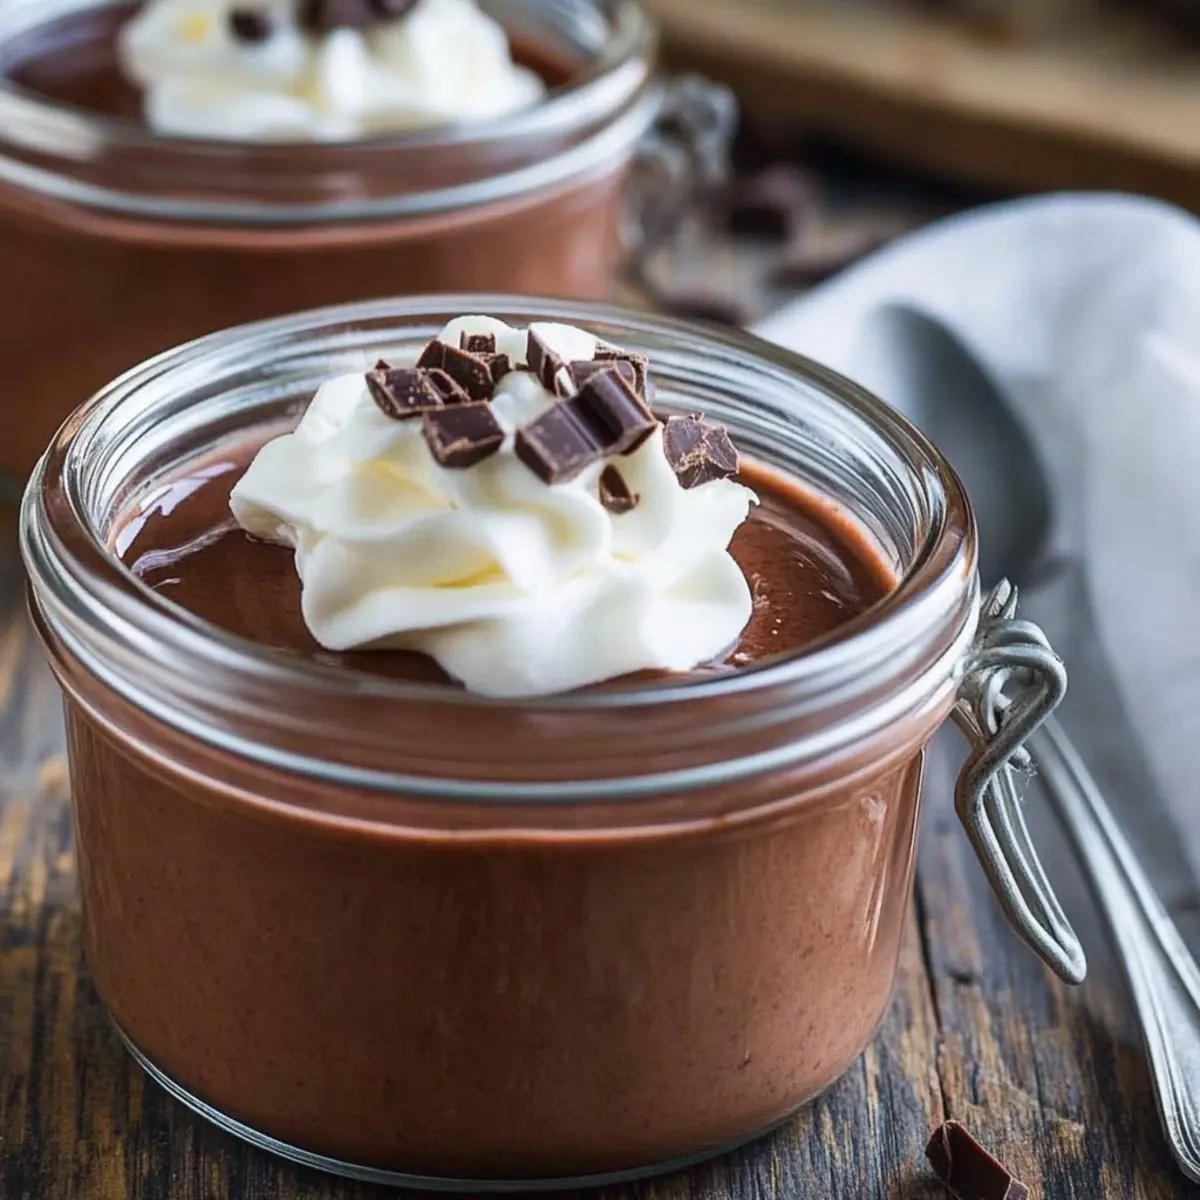
There’s nothing quite like the rich aroma of a homemade treat wafting through the kitchen, especially when it’s old-fashioned chocolate pudding. This creamy classic brings back delightful memories, reminding me of cozy afternoons spent savoring delicious desserts that were crafted with love and care. My homemade Chocolate Pudding is all about that nostalgic goodness, made with simple ingredients and no artificial flavors—just pure, comforting joy in every spoonful. In less than an hour, you’ll have a delectable dessert that’s not only quick to prepare but also a guaranteed crowd-pleaser. So, what are you waiting for? Let’s dive into this delightful journey and make some pudding that will have everyone coming back for seconds!
Why is homemade chocolate pudding the best?
Nostalgic Comfort: This classic dessert takes you back to simpler times with its creamy texture and rich flavor, transporting you straight to your grandmother’s kitchen.
Easy to Make: With just a handful of simple ingredients and less than an hour of your time, you can create a delectable chocolate pudding that rivals any store-bought option.
No Artificial Flavors: Enjoy peace of mind knowing that each spoonful is made from scratch without any artificial additives, making it a wholesome treat for everyone.
Versatile Delight: Whether you savor it plain, top it with whipped cream, or mix in chocolate chips, this pudding can be customized to suit your taste.
Perfect for Gatherings: This crowd-pleaser will have friends and family lining up for seconds, making it an excellent choice for family dinners or gatherings. Discover more comforting desserts with our easy-to-follow homemade recipes.
Chocolate Pudding Ingredients
For the Pudding
• 1/2 cup sugar – Sweetness; substitute with honey for a natural alternative, adjusting the amount due to its higher sweetness.
• 3 tablespoons unsweetened cocoa powder – Chocolate flavor; use Dutch-processed cocoa for a deeper flavor.
• 1/4 cup organic cornstarch – Thickening agent; arrowroot powder can be used as a gluten-free alternative.
• 1/8 teaspoon salt – Enhances flavor; can omit if watching sodium intake.
• 2 3/4 cups milk – Base liquid for creaminess; use whole milk for rich flavor or substitute with almond milk for a dairy-free option (note: texture may vary).
• 2 tablespoons room temperature butter – Adds richness and smoothness; can use vegan butter for a dairy-free version.
• 1 teaspoon vanilla extract – Flavor enhancer; replace with almond extract for a different taste profile.
Rediscover the joys of chocolate pudding made from scratch with these simple, wholesome ingredients!
Step‑by‑Step Instructions for Homemade Chocolate Pudding
Step 1: Combine Dry Ingredients
In a medium-sized saucepan, whisk together 1/2 cup of sugar, 3 tablespoons of unsweetened cocoa powder, 1/4 cup of organic cornstarch, and 1/8 teaspoon of salt. This step is essential for ensuring a smooth and creamy chocolate pudding. Make sure the ingredients are well blended before moving on, as this helps develop the pudding’s rich flavor.
Step 2: Add Milk Gradually
Slowly pour in 2 3/4 cups of milk while stirring continuously over medium heat. This gradual addition helps prevent lumps from forming, creating a silky base for your chocolate pudding. Keep stirring until the mixture is completely smooth and starts to warm up, which takes about 3-4 minutes.
Step 3: Cook Until Thickened
Increase the heat to medium-high and bring the mixture to a gentle boil, stirring constantly. As it reaches boiling point, you’ll notice the mixture thicken and start to coat the back of a metal spoon, taking about 5-10 minutes. This is when the magic happens, transforming your ingredients into a luscious chocolate pudding.
Step 4: Incorporate Butter and Vanilla
Once thickened, remove the saucepan from heat and stir in 2 tablespoons of room temperature butter and 1 teaspoon of vanilla extract until well combined. This final touch adds richness and a delightful aroma to your chocolate pudding. Give it a good mix, ensuring every bit of butter melts smoothly into the mixture.
Step 5: Cool and Chill
Allow the pudding to cool for about 10-15 minutes at room temperature before transferring it to individual ramekins or a medium bowl. Cover with plastic wrap to prevent a skin from forming on top. Chill in the refrigerator for at least 30 minutes, until set and ready to be devoured. Your homemade chocolate pudding is now perfectly creamy and ready to serve!
How to Store and Freeze Chocolate Pudding
Fridge: Store leftover chocolate pudding in an airtight container for up to 3-4 days to maintain its creamy texture. Be sure to cover the surface with plastic wrap to prevent a skin from forming.
Freezer: If you need to freeze it, pour the pudding into freezer-safe containers, leaving space for expansion. It can be stored for up to 2 months. Thaw in the refrigerator before serving; whisk gently to restore creaminess.
Reheating: For best results, reheat pudding on the stovetop over low heat, stirring frequently until warmed through. Avoid using the microwave, as it can alter the texture.
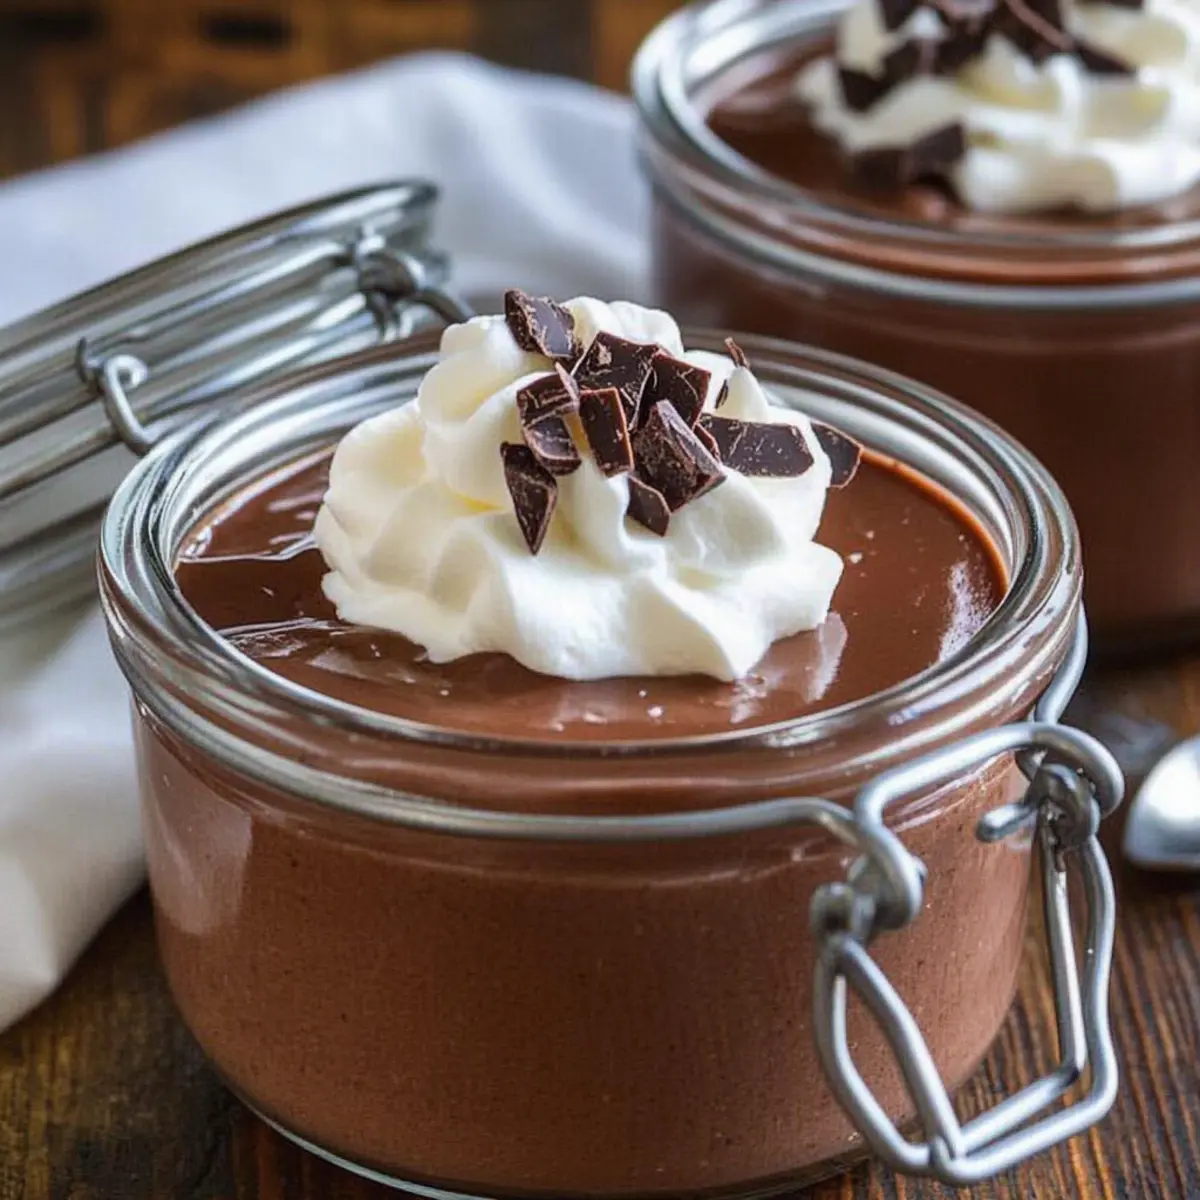
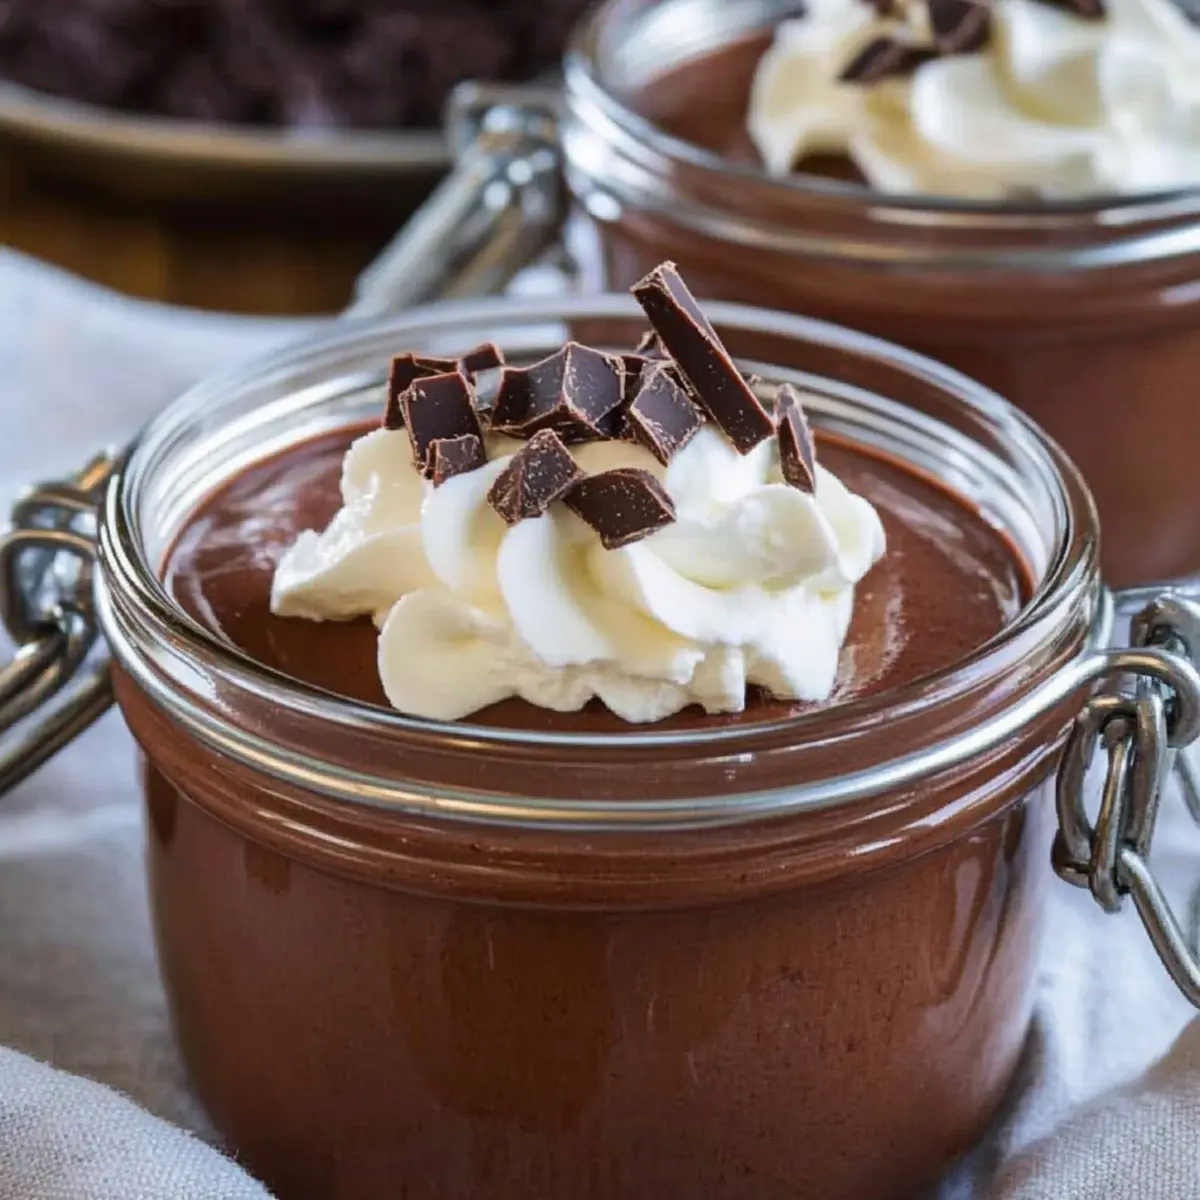
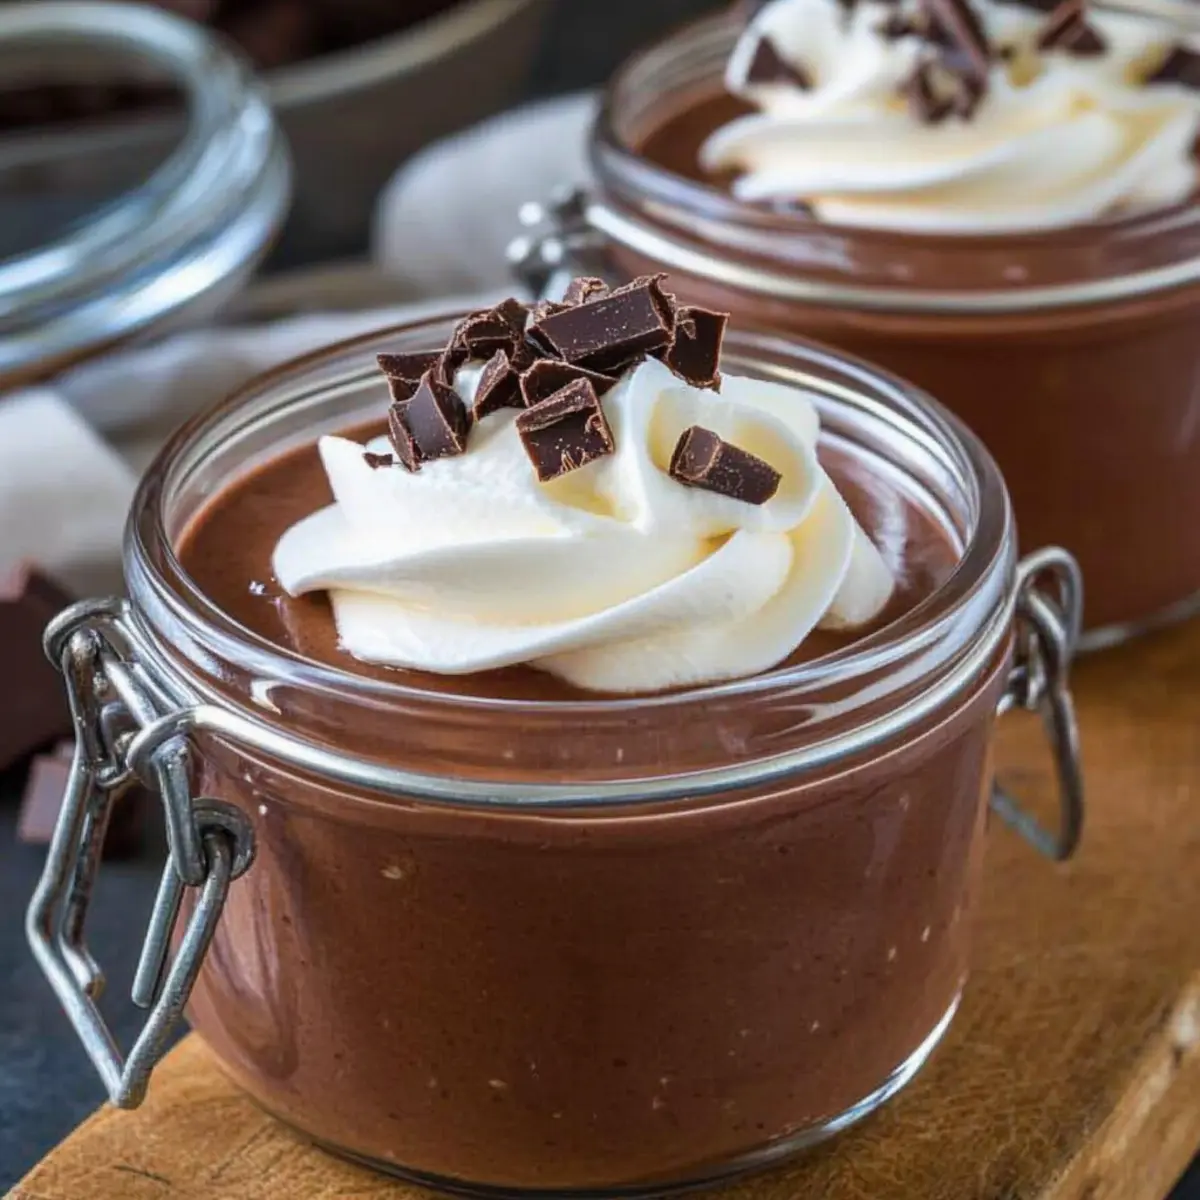
Serving Tip: Enjoy chocolate pudding chilled, topped with whipped cream or fresh fruits to enhance flavor and presentation!
Make Ahead Options
These creamy Chocolate Pudding cups are perfect for meal prep enthusiasts! You can cook the pudding and refrigerate it up to 3 days in advance, allowing the flavors to meld wonderfully. After following the cooking instructions, simply let the pudding cool and transfer it to individual ramekins or a bowl. Cover them tightly with plastic wrap to prevent a skin from forming and keep them chilled in the fridge. When you’re ready to serve, just whisk gently to restore its silky texture, then feel free to top with whipped cream or chocolate shavings for an elegant finish. With this make-ahead option, you’ll have a delightful dessert at your fingertips, saving you precious time during busy weeknights!
Chocolate Pudding Variations & Substitutions
Feel free to tailor this delightful chocolate pudding to your taste and dietary preferences with these fun variations!
- Dairy-Free: Substitute whole milk with almond milk or oat milk to maintain creaminess without dairy. Almond milk adds a unique nutty flavor too!
- Sweetener Swap: Use maple syrup or agave nectar instead of sugar for a natural sweetener option. Just remember to adjust your wet ingredients accordingly.
- Gluten-Free: Replace cornstarch with arrowroot powder for a gluten-free thickening option. This swap will yield similar luscious results!
- Rich Cocoa: Try Dutch-processed cocoa instead of regular to deepen that irresistible chocolate flavor. It’s like a flavor enhancer and a delicious twist!
- Flavor Boost: Add a splash of coffee or espresso powder for a mocha-inspired pudding that will awaken your senses and add complexity.
- Nutty Twist: Stir in a tablespoon of almond or hazelnut butter while cooking for a nutty flavor explosion that pairs perfectly with chocolate.
- Decadent Touch: Mix in semi-sweet or dark chocolate chips for a rich texture and a chocolaty scrumptious surprise throughout your pudding.
- Spicy Kick: For adventurous souls, add a pinch of cayenne pepper or chili powder for a warm, spicy chocolate pudding that tantalizes the taste buds!
Now that you have these delicious options, go ahead and indulge in a dessert that best suits your cravings. If you’re in the mood for more comforting desserts, explore our easy-to-follow homemade recipes and make your kitchen a haven of flavor!
Expert Tips for Chocolate Pudding
• Stir Constantly: To avoid lumps, make sure to stir continuously during the cooking process until fully thickened.
• Boil for Success: Bring your mixture to a full boil; this activates the cornstarch effectively, ensuring a creamy consistency in your chocolate pudding.
• Strain for Smoothness: For an ultra-smooth texture, consider straining the mixture after cooking to remove any clumps or grains.
• Cool Properly: Let the pudding cool completely in the fridge to achieve the perfect, set consistency before serving.
• Tweak to Taste: Feel free to customize your chocolate pudding with flavors like espresso or almond extract for a unique twist!
What to Serve with Homemade Chocolate Pudding
There’s nothing better than a cozy dinner ending with a spoonful of rich, creamy goodness, perfectly paired with delightful sides or treats.
-
Fresh Berries: The tartness of raspberries or strawberries beautifully counters the sweetness of the chocolate pudding, adding a pop of freshness to each bite. Their vibrant color also makes for an appealing presentation.
-
Whipped Cream: Light and airy, a dollop of freshly whipped cream adds lusciousness and a pleasing contrast to the pudding’s creamy texture, elevating this dessert to a crowd-pleaser.
-
Chocolate Shavings: Grating some dark chocolate on top creates an extra layer of decadence. The slight crunch of the shavings paired with the soft pudding adds intrigue to the sensory experience.
-
Coffee: A warm mug of coffee enhances the chocolate flavor, creating a delightful harmony. The slight bitterness of coffee is the perfect companion to the sweet, creamy pudding, ensuring a well-rounded finish to your meal.
-
Shortbread Cookies: These buttery delights add a crunchy texture and are lovely for dipping into the pudding, creating a delightful balance of textures with every scoop.
-
Vanilla Ice Cream: A scoop of vanilla ice cream brings a delightful coolness and a creamy contrast to the chocolate pudding. As it melts slightly into the pudding, it creates a heavenly, indulgent treat.
-
Toasted Nuts: Sprinkle some chopped pecans or walnuts for a lovely crunch and earthy flavor that complements the sweetness of the pudding beautifully, adding complexity to the simple dessert.
Chocolate Pudding Recipe FAQs
How do I choose the right cocoa powder for chocolate pudding?
Absolutely! Using high-quality cocoa powder can make a significant difference in flavor. I recommend Dutch-processed cocoa for a deeper, richer chocolate taste. It’s less acidic and delivers a smooth flavor profile compared to natural cocoa powder. If you prefer a more intense chocolate flavor, try a combination of both!
How can I store leftover chocolate pudding?
Very! To keep your chocolate pudding fresh and maintain its creamy texture, store it in an airtight container in the refrigerator for up to 3-4 days. Make sure to press a piece of plastic wrap directly onto the surface of the pudding to avoid a skin from forming. This little trick will keep it velvety and delightful until you’re ready for your next indulgent bite.
Can I freeze chocolate pudding?
Absolutely! If you’d like to save some pudding for later, pour it into freezer-safe containers, leaving a little space at the top for expansion. This pudding can be stored in the freezer for up to 2 months. When you’re ready to enjoy it again, simply transfer it to the refrigerator to thaw overnight, and whisk it gently to restore the creamy consistency before serving.
What should I do if my chocolate pudding is too lumpy?
Ah, lumps can happen! If your pudding turns out lumpy, don’t fret. Simply strain the mixture through a fine mesh sieve before cooling it. This step removes any clumps, leaving you with a silky-smooth chocolate pudding. If it’s already cooled and has developed lumps, you may gently reheat it on the stovetop and whisk it continuously until it smooths out.
Is chocolate pudding safe for pets?
Not really! Chocolate can be toxic to dogs, so it’s crucial to keep chocolate pudding away from them. Always check ingredients to ensure there are no toxic substances for pets before sharing any treats. For your sweet furry friends, consider making them a pet-friendly dessert!
Can I make chocolate pudding dairy-free?
Absolutely! You can easily make this chocolate pudding dairy-free by substituting whole milk with almond milk or any other plant-based milk. Just keep in mind that the texture may vary slightly but it will still yield a delightful dessert. You can also use vegan butter for richness, ensuring everyone can enjoy this comforting treat!
Creamy Chocolate Pudding from Scratch – A Taste of Nostalgia
Ingredients
Equipment
Method
- In a medium-sized saucepan, whisk together sugar, cocoa powder, cornstarch, and salt.
- Slowly pour in milk while stirring continuously over medium heat.
- Increase heat to medium-high and bring to a gentle boil, stirring constantly until thickened.
- Remove from heat and stir in butter and vanilla until well combined.
- Allow pudding to cool for 10-15 minutes before transferring to ramekins or a bowl.
- Cover with plastic wrap and chill in the refrigerator for at least 30 minutes.
Leave a Reply