
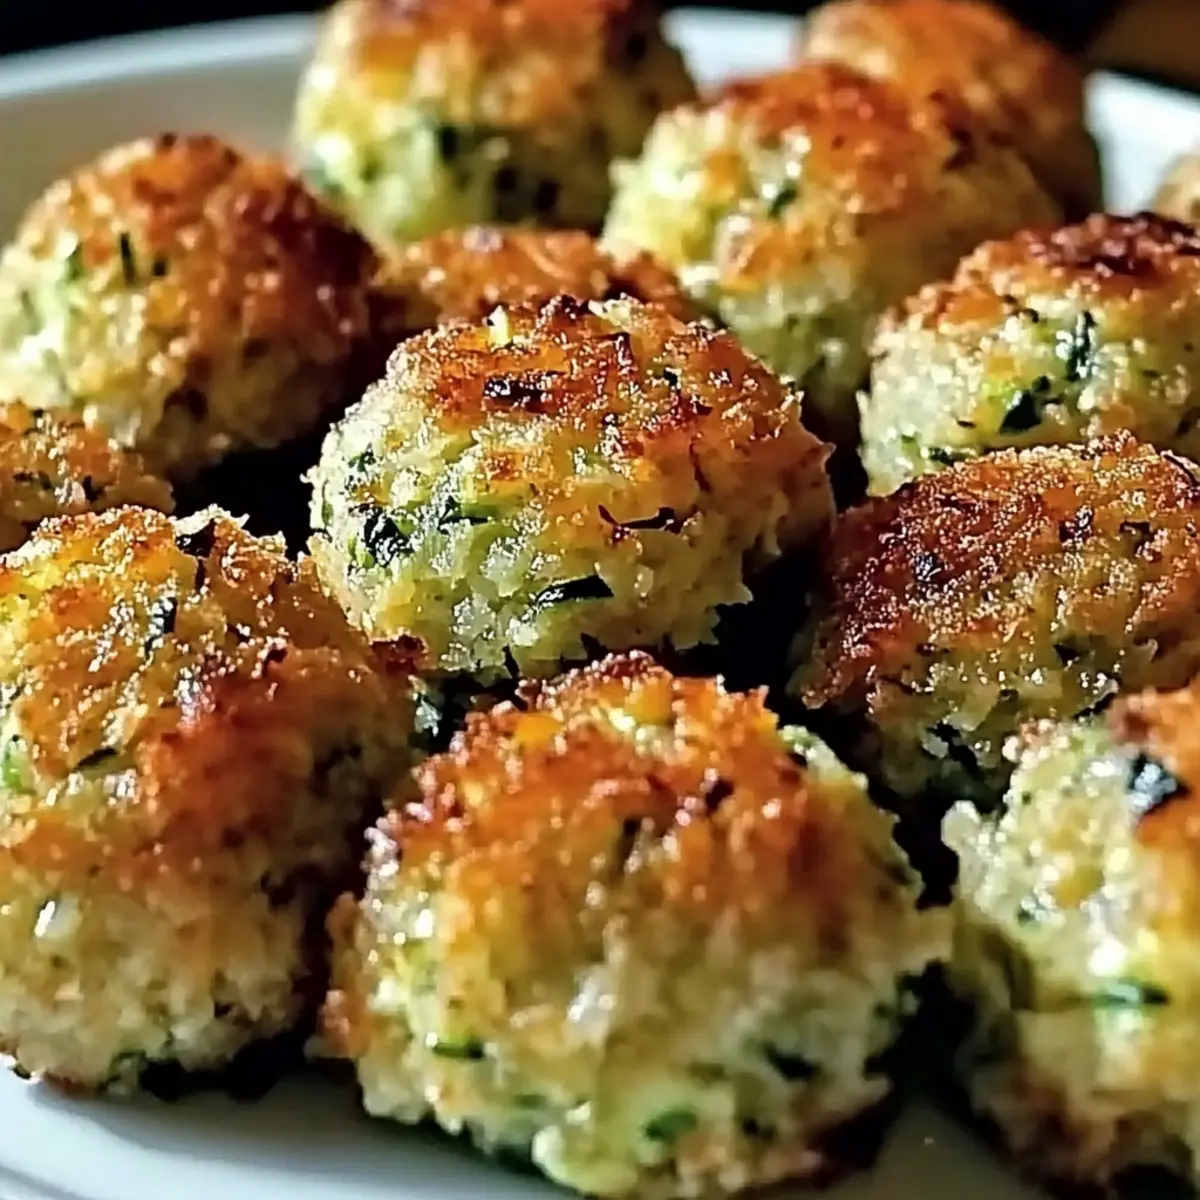
As I sliced into the firm, sun-kissed zucchini, an enticing aroma filled my kitchen—one that promised a delicious adventure. Today, I’m thrilled to share my recipe for Crispy Garlic Zucchini Balls, a snack that marries health and flavor beautifully! Not only are these little bites easy to whip up, but they’re also gluten-free if you choose to use gluten-free breadcrumbs. Each golden ball delivers a satisfying crunch with a delightful garlic kick, making them perfect for a quick snack or as a crowd-pleasing appetizer. Whether you’re enjoying a cozy night in or prepping for a gathering, these Crispy Garlic Zucchini Balls are sure to be a hit. Curious about how to bring this scrumptious recipe to life? Let’s dive right in!
Why Are Crispy Garlic Zucchini Balls Awesome?
Crispy Perfection: These bites have a crunchy surface that perfectly contrasts with a tender, flavorful interior, making each bite a delight.
Flavor Explosion: The robust garlic and aromatic herbs come together to create an irresistible taste that will have everyone coming back for more.
Versatile Delight: Perfect as a snack, appetizer, or side dish, they fit seamlessly into any meal occasion, whether it’s a family dinner or a lively party.
Quick and Easy: With simple preparation steps, you’ll have these ready in no time—ideal for those busy evenings when you crave something delicious without the hassle.
Gluten-Free Option: Want to cater to dietary preferences? These can be made gluten-free with just a simple switch of breadcrumbs, ensuring that everyone can enjoy them!
Health-Conscious Snack: Each ball packs in the goodness of zucchini and herbs, making these a guilt-free treat that satisfies cravings without sacrificing health.
Crispy Garlic Zucchini Balls Ingredients
For the Zucchini Mixture
- Zucchini – Helps provide moisture and bulk; remember to squeeze out the excess moisture for crispy results!
- Breadcrumbs – Adds structure and crunch; opt for gluten-free breadcrumbs if you want to keep these snacks gluten-free.
- Parmesan Cheese – Enhances flavor and binds the mixture; substitute with nutritional yeast for a vegan option.
- Garlic – Infuses the mixture with robust flavor; use fresh minced garlic for the best taste.
- Egg – Acts as a binder; you can omit it for a vegan version or replace it with a flax egg for binding.
For the Seasoning
- Dried Oregano – Elevates the flavor; if unavailable, dried thyme or Italian seasoning can work as a substitute.
- Dried Basil – Complements the zucchini beautifully; fresh basil can elevate the taste even further.
- Salt – Key for enhancing overall flavor; adjust to your preference.
- Black Pepper – Adds a kick; feel free to increase the amount for more heat.
- Red Pepper Flakes – Use for an optional spicy twist; omit if you prefer no heat.
For Cooking
- Cooking Spray – Ensures a golden, crispy texture while baking or air frying; essential for that perfect crunch!
Step‑by‑Step Instructions for Crispy Garlic Zucchini Balls
Step 1: Preheat the Oven
Begin by preheating your oven to 425°F (220°C) or your air fryer to 400°F (200°C). This ensures that your Crispy Garlic Zucchini Balls will cook evenly and develop a beautiful golden-brown exterior. Meanwhile, gather your tools, including a mixing bowl and a baking sheet or air fryer basket, to streamline your cooking process.
Step 2: Prepare the Zucchini
Grate 2 medium zucchinis, then place the grated zucchini in a clean kitchen towel or cheesecloth. Squeeze tightly to remove as much excess moisture as possible; this step is crucial for achieving that delightful crispy texture. After squeezing, set the zucchini aside while you mix the other ingredients.
Step 3: Mix the Ingredients
In a large mixing bowl, combine the prepared zucchini with gluten-free breadcrumbs, grated Parmesan cheese, minced garlic, and one beaten egg. Add in the dried oregano, dried basil, salt, black pepper, and optional red pepper flakes. Stir until all ingredients are well combined, forming a cohesive mixture that holds together nicely.
Step 4: Form the Balls
Using your hands, scoop tablespoon-sized portions of the mixture and shape them into round balls or patties. Aim for consistency in size to ensure even cooking. Place each formed ball on a baking sheet lined with parchment paper or in the air fryer basket, leaving space between each ball to allow for proper airflow and crisping.
Step 5: Prepare for Cooking
Lightly spray the tops of the balls with cooking spray—this is essential for achieving that irresistible golden finish. If using the air fryer, ensure that the basket isn’t overcrowded; you may need to cook in batches to prevent steaming instead of crisping.
Step 6: Cook the Zucchini Balls
If baking, place your baking sheet in the oven and bake for 20 to 25 minutes. Remember to flip the balls halfway through the cooking time to promote even browning. If using the air fryer, set the timer for 10 to 12 minutes, shaking the basket midway for uniform cooking. Look for a crispy, golden exterior as the perfect doneness indicator.
Step 7: Cool Slightly Before Serving
Once cooked, remove the Crisp Garlic Zucchini Balls from the oven or air fryer and let them cool for a few minutes on the baking sheet. This allows the flavors to meld and helps the balls firm up a bit more, ensuring they’re easy to handle when you serve them.
Step 8: Serve and Enjoy
Transfer the crispy zucchini balls to a serving platter and garnish with fresh herbs or additional grated cheese if desired. These delightful bites are best enjoyed warm, perhaps paired with a tangy marinara sauce or a cool yogurt dip for added flavor.
Crispy Garlic Zucchini Balls Variations & Substitutions
Feel free to get creative and customize your Crispy Garlic Zucchini Balls for a unique twist that suits your taste!
- Gluten-Free: Use gluten-free breadcrumbs to make these delicious nuggets suitable for gluten-sensitive diets.
- Vegan: Substitute Parmesan cheese with nutritional yeast and replace the egg with a flax egg for a plant-based option.
- Spicy Kick: Incorporate diced jalapeños or a dash of hot sauce into the mixture for an extra spicy kick that tantalizes your taste buds.
- Herb Twist: Mix in fresh herbs like dill or cilantro for a fresh and vibrant flavor that elevates every bite.
- Veggie Boost: Add grated carrots, chopped spinach, or bell peppers to the mixture for a burst of color and additional nutrients.
- Cheesy Variation: Swap out the Parmesan for feta or goat cheese to introduce a tangy flavor profile that complements the zucchini beautifully.
- Savory Add-ins: Consider mixing in some finely chopped sun-dried tomatoes or olives for a Mediterranean flair that transforms these balls into a gourmet snack.
- Texture Variation: For a heartier option, replace half of the breadcrumbs with cooked quinoa, adding a delightful chewiness to each bite.
Each of these variations can transform your Crispy Garlic Zucchini Balls into a tailored treat. If you’re interested in other creative recipes, you might enjoy checking out a Vegetable Fritter recipe or even a delightful homemade Marinara sauce to pair alongside!
How to Store and Freeze Crispy Garlic Zucchini Balls
Fridge: Store leftover Crispy Garlic Zucchini Balls in an airtight container for up to 3 days. Reheat in the oven for a few minutes to restore their crispy texture.
Freezer: For longer storage, freeze the zucchini balls in a single layer on a baking sheet until solid, then transfer to a zip-top bag. They can last up to 2 months in the freezer.
Reheating: When ready to enjoy, bake from frozen at 425°F (220°C) for about 15-20 minutes or until heated through and crispy again.
Prepping Ahead: You can assemble the mixture and form the balls a day in advance. Just refrigerate until you’re ready to cook them!
What to Serve with Crispy Garlic Zucchini Balls
There’s nothing quite like the harmony of flavors and textures you can create when pairing these delightful bites with the right accompaniments.
-
Tangy Marinara Sauce: This classic pairing adds a zingy, rich flavor that perfectly complements the savory zucchini balls. The contrast elevates each bite, making it a tasty dipping experience.
-
Creamy Yogurt Dip: A refreshing yogurt dip brings a cool contrast to the warm, crispy balls. Flavored with herbs, it enhances the Mediterranean vibe, inviting you to savor every delightful mouthful.
-
Garlicky Herb Couscous: Serve with light, fluffy couscous tossed in fresh herbs for a wholesome side that echoes the flavors of the zucchini balls while adding texture and bite.
-
Roasted Vegetables: Colorful roasted veggies provide a satisfying crunch and sweetness, balancing the savory nature of your crispy treats. Together, they create an inviting plate perfect for any gathering.
-
Crunchy Salad: A bright, refreshing salad with mixed greens, cherry tomatoes, and a zesty vinaigrette offers a healthy complement that adds a refreshing contrast to the tempura-like crispiness of the balls.
-
Savory Quinoa: Serve these zucchini balls on a bed of savory quinoa infused with lemon and herbs, creating a wholesome meal that combines protein and veggies for a rich culinary celebration.
-
A Glass of Sparkling Wine: For a touch of elegance, enjoy with a frosty glass of sparkling wine or a crisp white, enhancing your cooking adventure with a festive spirit that makes every bite feel like a celebration.
Expert Tips for Crispy Garlic Zucchini Balls
Squeeze Excess Moisture: Avoid soggy balls by thoroughly squeezing out moisture from the zucchini. This step is critical for achieving that perfect crispy texture.
Chill the Mixture: For enhanced flavor, refrigerate the zucchini mixture for about 30 minutes before shaping the balls. This helps the herbs meld beautifully.
Consistent Sizes: Shape your balls into uniform sizes to promote even cooking. This way, every bite will be perfectly golden and crispy!
Monitor Cooking Time: Ovens vary, so keep an eye on your zucchini balls as they bake or fry. Look for a deep golden color as a sign of doneness.
Use Quality Ingredients: Fresh garlic, high-quality cheese, and good breadcrumbs elevate the flavor of your Crispy Garlic Zucchini Balls. Don’t skimp on quality!
Make Ahead Options
These Crispy Garlic Zucchini Balls are a fantastic choice for meal prep, saving you precious time on busy nights! You can prepare the zucchini mixture up to 24 hours in advance—simply combine the grated zucchini with breadcrumbs, cheese, garlic, and spices, then refrigerate it in an airtight container. To prevent browning, mix in the egg just before forming the balls. When you’re ready to cook, shape the mixture into balls and bake or air fry them as directed. For optimal quality, remember to consume them within 3 days, and if reheating, do so in the oven to retain their delightful crunch. Enjoy the convenience of having a healthy snack ready to go!
Crispy Garlic Zucchini Balls Recipe FAQs
What type of zucchini should I use for the recipe?
Absolutely! Look for firm, medium-sized zucchini that feels heavy for its size. Avoid any that have dark spots all over or feel soft; those signs indicate overripeness that can affect the texture and flavor of your Crispy Garlic Zucchini Balls.
How should I store leftover zucchini balls?
You can store leftover Crispy Garlic Zucchini Balls in an airtight container in the fridge for up to 3 days. To keep them crispy, reheat them in the oven at 350°F (175°C) for about 5-10 minutes, ensuring they regain their delightful crunch.
Can I freeze the zucchini balls?
Certainly! To freeze, place the shaped zucchini balls on a baking sheet and freeze until solid. Once frozen, transfer them to a zip-top freezer bag. They can be stored for up to 2 months. When ready to enjoy, bake from frozen at 425°F (220°C) for 15-20 minutes or until heated through.
What if my zucchini mixture is too wet?
Very! If your mixture seems too wet, it’s likely that the zucchini wasn’t squeezed out enough. To remedy this, you can add a bit more breadcrumbs to absorb excess moisture. Be sure to use a clean kitchen towel or cheesecloth to really wring out as much liquid as possible during preparation.
Are there any dietary considerations for this recipe?
For those with allergies, ensure you’re using gluten-free breadcrumbs and double-check that none of your other ingredients contain allergens. If making for pets, it’s best to avoid serving them any garlic or cheese, as both can be harmful to dogs.
Can I make these zucchini balls ahead of time?
Absolutely! You can prepare the mixture and shape the balls a day in advance. Just refrigerate them until you’re ready to cook. This helps the flavors meld beautifully, making for an even tastier result when baked!
Crispy Garlic Zucchini Balls: Irresistibly Crunchy & Healthy
Ingredients
Equipment
Method
- Preheat your oven to 425°F (220°C) or your air fryer to 400°F (200°C).
- Grate 2 medium zucchinis, then squeeze out the excess moisture using a kitchen towel.
- In a mixing bowl, combine the zucchini, breadcrumbs, Parmesan cheese, minced garlic, and beaten egg.
- Add in dried oregano, dried basil, salt, black pepper, and red pepper flakes; mix well.
- Shape mixture into tablespoon-sized balls and place on a baking sheet or air fryer basket.
- Lightly spray the tops with cooking spray.
- Bake for 20-25 minutes, flipping halfway, or air fry for 10-12 minutes until golden.
- Cool for a few minutes, then serve warm, garnished with herbs or cheese.
Leave a Reply