
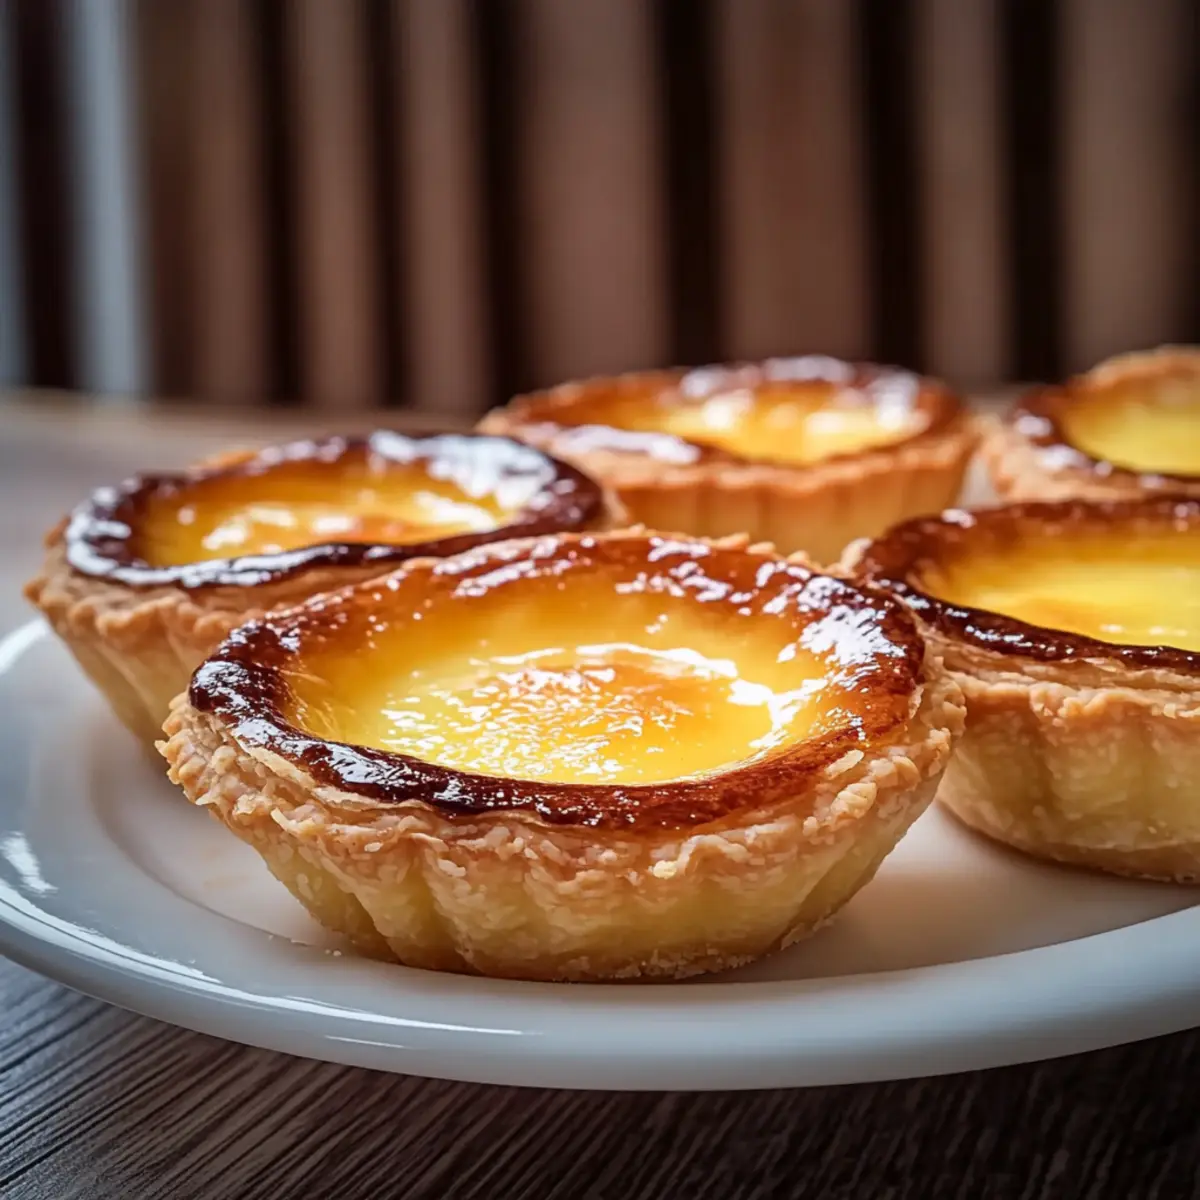
As I stood in my kitchen, the savory scent of baking custard tarts wafted through the air, instantly transforming my space into a cozy haven. These delightful treats, known as Pastéis de Nata, marry a rich, creamy filling with a flaky crust that’s simply irresistible. What I love most about these custard tarts is their simplicity—they come together in just 40 minutes, making them the perfect solution for both an ambitious dessert or a sweet escape after a hectic day. Plus, they’re an absolute crowd-pleaser, sure to impress any guest at your gathering. Are you ready to uncover the magic of these tarts and elevate your dessert game? Let’s get started!
Why are Custard Tarts So Irresistible?
Simplicity at Its Best: Whip up custard tarts in just 40 minutes with minimal fuss, allowing you to indulge your sweet tooth without a lengthy prep time.
Crowd-Pleasing Delight: These delectable treats are perfect for any occasion—from family gatherings to intimate dinners, everyone will be coming back for seconds!
Versatile Flavor: Experiment with variations by adding spices or fruit purees, making each tart uniquely yours.
Irresistible Texture: Enjoy the contrast of a crisp, flaky crust against a smooth, creamy filling that melts in your mouth with every bite.
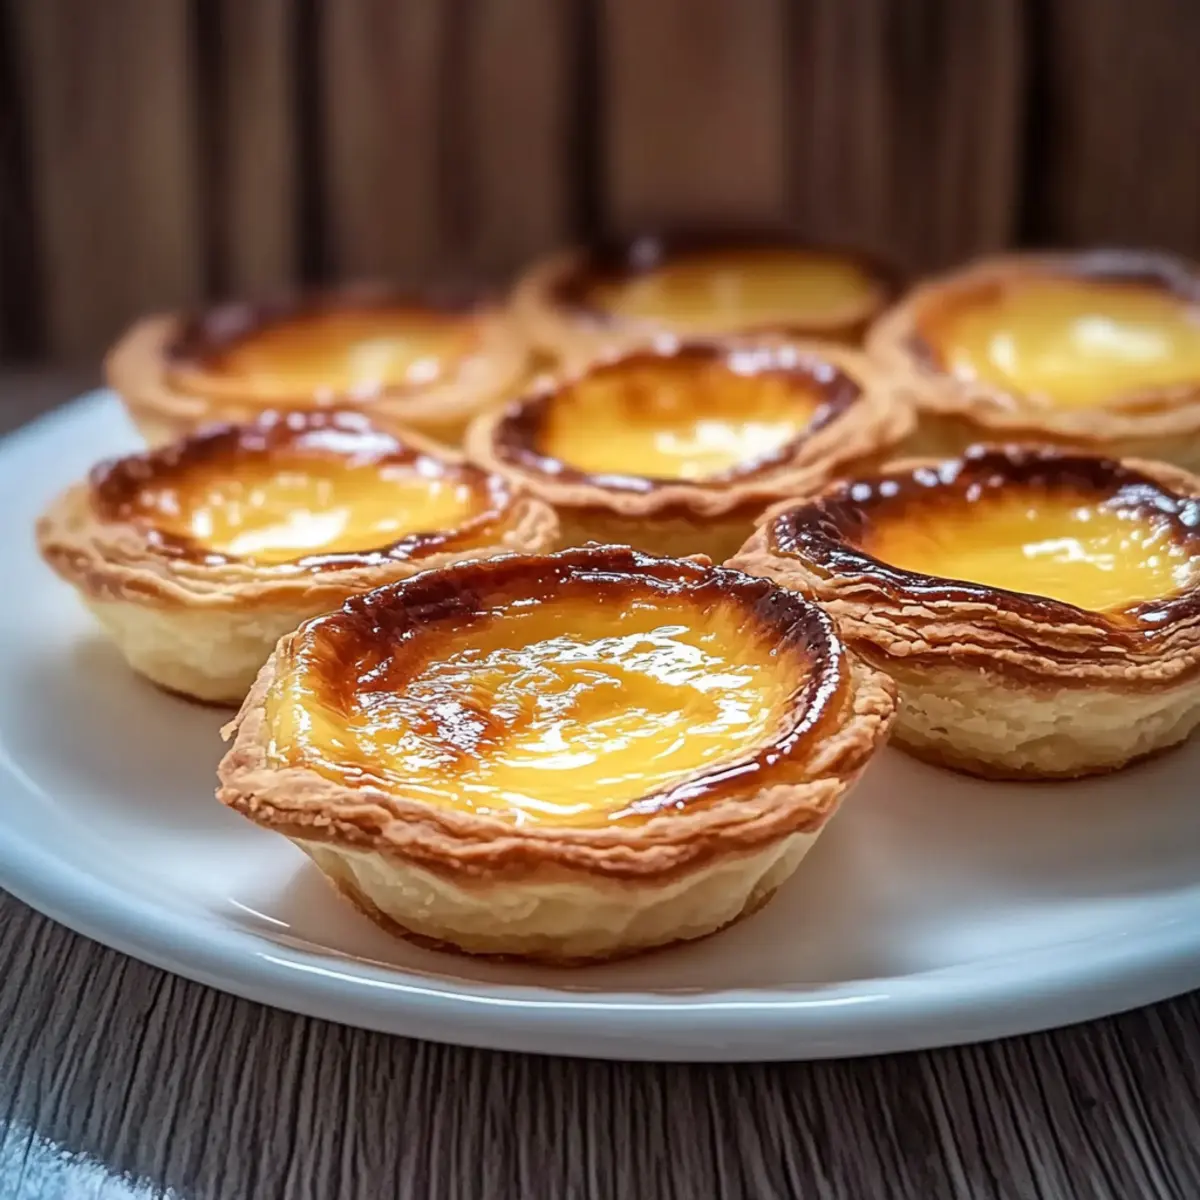
Impressive Presentation: Each tart is a visual masterpiece, guaranteed to impress your guests and spark delightful conversations at your table.
Elevate your baking skills and find joy in making these custard tarts—they’re the ultimate homemade treat that never disappoints!
Custard Tarts Ingredients
• Ready to create delicious custard tarts? Here’s everything you need!
-
For the Pastry Crust
-
All-purpose flour – Provides structure for the pastry; substitute with gluten-free flour if needed.
-
Unsalted butter (melted) – Adds richness; coconut oil can work for a dairy-free option.
-
Granulated sugar (1/4 cup) – Sweetens the crust; opt for brown sugar for added depth.
-
Salt – Enhances flavor; can be omitted for a low-sodium diet.
-
Cold water – Binds the pastry; always use ice-cold water for best results.
-
For the Custard Filling
-
Whole milk – Forms the creamy base; almond milk is a great dairy-free alternative.
-
Heavy cream – Contributes to the custard’s richness; swap with coconut cream for a lighter option.
-
Cornstarch – Thickens the custard for perfect consistency; arrowroot powder can substitute.
-
Vanilla extract – Brings depth of flavor; almond extract adds a unique twist.
-
Egg yolks (4 large) – Set and enrich the custard filling, providing that signature texture.
-
Cinnamon stick – Infuses a warm aroma; optional but lovely for flavor enhancement.
-
Lemon peel – Adds a refreshing hint of citrus; can be omitted if you prefer a simpler taste.
With these ingredients in hand, you’re just moments away from dazzling your family and friends with homemade custard tarts that are as delightful to the eyes as they are to the palate!
Step‑by‑Step Instructions for Custard Tarts
Step 1: Prep Oven and Muffin Tin
Preheat your oven to 400°F (200°C) to ensure it’s hot and ready for baking. While the oven warms up, grease your muffin tin with non-stick spray or butter to prevent the custard tarts from sticking. Take a moment to visualize your golden-brown treats as you prepare your workspace.
Step 2: Prepare Dough
In a mixing bowl, combine all-purpose flour, melted butter, granulated sugar, and a pinch of salt. Gradually add in cold water, mixing until a soft dough forms; this gives your pastry its structure. Knead the dough on a floured surface until smooth, then let it rest for about 5 minutes—this will help with flakiness later on.
Step 3: Shape Pastry Shells
Transform the rested dough into delightful pastry shells! Roll the dough into a log, then cut it into 12 equal pieces. Flatten each piece into a disc, pressing them into the greased muffin tin, ensuring they cover the bottom and sides. The pressed dough should be around 1/8-inch thick, ready for the custard filling.
Step 4: Cook Custard Filling
In a medium saucepan, combine whole milk, heavy cream, granulated sugar, cornstarch, vanilla extract, and the optional cinnamon stick. Heat this mixture over medium heat, stirring gently until it thickens, about 5-7 minutes. You’ll notice a creamy texture forming; keep an eye out for bubbles signifying it’s time to remove from heat.
Step 5: Temper Eggs
In a separate bowl, whisk the large egg yolks until smooth. Slowly add the warm milk mixture, pouring it gradually while whisking continuously. This step avoids scrambling the eggs and ensures a beautifully silky custard filling. Visualize the creamy blend as you combine; this will create the heart of your custard tarts.
Step 6: Fill and Bake
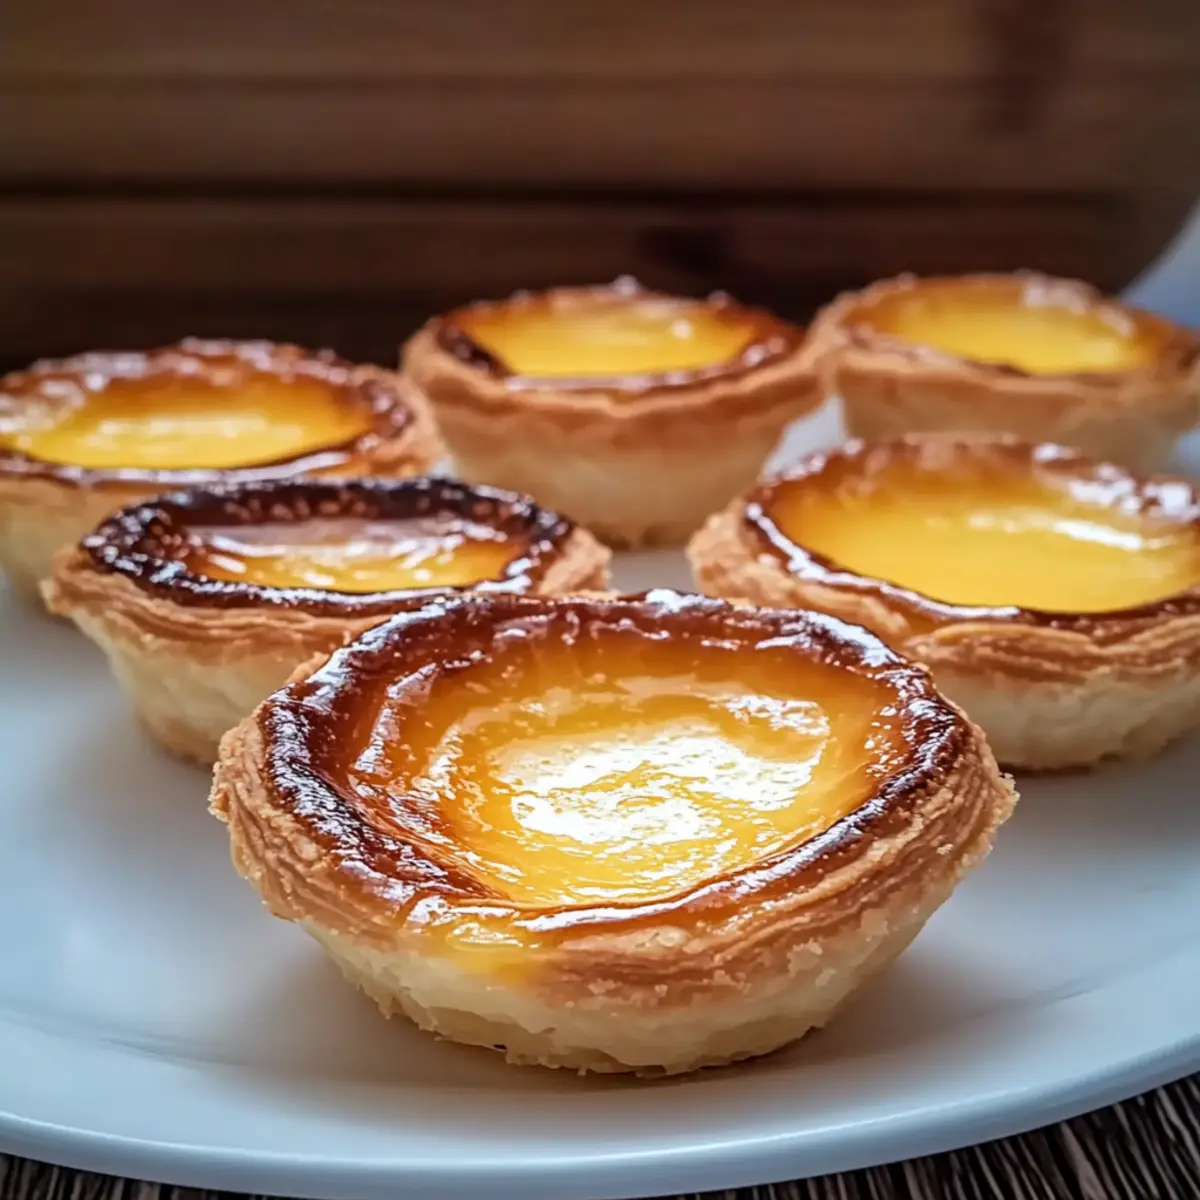
Pour the custard mixture into each pastry shell, filling them about 3/4 full. Place the muffin tin in your preheated oven and bake for 15-20 minutes. Look for a golden-brown, slightly caramelized top, indicating your custard tarts are ready. The edges should puff slightly, creating an inviting sight.
Step 7: Cool
Once baked to perfection, carefully remove your custard tarts from the oven and let them cool in the pan for about 5 minutes. This cooling period is crucial for them to set properly and makes transferring easier. Once slightly cooled, use a knife to gently loosen the edges and transfer the tarts to a wire rack to cool completely.

What to Serve with Quick and Easy Custard Tarts?
Indulging in these delectable custard tarts is just the beginning of your sweet adventure—let’s elevate your dessert experience!
-
Fresh Berries: A mix of strawberries, raspberries, and blueberries brings vibrant flavors and a refreshing contrast to the creamy tarts. Their natural sweetness complements the rich custard beautifully.
-
Creamy Vanilla Ice Cream: For an indulgent treat, pair your tarts with a scoop of vanilla ice cream. The cold creaminess offers a delightful contrast to the warm, flaky pastry and enhances the overall dessert experience.
-
Espresso or Coffee: A strong, rich cup of espresso or coffee balances the sweetness of the custard tarts. The robust flavor cuts through the creaminess, creating a delightful pairing that coffee lovers will adore.
-
Homemade Whipped Cream: Light and airy, freshly whipped cream adds a luscious touch to each bite. Spoon a little over your tart to enrich the flavors while adding a touch of elegance to the presentation.
-
Citrus Salad: A citrus medley of oranges, grapefruits, and a drizzle of honey can brighten up your dessert spread. The zesty flavors add a refreshing note that harmonizes well with the tarts’ sweetness.
-
Chocolate Drizzle: For chocolate lovers, a light drizzle of warm chocolate sauce can bring a luxurious finish to each custard tart. It creates an inviting visual while enhancing the richness of the creamy filling.
-
Mint Tea: A warm cup of mint tea not only cleanses the palate but also infuses a fresh aroma that complements the rich taste of the custard tarts beautifully.
-
Lemon Sorbet: As a palate cleanser, lemon sorbet gives a zesty bite between servings. This bright dessert adds a refreshing element that enhances your sweet experience overall.
-
Nuts and Seeds: A small bowl of toasted almonds or pistachios offers a satisfying crunch that pairs well with the smooth custard. Their nutty flavor adds another layer to your dessert joy.
With these delightful accompaniments, your quick and easy custard tarts become the centerpiece of an unforgettable dessert experience!
How to Store and Freeze Custard Tarts
Fridge: Store leftover custard tarts in an airtight container in the refrigerator for up to 3 days to maintain their freshness and flavor.
Freezer: If you need to keep them longer, wrap each tart in plastic wrap and freeze for up to 1 month. Thaw in the fridge before enjoying again.
Reheating: To reheat, place frozen custard tarts in an oven preheated to 350°F (175°C) for about 10-15 minutes, until warmed through and the crust is crispy again.
Serving: Enjoy your custard tarts warm or at room temperature for the best texture and flavor experience!
Make Ahead Options
These custard tarts are a game-changer for your meal prep routine! You can prepare the pastry shells up to 24 hours in advance: simply shape the dough, press it into the muffin tin, and cover it with plastic wrap. For the filling, you can mix all the ingredients and refrigerate it for up to 3 days; this keeps the flavors vibrant and allows you to dedicate your time elsewhere. When you’re ready to serve, simply pour the prepared custard into the cold pastry shells and bake them straight from the fridge. This method ensures your custard tarts are just as delicious and beautifully golden without any added stress on busy weeknights!
Custard Tarts Variations & Substitutions
Feel free to explore the delightful world of customization with your custard tarts—these sweet morsels can easily be tailored to fit your preferences and dietary needs!
-
Gluten-Free: Substitute all-purpose flour with a certified gluten-free flour blend for a deliciously inclusive treat.
-
Dairy-Free: Replace whole milk and heavy cream with almond milk and coconut cream for a creamy, plant-based filling.
-
Lower Sugar: Use stevia or a sugar substitute in the filling to reduce sweetness while still satisfying your cravings.
-
Fruit-Flavored: Incorporate pureed fruits like raspberries or mangoes into the custard for a refreshing twist that adds a fruity excitement.
-
Spiced Up: Add a dash of nutmeg or cardamom to the custard for a warm, aromatic flavor that dances with every bite.
-
Chocolate Lovers: Swirl in melted chocolate into the custard mixture before baking for a decadent chocolate custard tart experience.
-
Nutty Texture: Sprinkle chopped nuts like almonds or hazelnuts on top of the custard before baking for added crunch.
-
Citrus Zing: Amplify the flavor of lemon peel by adding a splash of fresh lemon juice to the custard; a simple twist that brightens the dessert.
Whether you want to dive into a rich chocolate-infused experience or lean towards a fruity delight, these variations will surely elevate your baking journey! And if you’re hungry for something uniquely different, try making some fresh fruit tarts or explore how to prepare some delightful mini quiche to impress your guests!
Expert Tips for Custard Tarts
-
Perfect Dough Texture: Ensure your dough is kneaded adequately to achieve a tender, flaky crust—overworking it could lead to tough pastry!
-
Chill for Flakiness: Use ice-cold water when making the pastry. This prevents the butter from melting and helps maintain a flaky texture in your custard tarts.
-
Fill Correctly: Fill each pastry shell about 3/4 full to allow the custard to expand while baking without overflowing.
-
Visual Cues: Watch for a golden brown and slightly caramelized top as a sign your custard tarts are done. If they look pale, give them more time in the oven!
-
Cooling Time Matters: Let the tarts cool in the tin for a few minutes before transferring. This helps them set and reduces the risk of breakage during removal.
Custard Tarts Recipe FAQs
What type of flour should I use for the pastry?
I recommend using all-purpose flour for a flaky crust, but if you have dietary needs, gluten-free flour is a fantastic substitute that works well without sacrificing texture.
How should I store leftover custard tarts?
Absolutely! Store leftover tarts in an airtight container in the refrigerator for up to 3 days to keep them fresh. If you want to enjoy them later, wrapping each tart in plastic wrap allows them to be frozen for up to 1 month.
Can I freeze the custard tarts?
Yes, you can freeze them! Once cooled completely, wrap each tart tightly in plastic wrap. When you’re ready to enjoy, simply thaw them overnight in the refrigerator, and reheat in a preheated oven at 350°F (175°C) for about 10-15 minutes for that freshly-baked taste again.
What if my custard doesn’t set properly?
If your custard filling isn’t setting, fear not! Simply return the tarts to the oven for an additional 5-10 minutes. This should help the custard firm up nicely. Make sure you’re filling each pastry shell only about 3/4 full to avoid spillage while baking.
Can I add flavors to my custard filling?
Very much so! You can experiment with spices like nutmeg or add a splash of almond extract for a unique twist. Additionally, incorporating pureed fruits can give your custard a refreshing and delightful flavor variation.
Are custard tarts safe for people with allergies?
Be cautious with the egg yolks in the filling, as eggs are a common allergen. If you’re making these tarts for guests, it’s wise to check for any specific allergies beforehand. For dairy-free options, consider swapping whole milk and heavy cream for almond or coconut milk/cream alternatives.
Irresistible Custard Tarts That Make Home Baking Fun
Ingredients
Equipment
Method
- Preheat your oven to 400°F (200°C) and grease your muffin tin.
- Combine flour, melted butter, sugar, and salt in a mixing bowl, then gradually add cold water to form a soft dough.
- Roll the dough into a log, cut into 12 pieces, flatten, and press into the greased muffin tin.
- In a saucepan, combine milk, cream, sugar, cornstarch, and vanilla extract. Heat until thickened, about 5-7 minutes.
- Whisk egg yolks in a separate bowl. Slowly add the warm milk mixture while whisking continuously.
- Pour custard into each pastry shell, filling about 3/4 full. Bake for 15-20 minutes until golden brown.
- Let the tarts cool in the pan for about 5 minutes before transferring to a wire rack.
Leave a Reply