
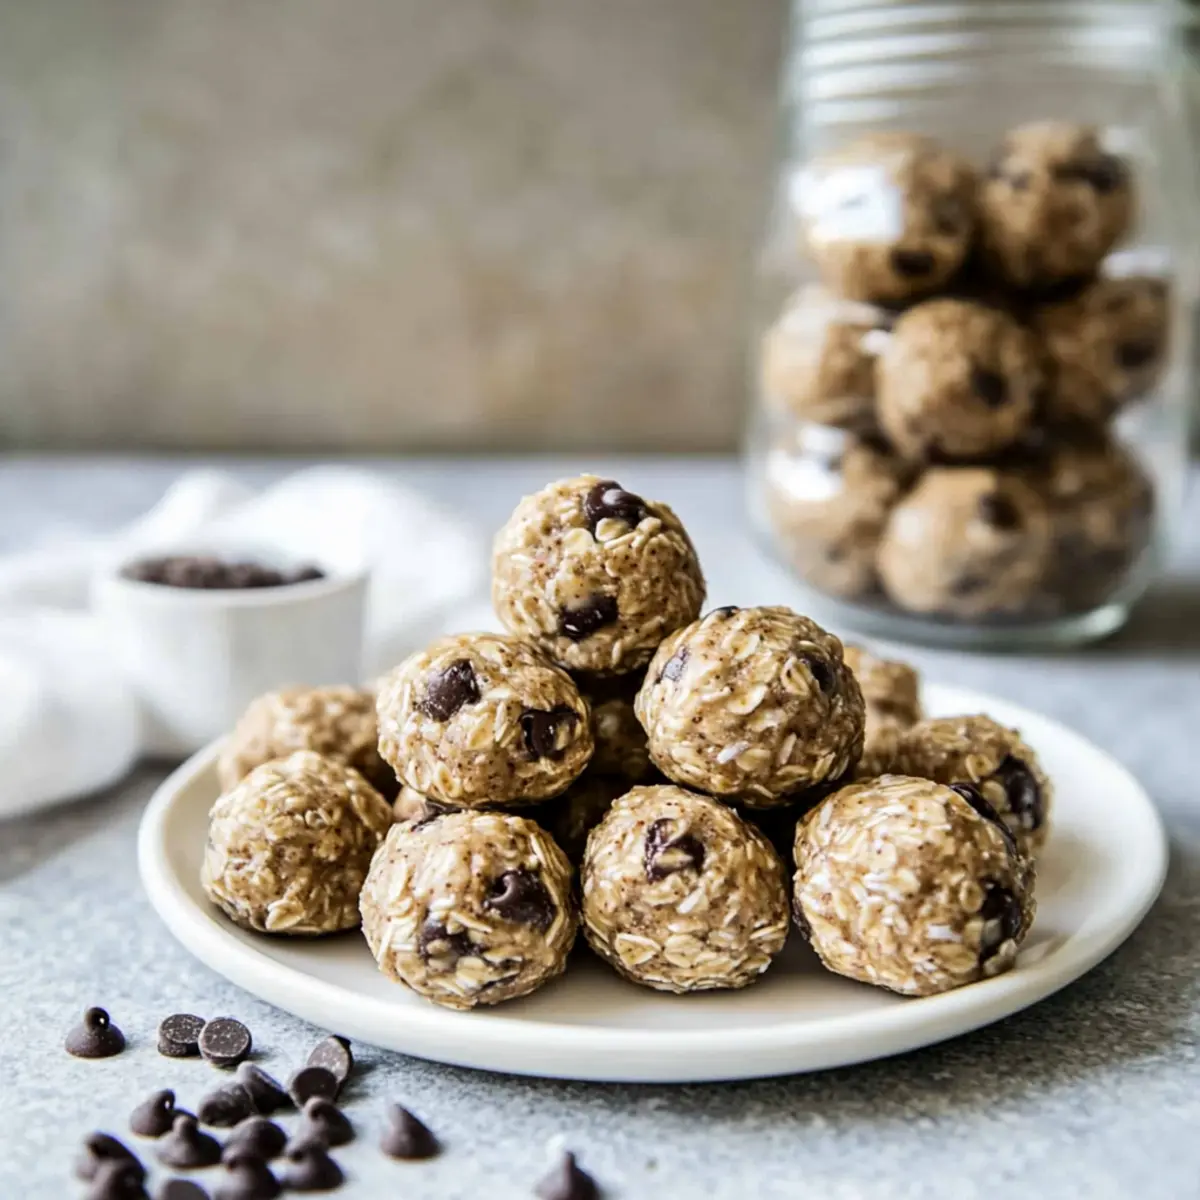
As I stood in my kitchen, arms laden with the everyday chaos of motherhood, I needed a snack that could keep up with my demands. Enter the delightful Lactation Energy Bites—a no-bake wonder that’s both quick to prepare and packed with nutrition. In just 15 minutes, these morsels blend the wholesome goodness of rolled oats and creamy nut butter, creating a chewy snack that feels like you’re indulging in cookie dough. Not only are they gluten-free and dairy-free, making them suitable for various diets, but they also freeze beautifully for those moments when you need a quick energy boost. Perfect for nursing moms or anyone needing a nutritious pick-me-up, these bites promise to satisfy cravings while supporting your wellness. Are you ready to whip up a batch and take your snacking to the next level?
Why Are Lactation Energy Bites a Must-Try?
Nutritious and Convenient: These bites are packed with energy-boosting ingredients, perfect for new moms on the go. No-Bake Simplicity: Quick to prepare in just 15 minutes, making them a hassle-free snack option. Versatile Snack: Enjoy them as a midnight treat or midday energy boost—ideal for busy lifestyles! Delicious Flavor: With a sweet and chewy texture that mimics cookie dough, they satisfy cravings guilt-free. Diet-Friendly: Gluten-free and vegan options mean everyone can indulge! You’ll love having these Lactation Energy Bites as a nutritious staple in your kitchen.
Lactation Energy Bites Ingredients
For the Bites
- Creamy Natural Nut or Seed Butter – This ingredient provides healthy fats and serves as the base for the bites; alternatives like almond or sunflower seed butter work well for various diets.
- Raw Honey – Acts as a sweetener and binds the mixture together; swap for brown rice syrup or maple syrup to keep it vegan-friendly.
- Rolled Oats – Contributes a chewy texture and energy-boosting properties; make sure to use gluten-free oats for a gluten-free treat.
- Ground Flaxseed – Offers fiber and omega-3 fatty acids, promoting lactation support.
- Brewer’s Yeast – A vital ingredient for enhancing milk supply; can be omitted or replaced with collagen peptides if necessary.
- Ground Cinnamon – Adds warm flavor depth; adjust quantity based on personal preference.
- Melted Coconut Oil – Binds the ingredients and adds moisture; avocado oil is a suitable substitute if desired.
- Mini Chocolate Chips – Provides a sweet touch to the bites; opt for dairy-free options for a vegan snack.
Optional Add-Ins
- Chia Seeds – For an extra protein kick and nutrition boost.
- Protein Powder – Enhances the nutrient profile, ideal for a more filling snack.
- Flavored Extracts – A splash of vanilla or almond can elevate the taste experience!
These Lactation Energy Bites are not just delicious—they’re also quick and easy to create, perfect for those busy moments when you need a nutritious snack on hand!
Step‑by‑Step Instructions for Lactation Energy Bites
Step 1: Mix Wet Ingredients
In a large mixing bowl, add 1 cup of creamy natural nut or seed butter and 1/2 cup of raw honey. Using a spatula, blend the ingredients together until fully incorporated and smooth. You should have a uniform, glossy mixture that holds together well. This sticky base is essential for your Lactation Energy Bites, so ensure there are no lumps before moving on.
Step 2: Add Dry Ingredients
Next, stir in 2 cups of rolled oats, 1/4 cup of ground flaxseed, 2 tablespoons of brewer’s yeast, and 1 teaspoon of ground cinnamon into the wet mixture. Mix thoroughly until all the dry ingredients are evenly coated and the texture is thick and cohesive. The oats will absorb moisture, creating a dough-like consistency that’s perfect for your energy bites.
Step 3: Incorporate Coconut Oil
Warm up 1/4 cup of melted coconut oil and slowly pour it into the mixture while stirring. Ensure the oil is well blended into the dough, which will help bind the ingredients together. If the mixture seems too dry, you may want to add a little more coconut oil. Aim for a sticky, cohesive consistency that holds its shape when pressed together.
Step 4: Chill the Mixture
Once everything is combined, cover the bowl with plastic wrap and place it in the freezer for about 10 minutes. This chilling step makes the mixture easier to handle and roll into uniform bites. Check for a slightly firm texture—this indicates it’s ready to scoop and form.
Step 5: Form Bites
After chilling, use a tablespoon or cookie scoop to portion out the mixture. Roll each portion into a ball shape using your hands; aim for about 1-inch bites. You should find that the mixture is stickier but manageable. Place the rolled Lactation Energy Bites on a lined baking sheet, leaving a little space between each one.
Step 6: Chill and Store
Finally, place the baking sheet with your formed energy bites back in the freezer for another 15 minutes to set firm. Once they are firm and hold their shape, transfer the bites into an airtight container. Store them in the fridge for up to two weeks or freeze for three months for an easy, nutritious snack on demand.
How to Store and Freeze Lactation Energy Bites
-
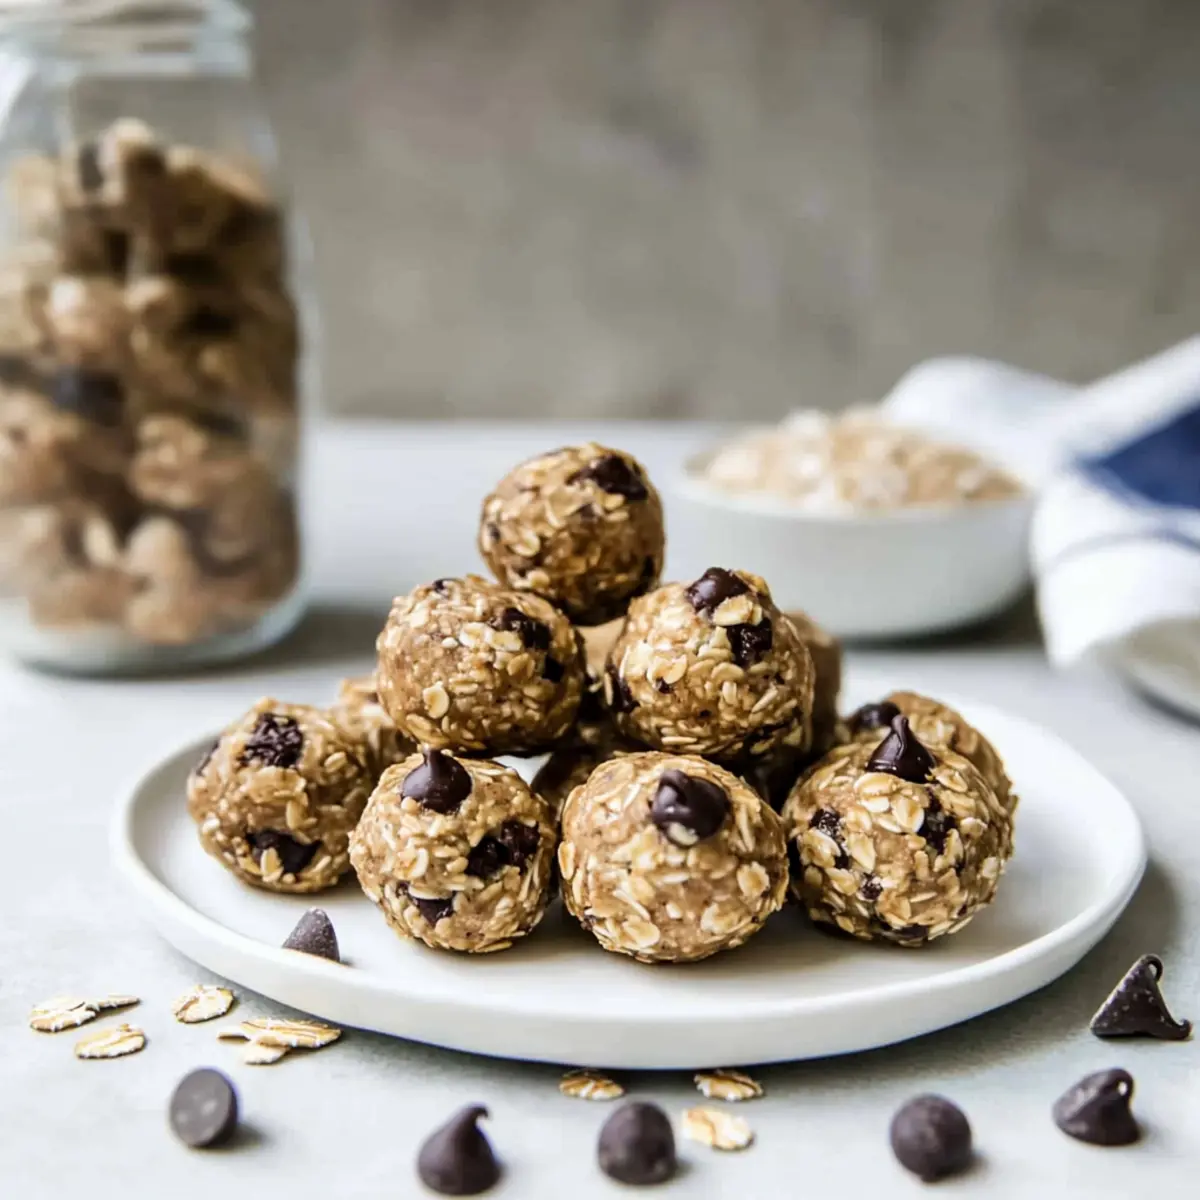
Fridge: Store Lactation Energy Bites in an airtight container for up to 2 weeks. This keeps them fresh and ready for snacking anytime.
-
Freezer: For longer storage, freeze the bites in a single layer on a baking sheet. Once firm, transfer them to a container or freezer bag; they’ll stay fresh for up to 3 months.
-
Defrosting: To enjoy a frozen bite, simply remove it from the freezer and let it sit at room temperature for a few minutes. You can also microwave it for about 10 seconds for a quick warm-up.
-
Prevent Sticking: If freezing individual bites, consider wrapping them in parchment paper before placing them in the container to ensure they don’t stick together.
What to Serve with Lactation Energy Bites?
When it’s time to round out your snack experience, consider these delightful pairings that enhance the goodness of your lactation energy bites.
- Fresh Fruit: The sweetness and juiciness of seasonal fruits like berries or apple slices provide a refreshing contrast to the chewy texture of the bites.
- Nut Milk: Pair with a glass of almond or oat milk for a creamy, nutty beverage that complements the flavors of the bites. Sip alongside for a satisfying treat!
- Greek Yogurt: Rich and creamy Greek yogurt adds a protein boost, making it a perfect dip for your bites. Add a drizzle of honey for extra sweetness!
- Trail Mix: A handful of mixed nuts, seeds, and dried fruit can bring an intriguing crunch and added nutrition to your snacking experience.
- Chia Pudding: Make a light and nourishing chia pudding topped with fruits for an enjoyable contrast that pairs well with the bites’ energy-boosting properties.
- Herbal Tea: Enjoy a warm cup of chamomile or mint tea. These soothing flavors offer a perfect balance for munching on lactation energy bites while relaxing.
- Granola: Crunchy, chewy granola sprinkled over yogurt or enjoyed on its own can enhance your snacking adventure, adding layers of texture to each bite.
- Dark Chocolate: An indulgent square of dark chocolate alongside the bites provides a sweet, rich counterpart, satisfying any chocolate cravings you might have.
Lactation Energy Bites Variations
Feel free to explore these delightful twists that can elevate your Lactation Energy Bites, making them uniquely yours!
-
Nut-Free Option: Use sunflower seed butter in place of the nut butter for a deliciously nut-free version. This swap keeps the chewy texture while accommodating allergies.
-
Vegan Sweetener: Replace raw honey with maple syrup to cater to a vegan diet. The natural sweetness of maple syrup adds a lovely flavor while sticking everything together.
-
Protein-Packed: Stir in a scoop of your favorite protein powder to amp up the nutritional value. This makes for an even heartier snack while keeping it satisfyingly guilt-free.
-
Flavor Boost: Add 1 teaspoon of vanilla or almond extract to heighten the flavor profile. A dash of these extracts can take your bites from tasty to extraordinary!
-
Extra Crunch: Fold in some chopped nuts or seeds for a delightful crunch. This addition not only adds texture but also enhances the nutritional benefits as well.
-
Chocolate Lovers’ Delight: Double the mini chocolate chips or sprinkle in dark chocolate chunks for a richer, chocolatey experience. Each bite becomes a heavenly indulgence with this treat.
-
Spicy Kick: If you’re looking for a unique flavor twist, add a pinch of cayenne pepper or ginger. This subtle spice can create an exciting contrast to the sweetness.
-
Fruit Fun: Mix in dried fruits like cranberries or apricots for a splash of color and flavor. Not only will the bites look vibrant, but they’ll also add extra natural sweetness!
However you choose to modify them, these Lactation Energy Bites are sure to be a hit. And why not check out some of my other quick and nutritious snacks for more inspiring ideas? You’ll never run out of ways to make snack time special!
Make Ahead Options
These Lactation Energy Bites are a fantastic option for meal prep enthusiasts! You can mix the wet ingredients (nut butter and honey) and dry ingredients (oats, flaxseed, brewer’s yeast, and cinnamon) up to 24 hours in advance, storing them in an airtight container in the fridge. Alternatively, roll the bites into balls and freeze them for up to three months. When you’re ready to enjoy, simply transfer the bites to the refrigerator to thaw overnight, or let them sit at room temperature for about 30 minutes before serving. This way, you can savor these delicious energy bites any time without sacrificing quality or flavor. Plus, they remain just as nutritious and satisfying, making snack time a breeze!
Expert Tips for Lactation Energy Bites
- Chill for Easy Handling: Ensure the mixture is well-chilled before rolling. This reduces stickiness and makes forming the Lactation Energy Bites easier.
- Taste Adjustment: If replacing brewer’s yeast, be mindful of how it affects the flavor. Start with a smaller amount and tweak as needed.
- Storage Smart: Keep energy bites in the fridge for up to two weeks, or freeze individually for up to three months to maintain freshness.
- Ingredient Flexibility: Feel free to substitute nut butters based on your preference; sunflower seed butter works well for nut-free diets.
- Monitoring Texture: The mixture should hold together when pressed. If too dry, add a tad more melted coconut oil for better cohesion.
Lactation Energy Bites Recipe FAQs
What kind of nut or seed butter should I use?
I recommend using a creamy natural nut or seed butter, such as almond or sunflower seed butter. These provide healthy fats and a delicious base for the bites. If you’re nut-free, sunflower seed butter is a great option!
How long can I store Lactation Energy Bites?
You can store your Lactation Energy Bites in an airtight container in the fridge for up to 2 weeks. For longer freshness, them freeze them individually for up to 3 months, perfect for on-the-go snacking!
Can I freeze Lactation Energy Bites?
Absolutely! To freeze, place the formed energy bites in a single layer on a baking sheet and freeze until firm. Then transfer the bites to a freezer-safe container or bag, ensuring they are spaced out to prevent sticking. Enjoy them within 3 months for the best flavor.
What should I do if the mixture is too dry?
If your mixture feels too dry when mixing, simply add a bit more melted coconut oil until it reaches a sticky and cohesive texture. This will help it hold together better when rolling into bites.
Are there any dietary considerations I should keep in mind?
Yes! For those with allergies, be sure to choose nut butters and chocolate chips that fit your dietary needs. If you’re making these for pets or kids, remember to avoid honey, and always check for potential allergens in any substitutes you use.
How can I tell if the ingredients are fresh enough?
Check the nuts or seeds for freshness; they should not have an off smell or dark spots. It’s also wise to ensure your oats are within their shelf life and have no signs of spoilage. Fresh ingredients yield the best Lactation Energy Bites!
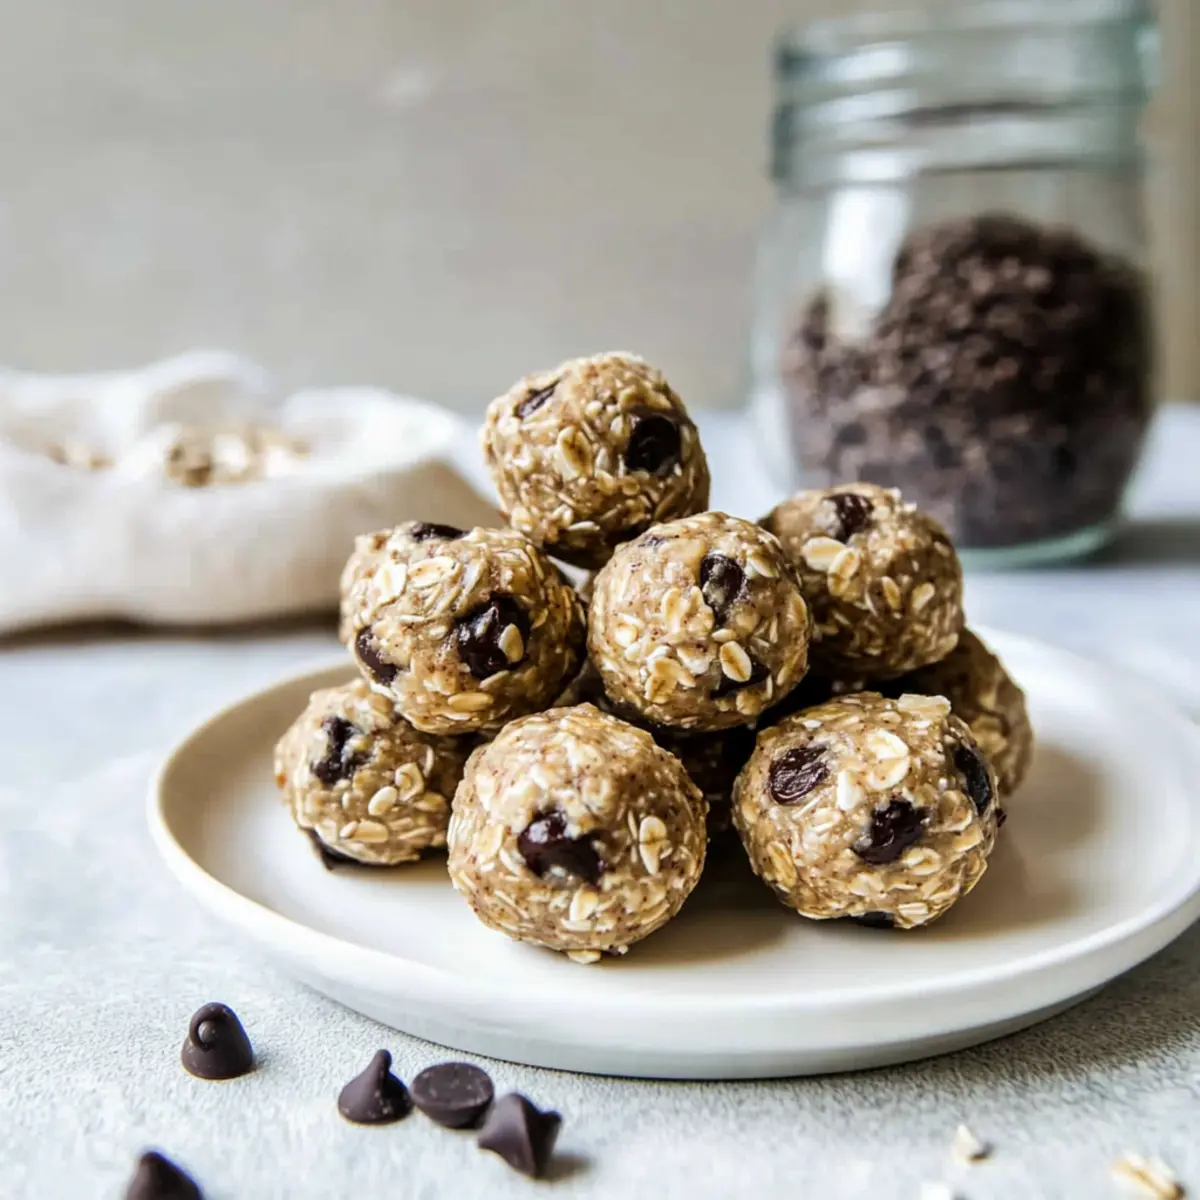
Delicious Lactation Energy Bites for New Moms Anytime
Ingredients
Equipment
Method
- In a large mixing bowl, add creamy natural nut or seed butter and raw honey. Blend until smooth.
- Stir in rolled oats, ground flaxseed, brewer's yeast, and ground cinnamon. Mix until evenly coated.
- Warm melted coconut oil and mix it into the dough until well blended.
- Cover and refrigerate for about 10 minutes to make the mixture easier to handle.
- Use a tablespoon to scoop out mixture and roll into 1-inch balls. Place on a baking sheet.
- Freeze for another 15 minutes to firm up. Store in an airtight container.
Leave a Reply