
“Can you believe that a sweet, crunchy snack can also be packed with protein?” That’s the magic behind these Rice Krispies Protein Balls. As someone who often juggles a busy schedule, I cherish recipes that are not only quick to whip up but also provide a nutritious boost. These no-bake delights are just that—not to mention customizable, allowing you to tailor them to your taste buds with your favorite mix-ins. Whether you need a post-workout pick-me-up or a healthy treat to curb those afternoon cravings, these protein balls are a go-to solution. They keep your energy levels high while being a delightful twist on classic snacking. So, are you ready to discover how to make these tasty little powerhouses?
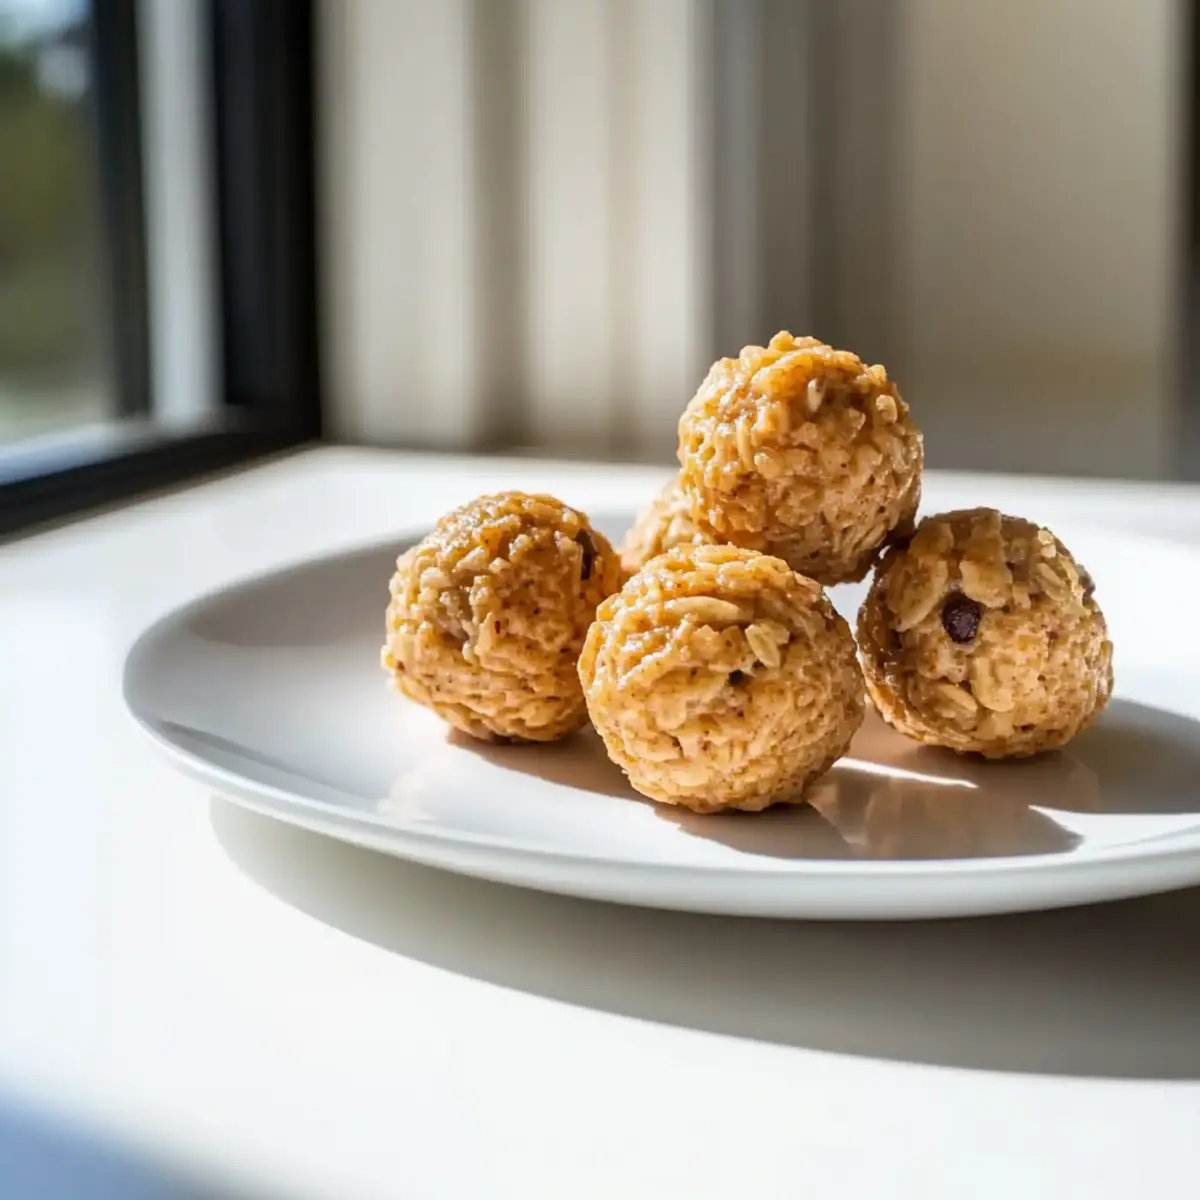
Why are Rice Krispies Protein Balls a must-try?
Quick & Easy: Whipping up these protein balls takes minimal time and effort, allowing you to indulge in a healthy snack without the fuss.
Customizable Goodness: Tailor them to your preferences with a variety of mix-ins like chocolate chips, nuts, or seeds for an exciting flavor twist.
Nutritious Energy Boost: Packed with protein and healthy fats, these treats are perfect for recharging after workouts or powering through a busy day.
No-Bake Convenience: Enjoy a delicious snack without turning on the oven—ideal for warm days or busy kitchens!
Crowd-Pleaser: Whether for kids or adults, everyone loves the satisfying crunch and sweet flavor of these protein-packed delights.
Meal Prep Friendly: Easily prepare a batch ahead of time to ensure you always have a nutritious snack ready to grab on the go.
Rice Krispies Protein Balls Ingredients
For the Base
• Rice Krispies – Adds that delightful crunch; feel free to substitute with puffed rice or cornflakes for a different texture.
• Protein Powder – Elevates your snack with muscle-building protein; opt for plant-based powders for a vegan touch.
For the Binding
• Nut Butter (e.g., peanut, almond) – Provides creaminess and healthy fats; for nut-free options, seed butter like sunflower is a great alternative.
• Honey or Maple Syrup – Acts as a natural sweetener and glue for your mixture; agave syrup works well for a vegan alternative.
For Personalization
• Optional Mix-ins (e.g., chocolate chips, dried fruit, nuts) – Tailor your protein balls by adding flavors or textures you love, making each batch uniquely yours.
These Rice Krispies Protein Balls are not just easy to make, they’re also a delicious way to maximize your snack time with wholesome ingredients!
Step‑by‑Step Instructions for Rice Krispies Protein Balls
Step 1: Combine the Base Ingredients
In a large mixing bowl, add 3 cups of Rice Krispies and 1 cup of your preferred protein powder. Next, incorporate 1 cup of nut butter into the mix, stirring thoroughly with a spatula until the ingredients are well combined. The mixture should start to come together, with the Rice Krispies evenly coated in the nut butter, forming a crunchy and creamy base for your Rice Krispies Protein Balls.
Step 2: Add Sweetness and Bind
Drizzle in ½ cup of honey or maple syrup, ensuring to evenly distribute it across the mixture. Mix vigorously for about 2-3 minutes, until everything is well incorporated. The sweetness will bind the mixture together, and you should see the Rice Krispies glistening slightly from the syrup. This step is crucial to help create the perfect texture for your no-bake snacks.
Step 3: Incorporate Optional Mix-ins
If you’re adding any optional mix-ins, now’s the time! Fold in your favorite ingredients such as ½ cup of chocolate chips, dried fruit, or nuts into the mixture. Use a wooden spoon or your hands to gently mix everything together, ensuring even distribution without crushing the Rice Krispies. This will enhance the flavor and nutrition of your Rice Krispies Protein Balls.
Step 4: Form the Protein Balls
With clean hands or using a cookie scoop, take portions of the mixture and roll it into balls about 1 inch in diameter. Place each ball onto a baking sheet lined with parchment paper. Aim for roughly 12-15 balls, adjusting the size based on your preference. Each ball should hold its shape, displaying their delightful crunch and texture.
Step 5: Chill to Set
Once all the balls are formed, transfer the baking sheet to the refrigerator. Allow the Rice Krispies Protein Balls to chill for at least 30 minutes to set. This will help them firm up, making them easier to handle and enjoy. When they’re ready, the balls should feel sturdy yet slightly soft to the touch, ensuring a perfect consistency.
Step 6: Store and Serve
After chilling, you can enjoy your Rice Krispies Protein Balls immediately or store them for later. Place them in an airtight container in the refrigerator, where they can last up to a week. For longer storage, consider freezing them for up to 3 months. Just remember to thaw them a few minutes before enjoying—you’ll have a deliciously nutritious snack ready whenever you need an energy boost!
Make Ahead Options
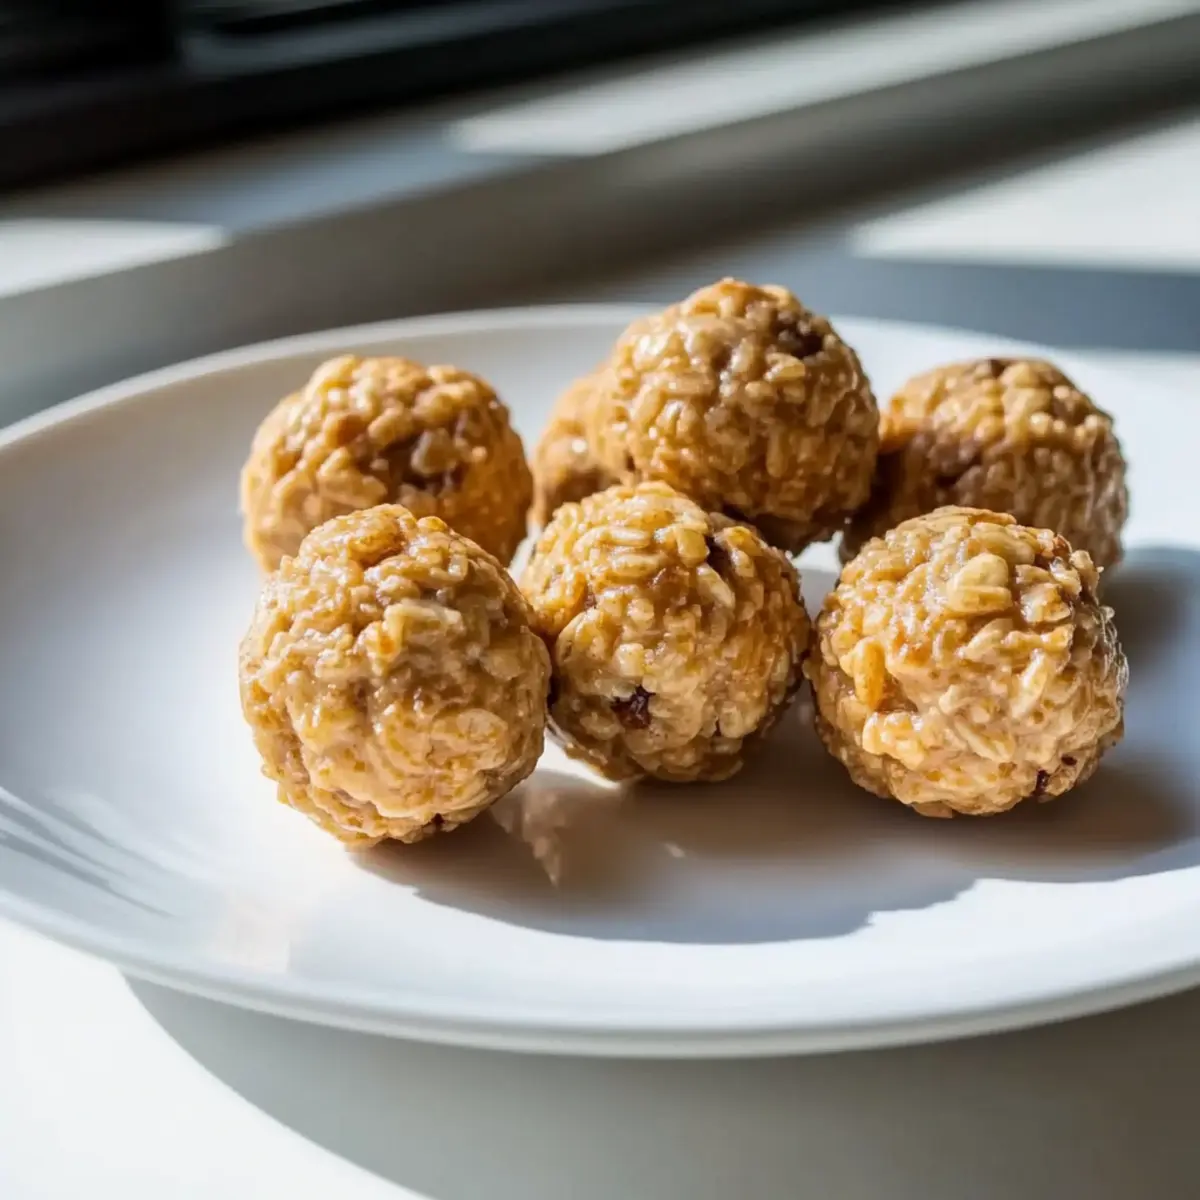
These Rice Krispies Protein Balls are perfect for busy home cooks looking to save time without sacrificing quality! You can easily prepare the mixture up to 24 hours in advance. Simply follow the first four steps of the recipe, then store the formed balls in an airtight container in the refrigerator. This not only helps the flavors meld but also ensures they’re ready to grab when you need a nutritious snack. When you’re ready to serve, allow them to chill for about 5 minutes at room temperature for enhanced texture and flavor—just as delicious as the day you made them! If you’d like to make a larger batch, these protein balls can also be frozen for up to 3 months; simply thaw them in the fridge a few hours before enjoying!
Expert Tips for Rice Krispies Protein Balls
Smooth Nut Butter: Ensure your nut butter is smooth for easy mixing—chunky varieties may make binding a challenge.
Don’t Over-Mix: Avoid over-mixing to preserve the beloved crunch of the Rice Krispies; a gentle fold is all you need!
Chill Well: Refrigerate at least 30 minutes to set properly; this makes it easier to handle and enhances the flavor melding.
Flavor Experimentation: Feel free to experiment with different protein powders and mix-ins, personalizing your Rice Krispies Protein Balls to suit your taste!
Storage Savvy: For freshness, store in an airtight container in the fridge, but for long-term enjoyment, freeze them for up to 3 months.
What to Serve with Rice Krispies Protein Balls?
As you prepare your no-bake protein-packed morsels, consider complementing them with sides that enhance their delightful crunch and nutty flavor.
-
Fresh Fruit Salad: A vibrant mix of seasonal fruits adds a burst of freshness, balancing the sweetness of the protein balls beautifully.
-
Creamy Yogurt: The smooth, tangy yogurt creates a perfect dip, adding richness that contrasts nicely with the crunchy texture.
-
Nutty Granola Bars: Pairing these protein balls with granola bars offers additional crunch and an extra boost of energy for those busy days.
-
Dark Chocolate Dipped Strawberries: The rich bitterness of dark chocolate makes a delectable contrast to the sweet protein balls, creating a satisfying snack duo.
-
Smoothie: A protein-packed smoothie with your favorite fruits and greens can serve as a refreshing drink to wash down these delightful snacks, enhancing your energy levels.
-
Herbal Tea: A warm cup of chamomile or mint tea creates a soothing ambiance, perfect for a cozy snack time with these crunchy treats.
Storage Tips for Rice Krispies Protein Balls
Fridge: Store your Rice Krispies Protein Balls in an airtight container in the refrigerator for up to 1 week, ensuring they remain fresh and tasty.
Freezer: For longer storage, freeze the protein balls for up to 3 months. Just make sure they’re in a sealed, freezer-safe container to prevent freezer burn.
Thawing: When ready to enjoy, simply thaw for a couple of hours at room temperature or grab one straight from the freezer for a cold, crunchy treat!
Serving Suggestion: These protein balls are great for on-the-go snacking, so have them handy for a quick energy boost anytime you need it!
Rice Krispies Protein Balls Variations
Feel free to unleash your creativity and make these protein balls truly your own with exciting twists and substitutions.
- Nut-Free Delight: Swap any nut butter for seed butter like sunflower or pumpkin seed butter for a nut-free version.
- Vegan Option: Use agave syrup instead of honey for a completely vegan treat that everyone can enjoy.
- Chocolate Lovers: Stir in cocoa powder or chocolate chips to give your protein balls a rich, chocolatey flavor.
- Spiced Up: Add a dash of cinnamon or ginger to the mix for a hint of warmth and spice.
- Fruity Boost: Mix in some dried fruits, such as cranberries or mangoes, for added sweetness and texture.
- Crunch Factor: Incorporate crushed nuts or seeds for an extra layer of crunch that pairs perfectly with the Rice Krispies.
- Superfood Boost: Toss in chia seeds or flaxseeds to enhance the nutritional profile while giving your snacks a healthful twist.
- Savory Surprise: For a unique twist, try adding a pinch of sea salt or some finely chopped herbs for a savory kick.
These variations transform a simple snack into an adventurous delight, making each bite a familiar yet exciting experience! If you’re looking for more recipe inspiration, consider checking out our No-Bake Energy Bites, or explore Protein-Packed Smoothies to complement your nutritious snacking.
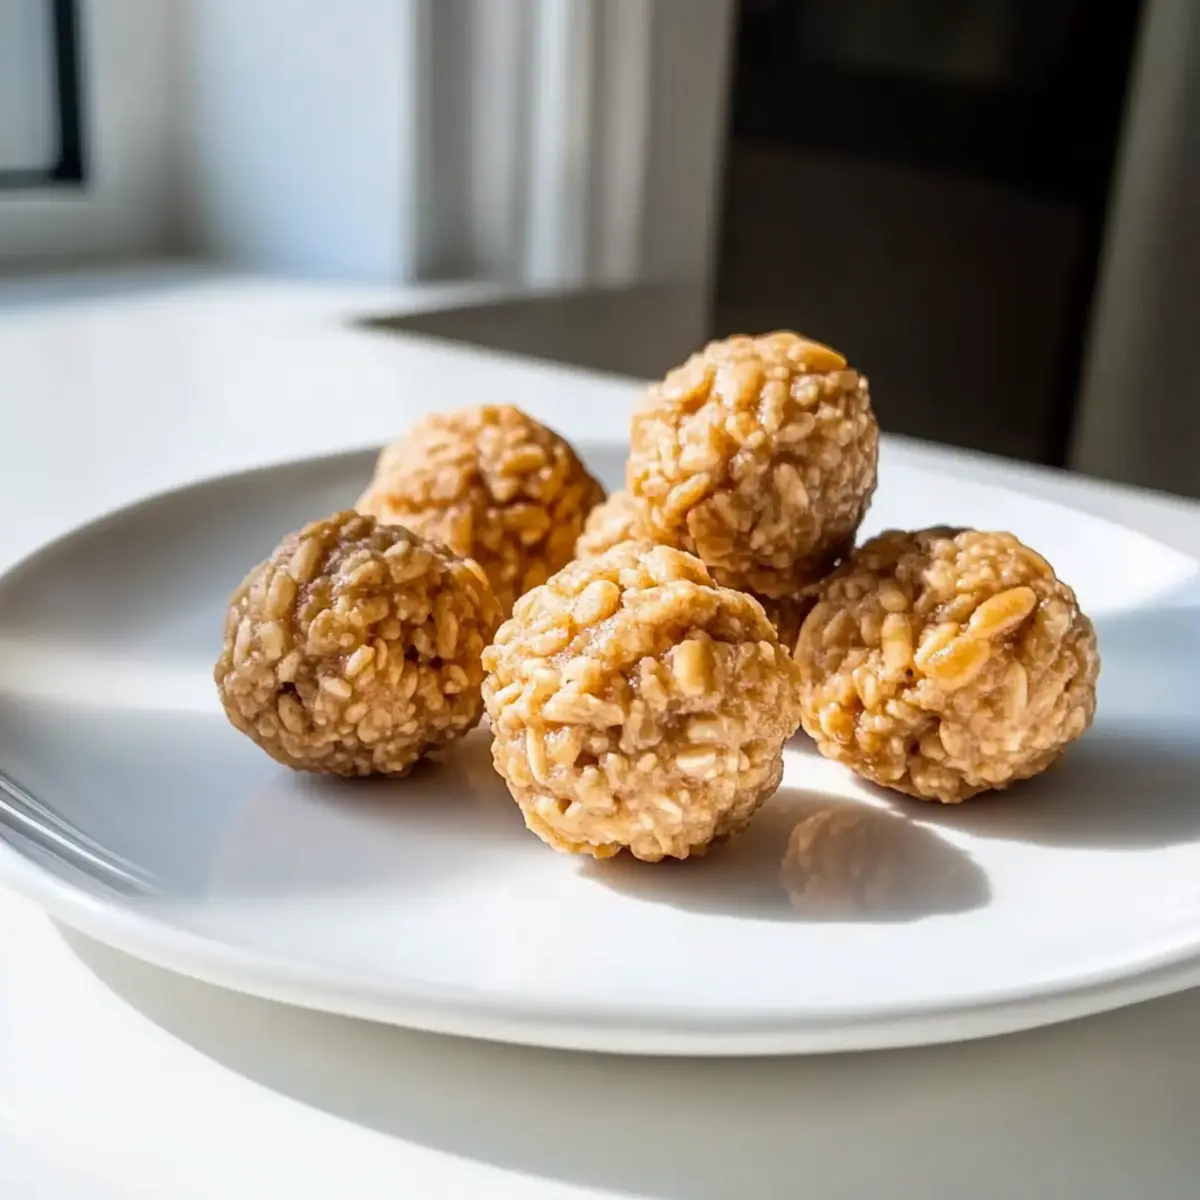
Rice Krispies Protein Balls Recipe FAQs
What type of Rice Krispies should I use?
Absolutely! Regular Rice Krispies work wonderfully, providing that classic crunch. If you’re looking for alternatives, puffed rice or cornflakes can also do the trick, giving you the same delightful texture but with a unique taste twist.
How should I store these protein balls?
I recommend storing your Rice Krispies Protein Balls in an airtight container in the refrigerator, where they will stay fresh for up to 1 week. To maintain their texture and flavor, be sure to seal them well!
Can I freeze Rice Krispies Protein Balls?
Yes, they freeze beautifully! Just pack them in a sealed, freezer-safe container and they’ll last for up to 3 months. When you’re ready to enjoy them, thaw them for a couple of hours at room temperature or enjoy them straight from the freezer for a chilled snack.
What should I do if my mixture is too dry?
Very! If the mixture feels crumbly and isn’t holding together, try adding a bit more nut butter or honey, about a tablespoon at a time. Mix well after each addition until you achieve a dough consistency that can be easily rolled into balls.
Are there any dietary considerations?
Absolutely! You can make these Rice Krispies Protein Balls nut-free by substituting nut butter with seed butter, like sunflower seed butter. Additionally, if anyone has allergies to certain protein powders, there are many allergen-free options available on the market, including rice, pea, or hemp protein. Always check labels to ensure safety!
Can I customize the protein powder?
Yes, indeed! The more the merrier! You can use your favorite protein powder, including plant-based options. If you’re trying to avoid certain flavors, an unflavored or vanilla protein powder can blend well with the other ingredients without overpowering the overall taste.
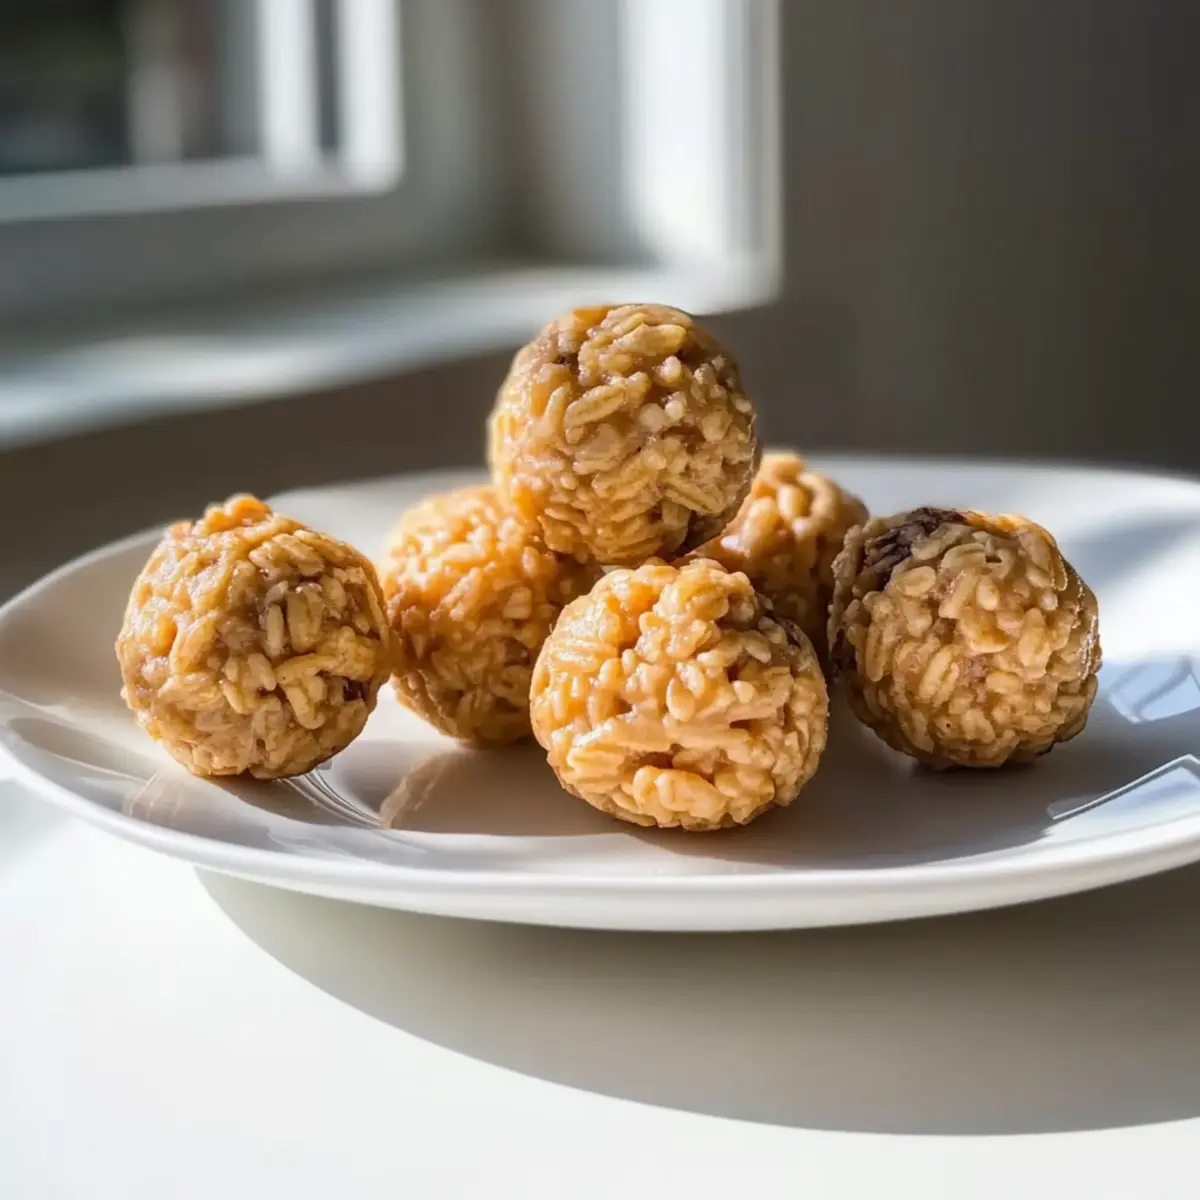
Delicious Rice Krispies Protein Balls for Energizing Snacking
Ingredients
Equipment
Method
- In a large mixing bowl, add 3 cups of Rice Krispies and 1 cup of protein powder. Stir in 1 cup of nut butter until well combined.
- Drizzle in ½ cup of honey or maple syrup and mix vigorously for 2-3 minutes until everything is incorporated.
- Fold in ½ cup of your optional mix-ins like chocolate chips, ensuring even distribution.
- Roll portions of the mixture into balls about 1 inch in diameter and place them onto a baking sheet lined with parchment paper.
- Refrigerate the balls for at least 30 minutes to firm up.
- Enjoy immediately or store them in an airtight container in the fridge for up to a week.
Leave a Reply