
As I stood in my kitchen, the aroma of melting cheese mingled with the savory scent of Italian meats, instantly transporting me to a bustling café in Rome. That’s the magic of these Baked Italian Grinder Sandwiches. Warm and toasty, each bite is a delightful blend of textures and flavors, making this baked sub sandwich a go-to recipe for both cozy dinners and lively game nights. They’re not just quick to prepare, but they also transform everyday ingredients into something truly extraordinary. Whether you’re treating yourself or feeding a crowd, these sandwiches never disappoint. Intrigued? Let’s dive into the recipe that will elevate your homemade meal game!

Why Are Baked Italian Grinder Sandwiches So Popular?
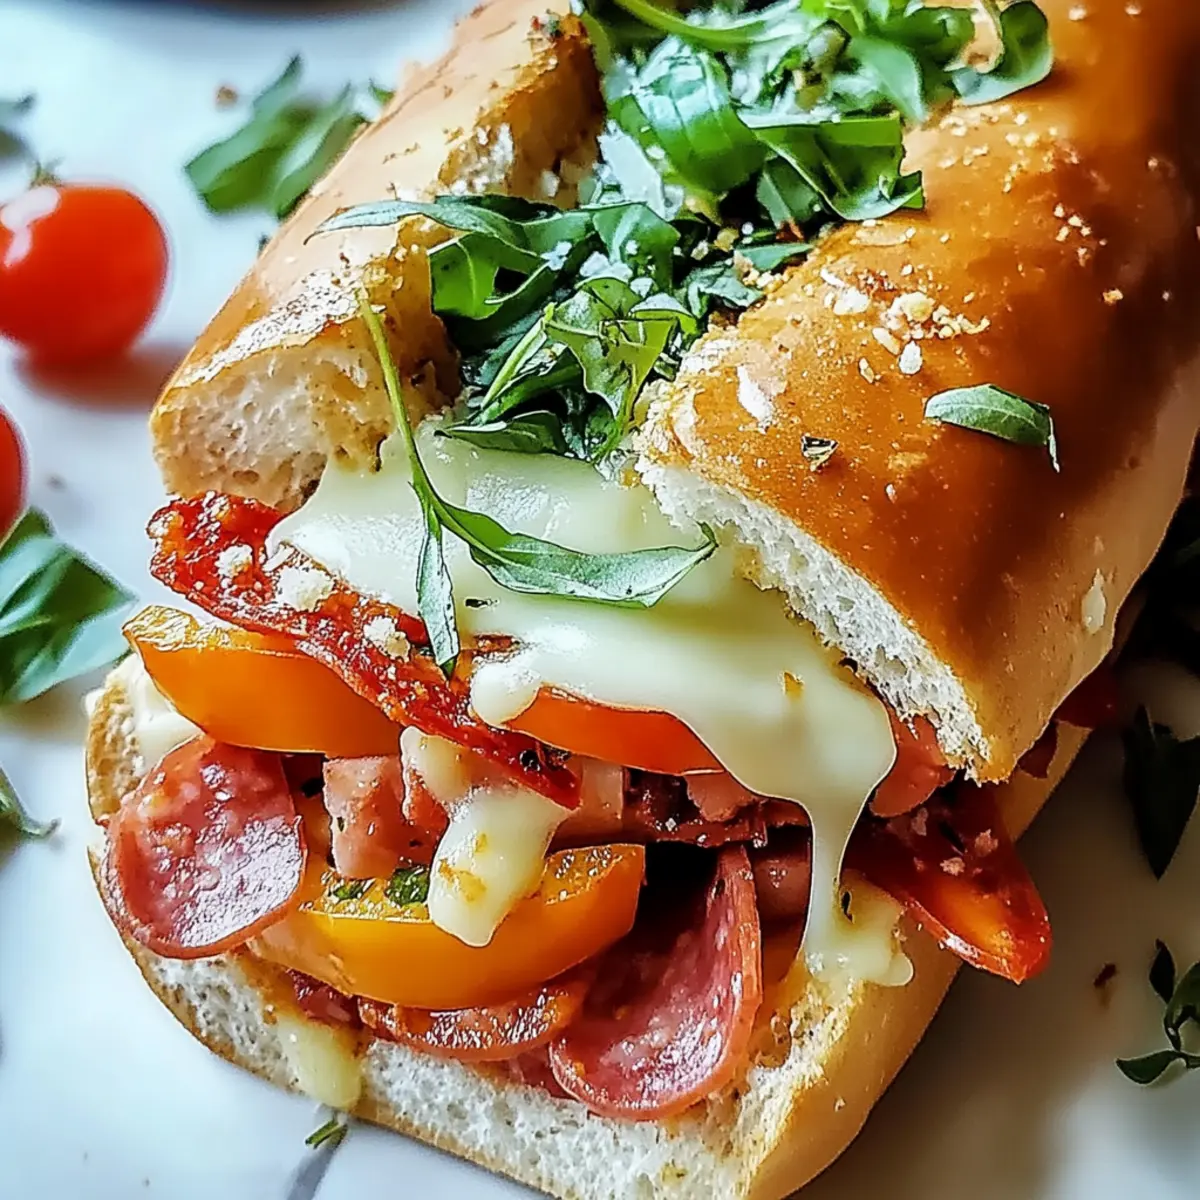
Irresistible Flavor: Each sandwich is filled with a symphony of Italian meats, creamy cheeses, and zesty toppings that deliver a mouthwatering taste sensation.
Quick and Easy: With just a few simple steps, these sandwiches come together fast, making them perfect for busy weeknights or game-day gatherings.
Crowd-Pleaser: Whether it’s a family dinner or a gathering with friends, these sandwiches are guaranteed to impress, leaving everyone asking for seconds!
Versatile Customization: You can easily switch up the meats or try a vegetarian version packed with grilled veggies for a uniquely delightful twist. If you want more inspiration, check out other delicious options with these sandwich ideas.
Cheesy Goodness: Picture gooey, melted cheese oozing from each bite—who can resist that? Trust me, your taste buds will thank you!
Baked Italian Grinder Sandwich Ingredients
• Here’s everything you need for your delicious baked Italian grinder sandwiches!
For the Sandwich Base
• Italian sub rolls – The sturdy base; holds the fillings together without getting soggy.
• Unsalted butter, melted – Brushed onto the bread for a rich, golden crunch.
For the Seasoning Mix
• Garlic powder – Adds deep, savory flavor to the bread and meats.
• Onion powder – Provides a mild and round richness to the sandwich.
• Dried oregano – Enhances the Italian flavor profile with an earthy note.
• Dried basil – Adds a slightly sweet, peppery flavor.
• Red pepper flakes – Introduces a zesty kick; adjust quantity for desired spice.
• Salt – Enhances all flavors, making each bite pop.
• Black pepper – Adds a sharpness that balances richness.
For the Filling
• Deli-sliced salami – Brings a robust and slightly spicy flavor.
• Deli-sliced ham – Offers a touch of sweetness and smokiness.
• Deli-sliced pepperoni – Contributes a bold and tangy flavor.
• Deli-sliced mozzarella cheese – Melts into gooey goodness, creating a comforting layer.
• Deli-sliced provolone cheese – Adds a sharp and smoky flavor.
• Grated Parmesan cheese – Sprinkled on top for a crispy, savory finish.
For the Toppings
• Roasted red peppers, sliced – Provides sweetness and smoky flavor.
• Sliced black olives – Adds a briny kick to balance richness.
• Banana peppers, sliced – Offers a tangy crunch.
• Fresh basil leaves – Adds a burst of freshness and herbal aroma.
Enjoy gathering these ingredients before diving into the delicious world of baked Italian grinder sandwiches!
Step‑by‑Step Instructions for Baked Italian Grinder Sandwiches
Step 1: Preheat the Oven
Begin by preheating your oven to 375°F (190°C). This step is crucial as it ensures a perfectly crispy exterior for your baked Italian grinder sandwiches. While the oven warms up, gather your baking sheet and set it aside, ready for the rolls.
Step 2: Prepare the Rolls
Carefully slice the Italian sub rolls in half lengthwise but leave them hinged at the back. This will create a pocket for your delicious fillings. Place the rolls on the baking sheet with the cut sides facing up, ready to be dressed in flavor.
Step 3: Create the Savory Butter Mixture
In a small bowl, melt the unsalted butter until it’s warm and liquid. Add garlic powder, onion powder, dried oregano, dried basil, red pepper flakes, salt, and black pepper. Mix these seasonings well to create a flavorful butter mixture that will enhance each bite of your baked Italian grinder sandwiches.
Step 4: Brush the Rolls with Butter
Generously brush the seasoned butter mixture onto the cut sides of each sub roll, ensuring you cover them completely for a delightful golden crust. The butter not only adds flavor but also helps toast the bread beautifully in the oven.
Step 5: Layer the Meats
Begin layering the deli-sliced salami evenly on the bottom halves of the rolls. Follow this with the ham and then the pepperoni. Each layer should be thick and even, ensuring that every bite of your baked Italian grinder sandwiches is packed with savory goodness.
Step 6: Add the Cheeses
Spread the creamy mozzarella cheese generously over the meats, followed by the provolone cheese on top. The melted cheese will create a wonderful gooey texture that complements the Italian meats beautifully, making each sandwich irresistibly delicious.
Step 7: Top with Extras
Sprinkle the grated Parmesan cheese over the top of the mozzarella. Then, add the sliced roasted red peppers, black olives, banana peppers, and fresh basil leaves. These toppings provide a burst of flavor and color, elevating your baked Italian grinder sandwiches to a whole new level.
Step 8: Bake the Sandwiches
Place the loaded baking sheet into the preheated oven and bake for about 10-12 minutes. Keep an eye on them, as you’ll know they’re ready when the cheese is melted and bubbly, and the bread has turned a lovely golden brown.
Step 9: Cool and Serve
Once baked, remove the sandwiches from the oven and let them cool slightly on the baking sheet. This brief resting time helps set the fillings. Finally, cut the sandwiches into portions and serve warm, letting that irresistibly cheesy aroma fill your kitchen.
How to Store and Freeze Baked Italian Grinder Sandwiches
Fridge: Cool completely, wrap tightly in plastic wrap or foil, and store for up to 3 days. Reheat in the oven at 350°F (175°C) until warmed through for the best texture.
Freezer: Assemble unbaked sandwiches, wrap tightly in plastic wrap or aluminum foil, and freeze for up to 3 months. Bake directly from frozen, adding an extra 5-10 minutes to the baking time.
Store Unbaked: If you want to prepare ahead, assemble the sandwiches but do not bake. Refrigerate for up to 24 hours before baking to enjoy fresh flavors.
Expert Tips for Baked Italian Grinder Sandwiches
-
Cut with Care: Use a serrated knife to slice the sandwich without squishing the crispy bread, preserving the layers inside.
-
Watch the Oven: Keep an eye on your sandwiches while baking. Overbaking can lead to burnt edges, diminishing the flavor of your baked Italian grinder sandwiches.
-
Customize the Spice: Adjust the amount of red pepper flakes based on your heat preference. Start small; you can always add more if desired!
-
Cheese Choices: Feel free to mix up cheeses—adding provolone or fontina can elevate the gooey goodness and flavor profile.
-
Don’t Skip the Rest: Allow the sandwiches to cool slightly after baking. This helps the melted cheese set and makes cutting easier.
Make Ahead Options
These Baked Italian Grinder Sandwiches are perfect for meal prep, allowing you to save time during your busy week! You can assemble the sandwiches up to 24 hours in advance by preparing them without baking and refrigerating them tightly wrapped. To maintain the quality, ensure the sandwiches are cool before sealing them to prevent sogginess. When you’re ready to enjoy your delicious baked sub sandwiches, simply bake them straight from the fridge at 375°F (190°C) for 10-12 minutes until the cheese is melted and the bread is crispy. For longer storage, you can freeze unbaked sandwiches for up to 3 months; just bake directly from frozen, adding a few extra minutes to the baking time.
What to Serve with Baked Italian Grinder Sandwiches
Elevate your meal by pairing these delightful sandwiches with sides that complement their robust flavors and textures.
-
Crispy French Fries: The golden crunch of fries contrasts perfectly with the gooey, cheesy interior of the sandwiches.
-
Garden Salad: A fresh mixed greens salad brings a bright, crisp element that balances the richness of the grinder sandwiches and adds a refreshing touch.
-
Zesty Coleslaw: The tangy crunch of coleslaw cuts through the savory flavors, making each bite even more satisfying. It’s a classic side that just feels right!
-
Potato Chips: For a quick and fun pairing, crunchy potato chips offer texture and a delightful salty contrast that complements the sandwich beautifully.
-
Marinara Sauce: Serve a side of warm marinara for a dip! The rich tomato base enhances the Italian flavor and provides an extra layer of comfort.
-
Garlic Bread: For that ultimate indulgence, pair your sandwiches with buttery garlic bread. The familiar flavors tie the meal together while adding an extra crunch.
-
Sliced Pickles: The tanginess of pickles provides a refreshing bite, balancing the savory richness of the sandwiches with a satisfying crunch.
-
Red Wine: A glass of dry red wine beautifully enhances the flavors of the Italian meats and cheeses, making your meal feel special.
-
Tiramisu: End on a sweet note! This classic Italian dessert has a creamy texture that’ll leave your guests buzzing with delight.
Baked Italian Grinder Sandwiches: Flavorful Variations
Feel free to get creative with these baked Italian grinder sandwiches and make them your own with delightful twists!
- Dairy-Free: Substitute all cheese with dairy-free alternatives like cashew cheese or vegan mozzarella for a creamy, non-dairy version.
- Meatless Marvel: Replace the traditional deli meats with a medley of grilled vegetables like zucchini, bell peppers, and eggplant for a savory veggie delight.
- Spicy Kick: Add extra red pepper flakes or diced jalapeños for a fiery touch that will make your taste buds dance!
- Smoky Flavor: Incorporate smoked turkey or smoked Gouda for an added depth of flavor, enhancing the overall taste experience.
- Different Breads: Swap Italian sub rolls for crusty French baguettes or ciabatta rolls to change up the texture of your sandwich.
- Italian Herbs: Mix in fresh Italian herbs like thyme or rosemary with the seasoning to elevate the aromatic profile of the sandwiches.
- Sweet and Savory: Layer sliced figs or a drizzle of balsamic glaze on top of your meats for a perfect sweet and savory harmony.
- Crunchy Toppings: Sprinkle panko breadcrumbs on top before baking for a deliciously crispy finish that contrasts beautifully with the gooey cheese.
So, let your imagination run wild as you explore these variations, and don’t forget to check out more delicious sandwich ideas for even more inspiration!

Baked Italian Grinder Sandwiches Recipe FAQs
What kind of Italian sub rolls should I use?
You should use sturdy Italian sub rolls that can hold your delicious fillings without getting soggy. Look for rolls that are slightly crusty on the outside; this will help them stay crispy after baking.
How should I store leftover baked Italian grinder sandwiches?
Cool completely, then wrap them tightly in plastic wrap or aluminum foil. Store in the refrigerator for up to 3 days. Reheat in the oven at 350°F (175°C) until warmed through for optimal texture.
Can I freeze baked Italian grinder sandwiches?
Absolutely! Assemble the unbaked sandwiches, wrap them securely in plastic wrap or aluminum foil, and freeze for up to 3 months. Bake them directly from frozen, but be sure to add an extra 5-10 minutes to the baking time.
What do I do if my sandwiches are not crispy after baking?
If your baked Italian grinder sandwiches aren’t crispy enough, it might be due to either the bread not being sturdy enough or moisture from the fillings. To fix this, try using firm rolls or toasting the rolls slightly before assembling. You could also ensure they’re baked long enough to achieve that golden crust.
Are there any dietary considerations for these sandwiches?
If you’re accommodating dietary restrictions, these sandwiches can easily be customized! For a vegetarian option, simply replace the meats with grilled vegetables and add extra cheese. Be cautious with olives and peppers, as they can be high in sodium; consider low-sodium alternatives if necessary.
Can I prepare these sandwiches ahead of time?
Yes! You can assemble the sandwiches but don’t bake them. Wrap them tightly and refrigerate for up to 24 hours before baking. This way, you can enjoy freshly made baked Italian grinder sandwiches even on a busy day!

Mouthwatering Baked Italian Grinder Sandwiches for Any Occasion
Ingredients
Equipment
Method
- Preheat your oven to 375°F (190°C).
- Carefully slice the Italian sub rolls in half lengthwise but leave them hinged at the back.
- In a small bowl, melt the unsalted butter and mix in garlic powder, onion powder, oregano, basil, red pepper flakes, salt, and black pepper.
- Brush the seasoned butter mixture onto the cut sides of each sub roll.
- Layer the deli-sliced salami, ham, and pepperoni evenly on the bottom halves of the rolls.
- Spread the mozzarella cheese over the meats, followed by the provolone cheese on top.
- Sprinkle the grated Parmesan cheese, then add the roasted red peppers, olives, banana peppers, and basil leaves.
- Place the baking sheet in the oven and bake for about 10-12 minutes until the cheese is melted and bubbly.
- Remove from the oven, let cool slightly, then cut and serve warm.
Leave a Reply