
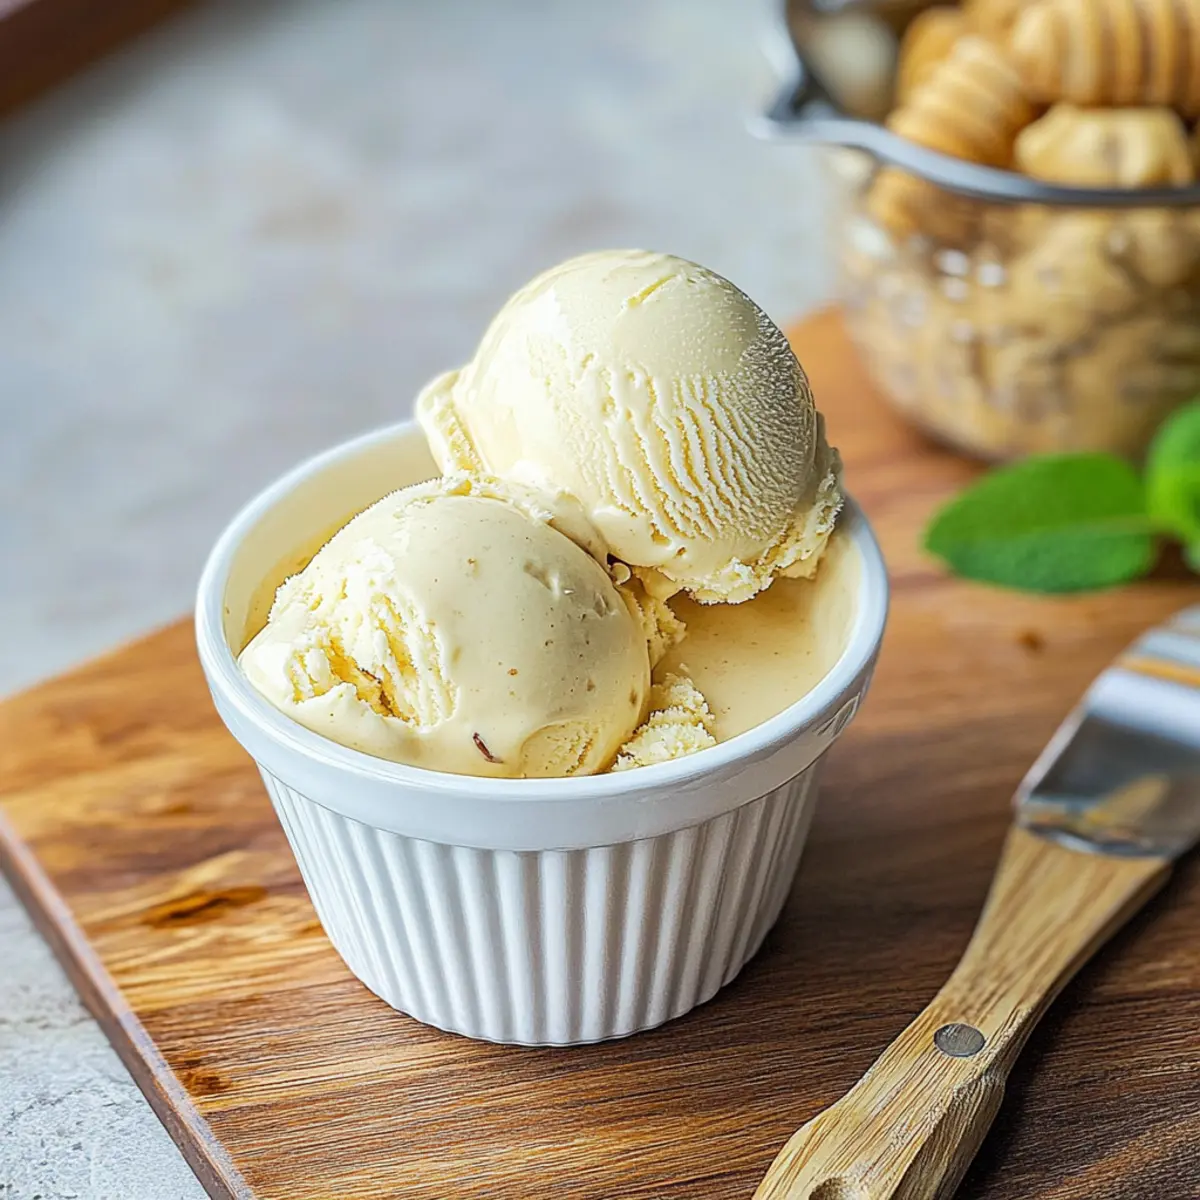
As I stirred the bubbling honey on the stove, I was transported to warm evenings filled with laughter, the rich aroma wafting through my kitchen, reminiscent of summer bonfires. This is the magic behind my Burnt Honey Ice Cream, a delightful fusion of smooth cream and caramelized orange blossom honey that elevates ordinary desserts into something truly extraordinary. Not only is this treat a breeze to whip up, but it also promises to be a showstopper at any gathering, leaving your guests raving about your culinary skills. Perfectly creamy and embracing a toasted marshmallow flavor, this unique ice cream is a refreshing escape from the mundane world of fast food. Are you ready to impress and indulge in a scoop of bliss? Let’s dive into the recipe!
Why Is This Ice Cream So Special?
Unique Flavor: The caramelized notes of burnt honey provide a rich, complex sweetness that sets this ice cream apart from ordinary flavors.
Easy to Make: With just a handful of ingredients and straightforward steps, creating this decadent treat is a hassle-free endeavor.
Crowd-Pleaser: Perfect for dinner parties or casual gatherings, serving this Burnt Honey Ice Cream will surely impress friends and family—who doesn’t love homemade ice cream?
Versatile Pairings: Enjoy it on its own or alongside Moroccan pastries like Beghrir, or warm desserts for a delightful contrast that excites the palate.
Innovative Twist: Not your everyday dessert, this ice cream introduces the exquisite essence of orange blossom honey, making it an exciting experience for adventurous eaters.
Indulge in the luxury of homemade treats in a world of fast food; learn how to make this delightful treat today!
Burnt Honey Ice Cream Ingredients
For the Ice Cream Base
• Large Egg Yolks – Provide richness and structure to the ice cream base; fresh yolks yield the best flavor.
• Granulated Sugar – Sweetness to balance the flavors; try coconut sugar for a hint of caramel.
• Orange Blossom Honey – The star component that imparts a unique floral sweetness; local honey can substitute but the flavor will differ.
• Heavy Cream – Ensures a creamy texture and richness; half and half can lighten it but may compromise creaminess.
• Whole Milk – Adds bulk to the base; using low-fat milk might result in a less luxurious texture.
• Crème Fraîche – Contributes a tangy depth to enhance creaminess; sour cream works in a pinch.
• Kosher Salt – Balances sweetness and amplifies all flavors; never skip it for optimum taste.
For Churning
• Ice Cream Maker – Essential for achieving that smooth and creamy consistency; a simple model will do!
Step-By-Step Instructions for Burnt Honey Ice Cream
Step 1: Prepare the Ice Bath
Start by preparing an ice bath using a large bowl filled with ice water. Place a medium bowl with a fine-mesh strainer inside this ice bath to ensure a quick cooling process later. Having this ready will help maintain the silky texture of the Burnt Honey Ice Cream as you work with the hot mixture.
Step 2: Whisk Together the Egg Yolks and Sugar
In a medium bowl, vigorously whisk together the large egg yolks and granulated sugar until the mixture appears pale and creamy, which should take about 2–3 minutes. This step is crucial as it helps incorporate air into the egg yolks, lending a lightness to the custard base of your Burnt Honey Ice Cream.
Step 3: Caramelize the Honey
Next, turn your attention to the honey. In a saucepan over medium heat, allow the orange blossom honey to cook for about 5 minutes, stirring occasionally until it transforms to a dark amber color and releases a delightful aroma of caramelized sugar and toasted marshmallows. Monitor closely to prevent burning; this step is key to achieving the rich flavor profile.
Step 4: Warm the Cream and Milk
While the honey is caramelizing, in another saucepan, combine the heavy cream and whole milk. Heat the mixture over medium heat until it just begins to steam and small bubbles form around the edges, approximately 5 minutes. Be sure not to let it boil, as maintaining the creamy texture is essential for your Burnt Honey Ice Cream.
Step 5: Blend the Cream with the Honey
Once the honey has caramelized, gradually whisk the warm cream and milk mixture into the caramelized honey. This should be done slowly to seamlessly combine the two. The result is a lovely blend, ensuring that the flavors meld beautifully together—setting the stage for your ice cream.
Step 6: Combine with the Egg Yolks
Remove the saucepan from the heat and slowly pour the honey and cream mixture into the bowl of egg yolks while continually whisking. This technique prevents the eggs from cooking prematurely. Keep whisking until completely combined, and the mixture is smooth, ensuring that none of the yolks curdle in the process.
Step 7: Cook the Custard
Pour the combined mixture back into the saucepan and cook over medium-low heat. Stir gently and continuously with a whisk for about 2 minutes until the custard thickens slightly, enough to coat the back of a spoon. This step creates the creamy custard base that makes the Burnt Honey Ice Cream extra indulgent.
Step 8: Strain and Cool the Mixture
Carefully strain the thickened custard into the bowl already set in the ice bath. Use the fine-mesh strainer to catch any bits of curdled egg yolk. Whisk in the crème fraîche and a pinch of kosher salt until smooth. Let the mixture cool to room temperature, allowing the flavors to meld as it cools.
Step 9: Chill and Churn
Refrigerate the custard for at least 2 hours, preferably overnight, to fully develop the flavors. Once chilled, churn the mixture in an ice cream maker according to the manufacturer’s instructions. This crucial step ensures a smooth, creamy texture for your Burnt Honey Ice Cream, inviting you to indulge in its decadent richness.
Step 10: Store and Serve
Transfer the freshly churned Burnt Honey Ice Cream to an airtight container, smoothing the top with a spatula. Freeze for at least 4 hours to firm up before serving. When you’re ready to enjoy, allow it to soften for a few minutes at room temperature for easier scooping, revealing the delightful caramelized flavor and creamy texture of this homemade treat.
How to Store and Freeze Burnt Honey Ice Cream
Fridge: Store leftover Burnt Honey Ice Cream in an airtight container for up to 2 weeks, but note that it will be best enjoyed fresh.
Freezer: For long-term storage, keep the ice cream frozen in an airtight container. It can last up to 2 weeks while maintaining its delicious flavor and texture.
Serving Tips: Before serving, let the ice cream soften for about 5-10 minutes at room temperature to make scooping easier and allow the rich flavors to shine.
Refreezing: If the ice cream becomes too hard after being in the freezer, do not refreeze it multiple times; this can cause ice crystals to form, affecting the creamy texture.
Make Ahead Options
These Burnt Honey Ice Creams are perfect for busy home cooks who want to indulge in a delicious treat without the last-minute rush! You can prepare the custard base up to 24 hours in advance by following all the steps until the chilling stage, then refrigerate it overnight. Just remember to strain it and whisk in the crème fraîche before cooling. Once chilled, churn it in your ice cream maker, and for optimal quality, store the ice cream in an airtight container in the freezer for up to 2 weeks. Simply let it sit at room temperature for a few minutes before serving to ensure it’s just as creamy and delightful as when you made it!
Burnt Honey Ice Cream Variations
Feel free to let your imagination run wild as you personalize this creamy delight with exciting twists that tantalize your taste buds.
- Curry Flavor: Swirl in a teaspoon of curry powder for an exotic, spicy flavor that contrasts beautifully with the sweetness of the honey.
- Thyme Honey: Substitute orange blossom honey with thyme-infused honey for an earthy, aromatic touch that elevates the profile of your ice cream.
- Fig Leaf Infusion: Use fig leaf extract instead of honey for a unique twist that introduces floral notes reminiscent of summer gardens.
- Chocolate Chips: Fold in rich dark chocolate chips before churning to add a delightful texture contrast and an indulgent chocolate kick.
- Nutty Crunch: Toast and mix in crushed pistachios or almonds to introduce a lovely crunch that pairs excellently with the creaminess.
- Caramel Swirl: Drizzle homemade caramel sauce into the mixture before freezing for delightful caramel ribbons on every scoop.
- Maple Substitution: For a seasonal twist, swap out honey for pure maple syrup to infuse a warm, comforting flavor into your ice cream.
- Coconut Cream: Use coconut cream instead of heavy cream for a tropical, dairy-free version that’s both creamy and rich in flavor.
With these variations, you can take your Burnt Honey Ice Cream to new heights! If you’re feeling adventurous, you might enjoy reading about other delightful recipes like Curry Ice Cream or perhaps my take on Fig Leaf Ice Cream for more creative ideas on classic desserts.
Expert Tips for Burnt Honey Ice Cream
-
Watch the Honey: Keep a close eye on the honey while it caramelizes; it can go from perfect to burnt in seconds if not monitored closely.
-
Prevent Curdling: Whisk the egg yolks vigorously while slowly adding the hot liquid. This prevents the egg from cooking and ensures a smooth custard for your Burnt Honey Ice Cream.
-
Cooling Mix: Always strain the custard into the ice bath. This technique helps cool the mixture quickly and maintain that silky texture without cooking the eggs further.
-
Flavor Development: Allow the custard to chill for at least 2 hours, or ideally overnight, to enhance the complex flavors before churning.
-
Avoid Ice Crystals: Store your Burnt Honey Ice Cream in an airtight container to prevent ice crystals from forming, ensuring a creamy texture when you dig in!
What to Serve with Burnt Honey Ice Cream?
Picture the joyous laughter and warm ambiance of a gathering, as you create a delightful meal to accompany your divine homemade ice cream.
-
Fresh Fruit Salad: A refreshing medley of seasonal fruits adds brightness, balancing the creamy richness with a fruity flair.
-
Chocolate Chip Cookies: Their warm, gooey texture pairs beautifully with the ice cream, creating a cozy dessert experience your family will adore.
-
Warm Apple Tart: The cinnamon-spiced apple flavors meld perfectly with the toasted notes of burnt honey, taking each bite to a new level of deliciousness.
-
Pistachio Baklava: The nutty, sweet layers of this traditional pastry beautifully complement the floral tones of the ice cream for an exotic twist.
-
Toasted Nut Topping: Sprinkle toasted almonds or hazelnuts on your ice cream for a lovely crunch and depth of flavor that enhances the creamy base.
-
Coffee or Espresso: A rich coffee served alongside the ice cream makes for a luxurious after-dinner treat, enhancing the sweet and caramelized aromas.
Indulge in these pairings, creating a memorable experience that celebrates the art of dessert together!
Burnt Honey Ice Cream Recipe FAQs
What type of honey should I use for the best flavor?
For the most exquisite taste, I recommend using orange blossom honey, which offers a unique floral sweetness. If you can’t find it, local honey can work as a substitute, though the resulting flavor might vary slightly from the original.
How should I store leftover Burnt Honey Ice Cream?
Store your Burnt Honey Ice Cream in an airtight container in the freezer for up to 2 weeks. For the best texture, let it soften at room temperature for about 5-10 minutes before serving, making it easier to scoop while ensuring you experience its rich flavors fully.
Can I freeze Burnt Honey Ice Cream for longer than 2 weeks?
While it’s best enjoyed fresh, you can technically store it for longer in an airtight container. However, for optimal flavor and texture, I recommend consuming it within 2 weeks, as freezer storage beyond this may lead to ice crystal formation and a decrease in quality.
What if my ice cream mixture curdles?
If you notice curdling in your ice cream base, don’t worry! You can rescue it by using an immersion blender or a standard blender to blend the mixture until smooth. This will ensure a creamy texture once churned. Always whisk continuously when adding hot liquids to the egg yolks to prevent this issue in the first place.
Is Burnt Honey Ice Cream safe for those with allergies?
This ice cream does contain egg yolks and dairy, so it is not suitable for individuals with egg or dairy allergies. For a dairy-free or egg-free alternative, consider using alternative milk or egg substitutes, but the texture and flavor will be different compared to the original recipe.
Can I add mix-ins to the Burnt Honey Ice Cream?
Absolutely! The more, the merrier! Feel free to stir in chocolate chips, nuts, or even caramel swirls during the last few minutes of churning. This adds delightful texture and flavor contrasts that elevate your Burnt Honey Ice Cream!
Burnt Honey Ice Cream: A Decadent Twist on Classic Dessert
Ingredients
Equipment
Method
- Prepare an ice bath with a large bowl of ice water and place a medium bowl with a fine-mesh strainer inside.
- Whisk together egg yolks and granulated sugar until pale and creamy, about 2-3 minutes.
- In a saucepan, caramelize the honey over medium heat for about 5 minutes until dark amber.
- Warm the heavy cream and whole milk in another saucepan until steaming, about 5 minutes.
- Gradually whisk the warm cream and milk into the caramelized honey to blend.
- Pour the honey and cream mixture into the egg yolks while whisking continuously.
- Cook the combined mixture over medium-low heat, stirring until it thickens slightly, about 2 minutes.
- Strain the thickened custard into the bowl in the ice bath, whisk in crème fraîche and salt.
- Chill the custard for at least 2 hours, preferably overnight, in the refrigerator.
- Churn the chilled custard in the ice cream maker according to manufacturer's instructions.
- Transfer to an airtight container, freeze for at least 4 hours before serving.
Leave a Reply