
Under the warm embrace of summer sun, we often crave something both refreshing and unique to satisfy our sweet tooth. Enter my No Bake Thai Tea Ice Cream, a delectable twist on the beloved traditional Thai iced tea that requires no ice cream maker at all! Imagine creamy layers infused with enticing notes of spiced black tea and sweetened condensed milk, perfectly balanced for a cool treat. Not only is this dessert a breeze to prepare with minimal effort, but it also promises to impress your guests, becoming a delightful centerpiece for warm-weather gatherings. Perfect for those moments when you want to indulge without the fuss, this no churn recipe is about to become your new favorite summer staple. Ready to discover how to whip up this flavorful delight and bring a taste of Thailand to your kitchen?
Why is Thai Tea Ice Cream Unique?
Irresistible Flavor Fusion: The bold and aromatic blend of Thai tea creates a delightful experience that’s unlike any ice cream you’ve tried before.
No Ice Cream Maker Needed: Say goodbye to complicated machinery! This simple recipe lets you whip up creamy ice cream without any special tools.
Quick and Easy Preparation: With minimal steps, you can whip it up in no time—perfect for impromptu summer gatherings or planned parties alike.
Dairy-Free Option: Want to cater to dietary needs? Easily substitute coconut cream for a delicious dairy-free version while still enjoying that creamy texture!
Perfect Summer Treat: Its refreshing taste will cool you down as temperatures rise, making it an ideal dessert for hot days.
Crowd-Pleaser: Whether serving as a stand-alone dessert or with mango sticky rice, this Thai Tea Ice Cream is sure to be a hit among family and friends!
Thai Tea Ice Cream Ingredients
For the Ice Cream Base
• Thai Tea Mix – Provides the fragrant, vibrant flavor characteristic of Thai iced tea; look for Pantai brand at Asian markets or online.
• Whole Milk – Adds creaminess and helps steep the tea mix properly for optimum flavor extraction.
• Heavy Whipping Cream – Essential for creating a light and airy texture in the ice cream; divided into two portions for whipping and folding.
• Sweetened Condensed Milk – Sweetens the ice cream and gives it a creamy consistency vital for no-churn recipes; do not substitute as it affects texture.
• Vanilla Paste/Extract – Enhances the flavor profile with warmth; can substitute with quality vanilla extract if unavailable.
For Garnish
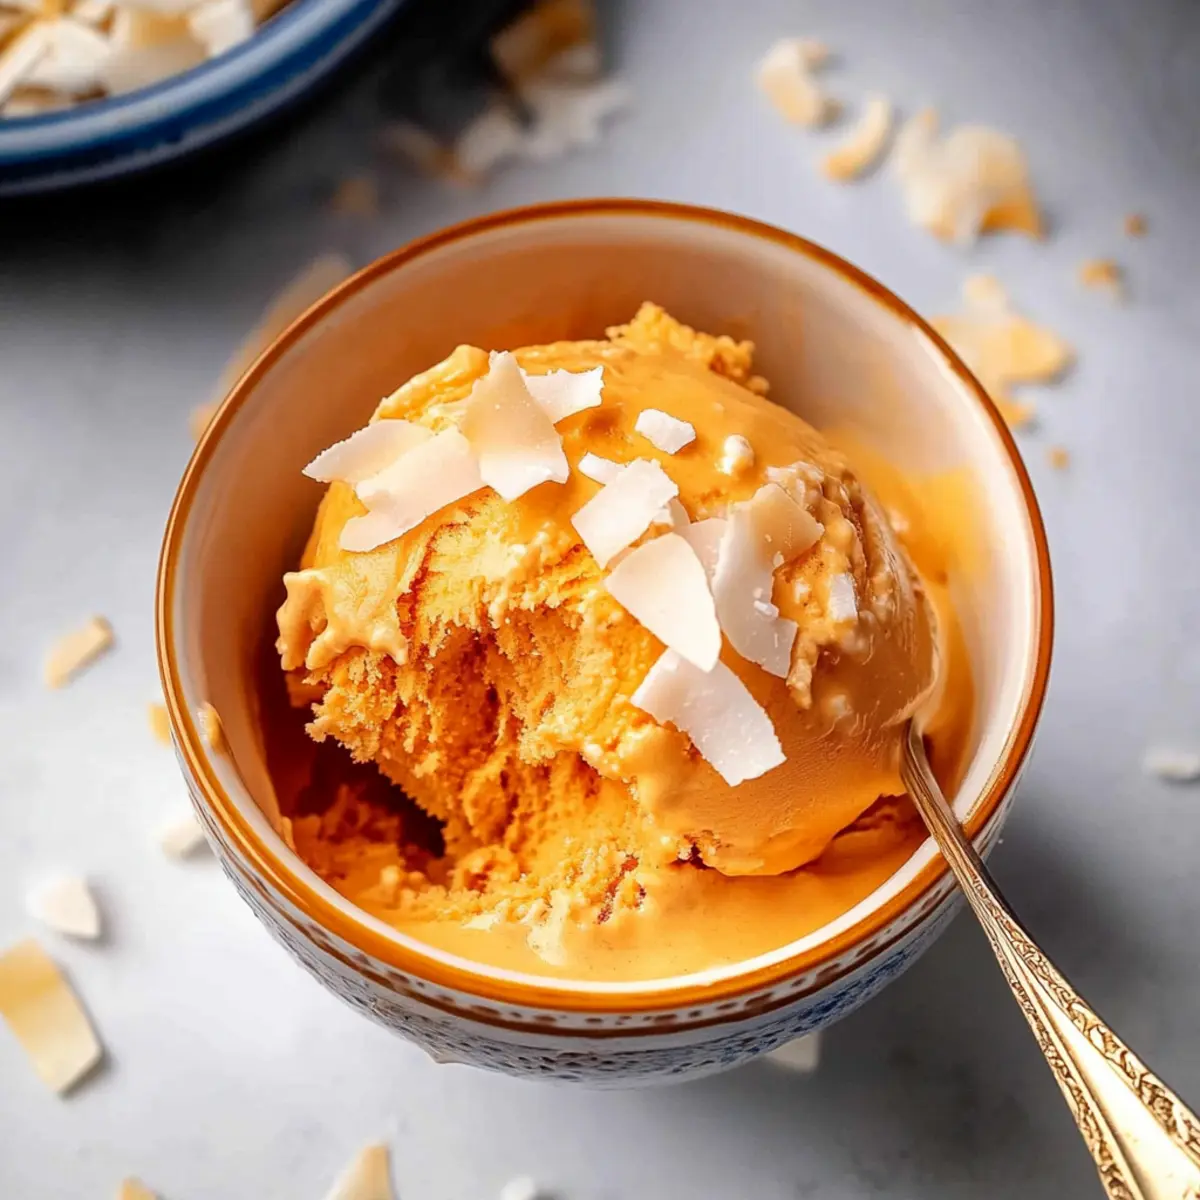
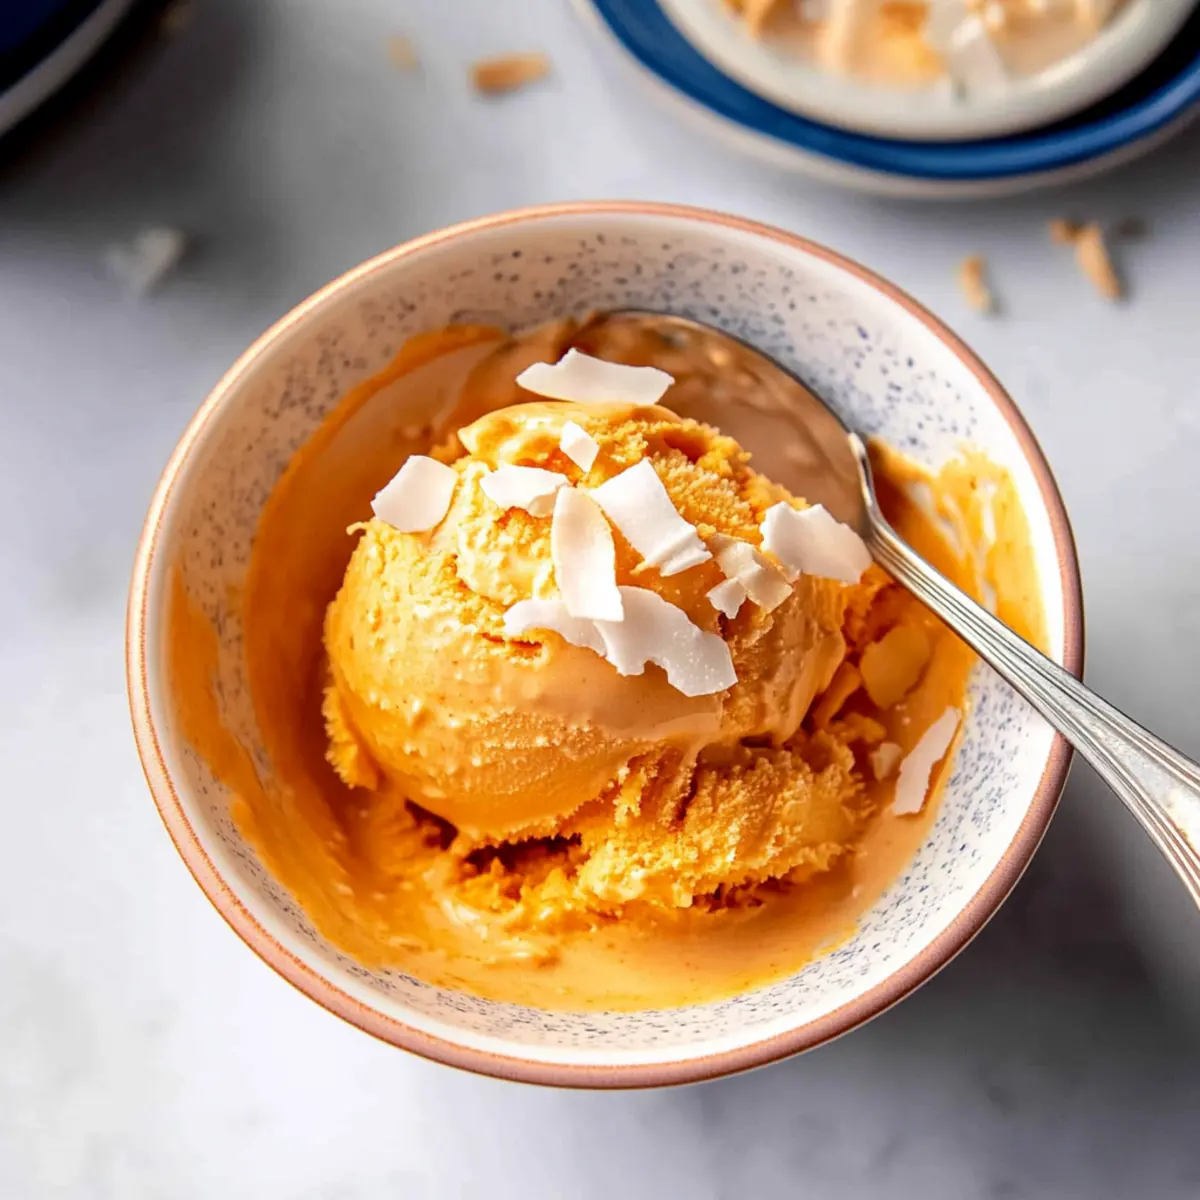
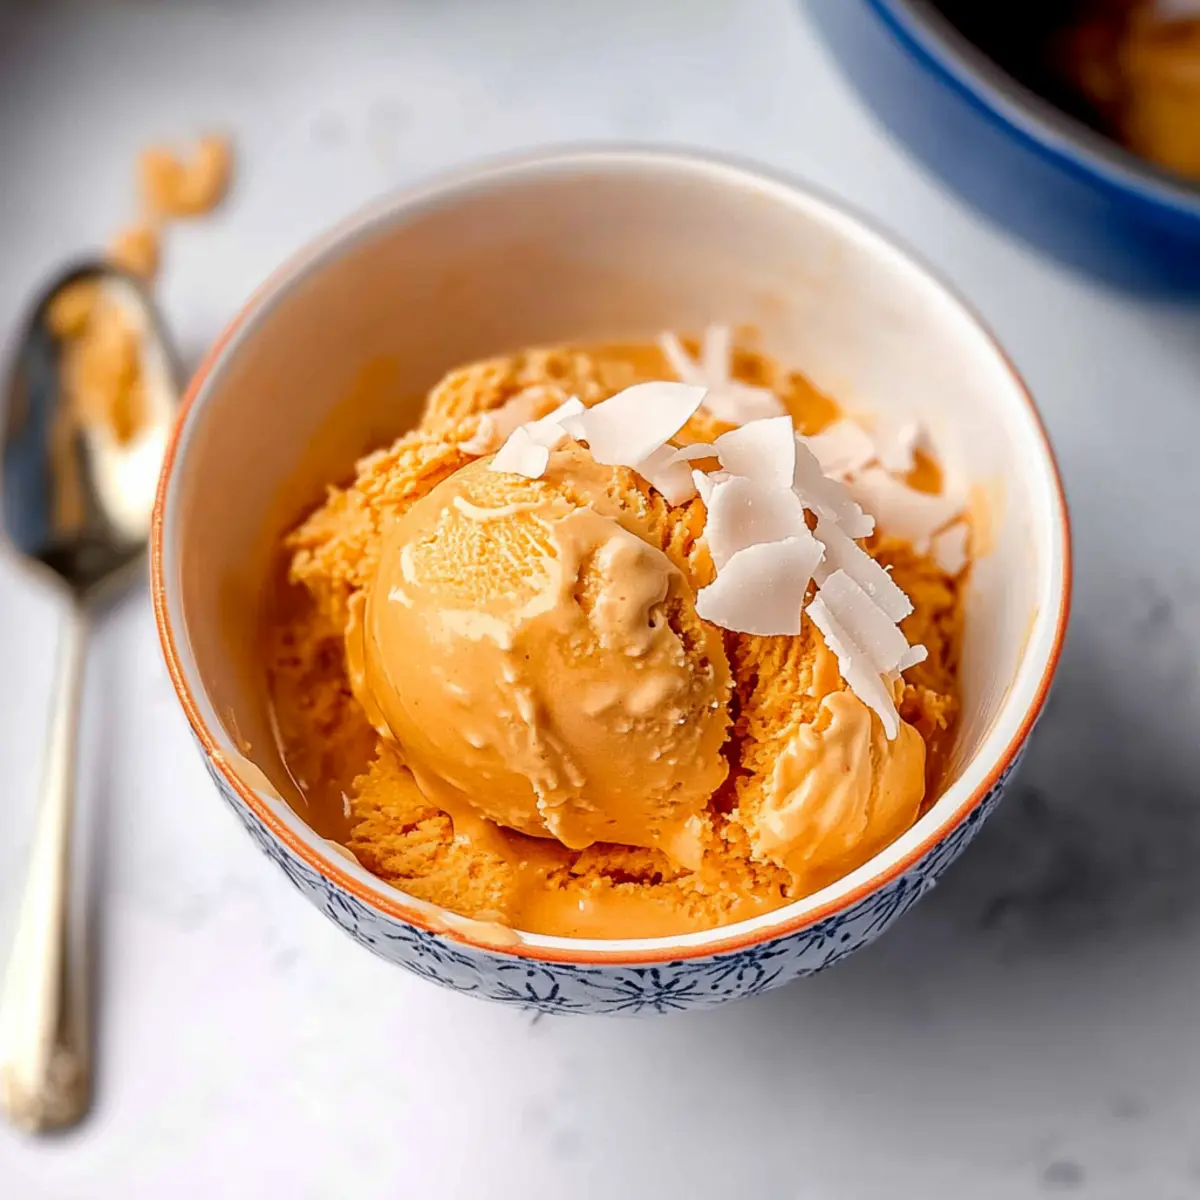
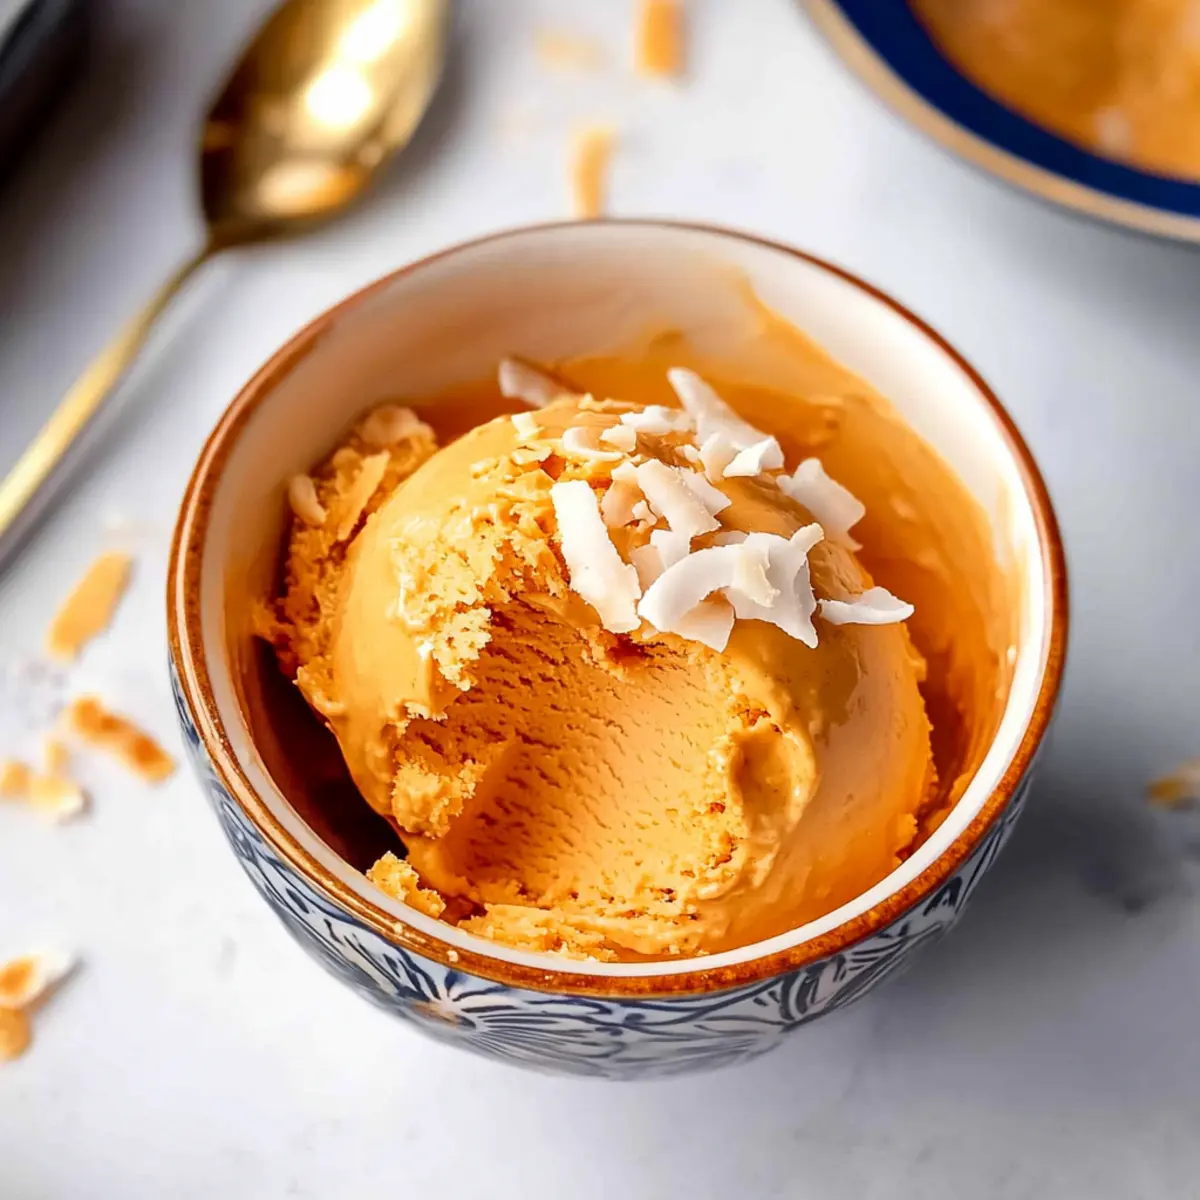
• Coconut Flakes – Unsweetened toasted coconut flakes add texture and a toasty flavor; optional but highly recommended for a delicious finish.
Step‑by‑Step Instructions for No Bake Thai Tea Ice Cream
Step 1: Infuse the Tea
In a medium saucepan over medium-low heat, combine the Thai tea mix, whole milk, and ½ cup of heavy whipping cream. Stir the mixture occasionally, allowing it to steam but not boil, for about 5 minutes. Once it begins to steam, remove the pan from heat, ensuring the vibrant orange color and fragrant aroma develop fully.
Step 2: Strain the Mixture
Carefully strain the tea mixture through a fine mesh sieve or cheesecloth into a heatproof bowl to separate the tea leaves from the liquid. This step ensures your No Bake Thai Tea Ice Cream remains smooth and silky without any solids. Press gently to extract all the flavorful liquid while avoiding any tea residue.
Step 3: Blend in Sweetness
Whisk the sweetened condensed milk and vanilla paste or extract into the strained tea mixture, combining thoroughly until smooth and creamy. This step adds the essential sweetness that complements the tea’s bold flavors, ensuring your ice cream has the perfect balance. Set this mixture aside while you prepare the whipped cream.
Step 4: Whip the Cream
In a separate large mixing bowl, pour in the remaining 1½ cups of heavy whipping cream. Using an electric mixer, whip on medium-high speed until stiff peaks form, which should take about 3-5 minutes. When peaks hold their shape, stop mixing to avoid over-whipping; this aeration is key to achieving a light texture in your Thai Tea Ice Cream.
Step 5: Fold in the Whipped Cream
Gently fold the whipped cream into the tea mixture in three parts, using a spatula to combine without deflating the airy cream. Start by adding a third of the whipped cream, then gradually incorporate the rest by lifting and folding. This delicate process ensures your No Bake Thai Tea Ice Cream remains fluffy and light.
Step 6: Transfer and Freeze
Pour the combined mixture into a freezer-safe container, smoothing the top with a spatula for an even surface. Cover the container tightly with a lid or plastic wrap to prevent ice crystals from forming. Freeze for a minimum of 8 hours or overnight, allowing your Thai Tea Ice Cream to firm up and develop its flavors.
Step 7: Soften for Serving
Once frozen, remove the container from the freezer and let it sit at room temperature for 10-15 minutes to soften slightly. This will make scooping easier and enhance the ice cream’s creamy texture. The waiting time allows the flavors to become more pronounced, giving you the best tasting experience of your No Bake Thai Tea Ice Cream.
Step 8: Garnish and Enjoy
Scoop the delicious Thai Tea Ice Cream into serving bowls and optionally sprinkle with toasted coconut flakes for added texture and flavor. Serve immediately to enjoy this delightful summer treat that showcases the unique flavors of traditional Thai iced tea in a refreshing dessert form.
Thai Tea Ice Cream Variations
Feel free to embark on a delicious journey by customizing your Thai Tea Ice Cream with these creative twists!
-
Dairy-Free: Substitute heavy cream with coconut cream for a rich, vegan delight that maintains the creamy texture.
-
Chai Twist: Swap Thai tea for chai tea to infuse your ice cream with warm spices, adding a comforting twist to your summer treat.
-
Fruit Fusion: Mix in mashed strawberries or blackberries for bright pops of flavor and fruitiness that bring a vibrant color to your ice cream.
-
Chocolate Delight: Fold in chocolate chips or chunks into the mixture before freezing to add a delightful crunch and chocolatey richness.
-
Spicy Kick: Add a pinch of cayenne or ground ginger to the mixture for a surprising, zesty finish that pairs beautifully with the sweet creaminess.
-
Easy Serving Suggestion: This creamy delight pairs wonderfully as a topping for mango sticky rice, adding an elegant finish to a traditional dessert.
-
Flavor Booster: Incorporate a splash of almond or hazelnut extract to enhance the nutty undertones, giving your ice cream an extra depth of flavor.
-
Coffee Infusion: Blend in some cold brew coffee for a mocha-inspired creation; it’ll turn your ice cream into a charming pick-me-up treat perfect for any time of day!
Explore these variations to create your own signature version of Thai Tea Ice Cream, and don’t hesitate to try other exciting ideas—like pairing it with mango sticky rice for a delightful meal ending!
Make Ahead Options
These delightful No Bake Thai Tea Ice Cream treats are perfect for meal prep enthusiasts! You can prepare the ice cream base (steps 1 through 5) up to 24 hours in advance—simply follow the steps to combine and whip everything, then store the mixture in an airtight container. For optimal flavor and texture, ensure it’s tightly covered to prevent freezer burn. Once ready to serve, pour the mixture into a freezer-safe container and freeze for at least 8 hours. When you’re about to serve, just allow it to sit at room temperature for 10-15 minutes to soften slightly. With these make-ahead tips, you can enjoy a creamy, refreshing No Bake Thai Tea Ice Cream with ease, freeing up your time for family or entertaining!
What to Serve with No Bake Thai Tea Ice Cream?
Indulging in this creamy dessert makes it easy to build a delicious meal around it, creating a well-rounded dining experience.
- Mango Sticky Rice: The sweetness of glutinous rice paired with fresh mango complements the ice cream’s flavors beautifully, adding a lovely texture.
- Spicy Thai Shrimp Salad: The contrast of zesty herbs and the heat from spices will delight your taste buds, balancing the sweetness of the ice cream perfectly.
- Grilled Pineapple: Caramelized pineapple slices offer a tropical flair, bringing out the fruity notes in the Thai Tea Ice Cream for a refreshing finish.
- Coconut Rice: The creamy essence melds well with the rich ice cream, enhancing the coconut flavor for a harmonized dessert experience.
- Thai Iced Tea: Pour a glass of this classic beverage to echo the ice cream’s taste, uniting your meal with its aromatic charm.
- Lemongrass Lemonade: A zesty drink with herbal notes refreshes your palate, creating a pleasant contrast to the dessert’s sweetness.
- Thai Basil Chicken: A savory dish like this adds depth to your meal, introducing savory complexity against the dessert’s rich creaminess.
- Fresh Fruit Platter: A medley of tropical fruits like kiwi, dragon fruit, and berries adds a splash of color and freshness, brightening your dining experience.
How to Store and Freeze Thai Tea Ice Cream
Fridge: Store the Thai Tea Ice Cream in a tightly sealed container for up to 2 weeks. This keeps it fresh and prevents it from absorbing other fridge odors.
Freezer: For longer storage, freeze in an airtight container for up to 2 months. Ensure the container is well-covered to avoid freezer burn and maintain its creamy texture.
Reheating: If the ice cream becomes too hard to scoop, let it sit at room temperature for about 10-15 minutes before serving, allowing it to soften for the perfect scoop.
Expert Tips for Thai Tea Ice Cream
-
Color Check: Make sure the tea mixture is a vibrant orange before straining; this brightness ensures optimal flavor in your Thai Tea Ice Cream.
-
Straining Technique: Use a fine mesh sieve or cheesecloth carefully to avoid any tea solids; opt for gloves to keep your hands stain-free.
-
Whipping Cream: Be cautious not to over-whip the heavy cream; stiff peaks should form, but the mixture should still be light and airy for the perfect texture.
-
Freezer Safety: Cover your container tightly with plastic wrap; this prevents ice crystals and freezer burn, ensuring a silky, delicious result.
-
Soften Before Serving: Allow your ice cream to sit at room temperature for 10-15 minutes before scooping; this enhances both texture and flavor for an irresistible treat.
Thai Tea Ice Cream Recipe FAQs
How do I choose the right Thai tea mix?
Absolutely! Look for Pantai brand Thai tea mix at your local Asian markets or online. It’s known for its authentic, vibrant flavor perfect for this ice cream. The tea should have a bright orange hue and a rich aroma to ensure you capture the essence of traditional Thai iced tea in your dessert.
What are the best storage methods for homemade Thai Tea Ice Cream?
To keep your Thai Tea Ice Cream fresh, store it in an airtight container in the freezer for up to 2 months. Make sure to cover the container tightly with plastic wrap or a lid to prevent freezer burn. If left uncovered, ice crystals may form, compromising its creamy texture.
Can I freeze the Thai Tea Ice Cream? How long will it last?
You can freeze your Thai Tea Ice Cream for up to 2 months. To ensure the best texture, wrap the container with plastic wrap before sealing the lid. This will minimize air exposure, preventing freezer burn! Just remember to let it sit out for about 10-15 minutes to soften before scooping when you’re ready to enjoy.
What should I do if the ice cream turns out too hard?
No worries! If you find your Thai Tea Ice Cream is too hard to scoop, simply let it sit at room temperature for 10-15 minutes. This will allow it to soften nicely. Alternatively, if you find that your ice cream isn’t creamy enough, make sure you’re whipping the cream to stiff peaks without over-whipping—this helps create that perfect airy texture!
Is this recipe suitable for someone with dairy allergies?
Very! You can easily modify this recipe by replacing the heavy cream with coconut cream for a delightful dairy-free version while still achieving a creamy texture. Just make sure to check that your Thai tea mix and other ingredients are also dairy-free to accommodate all dietary needs.
Creamy Thai Tea Ice Cream: A No Churn Summer Treat
Ingredients
Equipment
Method
- In a medium saucepan over medium-low heat, combine the Thai tea mix, whole milk, and ½ cup of heavy whipping cream. Stir occasionally, allowing it to steam for about 5 minutes.
- Carefully strain the tea mixture through a fine mesh sieve into a heatproof bowl to separate the tea leaves from the liquid.
- Whisk the sweetened condensed milk and vanilla paste or extract into the strained tea mixture until smooth and creamy.
- In a separate bowl, whip the remaining 1½ cups of heavy whipping cream on medium-high speed until stiff peaks form.
- Gently fold the whipped cream into the tea mixture in three parts, using a spatula to combine without deflating the cream.
- Pour the combined mixture into a freezer-safe container and smooth the top. Cover tightly and freeze for at least 8 hours.
- Once frozen, let the container sit at room temperature for 10-15 minutes to soften slightly before scooping.
- Scoop the Thai Tea Ice Cream into serving bowls and optionally sprinkle with toasted coconut flakes.
Leave a Reply